Page 148 of 526

Convenient features of your vehicle
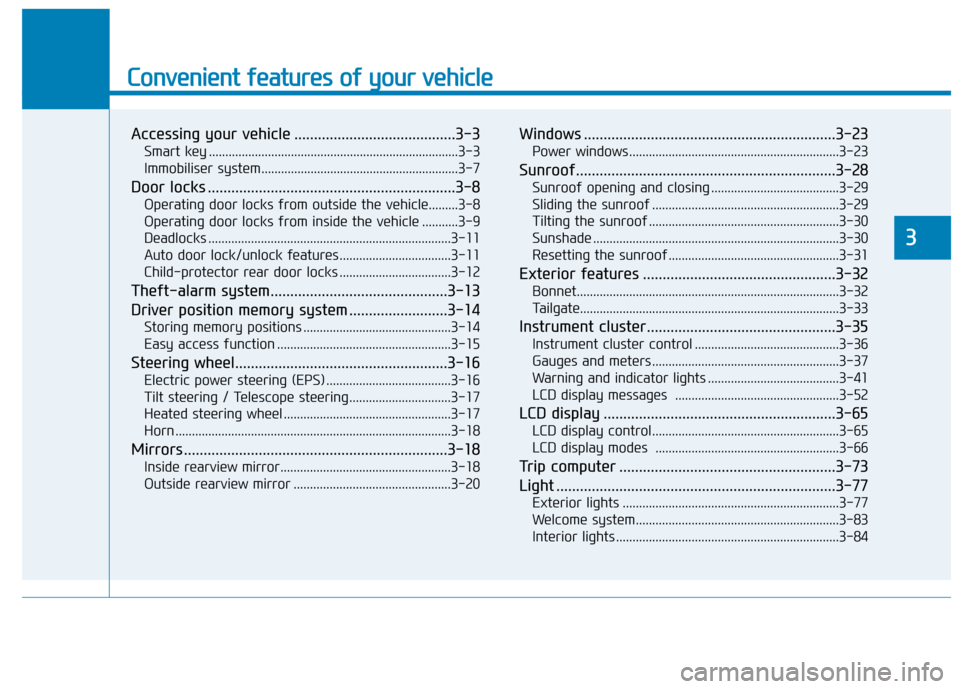
Accessing your vehicle .........................................3-3
Smart key ........................................................................\
....3-3
Immobiliser system............................................................3-7
Door locks ...............................................................3-8
Operating door locks from outside the vehicle.........3-8
Operating door locks from inside the vehicle ...........3-9
Deadlocks ........................................................................\
..3-11
Auto door lock/unlock features..................................3-11
Child-protector rear door locks ..................................3-12
Theft-alarm system.............................................3-13
Driver position memory system .........................3-14
Storing memory positions .............................................3-14
Easy access function .....................................................3-15
Steering wheel......................................................3-16
Electric power steering (EPS) ......................................3-16
Tilt steering / Telescope steering...............................3-17
Heated steering wheel ...................................................3-17
Horn ........................................................................\
............3-18
Mirrors ...................................................................3-18
Inside rearview mirror....................................................3-18
Outside rearview mirror ................................................3-20
Windows ................................................................3-23
Power windows................................................................3-23
Sunroof..................................................................3-28
Sunroof opening and closing .......................................3-29
Sliding the sunroof .........................................................3-29
Tilting the sunroof ..........................................................3-30
Sunshade ........................................................................\
...3-30
Resetting the sunroof ....................................................3-31
Exterior features .................................................3-32
Bonnet........................................................................\
........3-32
Tailgate.....................................................................\
..........3-33
Instrument cluster................................................3-35
Instrument cluster control ............................................3-36
Gauges and meters .........................................................3-37
Warning and indicator lights ........................................3-41
LCD display messages ..................................................3-52
LCD display ...........................................................3-65
LCD display control.........................................................3-65
LCD display modes ........................................................3-66
Trip computer .......................................................3-73
Light .......................................................................3\
-77
Exterior lights ..................................................................3-77
Welcome system..............................................................3-83
Interior lights ....................................................................3-84\
3
Page 183 of 526
3-36
Convenient features of your vehicle
Instrument cluster control
Instrument panel illumination
When the vehicle's position lights or
headlights are on, press the illumina-
tion control button to adjust the
brightness of the instrument panel
illumination.
When pressing the illumination con-
trol button, the interior switch illumi-
nation intensity is also adjusted. The brightness of the instrument
panel illumination is displayed.
If the brightness reaches to the maximum or minimum level, a
chime will sound.
Never adjust the instrument
cluster whilst driving. This could
result in loss of control and lead
to an accident that may cause
death, serious injury, or property
damage.
WARNING
OAE046113L
OAEE046412R
■
Type A
■Type B
Page 231 of 526
3-84
Convenient features of your vehicle
Interior lights
Do not use the interior lights for
extended periods when the vehi-
cle is turned off or the battery will
discharge.
Interior lamp AUTO cut
The interior lamps will automatically
go off approximately 20 minutes after
the vehicle is turned off and the
doors closed. If a door is opened, the
lamp will go off 40 minutes after the
vehicle is turned off. If the doors are
locked by the smart key and the vehi-
cle enters the armed stage of the
theft alarm system, the lamps will go
off five seconds later.
Front lamps
(1) Front Map Lamp
(2) Front Door Lamp
(3) Front Room Lamp
Front Map Lamp :
Press either of these lens to turn the
map lamp on or off. This light pro-
duces a spot beam for convenient
use as a map lamp at night or as a
personal lamp for the driver and the
front passenger.
NOTICE
OAD045405
Page 469 of 526

7-21
7
Maintenance
Battery recharging
By battery charger
Your vehicle has a maintenance-free,
calcium-based battery.
If the battery becomes dischargedin a short time (because, for exam-
ple, the headlights or interior lights
were left on whilst the vehicle was
not in use), recharge it by slow
charging (trickle) for 10 hours.
If the battery gradually discharges because of high electric load whilst
the vehicle is being used, recharge
it at 20-30A for two hours. Always follow these instructions
when recharging your vehicle’s
battery to avoid the risk of SERI-
OUS INJURY or DEATH from
explosions or acid burns:
Before performing mainte-
nance or recharging the bat-
tery, turn off all accessories
and place the POWER button
to the OFF position.
Keep all flames, sparks, or
smoking materials away from
the battery.
Always work outdoors or in an
area with plenty of ventilation.
Wear eye protection when
checking the battery during
charging.
The battery must be removed
from the vehicle and placed in
a well ventilated area.
(Continued)
WARNING (Continued)
Watch the battery during
charging, and stop or reduce
the charging rate if the battery
cells begin boiling violently.
The negative battery cable
must be removed first and
installed last when the battery
is disconnected. Disconnect
the battery charger in the fol-
lowing order:
(1) Turn off the battery chargermain switch.
(2) Unhook the negative
clamp from the negative
battery terminal.
(3) Unhook the positive clamp from the positive battery
terminal.
Always use a genuine HYUNDAI
approved battery when you
replace the battery.