Page 459 of 559
457
uuCharging uUsing a Timer
Driving
3. Press the ENTER button to select the item
you want to set.
4. Press the / button to select when to
start and end the charging, and the
charging mode.
5. Press the ENTER button again.
34
19 CLARITY BEV-31TRV6200.book 457 ページ 2018年10月29日 月曜日 午前10時54分
Page 462 of 559
460
Maintenance
Before Performing Maintenance
Inspection and Maintenance
For your safety, perform all listed inspections and maintenance to keep your vehicle
in good condition. If you become aware of any abnormality (noise, smell, insufficient
brake fluid, fluid residue on the ground, etc. ), have your vehicle inspected by an
authorized Honda Clarity Electric dealer. (Note, however, that service at an
authorized Honda Clarity Elec tric dealer is not mandatory to keep your warranties in
effect.)
■Daily inspections
Perform inspections before long distance trips, when washing the vehicle, or when
charging.
■Periodic inspections
• Check the brake fluid level monthly.
2 Brake Fluid P. 470
•Check the tire pressure monthly. Examin e the tread for wear and foreign objects.
2Checking and Maintaining Tires P. 477
•Check the operation of the exterior lights monthly.
2 Replacing Light Bulbs P. 472
•Check the condition of the wiper bl ades at least every six months.
2Checking and Maintaining Wiper Blades P. 474
■Types of Inspection and Maintenance
1Inspection and Maintenance
At this time, maintenance involving the high-voltage
system should only be perf ormed at an authorized
Honda Clarity Electric dealer.
All maintenance services should be performed in
accordance with the intervals indicated by the driver
information interface. 2 Maintenance Service Items P. 465
If you want to perform ba sic maintenance yourself,
make sure that you have th e necessary tools and skills
first.
After performing ma intenance, update the records in
the separate maintenance booklet.
19 CLARITY BEV-31TRV6200.book 460 ページ 2018年10月29日 月曜日 午前10時54分
Page 488 of 559
486
Maintenance
12-Volt Battery
Checking the 12-Volt Battery
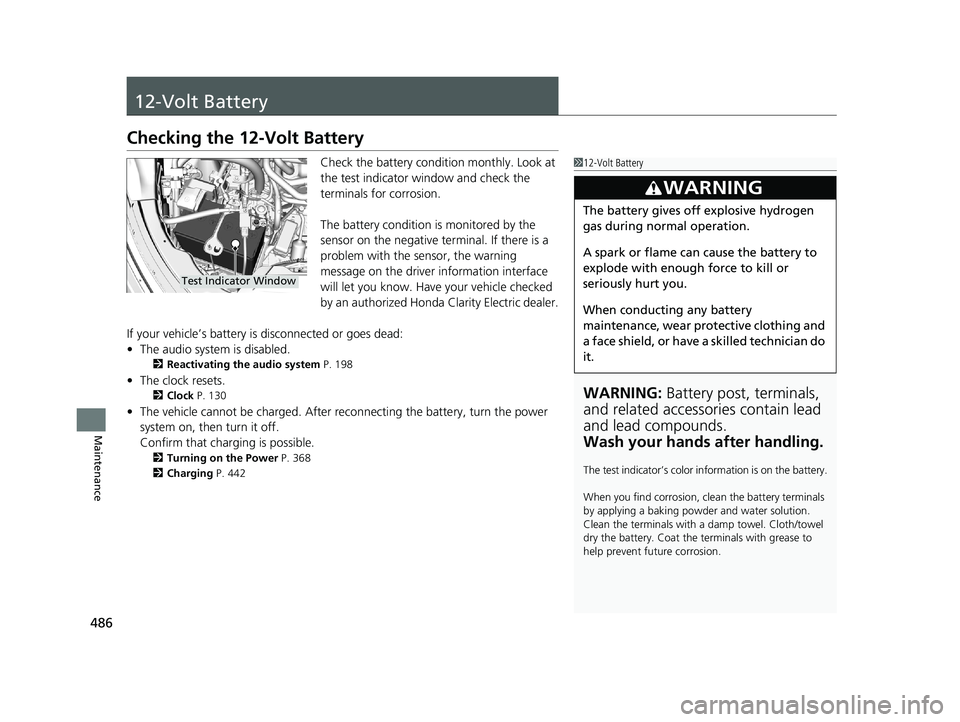
Check the battery condition monthly. Look at
the test indicator window and check the
terminals for corrosion.
The battery condition is monitored by the
sensor on the negative terminal. If there is a
problem with the sensor, the warning
message on the driver information interface
will let you know. Have your vehicle checked
by an authorized Honda Clarity Electric dealer.
If your vehicle’s battery is disconnected or goes dead:
• The audio system is disabled.
2 Reactivating the audio system P. 198
•The clock resets.
2 Clock P. 130
•The vehicle cannot be charged. After reconnecting the batte ry, turn the power
system on, then turn it off.
Confirm that charging is possible.
2 Turning on the Power P. 368
2 Charging P. 442
112-Volt Battery
WARNING: Battery post, terminals,
and related accessories contain lead
and lead compounds.
Wash your hands after handling.
The test indicator’s color in formation is on the battery.
When you find corrosion, cl ean the battery terminals
by applying a baking powder and water solution.
Clean the terminals with a damp towel. Cloth/towel
dry the battery. Coat the terminals with grease to
help prevent future corrosion.
3WARNING
The battery gives off explosive hydrogen
gas during normal operation.
A spark or flame can cause the battery to
explode with enough force to kill or
seriously hurt you.
When conducting any battery
maintenance, wear prot ective clothing and
a face shield, or have a skilled technician do
it.
Test Indicator Window
19 CLARITY BEV-31TRV6200.book 486 ページ 2018年10月29日 月曜日 午前10時54分
Page 489 of 559
487
uu12-Volt Battery uCharging the 12-Volt Battery
Maintenance
Charging the 12-Volt Battery
Disconnect both battery cables to prevent damaging your vehicle’s electrical system.
Always disconnect the negative (–) cable first, and reconnect it last.112-Volt Battery
When replacing the battery, the replacement must be
of the same specifications.
Consult an authorized Honda Clarity Electric dealer
for more information.
The indicators for the Vehicle Stability Assist ® (VSA ®)
system, VSA ® OFF, Collision Mitigation Braking
System
TM (CMBSTM), and low tire pressure/Tire
Pressure Monitoring System (TPMS) may come on
along with a message in the driver information
interface when you turn the power system on after
reconnecting the battery.
Drive a short distance at 12 mph (20 km/h). The
indicator should go off. If it does not, have your
vehicle checked by an authorized Honda Clarity
Electric dealer.
19 CLARITY BEV-31TRV6200.book 487 ページ 2018年10月29日 月曜日 午前10時54分
Page 495 of 559
Continued493
uuCleaning uExterior Care
Maintenance
• Keep sufficient distance between the cleaning nozzle and the vehicle body.
• Take particular care around the windows. Standing too close may cause water to
enter the vehicle interior.
• Do not spray high pressure water directly into the motor compartment. Instead,
use low pressure water.
• Do not spray water under the hood wh ere the electric motor and other high
voltage system components are located. It could cause a malfunction.
• Do not spray water directly at the charging port.
A good coat of automotive body wax helps protect your vehicle’s paint from the
elements. Wax will wear off over time and expose your vehicle’s paint to the
elements, so reapply as necessary.
If you get coolant or battery fluid on resin coated parts, they may be stained or the
coating may peel. Promptly wipe it aw ay using a soft cloth and clean water.
Wipe using a glass cleaner.
■Using High Pressure Cleaners
■Applying Wax
■Maintaining the Bumpers and Other Resin Coated Parts
■Cleaning the Window
1 Applying Wax
NOTICE
Chemical solvents and strong cleaners can damage
the paint, metal, and plasti c on your vehicle. Wipe
away spills immediately.
1 Maintaining the Bumpers an d Other Resin Coated Parts
Ask an authorized Honda Clar ity Electric dealer about
the correct coating material when you want to repair
the painted surface of the parts made of resin.
1 Cleaning the Window
When you raise a wiper arm, you may inadvertently
alter the position of the arm by applying undue force.
If you notice that an arm is not in its proper return
position, active the wipers once and they will
automatically reset. 2 Wipers and Washers P. 160
19 CLARITY BEV-31TRV6200.book 493 ページ 2018年10月29日 月曜日 午前10時54分
Page 499 of 559
497
uuAccessories and Modifications uModifications
Maintenance
Modifications
Do not modify your vehicle in a manner that may affect its handling, stability, or
reliability, or install non-genuine Honda pa rts or accessories that may have a similar
effect.
Even minor modifications to vehicle systems can affect overall vehicle performance.
Always make sure all equipment is properly installed and maintained, and do not
make any modification to your vehicle or its systems that might cause your vehicle
to no longer meet federal, state, pr ovince, territory, and local regulations.
The on-board diagnostic port (OBD-II/SAE J1 962 connector) installed on this vehicle
is intended to be used with automobile system diagnostic devices or with other
devices that Honda has approved. Use of any other type of device may adversely
affect the vehicle’s electronic systems or allow them to be compromised, possibly
resulting in a system malfunction, drained battery, or other unexpected problems.
Do not modify or attempt to repair your vehicle’s high-voltage power system or
otherwise modify vehicle electrical systems. Disassembling or modifying electrical
equipment can result in a crash or a fire.
If you ever need to replace your vehicle’s high-voltage battery assembly outside of
warranty coverage, we highly recommend that you only use a genuine Honda high-
voltage battery assembly. Genuine Honda high-voltage battery assemblies are
designed to work with your vehicle’s power system and have been designed,
engineered and manufactured to avoid overcharging situations. Non-genuine high-
voltage battery assemblies may not have b een similarly designed, engineered and
manufactured, and installation of such assemb lies could result in overcharging, fires,
loss of power, or other conditions that may increase the likelihood of a crash or
injury.
19 CLARITY BEV-31TRV6200.book 497 ページ 2018年10月29日 月曜日 午前10時54分
Page 501 of 559
499
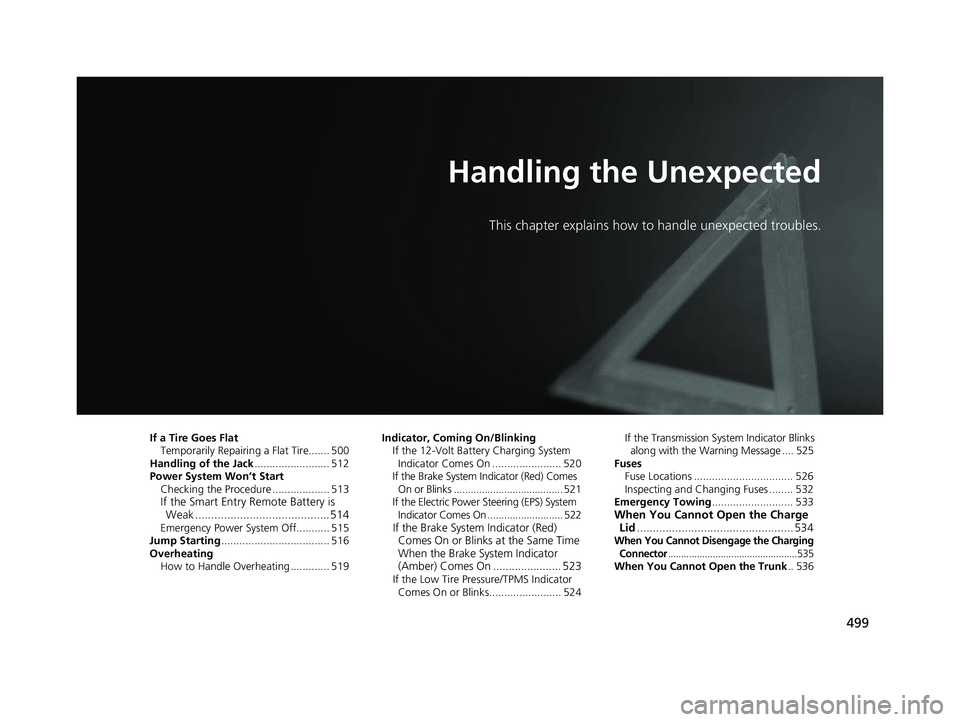
Handling the Unexpected
This chapter explains how to handle unexpected troubles.
If a Tire Goes FlatTemporarily Repairi ng a Flat Tire....... 500
Handling of the Jack ......................... 512
Power System Won’t Start Checking the Procedure ................... 513
If the Smart Entry Remote Battery is Weak .......................................... 514
Emergency Power System Off........... 515
Jump Starting .................................... 516
Overheating How to Handle Overheating ............. 519 Indicator, Coming On/Blinking
If the 12-Volt Battery Charging System Indicator Comes On ....................... 520
If the Brake System Indicator (Red) Comes On or Blinks ....................................... 521
If the Electric Power Steering (EPS) System
Indicator Comes On ........................... 522If the Brake System Indicator (Red) Comes On or Blinks at the Same Time
When the Brake System Indicator
(Amber) Comes On ...................... 523
If the Low Tire Pressure/TPMS Indicator
Comes On or Blinks........................ 524 If the Transmission System Indicator Blinks
along with the Warning Message .... 525
Fuses
Fuse Locations ................................. 526
Inspecting and Changing Fuses ........ 532
Emergency Towing ........................... 533
When You Cannot Open the Charge
Lid ................................................. 534
When You Cannot Disengage the Charging
Connector.................................................535When You Cannot Open the Trunk .. 536
19 CLARITY BEV-31TRV6200.book 499 ページ 2018年10月29日 月曜日 午前10時54分
Page 504 of 559
502
uuIf a Tire Goes Flat uTemporarily Repairing a Flat Tire
Handling the Unexpected
1. Remove the charging cable by releasing the
belt.
2. Pull the strap on the right side of the trunk
and open the lid.
3. Open the fastener and take the kit out of
the trunk.
4. Place the kit face up, on flat ground near
the flat tire, and away from traffic. Do not
place the kit on its side.
Charging Cable
Lid
Fastener
Strap
19 CLARITY BEV-31TRV6200.book 502 ページ 2018年10月29日 月曜日 午前10時54分