2019 FORD TAURUS trunk
[x] Cancel search: trunkPage 63 of 515

The anti-scan feature turns off after any
of the following occur:
•
One minute of keypad inactivity.
• You press the unlock button on the
remote control.
• You switch your vehicle on.
• You unlock the vehicle using intelligent
access.
Locking and Unlocking the Doors
Locking All Doors
Press and hold 7·8 and 9·0 on the keypad
simultaneously with the driver door closed.
You do not need to enter a code first.
Unlocking All Doors
Enter the factory-set code or your personal
code, then press 3·4 on the keypad within
five seconds.
Unlocking Only the Driver Door
Enter the factory-set or your personal
five-digit code. You must press each
number within five seconds of each other.
The interior lamps illuminate.
Note: All doors unlock if the two-stage
unlocking feature is turned off. See Locking
and Unlocking (page 55).
INTERIOR LUGGAGE
COMPARTMENT RELEASE WARNING:
Keep vehicle doors
and luggage compartment locked and
keep keys and remote transmitters out
of a child ’s reach. Unsupervised children
could lock themselves in the trunk and
risk injury. Children should be taught not
to play in vehicles. WARNING:
Do not leave children
or animals unattended in the vehicle. On
hot days, the temperature in the trunk or
vehicle interior can rise very quickly.
Exposure of people or animals to these
high temperatures for even a short time
can cause death or serious heat-related
injuries, including brain damage. Small
children are particularly at risk.
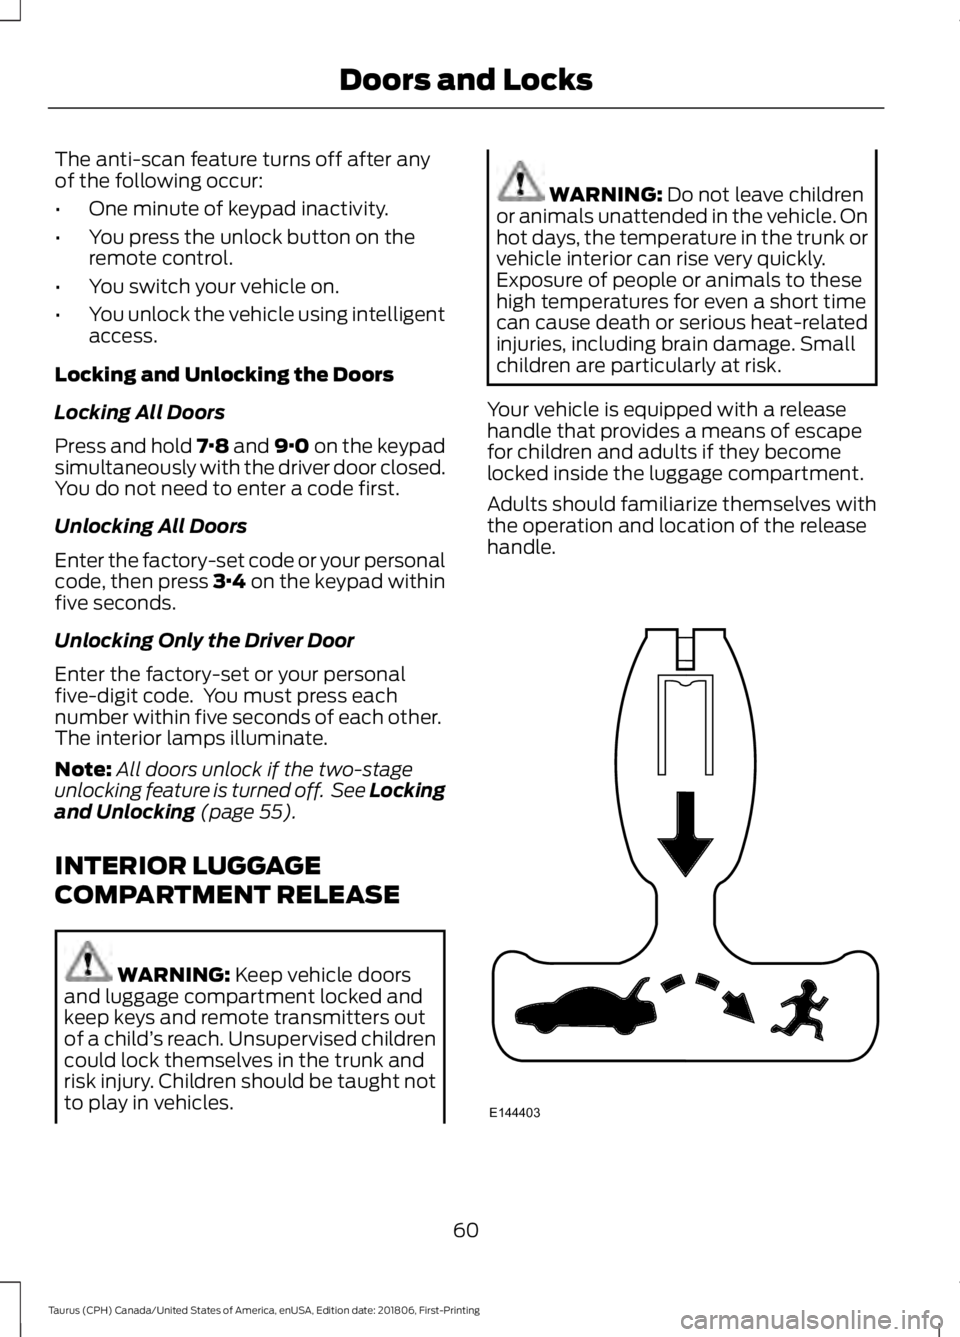
Your vehicle is equipped with a release
handle that provides a means of escape
for children and adults if they become
locked inside the luggage compartment.
Adults should familiarize themselves with
the operation and location of the release
handle. 60
Taurus (CPH) Canada/United States of America, enUSA, Edition date: 201806, First-Printing Doors and LocksE144403
Page 101 of 515

Collision Warning System
Action
Message
There is a system malfunction with the collision warning
system. The system is disabled. Contact an authorized dealer as soon as possible.
Collision Warning
Malfunction
The collision warning system radar is blocked because of poorradar visibility due to bad weather or ice/mud/water in frontof the radar. Driver can typically clean the sensor to resolve. Contact an authorized dealer as soon as possible.
Collision Warning Not
Available Sensor
Blocked See Manual
There is a system malfunction with the collision warning
system. The system is disabled. Contact an authorized dealer as soon as possible.
Collision Warning Not
Available
Doors and Locks Action
Message
Displays when a door is not completely closed.
X Door Ajar
Displays when the trunk is not completely closed.
Trunk Ajar
Driver Alert Action
Message
Stop and rest as soon as it is safe to do so.
Driver Alert Warning Rest
Now
Take a rest soon.
Driver Alert Warning Rest
Suggested
Fuel Action
Message
An early reminder of a low fuel condition.
Fuel Level Low
The fuel fill inlet may not be properly closed.
Check Fuel Fill Inlet
98
Taurus (CPH) Canada/United States of America, enUSA, Edition date: 201806, First-Printing Information Displays
Page 266 of 515

GENERAL INFORMATION
The recommended tire inflation pressures
are on the tire information label on the
driver side B-pillar.
Check and set the tire pressure at the
ambient temperature in which you are
intending to drive your vehicle and when
the tires are cold. See Technical
Specifications (page 291).
Note: Check your tire pressures regularly to
optimize fuel economy.
Only use approved wheel and tire sizes.
Using other sizes could damage your
vehicle and could make the National Type
Approval invalid.
Installation of any tires that are not the
original equipment tire size can cause the
speedometer to display incorrect vehicle
speed.
TIRE SEALANT AND INFLATOR
KIT
(If Equipped)
Note: The temporary mobility kit canister
contains enough sealant compound for one
tire repair only. See your authorized Ford
dealer for additional replacement sealant
canisters.
The kit is under the load floor of the trunk.
The kit consists of an air compressor to
inflate the tire and a sealing compound in
a canister that will effectively seal most
punctures caused by nails or similar
objects. This kit will provide a temporary
tire repair allowing you to drive your vehicle
up to
120 mi (200 km) at a maximum
speed of 50 mph (80 km/h) to reach a tire
service location. Air compressor (inside)
A
Diverter knob
B
On and off button
C
Air pressure gauge
D
Sealant bottle and canister
E
Sealant filling clear tube
F
Sealant tube - tire valve
connector
G
Air compressor hose
H
Yellow cap tool
I
Air hose -tire valve connector
J
Accessory power plug
K
Casing/housing
L
263
Taurus (CPH) Canada/United States of America, enUSA, Edition date: 201806, First-Printing Wheels and TiresE144618
Page 292 of 515

WARNING: To help prevent your
vehicle from moving when changing a
wheel, shift the transmission into park
(P), set the parking brake and use an
appropriate block or wheel chock to
secure the wheel diagonally opposite to
the wheel being changed. For example,
when changing the front left wheel,
place an appropriate block or wheel
chock on the right rear wheel. WARNING:
Do not work on your
vehicle when the jack is the only support.
If the vehicle slips off the jack, you or
someone else could be seriously injured. WARNING:
Do not attempt to
change a tire on the side of the vehicle
close to moving traffic. Pull far enough
off the road to avoid the danger of being
hit when operating the jack or changing
the wheel. WARNING:
Always use the jack
provided as original equipment with your
vehicle. If using a jack other than the one
provided, make sure the jack capacity is
adequate for the vehicle weight,
including any vehicle cargo or
modifications. If you are unsure if the jack
capacity is adequate, contact the
authorized dealer.
Note: Passengers should not remain in your
vehicle when the vehicle is being jacked.
Note: Jack at the specified locations to
avoid damage to the vehicle.
1. Park on a level surface, set the parking
brake and activate the hazard flashers.
2. Place the transmission in park (P) and
turn the engine off. 3. Block the diagonally opposite wheel.
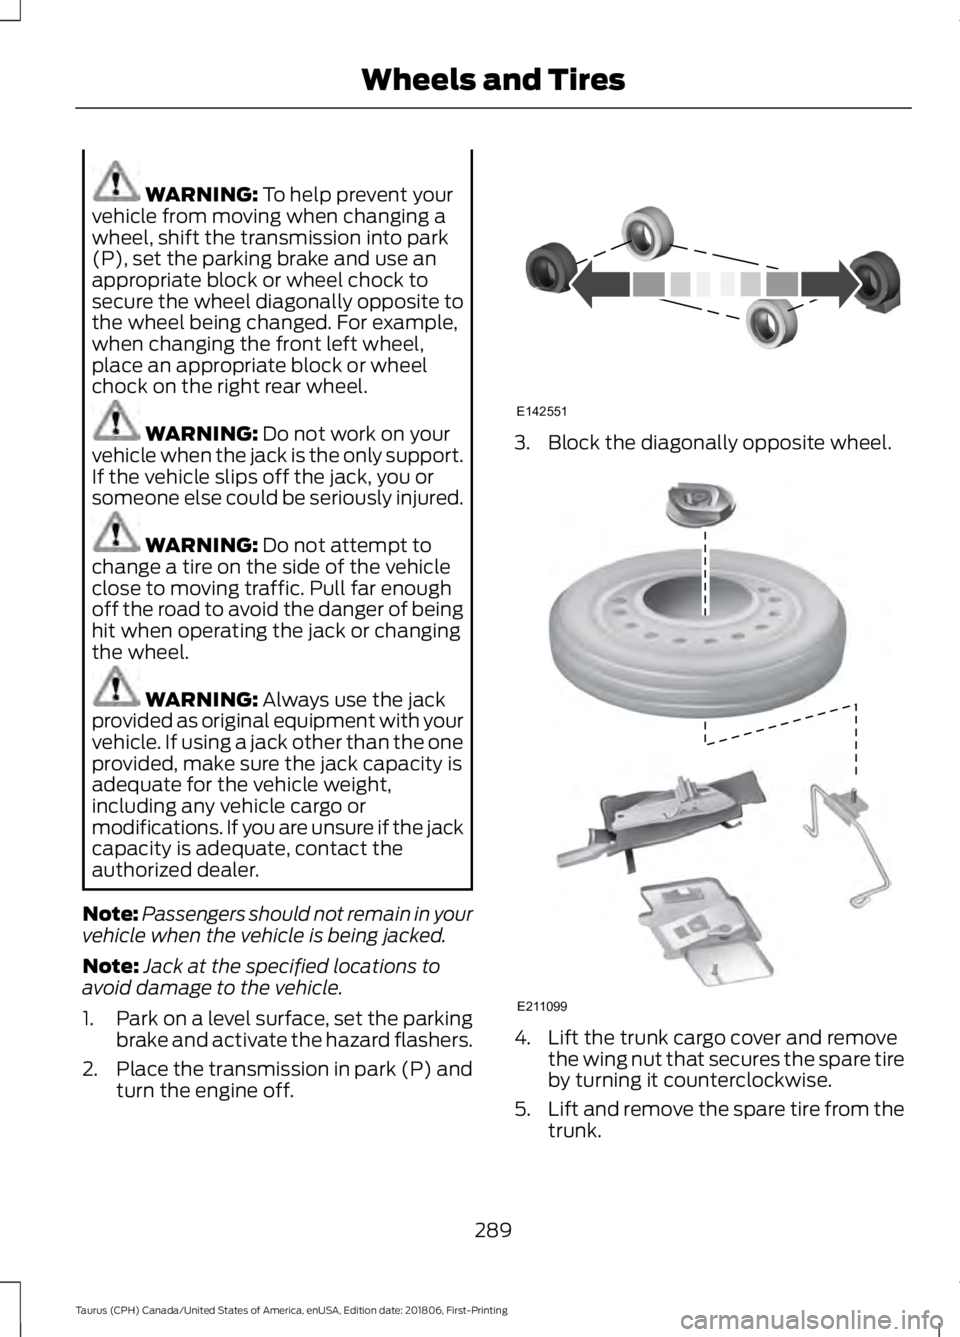
4. Lift the trunk cargo cover and remove
the wing nut that secures the spare tire
by turning it counterclockwise.
5. Lift and remove the spare tire from the
trunk.
289
Taurus (CPH) Canada/United States of America, enUSA, Edition date: 201806, First-Printing Wheels and TiresE142551 E211099
Page 294 of 515

2. Insert the straight end of the jack
retention bracket through the eyelet of
the angled bracket and swing the
retention bracket over the jack. With
the jack in place, place the end of the
retention bracket over the threaded
stud in the trunk floor and secure it with
the plastic wing nut.
3. Screw the extension bolt onto the threaded stud of the jack retention
bracket.
4. Place the flat tire in the spare tire well with the wheel facing up.
5. Safely secure the wheel by screwing the large wing nut onto the extension
bolt.
TECHNICAL SPECIFICATIONS
Wheel Lug Nut Torque Specifications WARNING: When you install a wheel, always remove any corrosion, dirt or foreign
materials present on the mounting surfaces of the wheel or the surface of the wheel
hub, brake drum or brake disc that contacts the wheel. Make sure to secure any fasteners
that attach the rotor to the hub so they do not interfere with the mounting surfaces of
the wheel. Installing wheels without correct metal-to-metal contact at the wheel
mounting surfaces can cause the wheel nuts to loosen and the wheel to come off while
your vehicle is in motion, resulting in loss of vehicle control, personal injury or death. Ib-ft (Nm)
*
Bolt size
100 (135)
1/2-20 x 1.5
* Torque specifications are for nut and bolt threads free of dirt and rust. Use only Ford
recommended replacement fasteners.
Retighten the lug nuts to the specified torque within 100 miles (160 kilometers) after any
wheel disturbance (such as tire rotation, changing a flat tire, wheel removal).
291
Taurus (CPH) Canada/United States of America, enUSA, Edition date: 201806, First-Printing Wheels and TiresE211101