2019 FORD POLICE INTERCEPTOR air condition
[x] Cancel search: air conditionPage 187 of 370
When Fail-Safe Mode Is Activated
WARNING: Fail-safe mode is for
use during emergencies only. Operate
your vehicle in fail-safe mode only as
long as necessary to bring your vehicle
to rest in a safe location and seek
immediate repairs. When in fail-safe
mode, your vehicle will have limited
power, will not be able to maintain
high-speed operation, and may
completely shut down without warning,
potentially losing engine power, power
steering assist, and power brake assist,
which may increase the possibility of a
crash resulting in serious injury. WARNING:
Do not remove the
coolant reservoir cap when the engine is
on or the cooling system is hot. Wait 10
minutes for the cooling system to cool
down. Cover the coolant reservoir cap
with a thick cloth to prevent the
possibility of scalding and slowly remove
the cap. Failure to follow this instruction
could result in personal injury.
Your vehicle has limited engine power
when in the fail-safe mode, drive your
vehicle with caution. Your vehicle does not
maintain high-speed operation and the
engine may operate poorly.
Remember that the engine is capable of
automatically shutting down to prevent
engine damage. In this situation:
1. Pull off the road as soon as safely possible and switch the engine off.
2. If you are a member of a roadside assistance program, we recommend
that you contact your roadside
assistance service provider.
3. If this is not possible, wait for a short period of time for the engine to cool. 4. Check the coolant level. If the coolant
level is at or below the minimum mark,
add prediluted coolant immediately.
5. When the engine temperature cools, you can re-start the engine. Have your
vehicle checked as soon as possible to
minimize engine damage.
Note: Driving your vehicle without repair
increases the chance of engine damage.
Engine Coolant Temperature
Management
(If Equipped) WARNING:
To reduce the risk of
crash and injury, be prepared that the
vehicle speed may reduce and the
vehicle may not be able to accelerate
with full power until the coolant
temperature reduces.
If you tow a trailer with your vehicle, the
engine may temporarily reach a higher
temperature during severe operating
conditions, for example ascending a long
or steep grade in high ambient
temperatures.
At this time, you may notice the coolant
temperature gauge moves toward the red
zone and a message may appear in the
information display.
You may notice a reduction in vehicle
speed caused by reduced engine power in
order to manage the engine coolant
temperature. Your vehicle may enter this
mode if certain high-temperature and
high-load conditions take place. The
amount of speed reduction depends on
vehicle loading, grade and ambient
temperature. If this occurs, there is no
need to stop your vehicle. You can
continue to drive.
184
Police Interceptor (CPH) Police, Canada/United States of America, enUSA, Edition date: 201806, First-Printing Maintenance
Page 188 of 370
The air conditioning may automatically
turn on and off during severe operating
conditions to protect the engine from
overheating. When the coolant
temperature decreases to the normal
operating temperature, the air conditioning
turns on.
If the coolant temperature gauge moves
fully into the red zone, or if the coolant
temperature warning or service engine
soon messages appear in your information
display, do the following:
1. Stop your vehicle as soon as it is safe
to do so. Fully apply the parking brake,
shift into park (P) or neutral (N).
2. Leave the engine running until the coolant temperature gauge needle
returns to the normal position. If the
temperature does not drop after
several minutes, follow the remaining
steps.
3. Switch the engine off and wait for it to
cool. Check the coolant level.
4. If the coolant level is at or below the minimum mark, add prediluted coolant
immediately.
5. If the coolant level is normal, restart the engine and continue.
AUTOMATIC TRANSMISSION
FLUID CHECK - 3.5L DURATEC/
3.5L ECOBOOST™/3.7L
6F50/6F55 Transmission (If Equipped) WARNING: The dipstick and
surrounding components are hot. Use
gloves when moving components and
checking the transmission fluid level.
Failure to follow this warning could result
in serious personal injury. Note:
Automatic transmission fluid
expands when warmed. To obtain an
accurate fluid check, drive your vehicle until
you warm it up, approximately
20 mi
(30 km). If you operate your vehicle for an
extended period at high speeds, in city traffic
during hot weather or pulling a trailer, switch
your vehicle off until it reaches normal
operating temperatures to allow the fluid
to cool before checking. Depending on
vehicle use, cooling times could take up to
30 minutes or longer.
Refer to your scheduled maintenance
information for scheduled intervals for fluid
checks and changes. Your transmission
does not consume fluid. However, you
should check the fluid level if the
transmission is not working properly. For
example, if the transmission slips or shifts
slowly or if you notice some sign of a fluid
leak.
1. Drive your vehicle
20 mi (30 km) or
until it reaches normal operating
temperature.
2. Park your vehicle on a level surface and
engage the parking brake.
3. With the parking brake engaged and your foot on the brake pedal, start the
engine and move the gearshift lever
through all of the gear ranges. Allow a
minimum of 10 seconds for each gear
to engage.
4. Put the gearshift lever in park (P) and leave the engine running.
Note: For vehicles with the EcoBoost
engine, move the air filter assembly aside
to access the transmission dipstick. See
Moving the Air Filter Assembly for more
information.
5. Remove the dipstick and wipe it clean with a dry, lint free clean rag. If
necessary, refer to the Under hood
overview in this chapter for the location
of the dipstick.
185
Police Interceptor (CPH) Police, Canada/United States of America, enUSA, Edition date: 201806, First-Printing Maintenance
Page 190 of 370
7. Pull the air filter assembly up to
disconnect it from the seated
grommets located under the air filter
assembly.
8. Rotate the air filter assembly 90 degrees counterclockwise. Make sure
the rubber hose is still connected to the
air filter assembly.
9. Tighten the clamp.
You can now access the transmission fluid
level indicator.
Checking the fluid level
Check the transmission fluid at the normal
operating temperatures between
88°C+5°C (190°F+10°F) on a level
surface. Drive your vehicle until you warm
it up to the normal operating temperature
after approximately 20 mi (30 km).
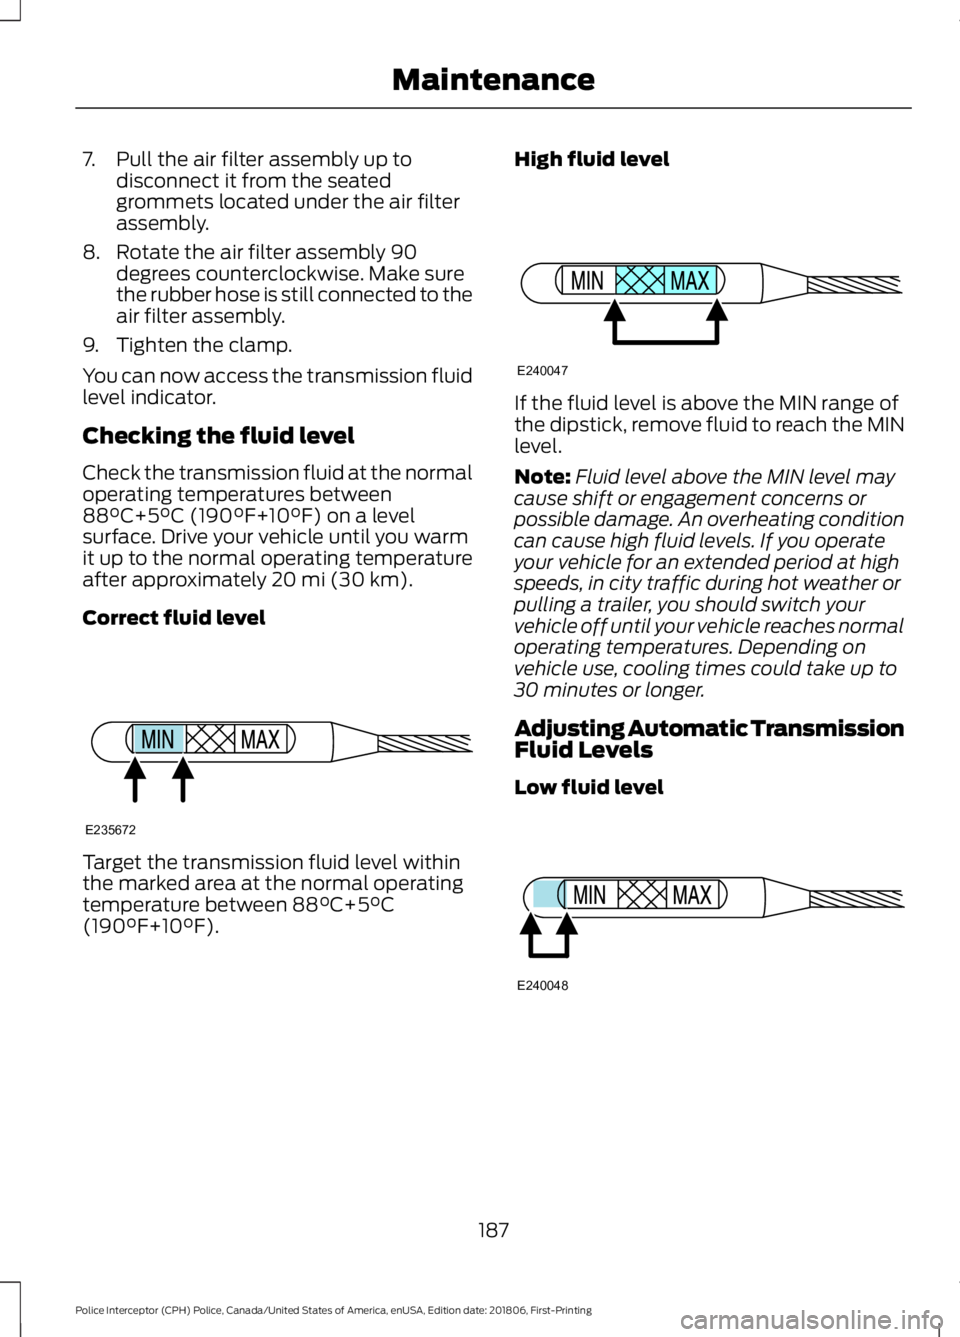
Correct fluid level Target the transmission fluid level within
the marked area at the normal operating
temperature between 88°C+5°C
(190°F+10°F). High fluid level If the fluid level is above the MIN range of
the dipstick, remove fluid to reach the MIN
level.
Note:
Fluid level above the MIN level may
cause shift or engagement concerns or
possible damage. An overheating condition
can cause high fluid levels. If you operate
your vehicle for an extended period at high
speeds, in city traffic during hot weather or
pulling a trailer, you should switch your
vehicle off until your vehicle reaches normal
operating temperatures. Depending on
vehicle use, cooling times could take up to
30 minutes or longer.
Adjusting Automatic Transmission
Fluid Levels
Low fluid level 187
Police Interceptor (CPH) Police, Canada/United States of America, enUSA, Edition date: 201806, First-Printing MaintenanceE235672 E240047 E240048
Page 191 of 370

Overfilled fluid level
Note:
An overfill condition of transmission
fluid may cause shift or engagement
concerns or possible damage.
Before adding any fluid, make sure the
correct type is used. The type of fluid used
is normally indicated on the dipstick and
in the Technical Specifications section in
this chapter.
Do not use supplemental transmission
fluid additives, treatments or cleaning
agents. The use of these materials may
affect transmission operation and result
in damage to internal transmission
components. Reinstall the air filter
assembly. After you check the fluid level
and adjust as necessary, do the following:
Reinstalling The Air Filter
Assembly
1. Switch the engine off.
2. Replace the air filter assembly back into the grommets by pushing down
on the air filter assembly.
3. Tighten the clamp holding the air filter
assembly to the rubber hose.
4. Install and tighten the two bolts that attach the air filter assembly to the
front of the vehicle.
5. Install the bolt cover.
6. Reinstall the harness retaining clip into
the front of the air filter assembly. BRAKE FLUID CHECK WARNING: Do not use any fluid
other than the recommended brake fluid
as this will reduce brake efficiency. Use
of incorrect fluid could result in the loss
of vehicle control, serious personal injury
or death. WARNING:
Only use brake fluid
from a sealed container. Contamination
with dirt, water, petroleum products or
other materials may result in brake
system damage or failure. Failure to
adhere to this warning could result in the
loss of vehicle control, serious personal
injury or death. WARNING:
Do not allow the fluid
to touch your skin or eyes. If this
happens, rinse the affected areas
immediately with plenty of water and
contact your physician. WARNING:
A fluid level between
the MAX and MIN lines is within the
normal operating range and there is no
need to add fluid. A fluid level not in the
normal operating range could
compromise the performance of the
system. Have your vehicle checked
immediately.
188
Police Interceptor (CPH) Police, Canada/United States of America, enUSA, Edition date: 201806, First-Printing MaintenanceE240049
Page 203 of 370
Clean the instrument panel and cluster
lens with a clean, damp and soft cloth,
then use a clean, dry and soft cloth to dry
these areas.
•
Avoid cleaners or polishes that increase
the gloss of the upper portion of the
instrument panel. The dull finish in this
area helps protect you from
undesirable windshield reflection.
• Do not use any household cleaning
products or glass cleaners as these
may damage the finish of the
instrument panel, interior trim and
cluster lens.
• Wash or wipe your hands clean if you
have been in contact with certain
products such as insect repellent and
suntan lotion to avoid possible damage
to the interior painted surfaces.
• Do not allow air fresheners and hand
sanitizers to spill onto interior surfaces.
If a spill occurs, wipe off immediately.
Your warranty may not cover these
damages.
If a staining liquid like coffee or juice has
been spilled on the instrument panel or on
interior trim surfaces:
1. Wipe up spilled liquid using a clean, soft cloth as quickly as possible.
2. Use Motorcraft Premium Leather and Vinyl Cleaner or a commercially
available leather cleaning product for
automotive interiors. Test any cleaner
or stain remover on an inconspicuous
area.
3. Alternatively, wipe the surface with a clean, soft cloth and a mild soap and
water solution. Dry the area with a
clean, soft cloth.
4. If necessary, apply more soap and water solution or cleaning product to
a clean, soft cloth and press it onto the
soiled area. Allow this to set at room
temperature for 30 minutes. 5. Remove the soaked cloth, then with a
clean, damp cloth, use a rubbing
motion for 60 seconds on the soiled
area.
6. Dry the area with a clean, soft cloth.
CLEANING LEATHER SEATS
Note: Follow the same procedure as
cleaning leather seats for cleaning leather
instrument panels and leather interior trim
surfaces.
For routine cleaning, wipe the surface with
a soft, damp cloth and a mild soap and
water solution. Dry the area with a clean,
soft cloth.
For cleaning and removing stains such as
dye transfer, use Motorcraft Premium
Leather and Vinyl Cleaner or a
commercially available leather cleaning
product for automotive interiors.
Note: Test any cleaner or stain remover on
an inconspicuous area.
You should:
• Remove dust and loose dirt with a
vacuum cleaner.
• Clean and treat spills and stains as
soon as possible.
Do not use the following products as these
may damage the leather:
• Oil and petroleum or silicone-based
leather conditioners.
• Household cleaners.
• Alcohol solutions.
• Solvents or cleaners intended
specifically for rubber, vinyl and
plastics.
200
Police Interceptor (CPH) Police, Canada/United States of America, enUSA, Edition date: 201806, First-Printing Vehicle Care
Page 204 of 370
REPAIRING MINOR PAINT
DAMAGE
Authorized dealers have touch-up paint to
match your vehicle
’s color. Your vehicle
color code is printed on a sticker on the
front, left-hand side door jamb. Take your
color code to your authorized dealer to
make sure you get the correct color.
Before repairing minor paint damage, use
a cleaner such as Motorcraft Bug and Tar
Remover to remove particles such as bird
droppings, tree sap, insect deposits, tar
spots, road salt and industrial fallout.
Always read the instructions before using
cleaning products.
CLEANING THE WHEELS
1. Regularly clean them with a wheel cleaner. We recommend that you use
Ford approved wheel cleaner if
available.
2. Remove dirt and brake dust with a sponge.
3. Remove tar and grease with a bug and
tar remover. We recommend that you
use Ford approved bug and tar remover
if available.
4. Thoroughly rinse the wheels with water
after cleaning.
If you intend on parking your vehicle for an
extended period after cleaning the wheels
with a wheel cleaner, drive your vehicle for
a few minutes before doing so. This
reduces the risk of corrosion of the brake
discs, brake pads and linings.
Do not clean the wheels when they are hot.
Note: Some car washes could damage
wheel rims and covers. Note:
Using non-recommended cleaners,
harsh cleaning products, chrome wheel
cleaners or abrasive materials could
damage wheel rims and covers.
VEHICLE STORAGE
If you plan on storing your vehicle for 30
days or more, read the following
maintenance recommendations to make
sure your vehicle stays in good operating
condition.
We engineer and test all motor vehicles
and their components for reliable, regular
driving. Under various conditions,
long-term storage may lead to degraded
engine performance or failure unless you
use specific precautions to preserve engine
components.
General
• Store all vehicles in a dry, ventilated
place.
• Protect from sunlight, if possible.
• If vehicles are stored outside, they
require regular maintenance to protect
against rust and damage.
Body
• Wash your vehicle thoroughly to
remove dirt, grease, oil, tar or mud from
exterior surfaces, rear-wheel housing
and the underside of front fenders.
• Periodically wash your vehicle if it is
stored in exposed locations.
• Touch-up exposed or primed metal to
prevent rust.
• Cover chrome and stainless steel parts
with a thick coat of auto wax to prevent
discoloration. Re-wax as necessary
when you wash your vehicle.
• Lubricate all hood, door and luggage
compartment hinges and latches with
a light grade oil.
201
Police Interceptor (CPH) Police, Canada/United States of America, enUSA, Edition date: 201806, First-Printing Vehicle Care
Page 238 of 370
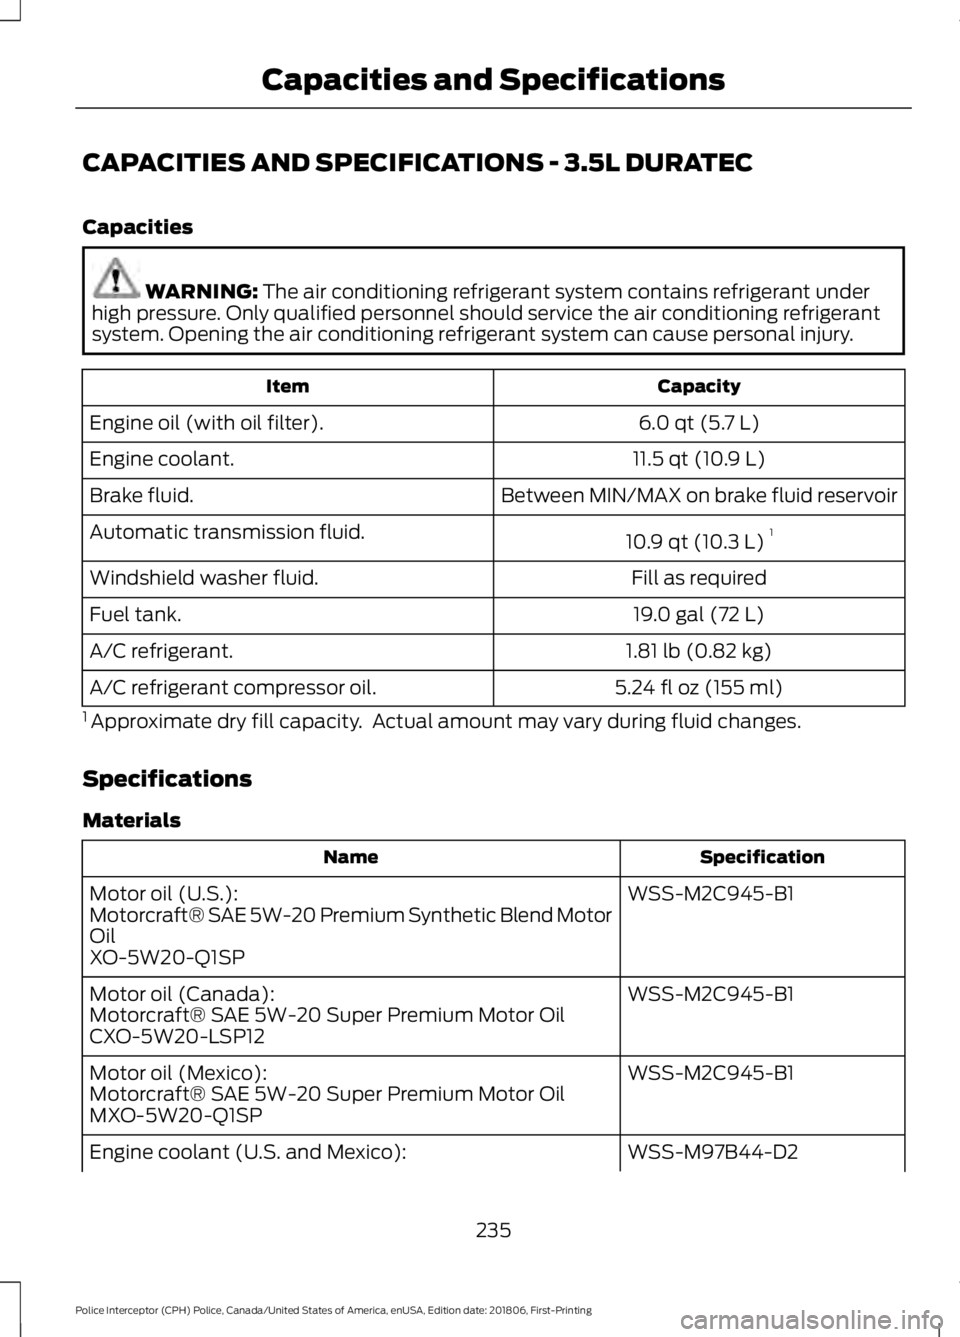
CAPACITIES AND SPECIFICATIONS - 3.5L DURATEC
Capacities
WARNING: The air conditioning refrigerant system contains refrigerant under
high pressure. Only qualified personnel should service the air conditioning refrigerant
system. Opening the air conditioning refrigerant system can cause personal injury. Capacity
Item
6.0 qt (5.7 L)
Engine oil (with oil filter).
11.5 qt (10.9 L)
Engine coolant.
Between MIN/MAX on brake fluid reservoir
Brake fluid.
10.9 qt (10.3 L)1
Automatic transmission fluid.
Fill as required
Windshield washer fluid.
19.0 gal (72 L)
Fuel tank.
1.81 lb (0.82 kg)
A/C refrigerant.
5.24 fl oz (155 ml)
A/C refrigerant compressor oil.
1 Approximate dry fill capacity. Actual amount may vary during fluid changes.
Specifications
Materials Specification
Name
WSS-M2C945-B1
Motor oil (U.S.):
Motorcraft® SAE 5W-20 Premium Synthetic Blend Motor
Oil
XO-5W20-Q1SP
WSS-M2C945-B1
Motor oil (Canada):
Motorcraft® SAE 5W-20 Super Premium Motor Oil
CXO-5W20-LSP12
WSS-M2C945-B1
Motor oil (Mexico):
Motorcraft® SAE 5W-20 Super Premium Motor Oil
MXO-5W20-Q1SP
WSS-M97B44-D2
Engine coolant (U.S. and Mexico):
235
Police Interceptor (CPH) Police, Canada/United States of America, enUSA, Edition date: 201806, First-Printing Capacities and Specifications
Page 242 of 370
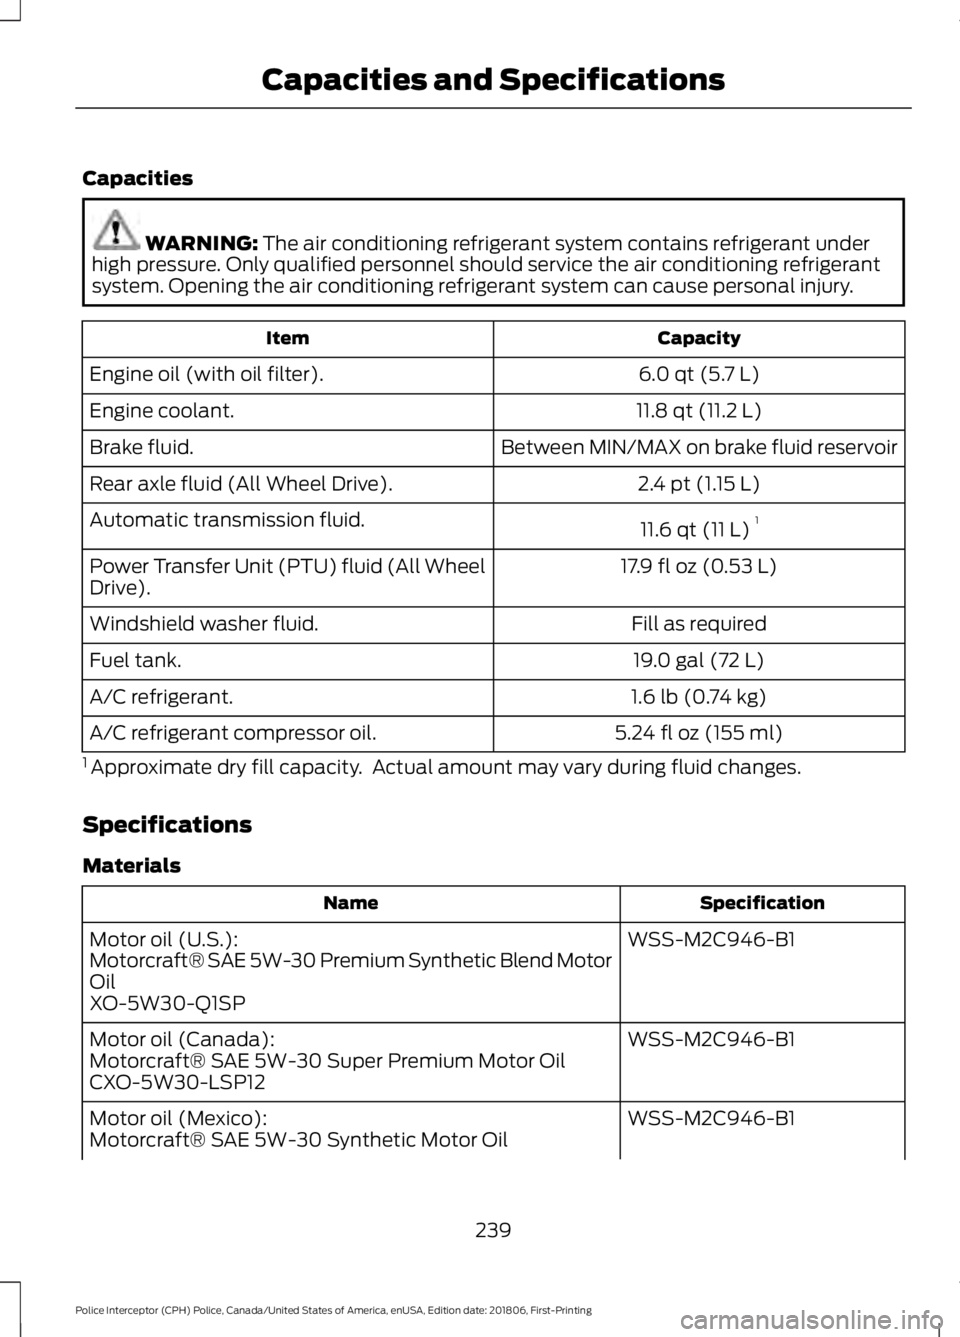
Capacities
WARNING: The air conditioning refrigerant system contains refrigerant under
high pressure. Only qualified personnel should service the air conditioning refrigerant
system. Opening the air conditioning refrigerant system can cause personal injury. Capacity
Item
6.0 qt (5.7 L)
Engine oil (with oil filter).
11.8 qt (11.2 L)
Engine coolant.
Between MIN/MAX on brake fluid reservoir
Brake fluid.
2.4 pt (1.15 L)
Rear axle fluid (All Wheel Drive).
11.6 qt (11 L)1
Automatic transmission fluid.
17.9 fl oz (0.53 L)
Power Transfer Unit (PTU) fluid (All Wheel
Drive).
Fill as required
Windshield washer fluid.
19.0 gal (72 L)
Fuel tank.
1.6 lb (0.74 kg)
A/C refrigerant.
5.24 fl oz (155 ml)
A/C refrigerant compressor oil.
1 Approximate dry fill capacity. Actual amount may vary during fluid changes.
Specifications
Materials Specification
Name
WSS-M2C946-B1
Motor oil (U.S.):
Motorcraft® SAE 5W-30 Premium Synthetic Blend Motor
Oil
XO-5W30-Q1SP
WSS-M2C946-B1
Motor oil (Canada):
Motorcraft® SAE 5W-30 Super Premium Motor Oil
CXO-5W30-LSP12
WSS-M2C946-B1
Motor oil (Mexico):
Motorcraft® SAE 5W-30 Synthetic Motor Oil
239
Police Interceptor (CPH) Police, Canada/United States of America, enUSA, Edition date: 201806, First-Printing Capacities and Specifications