2019 FORD POLICE INTERCEPTOR ignition
[x] Cancel search: ignitionPage 57 of 370
Press and hold both the lock and unlock
buttons on the remote control for three
seconds to change between driver door or
all doors unlock mode. The direction
indicators will flash twice to indicate a
change to the unlocking mode. Driver door
mode only unlocks the driver door when
you press the unlock button once. All door
mode unlocks all doors when you press
the unlock button once. The unlocking
mode applies to the remote control.
Locking the Doors
Press the button to lock all
doors. The direction indicators
will flash. Press the button again
within three seconds to confirm that all
the doors are closed.
The doors will lock again, the horn will
sound and the direction indicators will
flash if all the doors and the luggage
compartment are closed.
Locking and Unlocking the Doors
with the Key Blade
Locking the Doors
Turn the top of the key toward the front of
your vehicle.
Unlocking the Doors
Turn the top of the key toward the rear of
your vehicle.
Opening a Rear Door From the
Inside
Pull the interior door handle to open a rear
door.
Note: If the hidden rear door locks are on
and you pull the interior handle, the rear
door will not open. You can only open the
rear doors using the external door handle. Illuminated Entry (If Equipped)
The interior lamps and some exterior
lamps illuminate when you unlock the
doors with the remote control.
The lamps turn off if:
• The ignition is on.
• You press the remote control lock
button.
• 25 seconds have elapsed.
The lamps do not turn off if:
• You switch them on with the lighting
control.
• Any door is open.
Illuminated Exit
(If Equipped)
The interior lamps and some exterior
lamps illuminate when all doors are closed
and you switch the ignition off.
The lamps will turn off if all the doors
remain closed and:
• 25 seconds have elapsed.
• You lock your vehicle from the outside.
Battery Saver
If you leave the courtesy lamps, interior
lamps or headlamps on, the battery saver
shuts them off 10 minutes after you switch
the ignition off.
Opening the Luggage
Compartment
With the Remote Control Press the button twice within
three seconds.
54
Police Interceptor (CPH) Police, Canada/United States of America, enUSA, Edition date: 201806, First-Printing Doors and LocksE138623 E211694
Page 58 of 370
From the Instrument Panel or Overhead
Console
Press the button on the
instrument panel or pull the
switch down on the overhead
console.
Note: The luggage compartment release
switch in standard configuration operates
when the ignition is in the run or start
position. An optional configuration is
available so that the switch operates when
the ignition is in any position. Contact an
authorized dealer to change these settings.
Note: The luggage compartment release
switch on both the instrument panel and
overhead console function the same.
INTERIOR LUGGAGE
COMPARTMENT RELEASE WARNING: Keep vehicle doors
and luggage compartment locked and
keep keys and remote transmitters out
of a child ’s reach. Unsupervised children
could lock themselves in the trunk and
risk injury. Children should be taught not
to play in vehicles. WARNING:
Do not leave children
or animals unattended in the vehicle. On
hot days, the temperature in the trunk or
vehicle interior can rise very quickly.
Exposure of people or animals to these
high temperatures for even a short time
can cause death or serious heat-related
injuries, including brain damage. Small
children are particularly at risk.
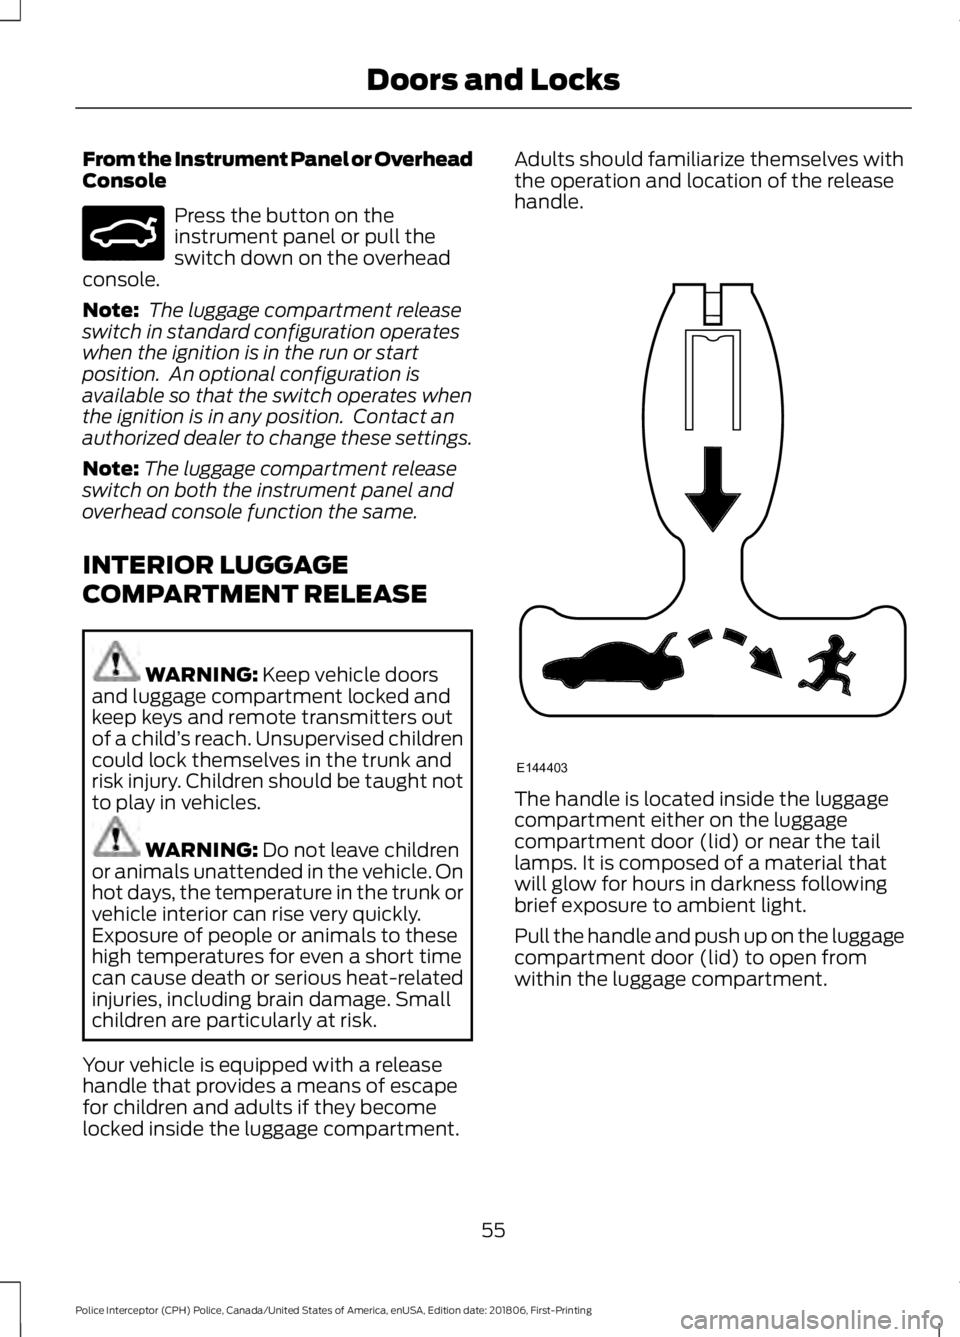
Your vehicle is equipped with a release
handle that provides a means of escape
for children and adults if they become
locked inside the luggage compartment. Adults should familiarize themselves with
the operation and location of the release
handle.
The handle is located inside the luggage
compartment either on the luggage
compartment door (lid) or near the tail
lamps. It is composed of a material that
will glow for hours in darkness following
brief exposure to ambient light.
Pull the handle and push up on the luggage
compartment door (lid) to open from
within the luggage compartment.
55
Police Interceptor (CPH) Police, Canada/United States of America, enUSA, Edition date: 201806, First-Printing Doors and LocksE159323 E144403
Page 59 of 370
ANTI-THEFT ALARM
Alarm System
The perimeter alarm is a deterrent against
unauthorized access to your vehicle
through the doors, luggage compartment
and the hood.
Triggering the Alarm
Once armed, the alarm is triggered in any
of the following ways:
•
If someone opens a door, cargo area
or the hood without a valid key or
remote control.
If the alarm is triggered, the horn will sound
for 30 seconds and the hazard warning
flasher will flash for five minutes.
Any further attempts to perform one of the
above will trigger the alarm again.
Arming the Alarm
To arm the alarm, lock your vehicle. See
Doors and Locks (page 53).
Disarming the Alarm
Disarm and silence the alarm by unlocking
the doors with the key and switching the
ignition on within 12 seconds, or by
unlocking the doors or the cargo area with
the remote control.
56
Police Interceptor (CPH) Police, Canada/United States of America, enUSA, Edition date: 201806, First-Printing Security
Page 65 of 370

Headlamp Flasher
Slightly pull the lever toward you and
release it to flash the headlamps.
Spot Lamp Control (If Equipped)
Use the switch on the chrome handle to
turn the spot lamp on and off.
Rotate and twist the handle to adjust the
position of the spot lamp. AUTOLAMPS
(If Equipped) WARNING:
The system does not
relieve you of your responsibility to drive
with due care and attention. You may
need to override the system if it does not
turn the headlamps on in low visibility
conditions, for example daytime fog. When the lighting control is in the
autolamps position, the headlamps turn
on in low light situations, or when the
wipers turn on.
The headlamps remain on for a period of
time after you switch the ignition off. Use
the information display controls to adjust
the period of time that the headlamps
remain on.
Note:
If you switch the autolamps on, you
cannot switch the high beams on until the
system turns the low beams on.
Windshield Wiper Activated
Headlamps
When you switch the autolamps on, the
headlamps turn on within 10 seconds of
switching the wipers on. They turn off
approximately 60 seconds after you switch
the windshield wipers off.
62
Police Interceptor (CPH) Police, Canada/United States of America, enUSA, Edition date: 201806, First-Printing LightingE163268 E203952 E224686
A
Page 66 of 370

The headlamps do not turn on with the
wipers:
•
During a single wipe.
• When using the windshield washers.
• If the wipers are in intermittent mode.
Note: If you switch autolamps and
autowipers on, the headlamps turn on when
the windshield wipers continuously operate.
INSTRUMENT LIGHTING
DIMMER
Note: If you disconnect and connect the
battery, or fully discharge and charge the
battery, the illuminated components turn
to the maximum setting. Repeatedly press or press and hold it to
adjust the level.
If the vehicle is not equipped with the Dark
Car feature, or is equipped with the Silent
Mode feature and Silent Mode is not
enabled, press and hold the top of the
control to the full on position to turn on the
"dome on" feature. This turns on the
interior courtesy lights. Press and hold the
bottom of the control to switch off the
interior courtesy lights.
On vehicles with the Dark Car or Silent
Mode feature, courtesy illumination turns
off when you switch Silent Mode on. Press
and hold the bottom of the control to
switch the instrument cluster lights off and
the information display illuminates. HEADLAMP EXIT DELAY
Set the delay time to keep the headlamps
on for up to three minutes after switching
off the ignition.
Follow the steps below to change the
delay time:
Note:
Complete steps 1 through 6 within 10
seconds.
1. Switch the ignition off.
2. Select the autolamp position on the lighting control.
3. Switch the lighting control to the off position.
4. Switch the ignition on.
5. Switch the ignition off.
6. Select the autolamp position on the lighting control. The headlamps and
parking lamps turn on.
7. Switch the lighting control to the off position when reaching the required
delay time. The headlamps and parking
lamps turn off.
Set the headlamp exit delay to one of the
following settings:
• Off.
• 10 seconds.
• 20 seconds.
• 120 seconds.
Note: Adjust the time delay using the
display controls in the information display.
See Information Displays (page 74).
63
Police Interceptor (CPH) Police, Canada/United States of America, enUSA, Edition date: 201806, First-Printing LightingE173259
Page 67 of 370
DAYTIME RUNNING LAMPS (If
Equipped) WARNING:
The daytime running
lamps system does not activate the rear
lamps and may not provide adequate
lighting during low visibility driving
conditions. Make sure you switch the
headlamps on, as appropriate, during all
low visibility conditions. Failure to do so
may result in a crash.
The daytime running lamps turn on when:
1. Switching the ignition on.
2. The lighting control is in the off position, parking lamps or the
autolamps position, and the sensor
detects daylight.
3. Your vehicle is in drive (D).
Note: Switch the daytime running lamps
on or off by selecting Police Silent Mode in
the information display. See
General
Information (page 74).
Note: In markets where daytime running
lamps are mandated by law, Silent Mode
does not disable the daytime running lamps.
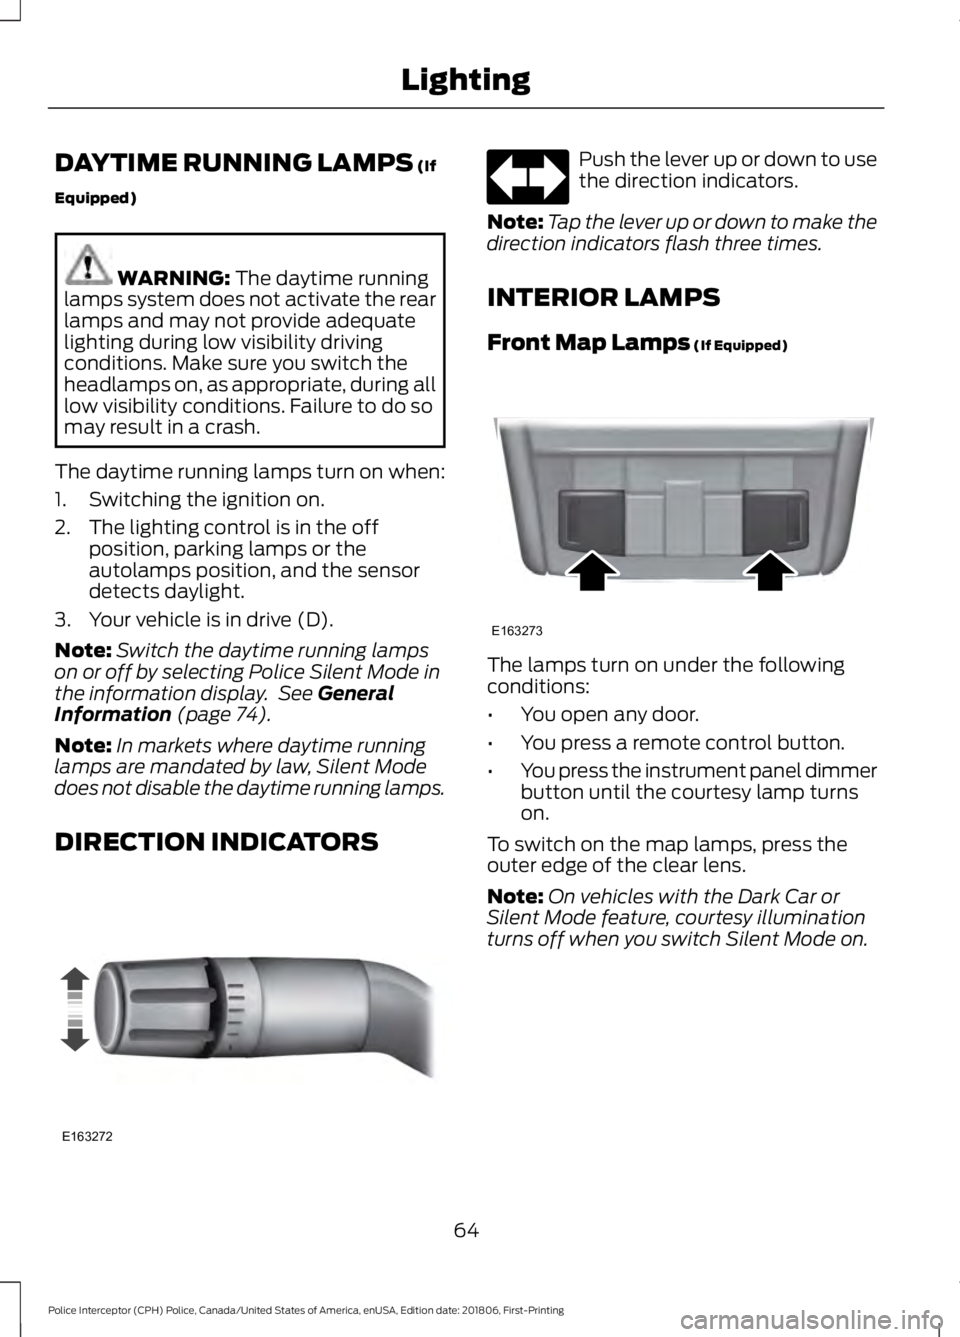
DIRECTION INDICATORS Push the lever up or down to use
the direction indicators.
Note: Tap the lever up or down to make the
direction indicators flash three times.
INTERIOR LAMPS
Front Map Lamps
(If Equipped) The lamps turn on under the following
conditions:
•
You open any door.
• You press a remote control button.
• You press the instrument panel dimmer
button until the courtesy lamp turns
on.
To switch on the map lamps, press the
outer edge of the clear lens.
Note: On vehicles with the Dark Car or
Silent Mode feature, courtesy illumination
turns off when you switch Silent Mode on.
64
Police Interceptor (CPH) Police, Canada/United States of America, enUSA, Edition date: 201806, First-Printing LightingE163272 E163273
Page 70 of 370
Accessory Delay
You can use the window switches for
several minutes after you switch the
ignition off or until you open either front
door.
EXTERIOR MIRRORS
Power Exterior Mirrors
WARNING: Do not adjust the
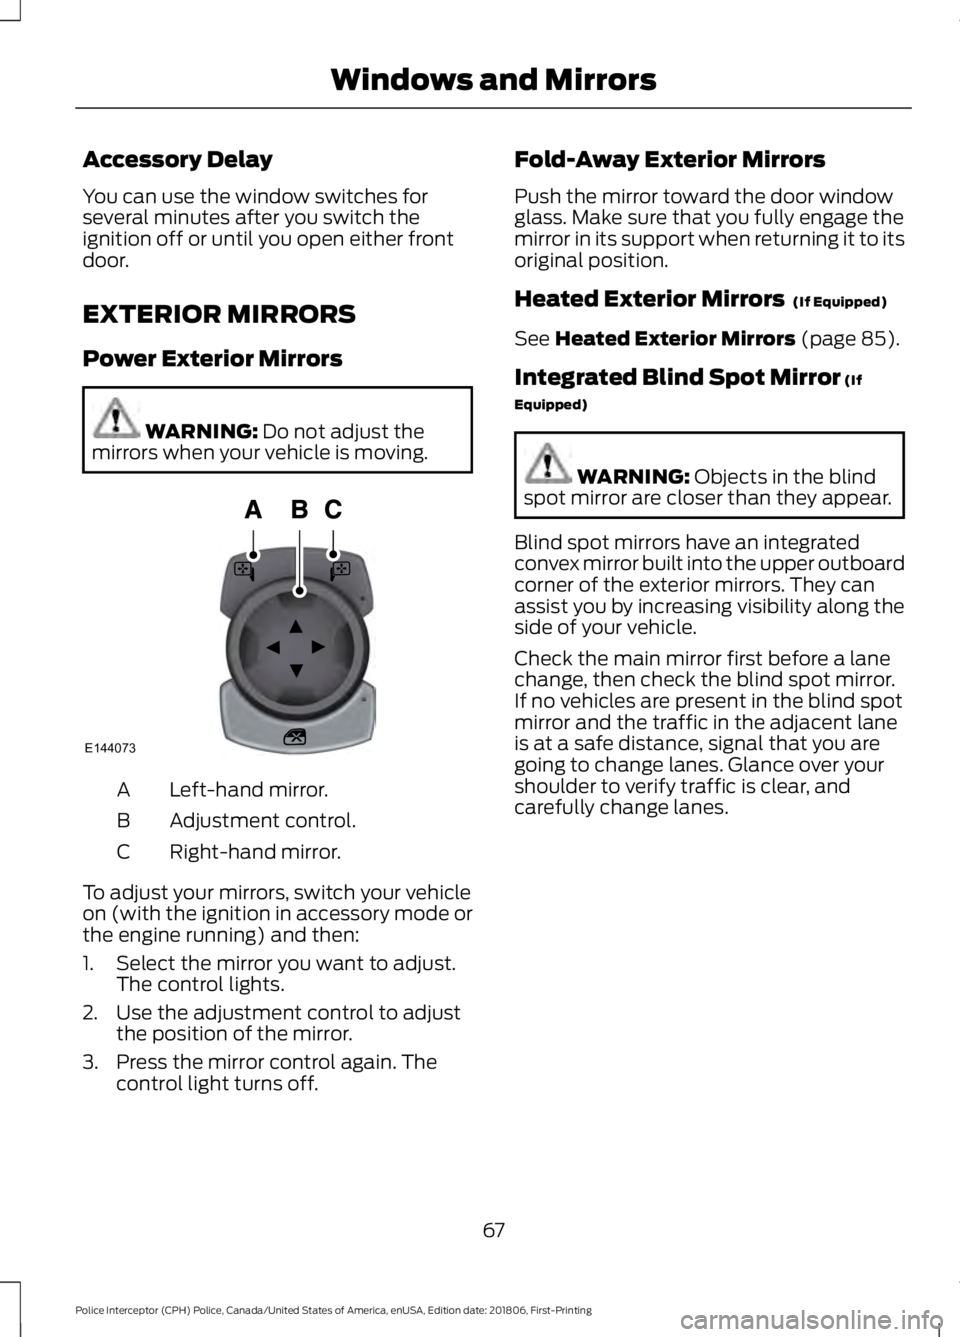
mirrors when your vehicle is moving. Left-hand mirror.
A
Adjustment control.
B
Right-hand mirror.
C
To adjust your mirrors, switch your vehicle
on (with the ignition in accessory mode or
the engine running) and then:
1. Select the mirror you want to adjust. The control lights.
2. Use the adjustment control to adjust the position of the mirror.
3. Press the mirror control again. The control light turns off. Fold-Away Exterior Mirrors
Push the mirror toward the door window
glass. Make sure that you fully engage the
mirror in its support when returning it to its
original position.
Heated Exterior Mirrors
(If Equipped)
See
Heated Exterior Mirrors (page 85).
Integrated Blind Spot Mirror
(If
Equipped) WARNING:
Objects in the blind
spot mirror are closer than they appear.
Blind spot mirrors have an integrated
convex mirror built into the upper outboard
corner of the exterior mirrors. They can
assist you by increasing visibility along the
side of your vehicle.
Check the main mirror first before a lane
change, then check the blind spot mirror.
If no vehicles are present in the blind spot
mirror and the traffic in the adjacent lane
is at a safe distance, signal that you are
going to change lanes. Glance over your
shoulder to verify traffic is clear, and
carefully change lanes.
67
Police Interceptor (CPH) Police, Canada/United States of America, enUSA, Edition date: 201806, First-Printing Windows and MirrorsE144073
Page 74 of 370
Low Fuel Reminder
A low fuel level reminder displays and
sounds when the distance to empty
reaches 50 mi (80 km), 25 mi (40 km),
10 mi (20 km) and 0 mi (0 km).
Note: The low fuel reminder can appear at
different fuel gauge positions depending on
fuel economy conditions. This variation is
normal.
WARNING LAMPS AND
INDICATORS
The following warning lamps and
indicators alert you to a vehicle condition
that may become serious. Some lamps
illuminate when you start your vehicle to
make sure they work. If any lamps remain
on after starting your vehicle, refer to the
respective system warning lamp for further
information.
Note: Some warning indicators appear in
the information display and function the
same as a warning lamp, but do not display
when you start your vehicle.
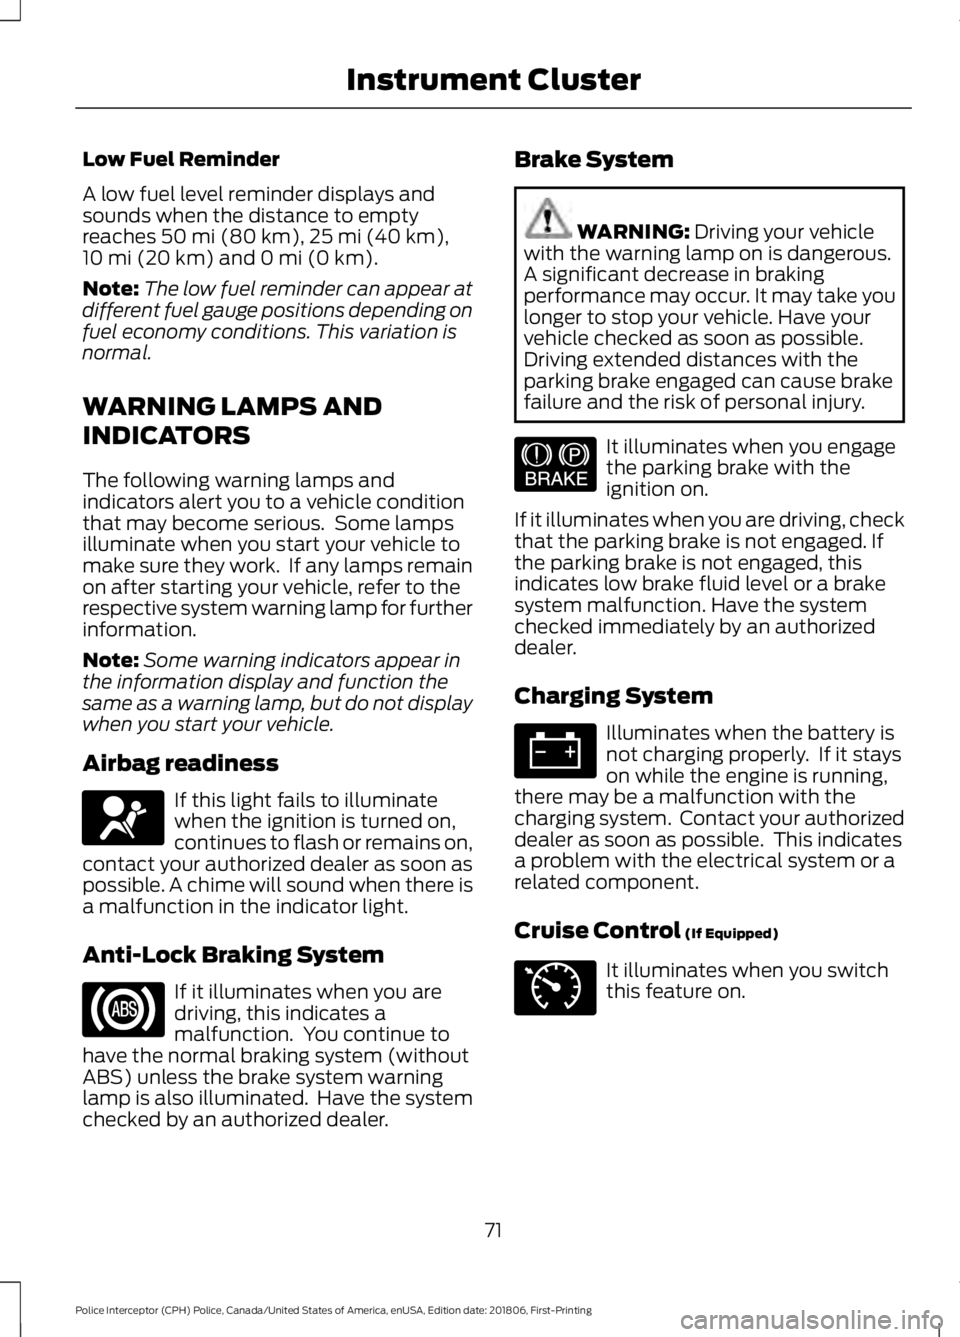
Airbag readiness If this light fails to illuminate
when the ignition is turned on,
continues to flash or remains on,
contact your authorized dealer as soon as
possible. A chime will sound when there is
a malfunction in the indicator light.
Anti-Lock Braking System If it illuminates when you are
driving, this indicates a
malfunction. You continue to
have the normal braking system (without
ABS) unless the brake system warning
lamp is also illuminated. Have the system
checked by an authorized dealer. Brake System WARNING:
Driving your vehicle
with the warning lamp on is dangerous.
A significant decrease in braking
performance may occur. It may take you
longer to stop your vehicle. Have your
vehicle checked as soon as possible.
Driving extended distances with the
parking brake engaged can cause brake
failure and the risk of personal injury. It illuminates when you engage
the parking brake with the
ignition on.
If it illuminates when you are driving, check
that the parking brake is not engaged. If
the parking brake is not engaged, this
indicates low brake fluid level or a brake
system malfunction. Have the system
checked immediately by an authorized
dealer.
Charging System Illuminates when the battery is
not charging properly. If it stays
on while the engine is running,
there may be a malfunction with the
charging system. Contact your authorized
dealer as soon as possible. This indicates
a problem with the electrical system or a
related component.
Cruise Control
(If Equipped) It illuminates when you switch
this feature on.
71
Police Interceptor (CPH) Police, Canada/United States of America, enUSA, Edition date: 201806, First-Printing Instrument ClusterE67017 E144522 E71340