2019 FORD F-53 brake fluid
[x] Cancel search: brake fluidPage 45 of 176

•You take corners too fast.
•The road surface is poor.
Note: If the system activates, the brakepedal may pulse and may travel further.Maintain pressure on the brake pedal. Youmay also hear a noise from the system. Thisis normal.
PARKING BRAKE
WARNING: Always fully apply theparking brake. Make sure you shift intopark (P) for vehicles with an automatictransmission. Switch the ignition off andremove the key whenever you leave yourvehicle.
Apply the parking brake whenever you parkyour vehicle.
•For vehicles with a foot operatedparking brake, press the pedal down.
•For vehicles with a hand operatedparking brake, pull the parking brakelever up.
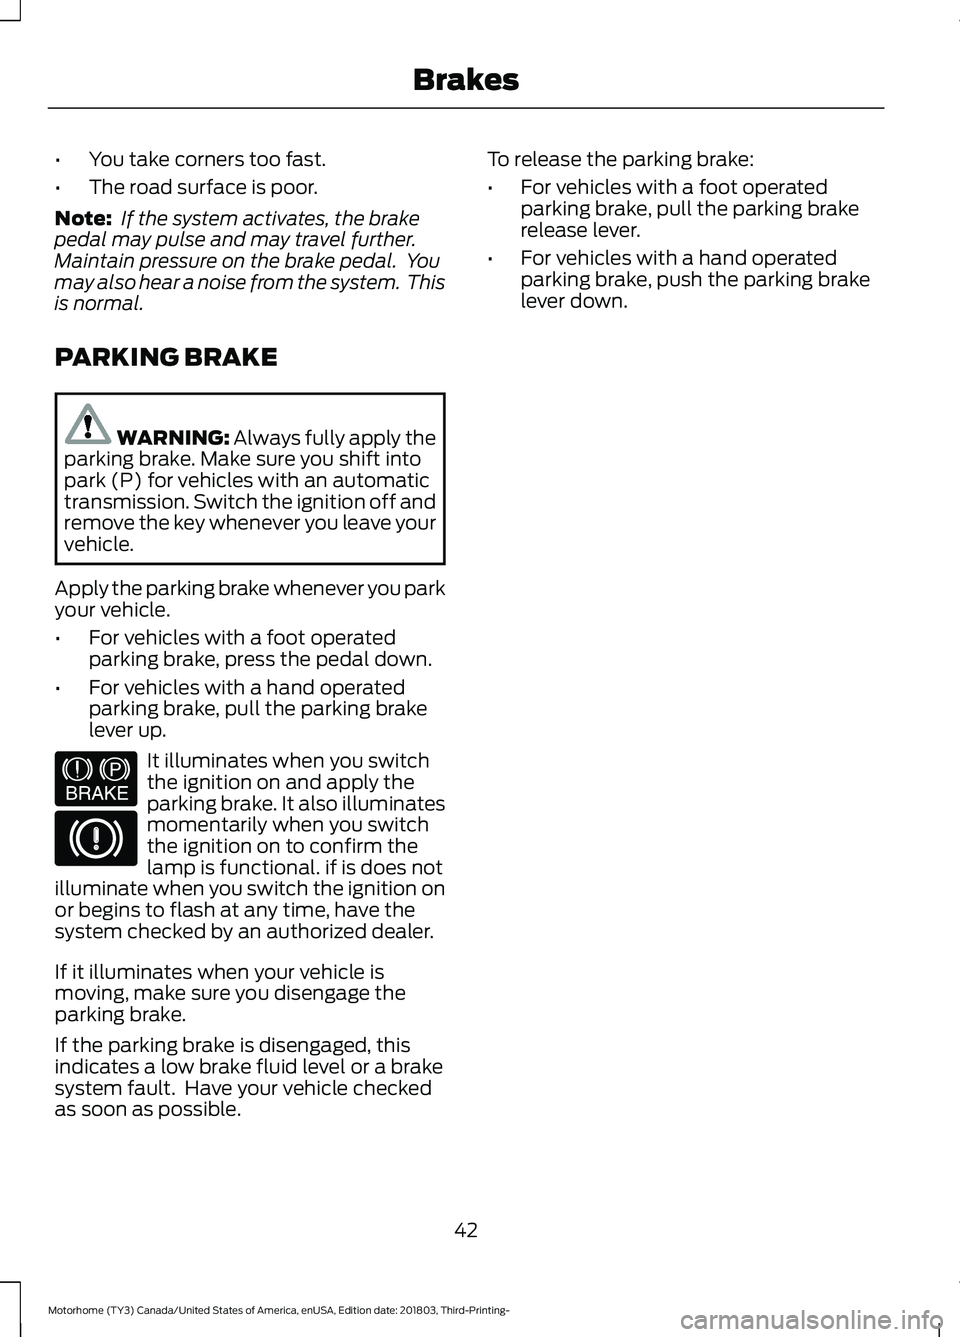
It illuminates when you switchthe ignition on and apply theparking brake. It also illuminatesmomentarily when you switchthe ignition on to confirm thelamp is functional. if is does notilluminate when you switch the ignition onor begins to flash at any time, have thesystem checked by an authorized dealer.
If it illuminates when your vehicle ismoving, make sure you disengage theparking brake.
If the parking brake is disengaged, thisindicates a low brake fluid level or a brakesystem fault. Have your vehicle checkedas soon as possible.
To release the parking brake:
•For vehicles with a foot operatedparking brake, pull the parking brakerelease lever.
•For vehicles with a hand operatedparking brake, push the parking brakelever down.
42
Motorhome (TY3) Canada/United States of America, enUSA, Edition date: 201803, Third-Printing-BrakesE144522
Page 95 of 176

GENERAL INFORMATION
Have your vehicle serviced regularly to helpmaintain its roadworthiness and resalevalue. There is a large network ofauthorized dealers that are there to helpyou with their professional servicingexpertise. We believe that their speciallytrained technicians are best qualified toservice your vehicle properly and expertly.They are supported by a wide range ofhighly specialized tools developedspecifically for servicing your vehicle.
If your vehicle requires professional service,an authorized dealer can provide thenecessary parts and service. Check yourwarranty information to find out whichparts and services are covered.
Use only recommended fuels, lubricants,fluids and service parts conforming tospecifications. Motorcraft® parts aredesigned and built to provide the bestperformance in your vehicle.
Precautions
•Do not work on a hot engine.
•Make sure that nothing gets caught inmoving parts.
•Do not work on a vehicle with theengine running in an enclosed space,unless you are sure you have enoughventilation.
•Keep all open flames and other burningmaterial (such as cigarettes) awayfrom the battery and all fuel relatedparts.
Working with the Engine Off
1.Set the parking brake and shift thetransmission to park (P).
2.Switch off the engine.
3.Block the wheels.
Working with the Engine On
WARNING: To reduce the risk ofvehicle damage and personal burninjuries, do not start your engine with theair cleaner removed and do not removeit while the engine is running.
1.Set the parking brake and shift thetransmission to park (P).
2.Block the wheels.
92
Motorhome (TY3) Canada/United States of America, enUSA, Edition date: 201803, Third-Printing-Maintenance
Page 96 of 176

UNDER HOOD OVERVIEW - COMMERCIAL CHASSIS
Engine coolant reservoir. See Engine Coolant Check (page 96).A
Engine oil filler cap. See Engine Oil Check (page 95).B
Automatic transmission fluid dipstick. See Automatic Transmission FluidCheck (page 101).C
Engine compartment fuse box. See Fuses (page 71).D
Engine oil dipstick. See Engine Oil Dipstick (page 95).E
Air filter assembly. See Changing the Engine Air Filter (page 107).F
Power steering fluid reservoir. See Power Steering Fluid Check (page 104).G
Brake fluid reservoir. See Brake Fluid Check (page 102).H
93
Motorhome (TY3) Canada/United States of America, enUSA, Edition date: 201803, Third-Printing-MaintenanceE225840HGFEABCD
Page 97 of 176

UNDER HOOD OVERVIEW - MOTORHOME CHASSIS
Engine coolant reservoir. See Engine Coolant Check (page 96).A
Engine oil filler cap. See Engine Oil Check (page 95).B
Automatic transmission fluid dipstick. See Automatic Transmission FluidCheck (page 101).C
Engine compartment fuse box. See Fuses (page 71).D
Air filter assembly. See Changing the Engine Air Filter (page 107).E
Engine oil dipstick. See Engine Oil Dipstick (page 95).F
Power steering fluid reservoir. See Power Steering Fluid Check (page 104).G
Brake fluid reservoir. See Brake Fluid Check (page 102).H
94
Motorhome (TY3) Canada/United States of America, enUSA, Edition date: 201803, Third-Printing-MaintenanceE225839HGFEABCD
Page 104 of 176

AUTOMATIC TRANSMISSION
FLUID CHECK
WARNING: The dipstick andsurrounding components are hot. Usegloves when moving components andchecking the transmission fluid level.Failure to follow this warning could resultin serious personal injury.
Note:Automatic transmission fluidexpands when warmed. To obtain anaccurate fluid check, drive the vehicle untilit is at normal operating temperature(approximately 20 mi (30 km)). If yourvehicle has been operated for an extendedperiod at high speeds, in city traffic duringhot weather or pulling a trailer, the vehicleshould be turned off for about 30 minutesto allow fluid to cool to normal operatingtemperature 196°F - 215°F (91°C - 102°C)before checking.
Refer to your scheduled maintenanceinformation for scheduled intervals for fluidchecks and changes.
Your transmission does not consume fluid.However, the fluid level should be checkedif the transmission is not working properly,(i.e., if the transmission slips or shiftsslowly) or if you notice some sign of fluidleakage. To check the fluid level:
1.Drive the vehicle 20 mi (30 km) or untilit reaches normal operatingtemperature
2.Park the vehicle on a level surface andengage the parking brake
3.With the engine running, parking brakeengaged and your foot on the brakepedal, move the gearshift lever throughall of the gear ranges. Allow sufficienttime for each gear to engage
4.Latch the gearshift lever in P (Park)and leave the engine running.
5.Remove the dipstick, wiping it cleanwith a clean, dry lint free rag. Ifnecessary, refer to Under HoodOverview in this chapter for thelocation of the dipstick.
6.Install the dipstick making sure it is fullyseated in the filler tube.
7.Remove the dipstick and inspect thefluid level. The fluid should be in thedesignated area for normal operatingtemperature or ambient temperature.
Do not use supplemental transmissionfluid additives, treatments or cleaningagents. The use of these materials mayaffect transmission operation and resultin damage to internal transmissioncomponents.
Low fluid level
Do not drive the vehicle if there is noindication of fluid on the dipstick and theambient temperature is above 50°F(10°C).
Correct fluid level
101
Motorhome (TY3) Canada/United States of America, enUSA, Edition date: 201803, Third-Printing-MaintenanceE161551 E161552
Page 105 of 176

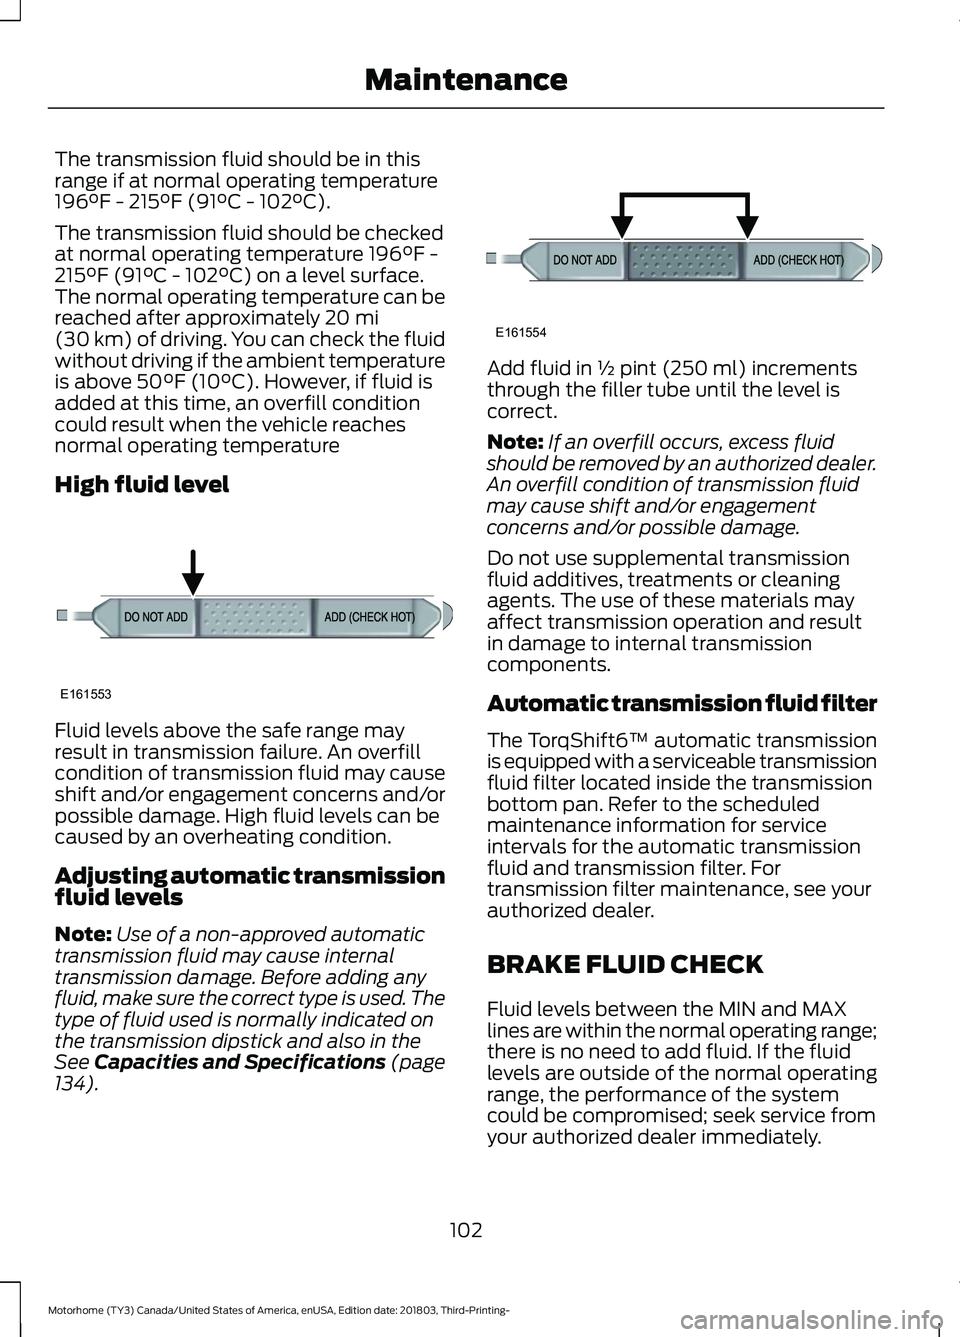
The transmission fluid should be in thisrange if at normal operating temperature196°F - 215°F (91°C - 102°C).
The transmission fluid should be checkedat normal operating temperature 196°F -215°F (91°C - 102°C) on a level surface.The normal operating temperature can bereached after approximately 20 mi(30 km) of driving. You can check the fluidwithout driving if the ambient temperatureis above 50°F (10°C). However, if fluid isadded at this time, an overfill conditioncould result when the vehicle reachesnormal operating temperature
High fluid level
Fluid levels above the safe range mayresult in transmission failure. An overfillcondition of transmission fluid may causeshift and/or engagement concerns and/orpossible damage. High fluid levels can becaused by an overheating condition.
Adjusting automatic transmissionfluid levels
Note:Use of a non-approved automatictransmission fluid may cause internaltransmission damage. Before adding anyfluid, make sure the correct type is used. Thetype of fluid used is normally indicated onthe transmission dipstick and also in theSee Capacities and Specifications (page134).
Add fluid in ½ pint (250 ml) incrementsthrough the filler tube until the level iscorrect.
Note:If an overfill occurs, excess fluidshould be removed by an authorized dealer.An overfill condition of transmission fluidmay cause shift and/or engagementconcerns and/or possible damage.
Do not use supplemental transmissionfluid additives, treatments or cleaningagents. The use of these materials mayaffect transmission operation and resultin damage to internal transmissioncomponents.
Automatic transmission fluid filter
The TorqShift6™ automatic transmissionis equipped with a serviceable transmissionfluid filter located inside the transmissionbottom pan. Refer to the scheduledmaintenance information for serviceintervals for the automatic transmissionfluid and transmission filter. Fortransmission filter maintenance, see yourauthorized dealer.
BRAKE FLUID CHECK
Fluid levels between the MIN and MAXlines are within the normal operating range;there is no need to add fluid. If the fluidlevels are outside of the normal operatingrange, the performance of the systemcould be compromised; seek service fromyour authorized dealer immediately.
102
Motorhome (TY3) Canada/United States of America, enUSA, Edition date: 201803, Third-Printing-MaintenanceE161553 E161554
Page 106 of 176

Hydromax
WARNING: Carefully readcautionary information on product label.For MEDICAL EMERGENCYINFORMATION contact a physician orPoison Control Center immediately; onFord-Motorcraft™ products call:1-800-959-3673 (FORD). Failure tofollow these instructions may result inpersonal injury.
WARNING: Use of any brake fluidother than that indicated for your brakesystem will cause permanent damage.
WARNING: Do not let the reservoirfor the master cylinder run dry. This maycause the brakes to fail and result inpersonal injury.
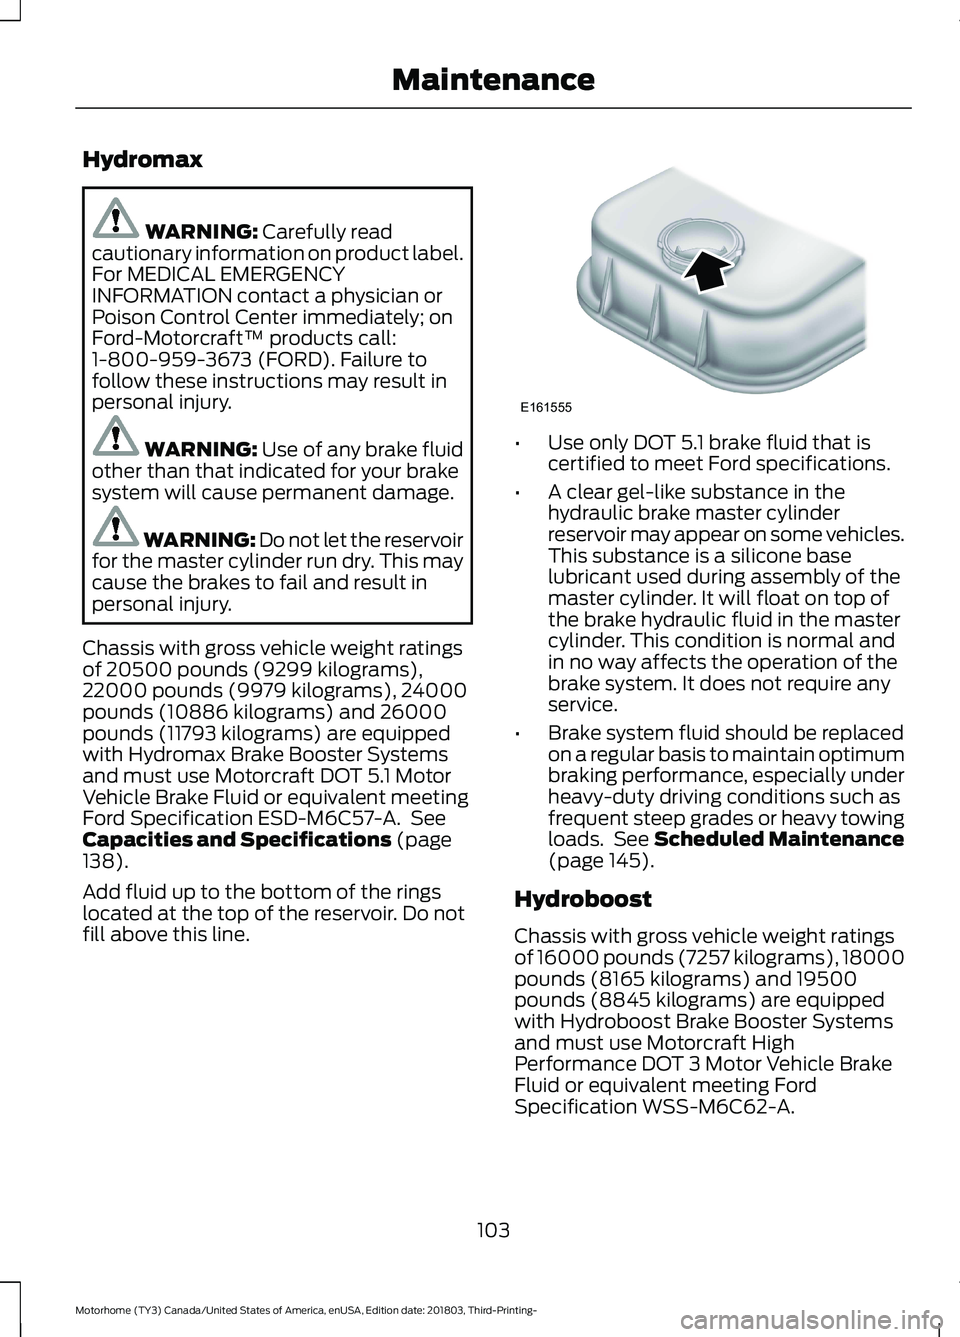
Chassis with gross vehicle weight ratingsof 20500 pounds (9299 kilograms),22000 pounds (9979 kilograms), 24000pounds (10886 kilograms) and 26000pounds (11793 kilograms) are equippedwith Hydromax Brake Booster Systemsand must use Motorcraft DOT 5.1 MotorVehicle Brake Fluid or equivalent meetingFord Specification ESD-M6C57-A. SeeCapacities and Specifications (page138).
Add fluid up to the bottom of the ringslocated at the top of the reservoir. Do notfill above this line.
•Use only DOT 5.1 brake fluid that iscertified to meet Ford specifications.
•A clear gel-like substance in thehydraulic brake master cylinderreservoir may appear on some vehicles.This substance is a silicone baselubricant used during assembly of themaster cylinder. It will float on top ofthe brake hydraulic fluid in the mastercylinder. This condition is normal andin no way affects the operation of thebrake system. It does not require anyservice.
•Brake system fluid should be replacedon a regular basis to maintain optimumbraking performance, especially underheavy-duty driving conditions such asfrequent steep grades or heavy towingloads. See Scheduled Maintenance(page 145).
Hydroboost
Chassis with gross vehicle weight ratingsof 16000 pounds (7257 kilograms), 18000pounds (8165 kilograms) and 19500pounds (8845 kilograms) are equippedwith Hydroboost Brake Booster Systemsand must use Motorcraft HighPerformance DOT 3 Motor Vehicle BrakeFluid or equivalent meeting FordSpecification WSS-M6C62-A.
103
Motorhome (TY3) Canada/United States of America, enUSA, Edition date: 201803, Third-Printing-MaintenanceE161555
Page 107 of 176

Add brake fluid from a clean unopenedcontainer until the level reaches MAX. Donot fill above this line. Use only DOT 3brake fluid that is certified to meet Fordspecifications.
Brake system fluid should be replaced ona regular basis to maintain optimumbraking performance, especially underheavy-duty driving conditions such asfrequent steep grades or heavy towingloads. See Scheduled Maintenance(page 145).
POWER STEERING FLUID
CHECK
Note:The power steering cap has both acold and hot indicator on the dipstick.
1.Start the engine and let it run until itreaches normal operating temperature(the engine coolant temperature gaugeindicator will be near the center of thenormal area between H and C).
2.While the engine idles, turn the steeringwheel left and right several times.
3.Turn the engine off.
4.Check the fluid level on the dipstick. Itshould be between the arrows in theFULL range on the side of the dipstickwith the words MAX. HOT at the top.Do not add fluid if the level is withinthis range.
5.If the fluid is low, add fluid in smallamounts, continuously checking thelevel until it reaches the FULL range.Be sure to put the dipstick back in thereservoir.
Steering linkage lubrication points
There are nine lubrication points on thesteering linkage: See Capacities andSpecifications (page 138).
104
Motorhome (TY3) Canada/United States of America, enUSA, Edition date: 201803, Third-Printing-MaintenanceE161557