2019 FORD F-250 warning
[x] Cancel search: warningPage 412 of 666
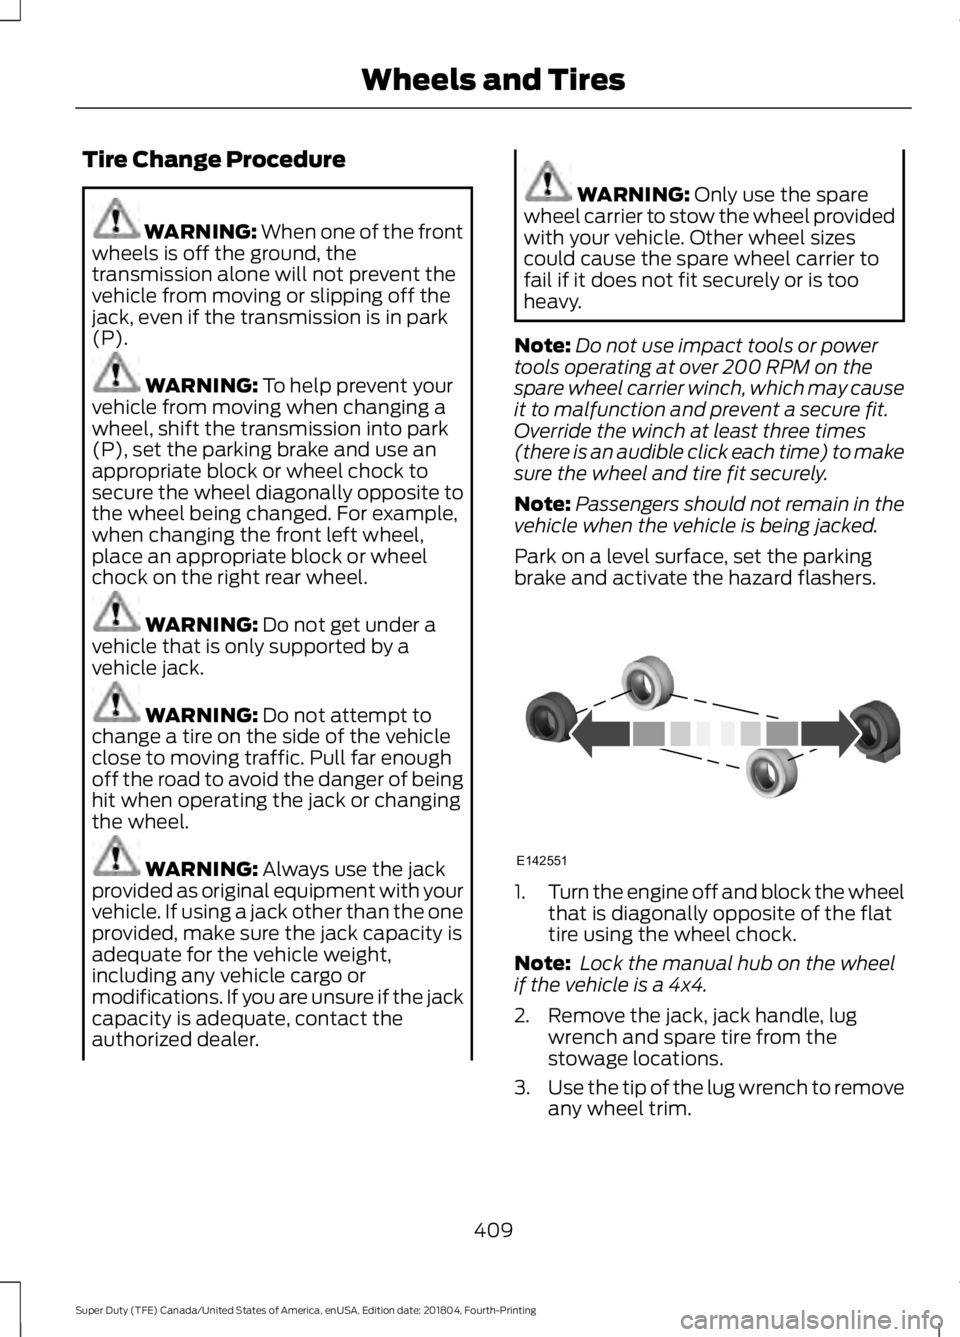
Tire Change Procedure
WARNING: When one of the front
wheels is off the ground, the
transmission alone will not prevent the
vehicle from moving or slipping off the
jack, even if the transmission is in park
(P). WARNING:
To help prevent your
vehicle from moving when changing a
wheel, shift the transmission into park
(P), set the parking brake and use an
appropriate block or wheel chock to
secure the wheel diagonally opposite to
the wheel being changed. For example,
when changing the front left wheel,
place an appropriate block or wheel
chock on the right rear wheel. WARNING:
Do not get under a
vehicle that is only supported by a
vehicle jack. WARNING:
Do not attempt to
change a tire on the side of the vehicle
close to moving traffic. Pull far enough
off the road to avoid the danger of being
hit when operating the jack or changing
the wheel. WARNING:
Always use the jack
provided as original equipment with your
vehicle. If using a jack other than the one
provided, make sure the jack capacity is
adequate for the vehicle weight,
including any vehicle cargo or
modifications. If you are unsure if the jack
capacity is adequate, contact the
authorized dealer. WARNING:
Only use the spare
wheel carrier to stow the wheel provided
with your vehicle. Other wheel sizes
could cause the spare wheel carrier to
fail if it does not fit securely or is too
heavy.
Note: Do not use impact tools or power
tools operating at over 200 RPM on the
spare wheel carrier winch, which may cause
it to malfunction and prevent a secure fit.
Override the winch at least three times
(there is an audible click each time) to make
sure the wheel and tire fit securely.
Note: Passengers should not remain in the
vehicle when the vehicle is being jacked.
Park on a level surface, set the parking
brake and activate the hazard flashers. 1.
Turn the engine off and block the wheel
that is diagonally opposite of the flat
tire using the wheel chock.
Note: Lock the manual hub on the wheel
if the vehicle is a 4x4.
2. Remove the jack, jack handle, lug wrench and spare tire from the
stowage locations.
3. Use the tip of the lug wrench to remove
any wheel trim.
409
Super Duty (TFE) Canada/United States of America, enUSA, Edition date: 201804, Fourth-Printing Wheels and TiresE142551
Page 420 of 666

TECHNICAL SPECIFICATIONS
Wheel Lug Nut Torque Specifications
WARNING: When a wheel is installed, always remove any corrosion, dirt or foreign
materials present on the mounting surfaces of the wheel or the surface of the wheel
hub, brake drum or brake disc that contacts the wheel. Make sure that any fasteners
that attach the rotor to the hub are secured so they do not interfere with the mounting
surfaces of the wheel. Installing wheels without correct metal-to-metal contact at the
wheel mounting surfaces can cause the wheel nuts to loosen and the wheel to come
off while the vehicle is in motion, resulting in loss of control. lb.ft (Nm)
Bolt size
165 lb.ft (224 Nm)
M14 x 1.5
* Torque specifications are for nut and bolt threads free of dirt and rust. Use only Ford
recommended replacement fasteners.
On vehicles equipped with single rear wheels, retighten the lug nuts to the specified torque
at 100 miles (160 kilometers) after any wheel disturbance (such as tire rotation, changing
a flat tire, wheel removal).
On vehicles equipped with dual rear wheels, retighten the wheel lug nuts to the specified
torque at 100 miles (160 kilometers), and again at 500 miles (800 kilometers) of new
vehicle operation and after any wheel disturbance (such as tire rotation, changing a flat
tire, wheel removal).
It is important to follow the proper wheel mounting and lug nut torque procedures.
On all two-piece flat wheel nuts, apply one drop of motor oil between the flat washer
and the nut. Do not apply motor oil to the wheel nut threads or the wheel stud threads. 417
Super Duty (TFE) Canada/United States of America, enUSA, Edition date: 201804, Fourth-Printing Wheels and TiresE161443
Page 429 of 666
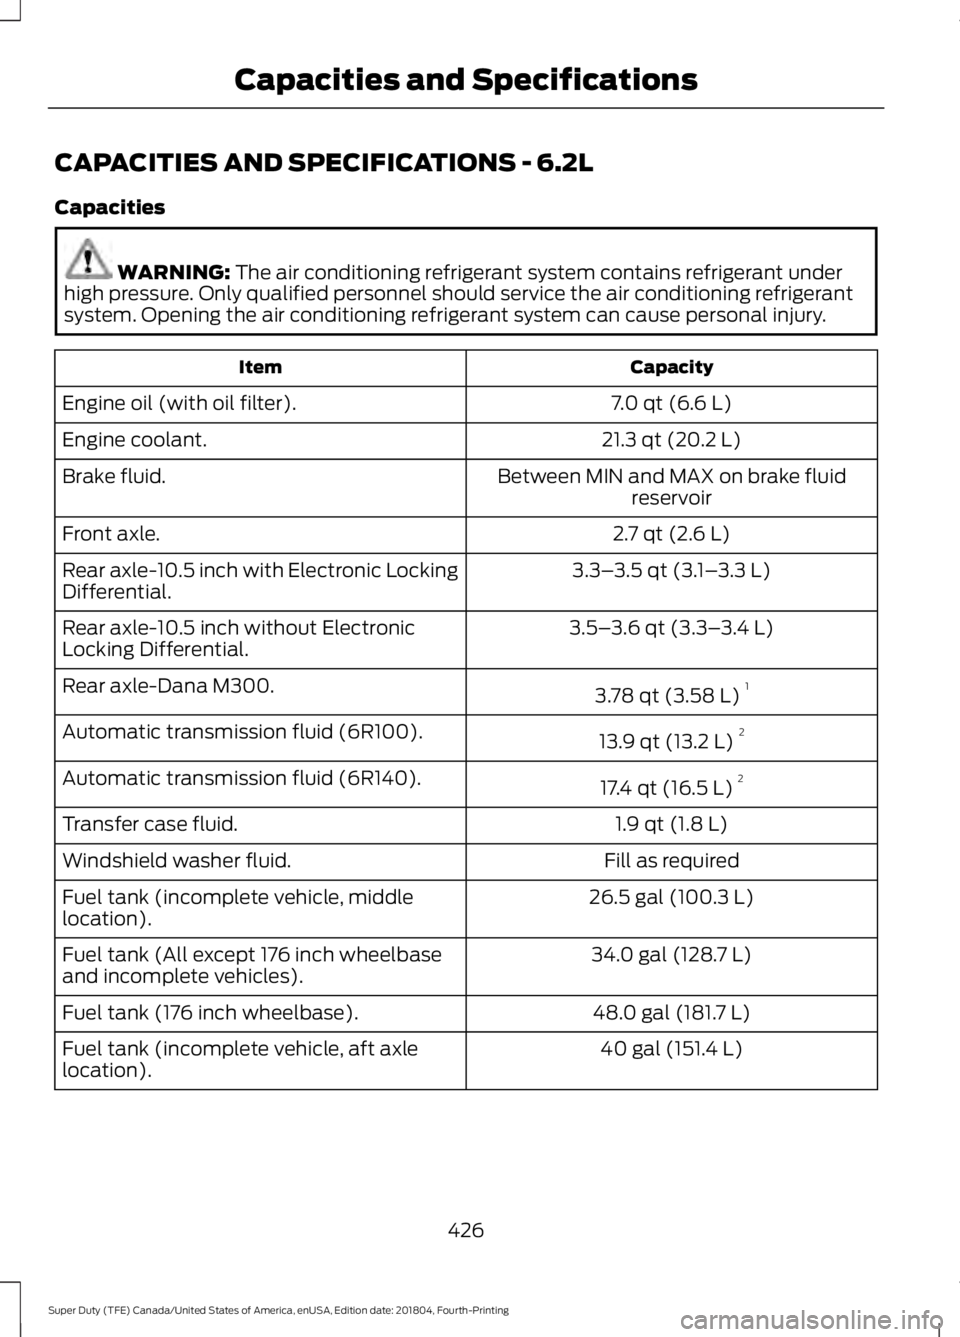
CAPACITIES AND SPECIFICATIONS - 6.2L
Capacities
WARNING: The air conditioning refrigerant system contains refrigerant under
high pressure. Only qualified personnel should service the air conditioning refrigerant
system. Opening the air conditioning refrigerant system can cause personal injury. Capacity
Item
7.0 qt (6.6 L)
Engine oil (with oil filter).
21.3 qt (20.2 L)
Engine coolant.
Between MIN and MAX on brake fluidreservoir
Brake fluid.
2.7 qt (2.6 L)
Front axle.
3.3–3.5 qt (3.1– 3.3 L)
Rear axle-10.5 inch with Electronic Locking
Differential.
3.5–3.6 qt (3.3– 3.4 L)
Rear axle-10.5 inch without Electronic
Locking Differential.
3.78 qt (3.58 L)1
Rear axle-Dana M300.
13.9 qt (13.2 L)2
Automatic transmission fluid (6R100).
17.4 qt (16.5 L)2
Automatic transmission fluid (6R140).
1.9 qt (1.8 L)
Transfer case fluid.
Fill as required
Windshield washer fluid.
26.5 gal (100.3 L)
Fuel tank (incomplete vehicle, middle
location).
34.0 gal (128.7 L)
Fuel tank (All except 176 inch wheelbase
and incomplete vehicles).
48.0 gal (181.7 L)
Fuel tank (176 inch wheelbase).
40 gal (151.4 L)
Fuel tank (incomplete vehicle, aft axle
location).
426
Super Duty (TFE) Canada/United States of America, enUSA, Edition date: 201804, Fourth-Printing Capacities and Specifications
Page 434 of 666
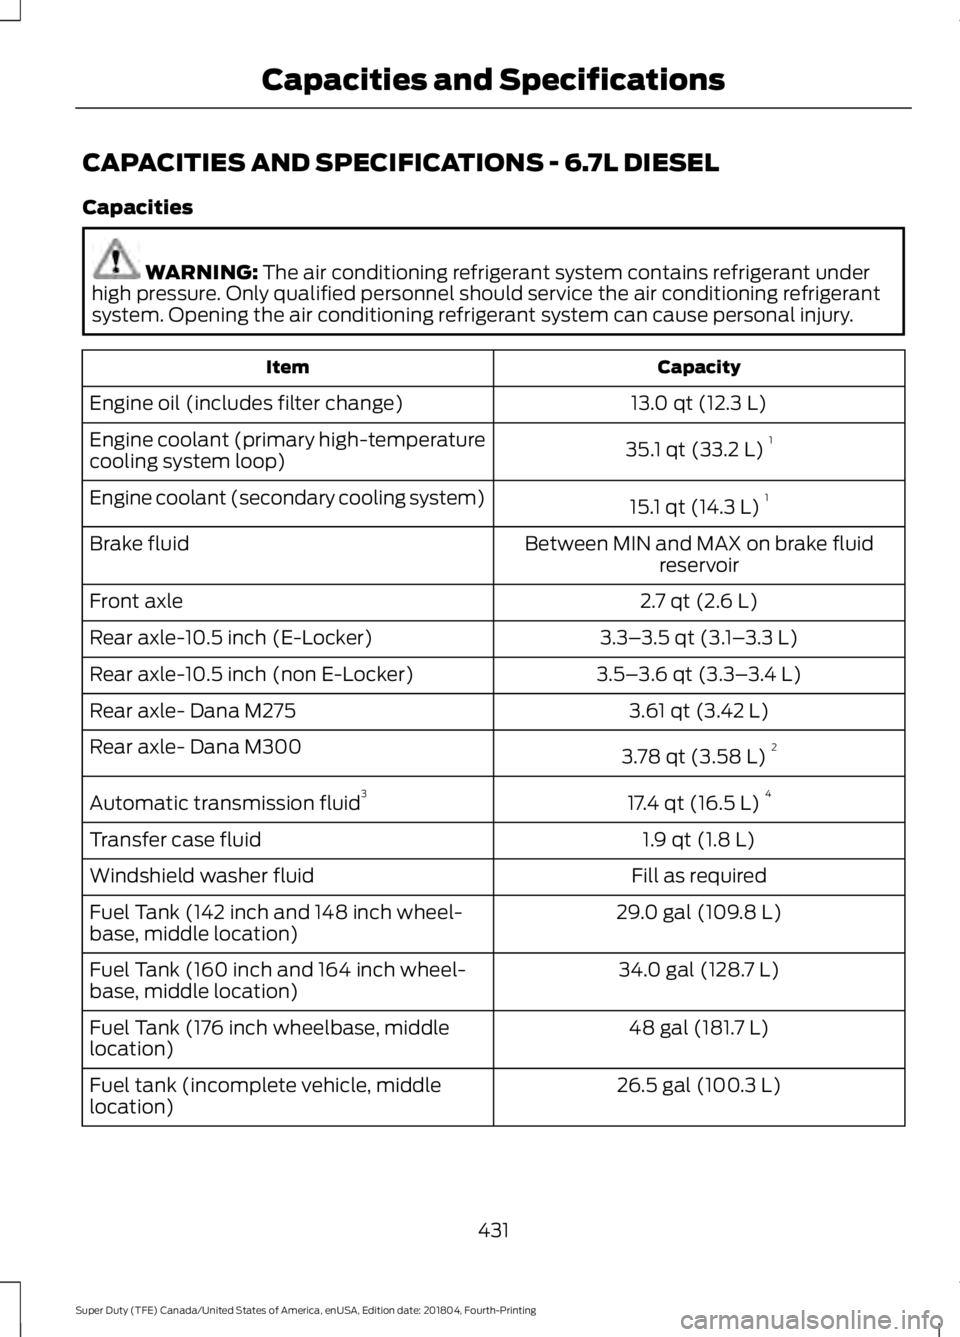
CAPACITIES AND SPECIFICATIONS - 6.7L DIESEL
Capacities
WARNING: The air conditioning refrigerant system contains refrigerant under
high pressure. Only qualified personnel should service the air conditioning refrigerant
system. Opening the air conditioning refrigerant system can cause personal injury. Capacity
Item
13.0 qt (12.3 L)
Engine oil (includes filter change)
35.1 qt (33.2 L)1
Engine coolant (primary high-temperature
cooling system loop)
15.1 qt (14.3 L)1
Engine coolant (secondary cooling system)
Between MIN and MAX on brake fluidreservoir
Brake fluid
2.7 qt (2.6 L)
Front axle
3.3–3.5 qt (3.1– 3.3 L)
Rear axle-10.5 inch (E-Locker)
3.5–3.6 qt (3.3– 3.4 L)
Rear axle-10.5 inch (non E-Locker)
3.61 qt (3.42 L)
Rear axle- Dana M275
3.78 qt (3.58 L)2
Rear axle- Dana M300
17.4 qt (16.5 L)4
Automatic transmission fluid 3
1.9 qt (1.8 L)
Transfer case fluid
Fill as required
Windshield washer fluid
29.0 gal (109.8 L)
Fuel Tank (142 inch and 148 inch wheel-
base, middle location)
34.0 gal (128.7 L)
Fuel Tank (160 inch and 164 inch wheel-
base, middle location)
48 gal (181.7 L)
Fuel Tank (176 inch wheelbase, middle
location)
26.5 gal (100.3 L)
Fuel tank (incomplete vehicle, middle
location)
431
Super Duty (TFE) Canada/United States of America, enUSA, Edition date: 201804, Fourth-Printing Capacities and Specifications
Page 440 of 666
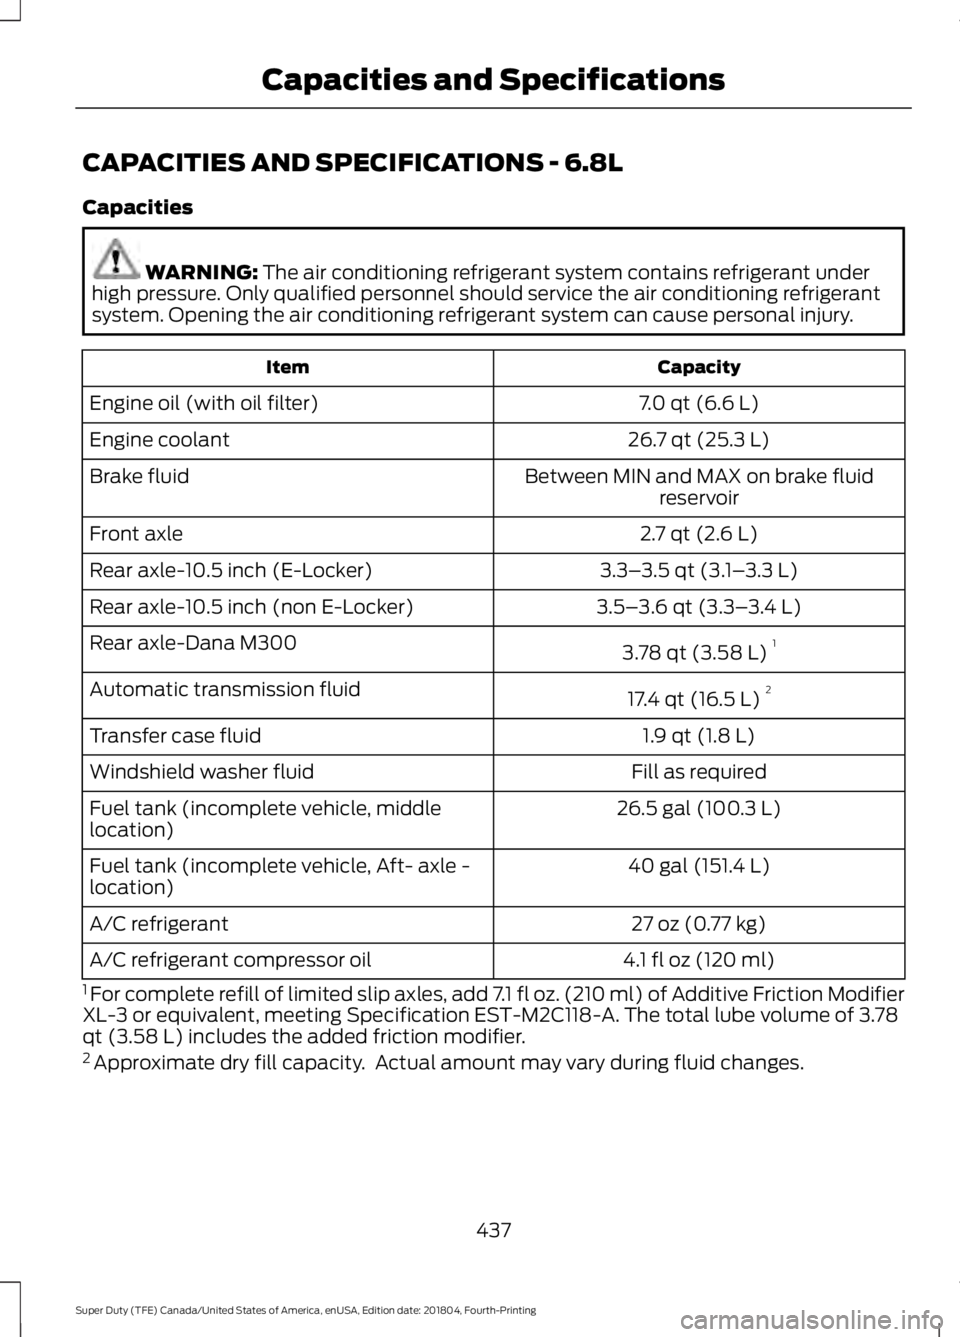
CAPACITIES AND SPECIFICATIONS - 6.8L
Capacities
WARNING: The air conditioning refrigerant system contains refrigerant under
high pressure. Only qualified personnel should service the air conditioning refrigerant
system. Opening the air conditioning refrigerant system can cause personal injury. Capacity
Item
7.0 qt (6.6 L)
Engine oil (with oil filter)
26.7 qt (25.3 L)
Engine coolant
Between MIN and MAX on brake fluidreservoir
Brake fluid
2.7 qt (2.6 L)
Front axle
3.3–3.5 qt (3.1– 3.3 L)
Rear axle-10.5 inch (E-Locker)
3.5–3.6 qt (3.3– 3.4 L)
Rear axle-10.5 inch (non E-Locker)
3.78 qt (3.58 L)1
Rear axle-Dana M300
17.4 qt (16.5 L)2
Automatic transmission fluid
1.9 qt (1.8 L)
Transfer case fluid
Fill as required
Windshield washer fluid
26.5 gal (100.3 L)
Fuel tank (incomplete vehicle, middle
location)
40 gal (151.4 L)
Fuel tank (incomplete vehicle, Aft- axle -
location)
27 oz (0.77 kg)
A/C refrigerant
4.1 fl oz (120 ml)
A/C refrigerant compressor oil
1 For complete refill of limited slip axles, add 7.1 fl oz. (210 ml) of Additive Friction Modifier
XL-3 or equivalent, meeting Specification EST-M2C118-A. The total lube volume of 3.78
qt (3.58 L) includes the added friction modifier.
2 Approximate dry fill capacity. Actual amount may vary during fluid changes.
437
Super Duty (TFE) Canada/United States of America, enUSA, Edition date: 201804, Fourth-Printing Capacities and Specifications
Page 447 of 666
GENERAL INFORMATION
Radio Frequencies and Reception
Factors
AM and FM frequencies are established by
the Federal Communications Commission
(FCC) and the Canadian Radio and
Telecommunications Commission (CRTC).
Those frequencies are:
•
AM: 530-1710 kHz
• FM: 87.9-107.9 MHz
Note: Listening to loud audio for long
periods of time could damage your hearing. Radio Reception Factors
The further you travel from an AM or FM station, the
weaker the signal and the weaker the reception.
Distance and strength
Hills, mountains, tall buildings, bridges, tunnels, freeway
overpasses, parking garages, dense tree foliage and
thunderstorms can interfere with the reception.
Terrain
When you pass a ground-based broadcast repeating
tower, a stronger signal may overtake a weaker one and
result in the audio system muting.
Station overload
AUDIO UNIT - VEHICLES WITH:
AM/FM WARNING: Driving while
distracted can result in loss of vehicle
control, crash and injury. We strongly
recommend that you use extreme
caution when using any device that may
take your focus off the road. Your
primary responsibility is the safe
operation of your vehicle. We
recommend against the use of any
hand-held device while driving and
encourage the use of voice-operated
systems when possible. Make sure you
are aware of all applicable local laws
that may affect the use of electronic
devices while driving. Accessing the Auxiliary Media
Sources Press and release to access or
switch between media devices.
Accessing the Menu Press and release to access
different audio system features.
444
Super Duty (TFE) Canada/United States of America, enUSA, Edition date: 201804, Fourth-Printing Audio SystemE265277 E265038
Page 449 of 666
AUDIO UNIT - VEHICLES WITH:
AM/FM/TOUCHSCREEN
DISPLAY
WARNING: Driving while
distracted can result in loss of vehicle
control, crash and injury. We strongly
recommend that you use extreme
caution when using any device that may
take your focus off the road. Your
primary responsibility is the safe
operation of your vehicle. We
recommend against the use of any
hand-held device while driving and
encourage the use of voice-operated
systems when possible. Make sure you
are aware of all applicable local laws
that may affect the use of electronic
devices while driving. Note:
Depending on your vehicle option
package, the controls could look different
from what you see here.
Note: Some features, such as satellite
radio, may not be available in your location.
Check with an authorized dealer.
Note: The touchscreen system controls
most of the audio features. Adjusting the Volume
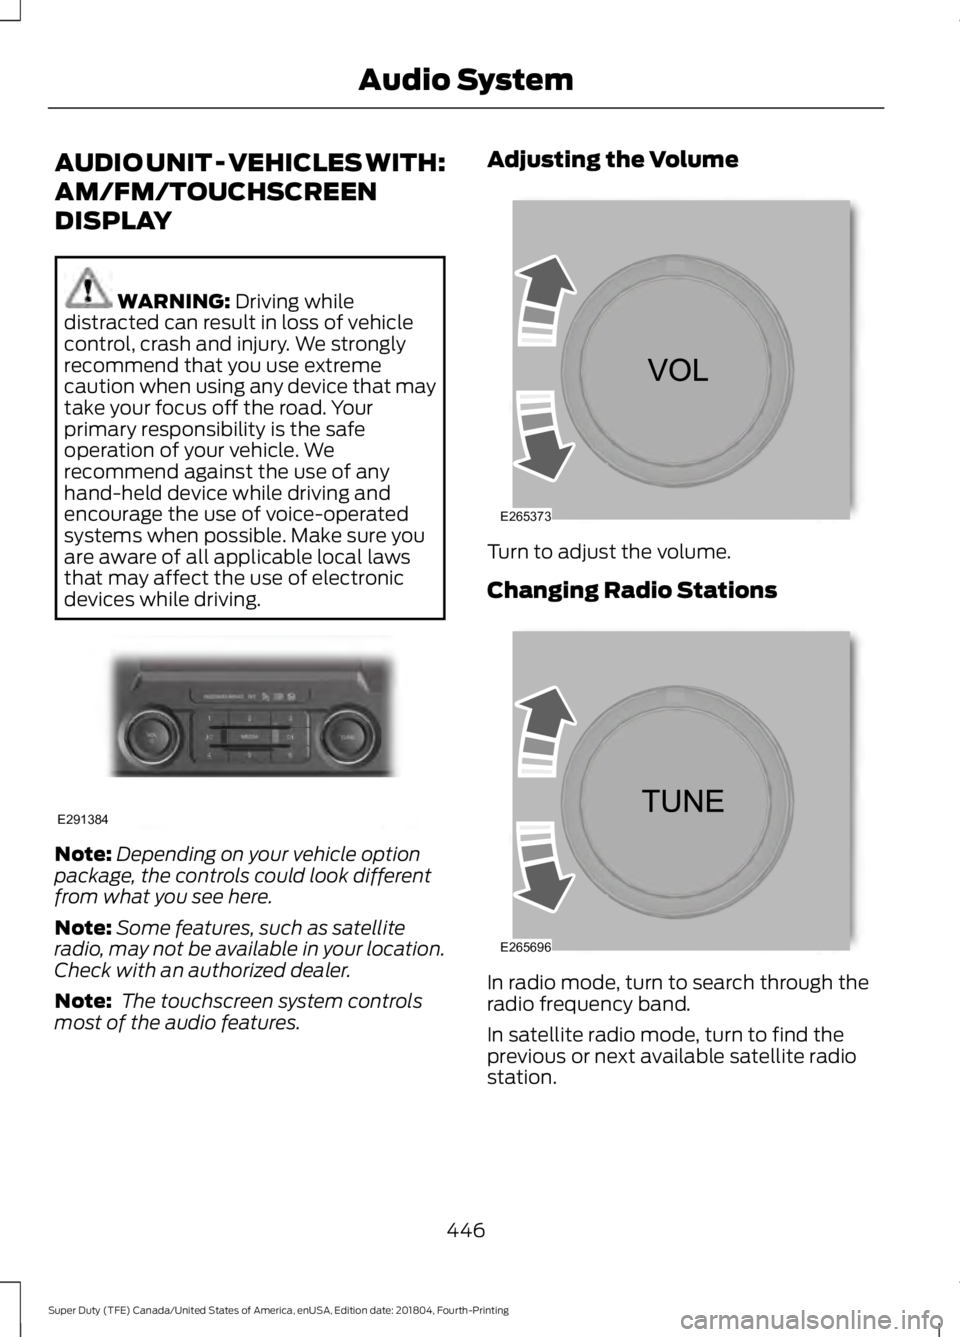
Turn to adjust the volume.
Changing Radio Stations
In radio mode, turn to search through the
radio frequency band.
In satellite radio mode, turn to find the
previous or next available satellite radio
station.
446
Super Duty (TFE) Canada/United States of America, enUSA, Edition date: 201804, Fourth-Printing Audio SystemE291384 E265373 E265696
Page 450 of 666
Selecting the Audio Modes
Press and release the button to
access different audio modes,
for example AM and FM.
Setting a Memory Preset
Tune to a station, then press and hold one
of the memory preset buttons on the
touchscreen. The audio briefly mutes while
the system saves the station and returns
once the station is stored.
Switching the Audio Unit On and
Off Press and release the button.
Using Seek, Fast Forward and
Reverse In radio mode, select a frequency band and
press and release either button. The
system stops at the first station it finds in
that direction.
In satellite radio mode, press and release
to select the next or previous satellite radio
station. If you select a specific category,
such as jazz, rock or news, press to find the
next or previous station in that category. AUDIO UNIT - VEHICLES WITH:
AM/FM/SYNC WARNING: Driving while
distracted can result in loss of vehicle
control, crash and injury. We strongly
recommend that you use extreme
caution when using any device that may
take your focus off the road. Your
primary responsibility is the safe
operation of your vehicle. We
recommend against the use of any
hand-held device while driving and
encourage the use of voice-operated
systems when possible. Make sure you
are aware of all applicable local laws
that may affect the use of electronic
devices while driving.
Note: Some features, such as satellite
radio, may not be available in your location.
Check with an authorized dealer.
Accessing the Clock Settings Press and release the button to
access the clock setting.
Use the center arrow controls to
change the hours and minutes.
Accessing the Media Source Menu Press and release the button to
open the media source menu.
You can press this multiple times to
change to a SYNC-Media device or scroll
through the media sources using the arrow
buttons. Press
OK to select a source.
Accessing the Menu Press and release the button to
access different audio system
features.
447
Super Duty (TFE) Canada/United States of America, enUSA, Edition date: 201804, Fourth-Printing Audio SystemE265035 E265045 E265044 E265036 E265035 E265038