2019 FORD F-150 ignition
[x] Cancel search: ignitionPage 147 of 644

Starting System
Action
Message
A reminder to apply the brake when starting your vehicle .
To START Press Brake
The starter has exceeded its cranking time in attempting tostart your vehicle.
Cranking Time Exceeded
The starter is attempting to start your vehicle.
Engine Start Pending
Please Wait
The system has cancelled the pending start.
Pending Start Cancelled
Tire Pressure Monitoring System Action
Message
One or more tires on your vehicle has low tire pressure. SeeTire Pressure Monitoring System (page 403).
Tire Pressure Low
The tire pressure monitoring system is malfunctioning. If thewarning stays on or continues to come on, contact an
authorized dealer. See
Tire Pressure Monitoring System (page 403).
Tire Pressure Monitor
Fault
A tire pressure sensor is malfunctioning or your spare tire is inuse. See
Tire Pressure Monitoring System (page 403). If
the warning stays on or continues to come on, contact an authorized dealer as soon as possible.
Tire Pressure Sensor
Fault
Trailer Action
Message
The current gain setting for the trailer brake.
Trailer Brake Gain: {trailer gain
value:#0.0}
The current gain setting for the trailer brake when atrailer is not connected.
Trailer Brake Gain: {trailer gain
value:#0.0} No Trailer
Faults sensed in the Integrated Trailer Brake ControlModule followed by a single chime. See
Towing a
Trailer (page 285).
Trailer Brake Module Fault
A correct trailer connection is sensed during a givenignition cycle.
Trailer Connected
144
F-150 (TFC) Canada/United States of America, enUSA, Edition date: 201808, Third-Printing- Information Displays
Page 148 of 644

Action
Message
A trailer connection becomes disconnected, either
intentionally or unintentionally, and has been sensed during a given ignition cycle.
Trailer Disconnected
The trailer sway control has detected trailer sway.
Trailer Sway Reduce Speed
There are certain faults in your vehicle wiring and trailer
wiring/brake system. See Towing a Trailer (page 285).
Trailer Wiring Fault
There is a fault with your trailer turn lamp. Check yourlamp.
Trailer Left Turn Lamps Fault
Check Lamps
There is a fault with your trailer turn lamp. Check yourlamp.
Trailer Right Turn Lamps Fault
Check Lamps
There is a fault with your trailer battery. See Towing
a Trailer (page 285).
Trailer Battery Not Charging See
Manual
There is a fault with your vehicle trailer lighting module.See
Towing a Trailer (page 285).
Trailer Lighting Module Fault
See Manual
4WD Action
Message
A 4X4 system fault is present. Contact an authorizeddealer as soon as possible.
Check 4x4
The 4X4 system is making a shift.
4x4 Shift in Progress
Displays when you attempt to switch to 4X4 LOW andyou do not shift the transmission to neutral (N).
For 4x4 LOW Shift to N
Displays when you attempt to switch to 4X4 LOW andyour vehicle's speed is greater than
3 mph (5 km/h).
For 4x4 LOW Slow to 3 MPH
Displays when you attempt to switch from 4X4 LOWand you do not shift the transmission to neutral (N).
To Exit 4x4 LOW Shift to N
Displays when you attempt to switch from 4X4 LOWand your vehicle's speed is greater than
3 mph
(5 km/h).
To Exit 4x4 LOW Slow to 3 MPH
May display when there is a Transfer case gear tooth
blockage while shifting to or from 4L or to the neutral state.
Shift Delayed Pull Forward
145
F-150 (TFC) Canada/United States of America, enUSA, Edition date: 201808, Third-Printing- Information Displays
Page 156 of 644

HEATED WINDSHIELD (IF
EQUIPPED)
Windshield Wiper De-Icer When you switch the heated rear
window on, the windshield wiper
de-icer turns on.
HEATED REAR WINDOW
(IF
EQUIPPED) Press the button to clear the rear
window of thin ice and fog. The
heated rear window turns off
after a short period of time.
Note: Do not use harsh chemicals, razor
blades or other sharp objects to clean or
remove decals from the inside of the heated
rear window. The vehicle warranty may not
cover damage to the heated rear window
grid lines.
HEATED EXTERIOR MIRRORS
(IF EQUIPPED)
When you switch the heated rear window
on, the heated exterior mirrors turn on.
Note: Do not remove ice from the mirrors
with a scraper or adjust the mirror glass
when it is frozen in place.
Note: Do not clean the mirror housing or
glass with harsh abrasives, fuel or other
petroleum-based cleaning products. The
vehicle warranty may not cover damage
caused to the mirror housing or glass. CABIN AIR FILTER
Your vehicle is equipped with a cabin air
filter, which gives you and your passengers
the following benefits:
•
It improves your driving comfort by
reducing particle concentration.
• It improves the interior compartment
cleanliness.
• It protects the climate control
components from particle deposits.
You can locate the cabin air filter behind
the glove box.
Note: Make sure you have a cabin air filter
installed at all times. This prevents foreign
objects from entering the system. Running
the system without a filter in place could
result in degradation or damage to the
system.
Replace the filter at regular intervals. See
Scheduled Maintenance
(page 562).
For additional cabin air filter information,
or to replace the filter, see an authorized
dealer.
REMOTE START
(IF EQUIPPED)
The climate control system adjusts the
interior temperature during remote start.
You can switch this feature on or off and
adjust the settings using the information
display controls. See
Information
Displays (page 116).
You cannot adjust the climate control
setting during remote start operation.
Switch the ignition on to make
adjustments.
153
F-150 (TFC) Canada/United States of America, enUSA, Edition date: 201808, Third-Printing- Climate ControlE184884 E184884
Page 164 of 644

MEMORY FUNCTION (IF EQUIPPED)
WARNING:
Before activating the
memory seat, make sure that the area
immediately surrounding the seat is clear
of obstructions and that all occupants
are clear of moving parts. WARNING:
Do not use the
memory function when your vehicle is
moving.
This function automatically recalls the
position of these features:
• Driver seat.
• Power mirrors.
• Optional power steering column.
• Optional power adjustable pedals.
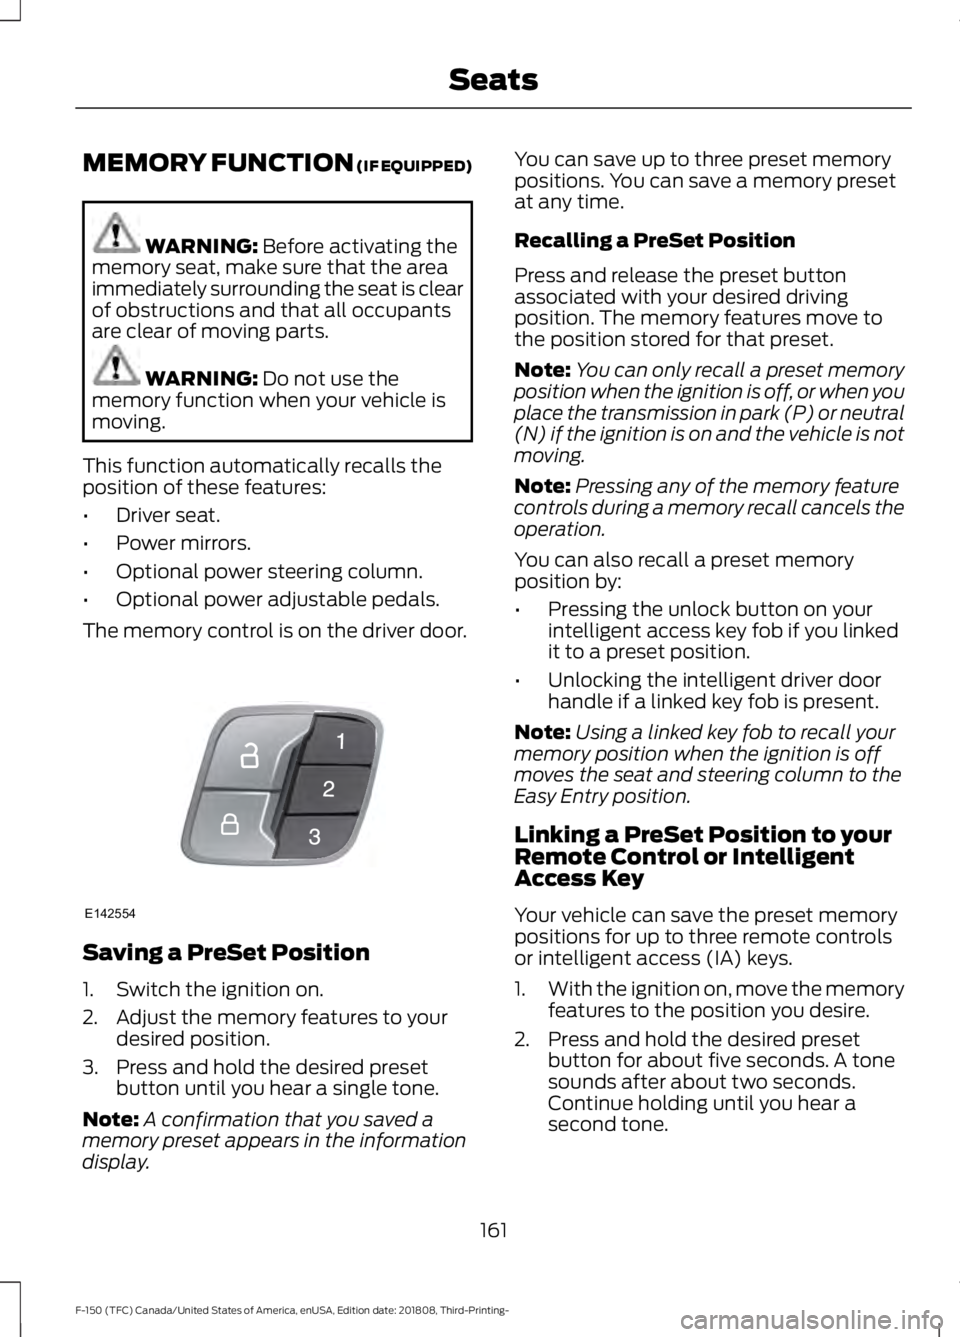
The memory control is on the driver door. Saving a PreSet Position
1. Switch the ignition on.
2. Adjust the memory features to your
desired position.
3. Press and hold the desired preset button until you hear a single tone.
Note: A confirmation that you saved a
memory preset appears in the information
display. You can save up to three preset memory
positions. You can save a memory preset
at any time.
Recalling a PreSet Position
Press and release the preset button
associated with your desired driving
position. The memory features move to
the position stored for that preset.
Note:
You can only recall a preset memory
position when the ignition is off, or when you
place the transmission in park (P) or neutral
(N) if the ignition is on and the vehicle is not
moving.
Note: Pressing any of the memory feature
controls during a memory recall cancels the
operation.
You can also recall a preset memory
position by:
• Pressing the unlock button on your
intelligent access key fob if you linked
it to a preset position.
• Unlocking the intelligent driver door
handle if a linked key fob is present.
Note: Using a linked key fob to recall your
memory position when the ignition is off
moves the seat and steering column to the
Easy Entry position.
Linking a PreSet Position to your
Remote Control or Intelligent
Access Key
Your vehicle can save the preset memory
positions for up to three remote controls
or intelligent access (IA) keys.
1. With the ignition on, move the memory
features to the position you desire.
2. Press and hold the desired preset button for about five seconds. A tone
sounds after about two seconds.
Continue holding until you hear a
second tone.
161
F-150 (TFC) Canada/United States of America, enUSA, Edition date: 201808, Third-Printing- SeatsE142554
Page 165 of 644

3. Within three seconds, press the lock
button on the remote control you are
linking.
To unlink a remote control, follow the
same procedure – except in Step 3, press
the unlock button on the remote control.
Easy Entry and Exit Feature
If you enable this feature, it automatically
moves the driver seat position rearward up
to 2 in (5 cm) when you switch the ignition
off. The driver seat returns to the previous
position when you switch the ignition on.
Switch this feature on and off through the
Information displays settings menu. See
General Information (page 116).
Note: After moving the seat to the easy exit
position, pressing any of the memory feature
controls cancels the easy entry return
movement.
REAR SEATS
(IF EQUIPPED)
Folding Up the Rear Seat Cushion
The rear seat has a split 60/40 cushion.
You can flip each seat cushion up into a
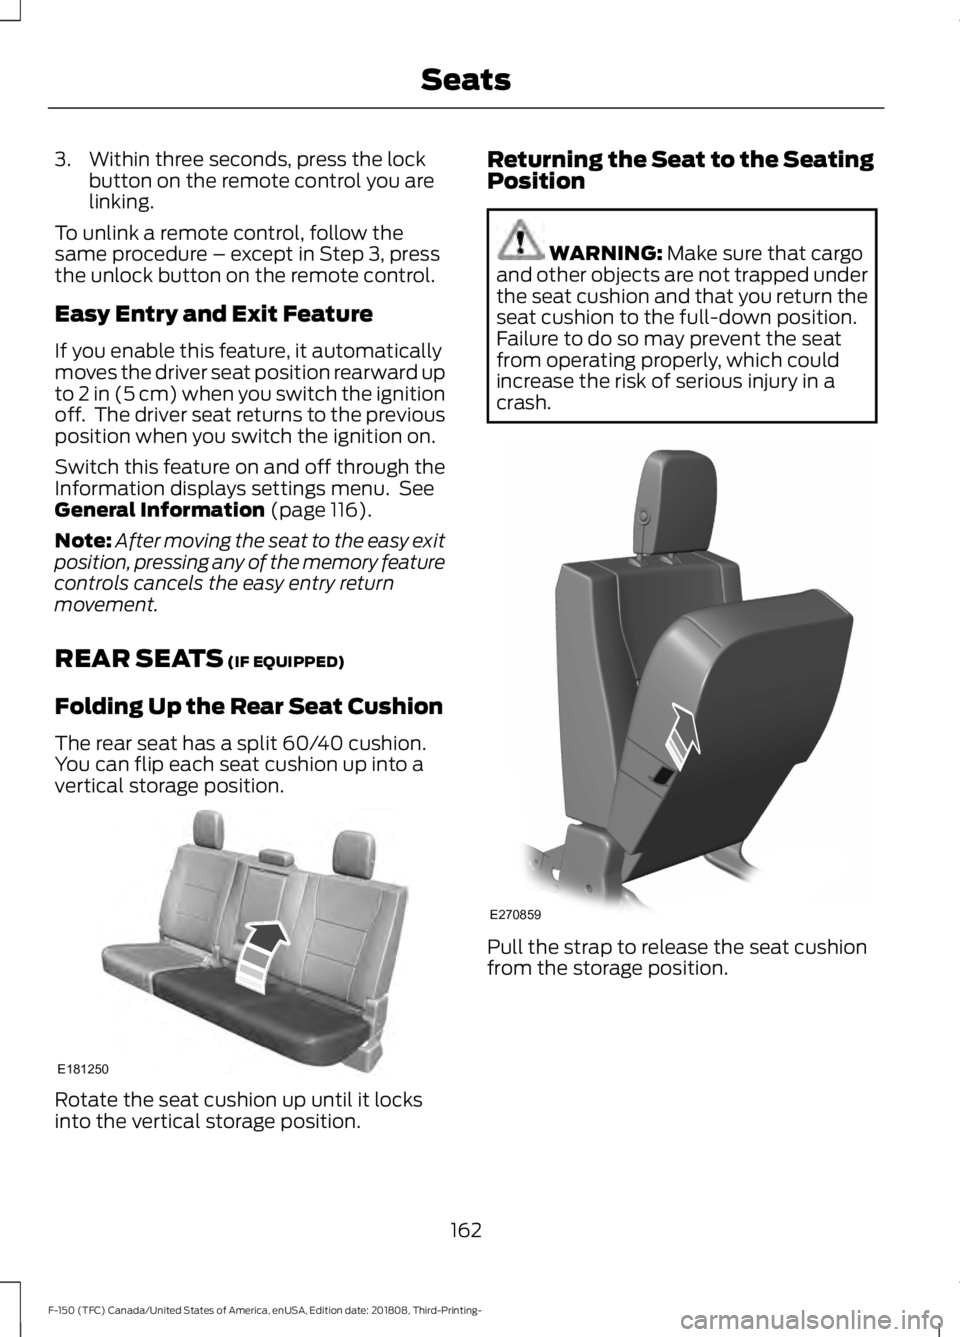
vertical storage position. Rotate the seat cushion up until it locks
into the vertical storage position. Returning the Seat to the Seating
Position WARNING:
Make sure that cargo
and other objects are not trapped under
the seat cushion and that you return the
seat cushion to the full-down position.
Failure to do so may prevent the seat
from operating properly, which could
increase the risk of serious injury in a
crash. Pull the strap to release the seat cushion
from the storage position.
162
F-150 (TFC) Canada/United States of America, enUSA, Edition date: 201808, Third-Printing- SeatsE181250 E270859
Page 167 of 644

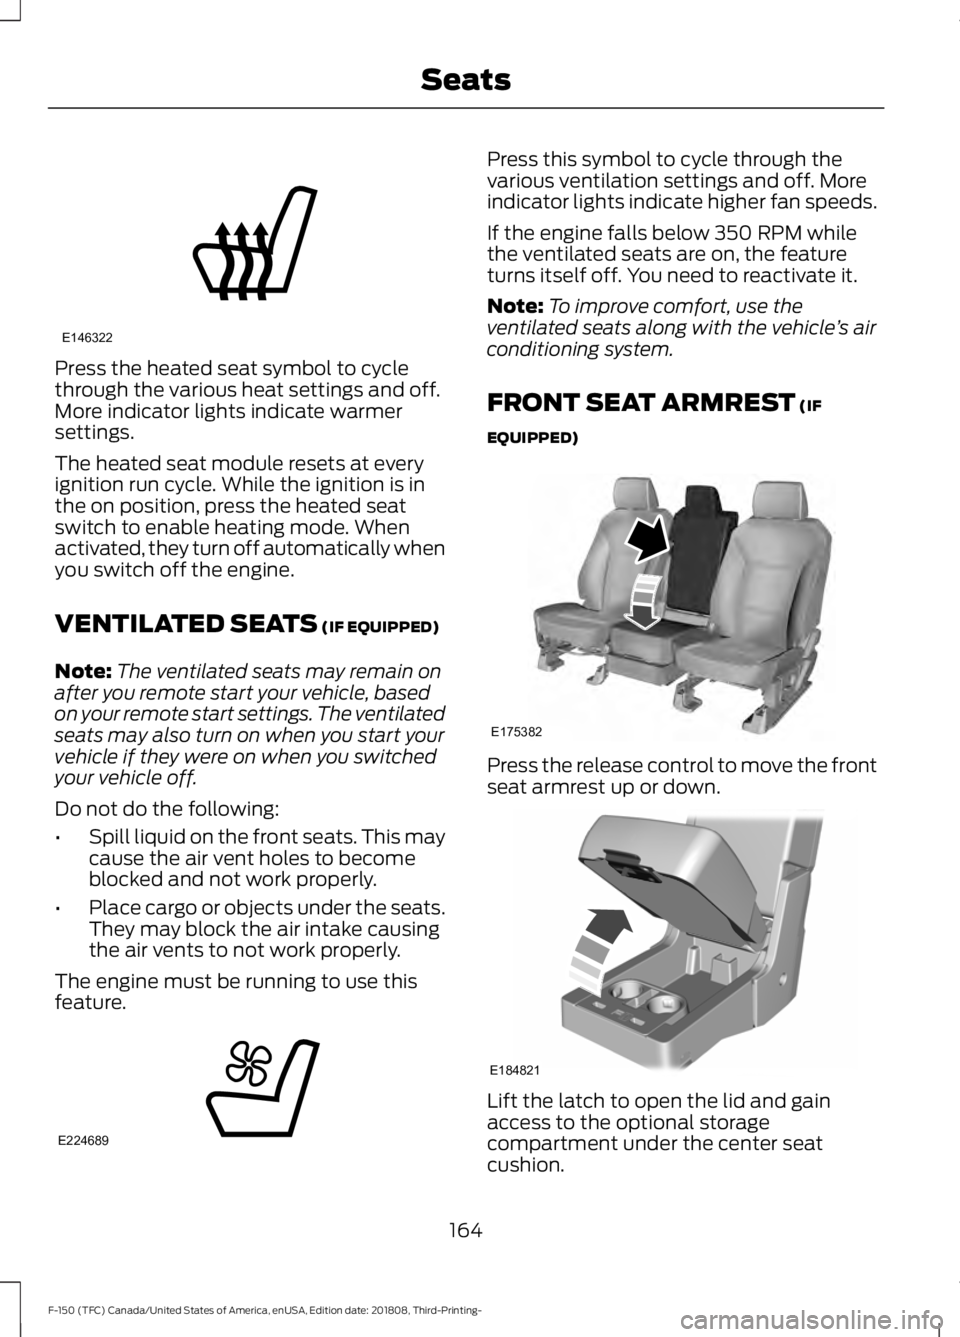
Press the heated seat symbol to cycle
through the various heat settings and off.
More indicator lights indicate warmer
settings.
The heated seat module resets at every
ignition run cycle. While the ignition is in
the on position, press the heated seat
switch to enable heating mode. When
activated, they turn off automatically when
you switch off the engine.
VENTILATED SEATS (IF EQUIPPED)
Note: The ventilated seats may remain on
after you remote start your vehicle, based
on your remote start settings. The ventilated
seats may also turn on when you start your
vehicle if they were on when you switched
your vehicle off.
Do not do the following:
• Spill liquid on the front seats. This may
cause the air vent holes to become
blocked and not work properly.
• Place cargo or objects under the seats.
They may block the air intake causing
the air vents to not work properly.
The engine must be running to use this
feature. Press this symbol to cycle through the
various ventilation settings and off. More
indicator lights indicate higher fan speeds.
If the engine falls below 350 RPM while
the ventilated seats are on, the feature
turns itself off. You need to reactivate it.
Note:
To improve comfort, use the
ventilated seats along with the vehicle ’s air
conditioning system.
FRONT SEAT ARMREST
(IF
EQUIPPED) Press the release control to move the front
seat armrest up or down.
Lift the latch to open the lid and gain
access to the optional storage
compartment under the center seat
cushion.
164
F-150 (TFC) Canada/United States of America, enUSA, Edition date: 201808, Third-Printing- SeatsE146322 E224689 E175382 E184821
Page 170 of 644

1.
With your vehicle parked outside of the
garage, switch your ignition to the on
position, but do not start your vehicle.
2. Press and release the function button that you would like to program.
3. Hold your hand-held garage door transmitter 1– 3 in (2–8 cm) away from
the HomeLink button you want to
program.
4. Press and hold the hand-held transmitter button you want to
program while watching the indicator
light on HomeLink. Continue to hold
the hand-held button until the
HomeLink indicator light flashes rapidly
or is continuously on.
Note: You may need to use a different
method if you live in Canada or have
difficulties programming your gate operator
or garage door opener. See
Gate Operator
/ Canadian Programming.
5. Press and hold the HomeLink button you programmed for two seconds, then
release. You may need to do this twice
to activate the door. If your garage door
does not operate, watch the HomeLink
indicator light.
If the indicator light stays on, the
programming is complete. Your device
should activate when the HomeLink
button is pressed and released. If the indicator light flashes rapidly, press
and hold for two seconds and release the
programmed HomeLink button. Repeat
the "press/hold/release" sequence up to
three times to complete the programming
process. If your device still does not
operate, you must program your garage
door. See
Programming Your Garage
Door Opener Motor.
To program additional buttons, repeat
Steps 1 – 4.
For questions or comments, please contact
HomeLink at www.homelink.com,
www.youtube.com/user/HomeLinkGentex
or by calling the toll-free help line at
1-800-355-3515.
Programming Your Garage Door
Opener Motor
Note: You may need a ladder to reach the
unit and you may need to remove the cover
or lamp lens on your garage door opener. 1. Press the learn button on the garage
door opener motor and then you have
30 seconds to complete the next two
steps.
2. Return to your vehicle.
167
F-150 (TFC) Canada/United States of America, enUSA, Edition date: 201808, Third-Printing- Garage Door Opener
(If Equipped)E188212 E142659
Page 173 of 644

12 V DC Power Point
WARNING: Do not plug optional
electrical accessories into the cigar
lighter socket. Incorrect use of the cigar
lighter can cause damage not covered
by the vehicle warranty, and can result
in fire or serious injury.
Note: When you switch the ignition on, you
can use the socket to power
12 V appliances
with a maximum current rating of 20 A20
amps.
Note: Do not plug in any device that
supplies power to the vehicle through the
power points, this may result in damage to
vehicle systems.
Note: Do not hang any accessory from the
accessory plug.
Note: Do not use the power point over the
vehicle capacity of 12 V DC 240 W or a fuse
may blow.
Note: Always keep the power point caps
closed when not in use.
Do not insert objects other than an
accessory plug into the power point. This
damages the power point and may blow
the fuse.
Run the vehicle for full capacity use of the
power point.
To prevent the battery from running out of
charge:
• Do not use the power point longer than
necessary when the engine is off.
• Do not leave devices plugged in
overnight or when you park your vehicle
for extended periods. 110 V 400 Watt AC Power Point
(If
Equipped) WARNING: Do not keep electrical
devices plugged in the power point
whenever the device is not in use. Do not
use any extension cord with the 110 volt
AC power point, since it will defeat the
safety protection design. Doing so may
cause the power point to overload due
to powering multiple devices that can
reach beyond the 400 watt load limit
and could result in fire or serious injury.
Note: This feature works only when you
have the ignition switched on.
Note: This feature has a maximum output
of 400 watts when the vehicle is in park (P).
Note: While in drive (D), the maximum
outlet output is 300 watts.
Note: When powering electric devices that
require more than 10 watts in vehicles
equipped with keyless start, the engine must
remain running. If the engine is turned off or
you switch the ignition to accessory mode,
plugged in devices will not be charged.
You can use the power point for electric
devices that require up to 400 watts. It is
on the instrument panel, and the rear of
the center console. 170
F-150 (TFC) Canada/United States of America, enUSA, Edition date: 201808, Third-Printing- Auxiliary Power PointsE191617