Page 177 of 332

•Avoid using speed control when AutoStick is engaged
because the transmission will not shift automatically.
• Transmission shifting will be more noticeable when
AutoStick is enabled.
• The system may revert to automatic shift mode if a fault
or overheat condition is detected.
To disengage AutoStick mode, return the gear selector to
the DRIVE position. You can shift in or out of the AutoStick
position at any time without taking your foot off the
accelerator pedal.
WARNING!
Do not downshift for additional engine braking on a
slippery surface. The drive wheels could lose their grip
and the vehicle could skid, causing a collision or
personal injury.
SPORT MODE
The Sport mode increases steering feedback to the driver
with slight increases in effort and throttle pedal-to-engine
response. Changes to the transmission shift schedules for
more aggressive shifting will occur on automatic transmis-
sion versions.
Sport driving mode is useful while driving on winding
roads where more steering precision is desired.
SPORT Button
6
STARTING AND OPERATING 175
Page 178 of 332

Manual Transmission — If Equipped
1. Push the SPORT button, located above the climatecontrols to activate SPORT mode.
NOTE: Once activated, a SPORT message will be dis-
played in the instrument cluster.
2. Momentarily release the accelerator pedal.
3. Press the accelerator pedal again to activate.
4. Push the SPORT button again to return to the standard driving mode.
Automatic Transmission — If Equipped
1. Push the SPORT button, located above the climate controls to activate SPORT mode.
NOTE: Once SPORT mode is activated, a “SPORT” mes-
sage will be displayed in the instrument cluster. The
“SPORT” message may change to italicfont and only
display for a few seconds on some models.
2. Push the SPORT button again to return to the standard driving mode.POWER STEERING
The electric power steering system will give you good
vehicle response and increased ease of maneuverability in
tight spaces. The system will vary its assist to provide light
efforts while parking and good feel while driving. If the
electric steering system experiences a fault that prevents it
from providing assist, you will still have the ability to steer
the vehicle manually.
WARNING!
Continued operation with reduced or no power steer-
ing assist could pose a safety risk to yourself and
others. Service should be obtained as soon as possible.
If the Steering icon is flashing, it indicates that the vehicle
needs to be taken to an authorized dealer for service. It is
likely the vehicle has lost power steering assistance.
If the Steering icon is displayed and the “SERVICE POWER
STEERING” message is displayed on the instrument clus-
ter screen, they indicate that extreme steering maneuvers
may have occurred which caused an over temperature
condition in the power steering system. Once driving
conditions are safe, pull over and let the vehicle idle for a
176 STARTING AND OPERATING
Page 209 of 332

Using The Deflation ButtonPush the Deflation Button (9) to reduce the air
pressure in the tire if it becomes over-inflated.
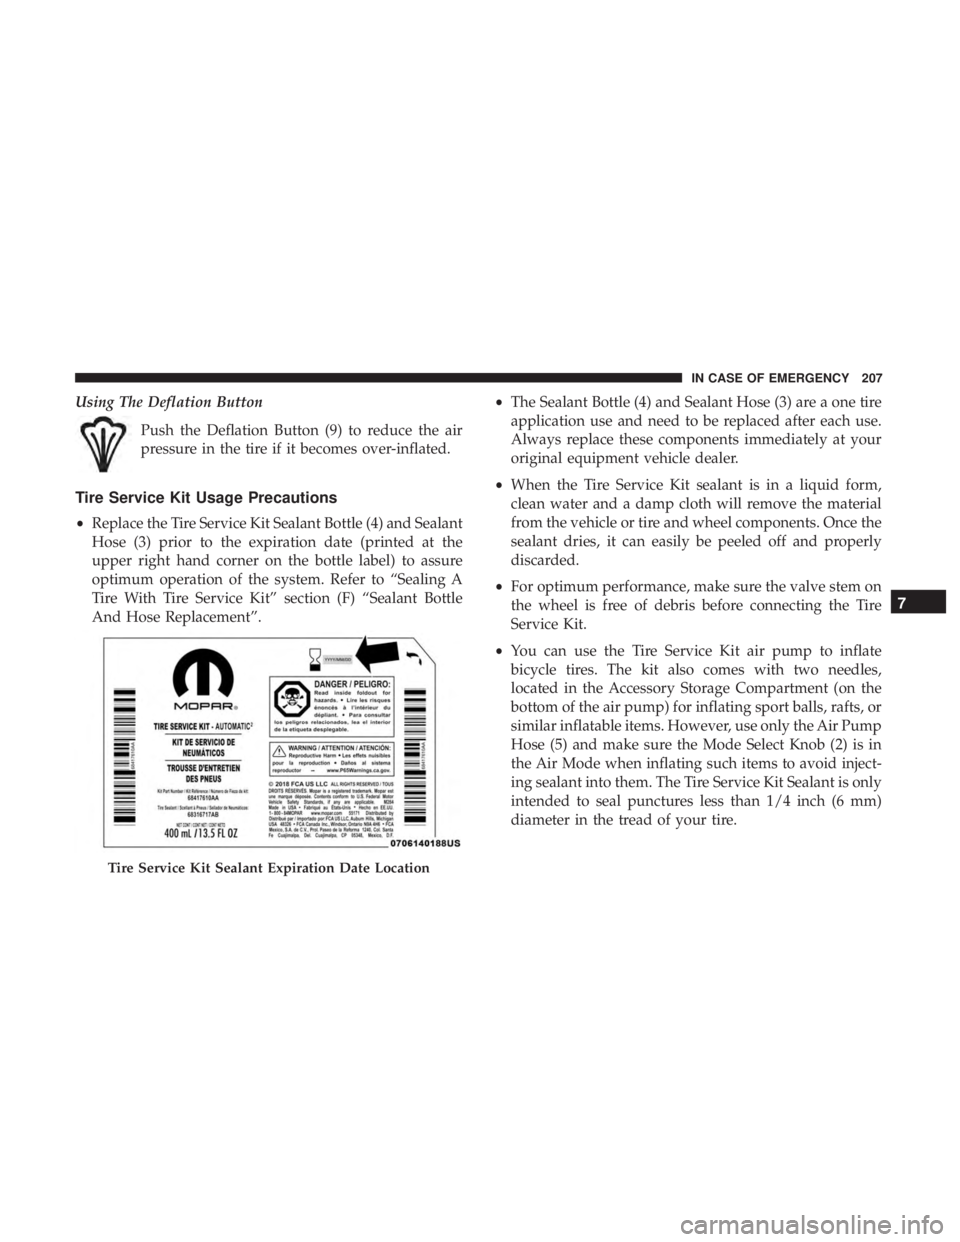
Tire Service Kit Usage Precautions
•Replace the Tire Service Kit Sealant Bottle (4) and Sealant
Hose (3) prior to the expiration date (printed at the
upper right hand corner on the bottle label) to assure
optimum operation of the system. Refer to “Sealing A
Tire With Tire Service Kit” section (F) “Sealant Bottle
And Hose Replacement”. •
The Sealant Bottle (4) and Sealant Hose (3) are a one tire
application use and need to be replaced after each use.
Always replace these components immediately at your
original equipment vehicle dealer.
• When the Tire Service Kit sealant is in a liquid form,
clean water and a damp cloth will remove the material
from the vehicle or tire and wheel components. Once the
sealant dries, it can easily be peeled off and properly
discarded.
• For optimum performance, make sure the valve stem on
the wheel is free of debris before connecting the Tire
Service Kit.
• You can use the Tire Service Kit air pump to inflate
bicycle tires. The kit also comes with two needles,
located in the Accessory Storage Compartment (on the
bottom of the air pump) for inflating sport balls, rafts, or
similar inflatable items. However, use only the Air Pump
Hose (5) and make sure the Mode Select Knob (2) is in
the Air Mode when inflating such items to avoid inject-
ing sealant into them. The Tire Service Kit Sealant is only
intended to seal punctures less than 1/4 inch (6 mm)
diameter in the tread of your tire.
Tire Service Kit Sealant Expiration Date Location
7
IN CASE OF EMERGENCY 207
Page 327 of 332

Shift Lever Override....................... .216
Shift Speeds, Manual Transmission ..............166
Shoulder Belts .............................116
Side View Mirror Adjustment ...................34
Signals, Turn ..................... .37, 40, 95, 157
Snow Chains (Tire Chains) ....................269
Snow Tires .............................. .265
Spare Tires ........................ .265, 266, 267
Spark Plugs ............................. .287
Speed Control Cancel ............................... .180
Speed Control (Cruise Control) .................177
Sport Mode .............................. .175
Starting ................................ .161
Automatic Transmission ....................161
Button .................................19
Cold Weather .......................... .161
Engine Fails To Start ..................... .162
Manual Transmission ..................... .161
Steering Power ............................... .176
Tilt Column .............................34
Wheel, Heated ...........................34
Wheel, Tilt ..............................34
Steering Wheel Audio Controls .................301Storage
.............................. .67, 272
Storing Your Vehicle .........................56
Stuck, Freeing ............................ .217
Sun Roof .................................59
Synthetic Engine Oil ....................... .233
Telescoping Steering Column ...................34
Temperature Control, Automatic (ATC) ............54
Tilt Steering Column .........................34
Time Delay Headlight ...............................37
Tire And Loading Information Placard ............254
Tire Markings ............................ .250
Tires......................... .157, 258, 265, 271
Aging (Life Of Tires) ..................... .262
Air Pressure ........................... .258
Chains ............................... .269
Changing ............................. .250
Compact
Spare......................... .266
General Information ...................258, 265
High Speed ............................ .260
Inflation Pressure ....................... .259
Jacking ............................... .250
Life Of Tires ........................... .262
Load Capacity ...................... .254, 255
12
INDEX 325