Page 347 of 572

3. When a trailer with electric/EOH brakes is plugged in,the trailer connected message should appear in the
instrument cluster display (if the connection is not
recognized by the ITBM, braking functions will not be
available), the GAIN setting will illuminate and the
correct type of trailer must be selected from the instru-
ment cluster display options.
4. Push the UP or DOWN button on the steering wheel until “TRAILER TOW” appears on the screen.
5. Push the RIGHT arrow on the steering wheel to enter “TRAILER TOW”.
6. Push the UP or DOWN buttons until the Trailer Brake Type appears on the screen.
7. Push the RIGHT arrow and then push the UP or DOWN buttons until the proper Trailer Brake Type appears on
the screen.
8. In a traffic-free environment, tow the trailer on a dry, level surface at a speed of 20–25 mph (30–40 km/h) and
squeeze the manual brake control lever completely.
9. If the trailer wheels lockup (indicated by squealing tires), reduce the GAIN setting; if the trailer wheels turn
freely, increase the GAIN setting. Repeat steps 8 and 9 until the GAIN setting is at a point just
below trailer wheel lockup. If towing a heavier trailer,
trailer wheel lockup may not be attainable even with the
maximum GAIN setting of 10.
Display Messages
The trailer brake control interacts with the instrument
cluster display. Display messages, along with a single
chime, will be displayed when a malfunction is determined
in the trailer connection, trailer brake control, or on the
trailer. Refer to “Instrument Cluster Display” in “Getting
To Know Your Instrument Panel” for further information.
WARNING!
Connecting a trailer that is not compatible with the
ITBM system may result in reduced or complete loss of
trailer braking. There may be a increase in stopping
distance or trailer instability which could result in
personal injury.
6
STARTING AND OPERATING 345
Page 482 of 572
Doors & Locks
After pressing the “Doors & Locks” button on the touch-
screen, the following settings will be available:
Setting NameSelectable Options
Auto Door Locks On Off
NOTE:
When the “Auto Door Locks” feature is selected, all doors will lock automatically when the vehicle reaches a speed of
12 mph (20 km/h). Auto Unlock On Exit On Off
NOTE:
When this feature is selected, all doors unlock when the vehicle is stopped, the transmission is in the PARK or NEU-
TRAL position and the driver’s door is opened. Flash Lights With Lock On Off
Sound Horn With Lock Off1st Press 2nd Press
Sound Horn With Remote Start On
Off
480 MULTIMEDIA
Page 501 of 572
The following options can be selected:
•Pressing the STOP button will freeze the graph. Selecting
Play will clear the graph and restart the process over.
• Press the “+” or “–” buttons to change the history of the
graph. The selectable options are 30, 60, 90, and 120
seconds. The graph will expand or constrict depending
on the setting selected.
• Select the “Gear” display (if equipped) to turn the graph
gear markers on and off.
SRT DRIVE MODES
NOTE: The use of Sport Mode, Track Mode, or Launch
Control is not recommended when using the Roof Luggage
Rack to carry a load.
Your SRT vehicle is equipped with a Drive Modes feature
which allows for coordinating the operation of various
vehicle systems depending upon the type of driving be-
havior desired. The Drive Modes feature is controlled
through the head unit and may be accessed by performing
any of the following:
•Pressing the Drive Modes button on the console switch
on the Instrument Panel.
Drive Modes10
MULTIMEDIA 499
Page 534 of 572

NOTE:If you see the NAV icon on the bottom bar, or in the
Apps menus, of your touchscreen, you have the Uconnect
4C NAV system. If not, you have a Uconnect 4C system.
Get Started
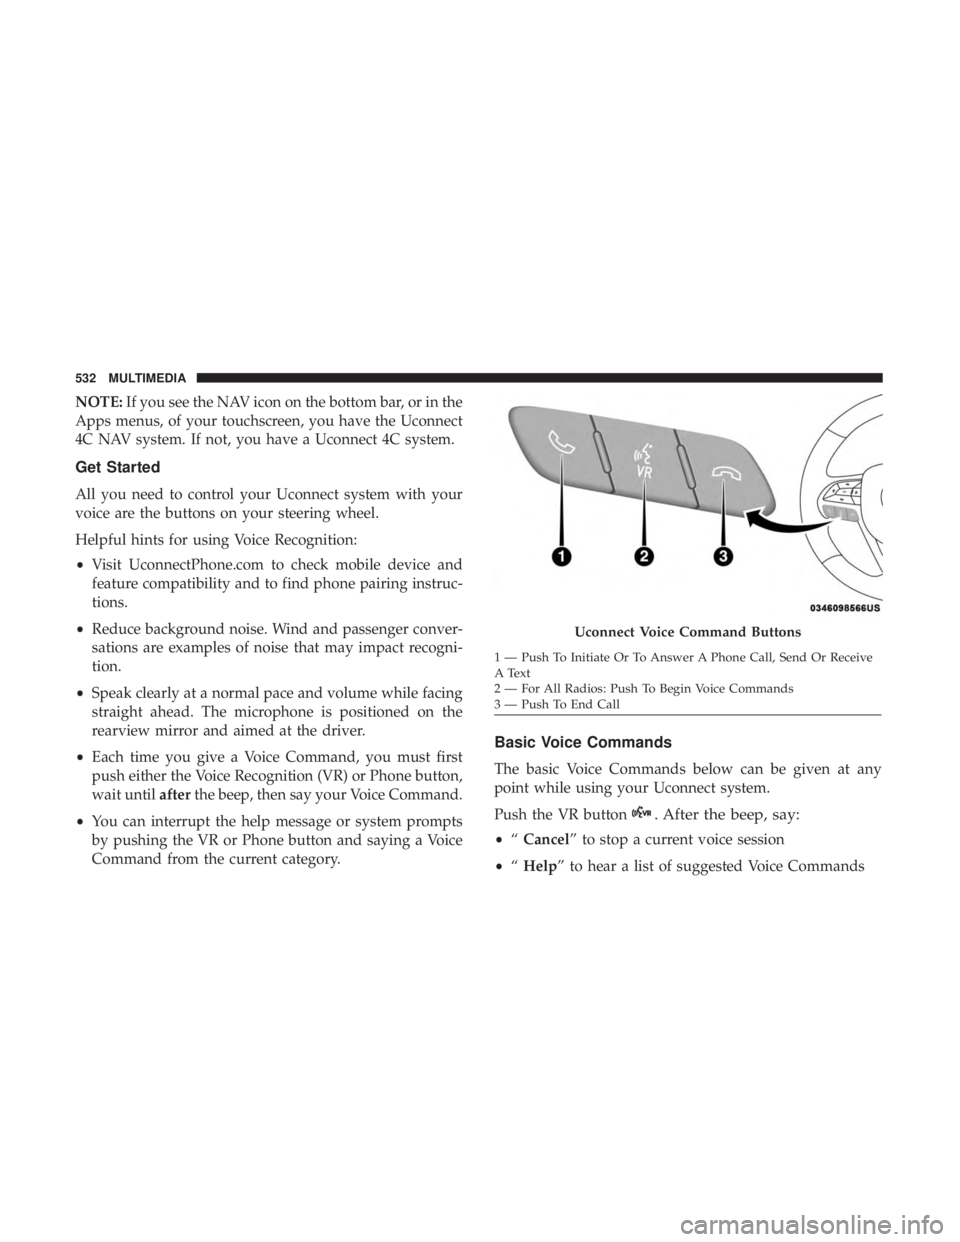
All you need to control your Uconnect system with your
voice are the buttons on your steering wheel.
Helpful hints for using Voice Recognition:
• Visit UconnectPhone.com to check mobile device and
feature compatibility and to find phone pairing instruc-
tions.
• Reduce background noise. Wind and passenger conver-
sations are examples of noise that may impact recogni-
tion.
• Speak clearly at a normal pace and volume while facing
straight ahead. The microphone is positioned on the
rearview mirror and aimed at the driver.
• Each time you give a Voice Command, you must first
push either the Voice Recognition (VR) or Phone button,
wait until afterthe beep, then say your Voice Command.
• You can interrupt the help message or system prompts
by pushing the VR or Phone button and saying a Voice
Command from the current category.
Basic Voice Commands
The basic Voice Commands below can be given at any
point while using your Uconnect system.
Push the VR button
. After the beep, say:
• “Cancel” to stop a current voice session
• “Help” to hear a list of suggested Voice Commands
Uconnect Voice Command Buttons
1 — Push To Initiate Or To Answer A Phone Call, Send Or Receive
A Text
2 — For All Radios: Push To Begin Voice Commands
3 — Push To End Call
532 MULTIMEDIA
Page:
< prev 1-8 9-16 17-24