Page 314 of 560

NOTE:
•Your vehicle may be transmitting data as authorized by
the subscriber.
• Never place anything on or near the vehicle’s LTE
(voice/data) or 4G (data) and GPS antennas. You could
prevent LTE (voice/data) or 4G (data) and GPS signal
reception, which can prevent your vehicle from placing
an emergency call. An operable LTE (voice/data) or 4G
(data) network connection and a GPS signal is required
for the SOS Call system to function properly.
General Information
This device complies with Part 15 of the FCC Rules.
Operation is subject to the following two conditions: (1)
This device may not cause harmful interference, and (2)
this device must accept any interference received, includ-
ing interference that may cause undesired operation.
NOTE: Changes or modifications not expressly approved
by the party responsible for compliance could void the
user’s authority to operate the equipment.CAUTION!
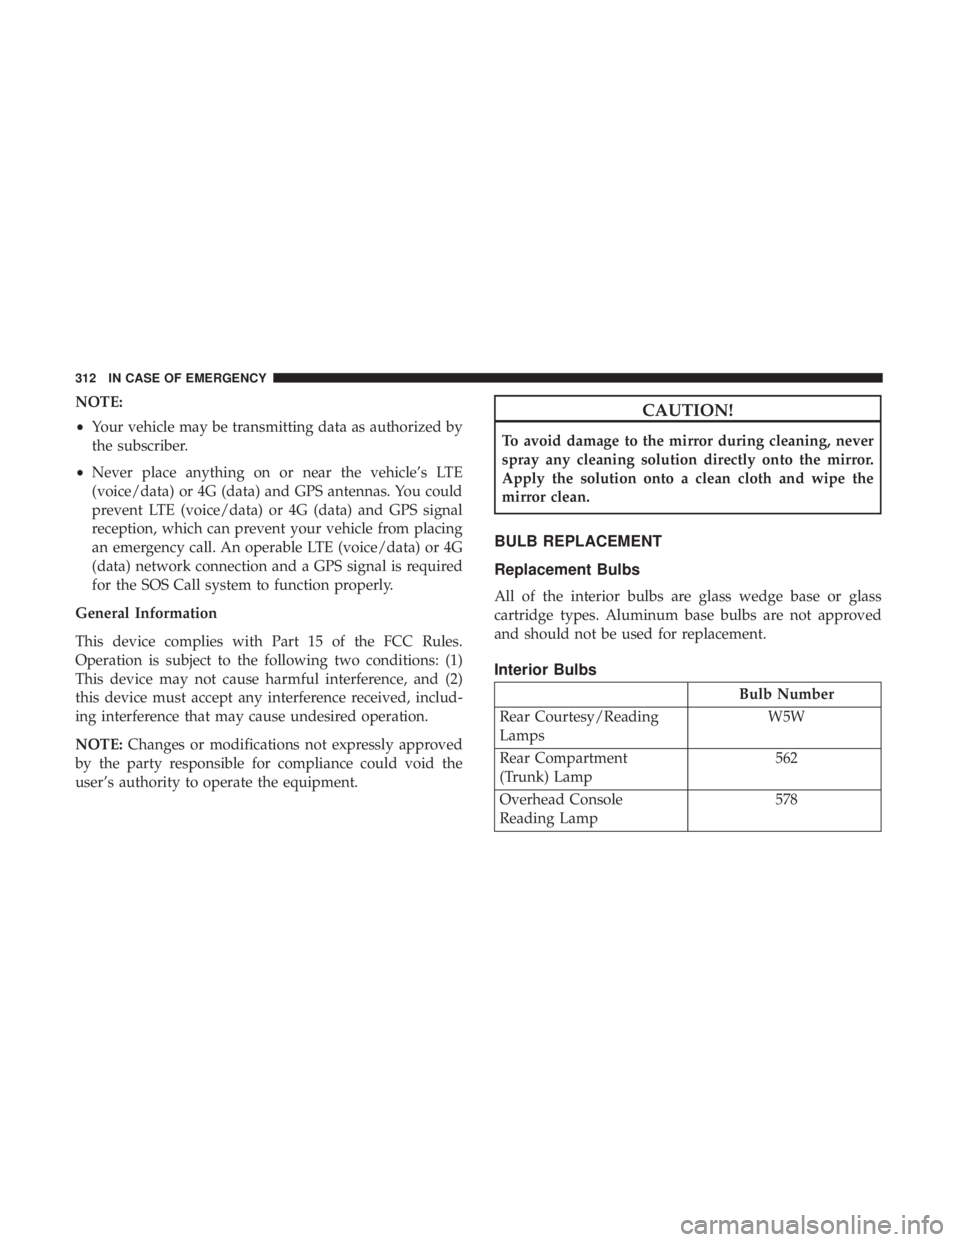
To avoid damage to the mirror during cleaning, never
spray any cleaning solution directly onto the mirror.
Apply the solution onto a clean cloth and wipe the
mirror clean.
BULB REPLACEMENT
Replacement Bulbs
All of the interior bulbs are glass wedge base or glass
cartridge types. Aluminum base bulbs are not approved
and should not be used for replacement.
Interior Bulbs
Bulb Number
Rear Courtesy/Reading
Lamps W5W
Rear Compartment
(Trunk) Lamp 562
Overhead Console
Reading Lamp 578
312 IN CASE OF EMERGENCY
Page 325 of 560
Cavity Cartridge FuseMini-FuseDescription
33 –15 Amp Blue Ignition Switch/RF Hub Module/Steering
Column Lock (300) – If Equipped
34 –10 Amp Red Steering Column Module/Clock (300)
35 –5 Amp Tan Battery Sensor
36 –15 Amp Blue Electronic Exhaust Valve – If Equipped
37 –20 Amp Yellow Radio
38 –20 Amp Yellow
Power Outlet Inside Arm Rest/Console Media Hub
4030 Amp Pink –Fuel Pump (6.2L SRT HO – If Equipped)
41 30 Amp Pink –Fuel Pump (6.2L SRT HO – If Equipped)
42 30 Amp Pink –Rear Defrost
43 –20 Amp Yellow Comfort Seat And Steering Wheel Module
(Heated Steering Wheel/RR Heated Seats)
44 –10 Amp Red Park Assist / Blind Spot / Rear View Camera
45 –15 Amp Blue Cluster / Rearview Mirror / Compass (Charger/
300) / Humidity Sensor / Forward Facing
Camera (Lane Departure) / Cyber Gateway
46 – –Fuse – Spare
47 –10 Amp Red Adaptive Front Lighting / Day Time Running
Lamps – If Equipped
48 –20 Amp Yellow Active Suspension – (6.4L / 6.2L)
7
IN CASE OF EMERGENCY 323
Page 327 of 560

Cavity Cartridge FuseMini-FuseDescription
View Mirror / Police Run Acc Relay
68 –10 Amp Red Dual USB Power Outlet – R/A Sense (Charger/
300) Rear Sunshade (Charger/300) RR USB Timer
69 – –Fuse – Spare
70 – –Fuse – Spare
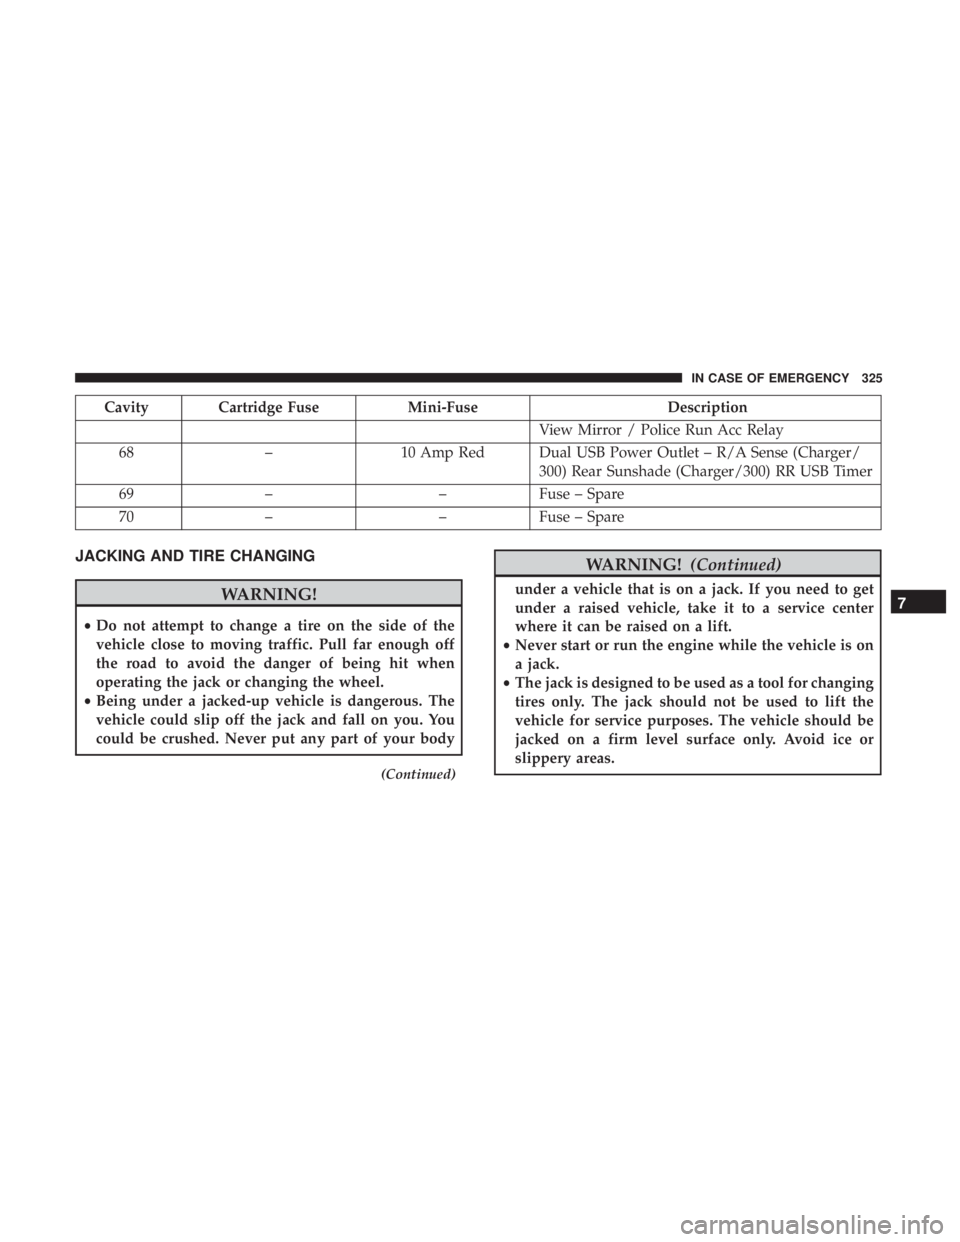
JACKING AND TIRE CHANGING
WARNING!
•Do not attempt to change a tire on the side of the
vehicle close to moving traffic. Pull far enough off
the road to avoid the danger of being hit when
operating the jack or changing the wheel.
• Being under a jacked-up vehicle is dangerous. The
vehicle could slip off the jack and fall on you. You
could be crushed. Never put any part of your body
(Continued)
WARNING! (Continued)
under a vehicle that is on a jack. If you need to get
under a raised vehicle, take it to a service center
where it can be raised on a lift.
• Never start or run the engine while the vehicle is on
a jack.
• The jack is designed to be used as a tool for changing
tires only. The jack should not be used to lift the
vehicle for service purposes. The vehicle should be
jacked on a firm level surface only. Avoid ice or
slippery areas.7
IN CASE OF EMERGENCY 325
Page 426 of 560

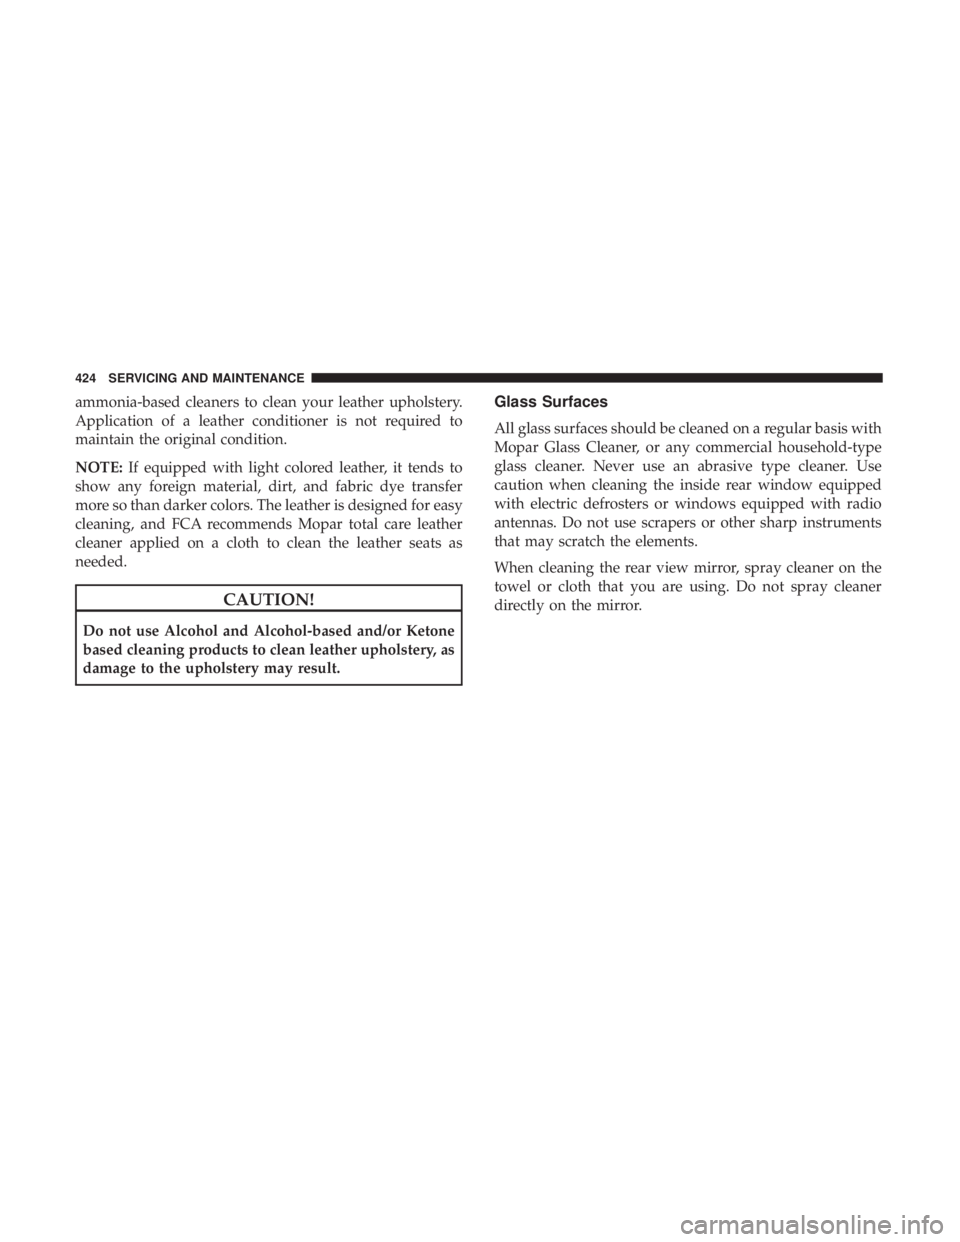
ammonia-based cleaners to clean your leather upholstery.
Application of a leather conditioner is not required to
maintain the original condition.
NOTE:If equipped with light colored leather, it tends to
show any foreign material, dirt, and fabric dye transfer
more so than darker colors. The leather is designed for easy
cleaning, and FCA recommends Mopar total care leather
cleaner applied on a cloth to clean the leather seats as
needed.
CAUTION!
Do not use Alcohol and Alcohol-based and/or Ketone
based cleaning products to clean leather upholstery, as
damage to the upholstery may result.
Glass Surfaces
All glass surfaces should be cleaned on a regular basis with
Mopar Glass Cleaner, or any commercial household-type
glass cleaner. Never use an abrasive type cleaner. Use
caution when cleaning the inside rear window equipped
with electric defrosters or windows equipped with radio
antennas. Do not use scrapers or other sharp instruments
that may scratch the elements.
When cleaning the rear view mirror, spray cleaner on the
towel or cloth that you are using. Do not spray cleaner
directly on the mirror.
424 SERVICING AND MAINTENANCE
Page 455 of 560

Setting NameSelectable Options
ParkView Backup Camera Delay OnOff
NOTE:
When the vehicle is shifted out of REVERSE (with camera delay turned off), the rear camera mode is exited and the
navigation or audio screen appears again. When the vehicle is shifted out of REVERSE (with camera delay turned
on), the rear view image with dynamic grid lines will be displayed for up to ten seconds after shifting out of “RE-
VERSE” unless the forward vehicle speed exceeds 8 mph (13 km/h), the transmission is shifted into PARK or the
ignition is switched to the off position. To set the ParkView Backup Camera Delay press the “Controls” button on the
touchscreen, the “settings” button on the touchscreen, then the “Safety & Assistance” button on the touchscreen. Blind Spot Alert — If Equipped OffLightsLights & Chime
NOTE:
•When the feature “Blind Spot Alert” is selected, the Blind Spot Alert feature Provides alerts, visual and/or audible,
to indicate objects in your blind spot. The Blind Spot Alert feature can be activated in “Lights” mode. When this
mode is selected, the Blind Spot Monitor (BSM) system is activated and only shows a visual alert in the exterior
mirrors. When “Lights & Chime” mode is activated, the Blind Spot Monitor (BSM) shows a visual alert in the exte-
rior mirrors as well as an audible alert when the turn signal is on. When “Off” is selected, the Blind Spot Monitor
(BSM) system is deactivated.
•If your vehicle has experienced any damage in the area where the sensor is located, even if the fascia is not
damaged, the sensor may have become misaligned. Take your vehicle to an authorized dealer to verify sensor
alignment. Having a sensor that is misaligned results in the BSM not operating to specification.
10
MULTIMEDIA 453
Page 459 of 560
Setting NameSelectable Options
1st Press of Key Fob Unlocks AllDriver
NOTE:
This feature allows you to program your remote door locks to open “All doors” or only the “Driver door” with the
first push of the key fob or grabbing the Passive Entry door handle. Passive Entry — If Equipped OnOff
NOTE:
This feature allows you to lock and unlock the vehicle’s door(s) without having to push the key fob lock or unlock
buttons. It automatically unlocks the doors when the outside door handle is grabbed. Personal Settings Linked To Key Fob — If Equipped On
Off
NOTE:
•This feature provides automatic recall of all settings stored to a memory location (driver ’s seat, exterior mirrors,
steering column position and radio station pre-sets) to enhance driver mobility when entering and exiting the
vehicle.
•The seat returns to the memorized seat location (if Personal Settings Linked to Key Fob is set to on) when the key
fob is used to unlock the door.
10
MULTIMEDIA 457
Page 462 of 560

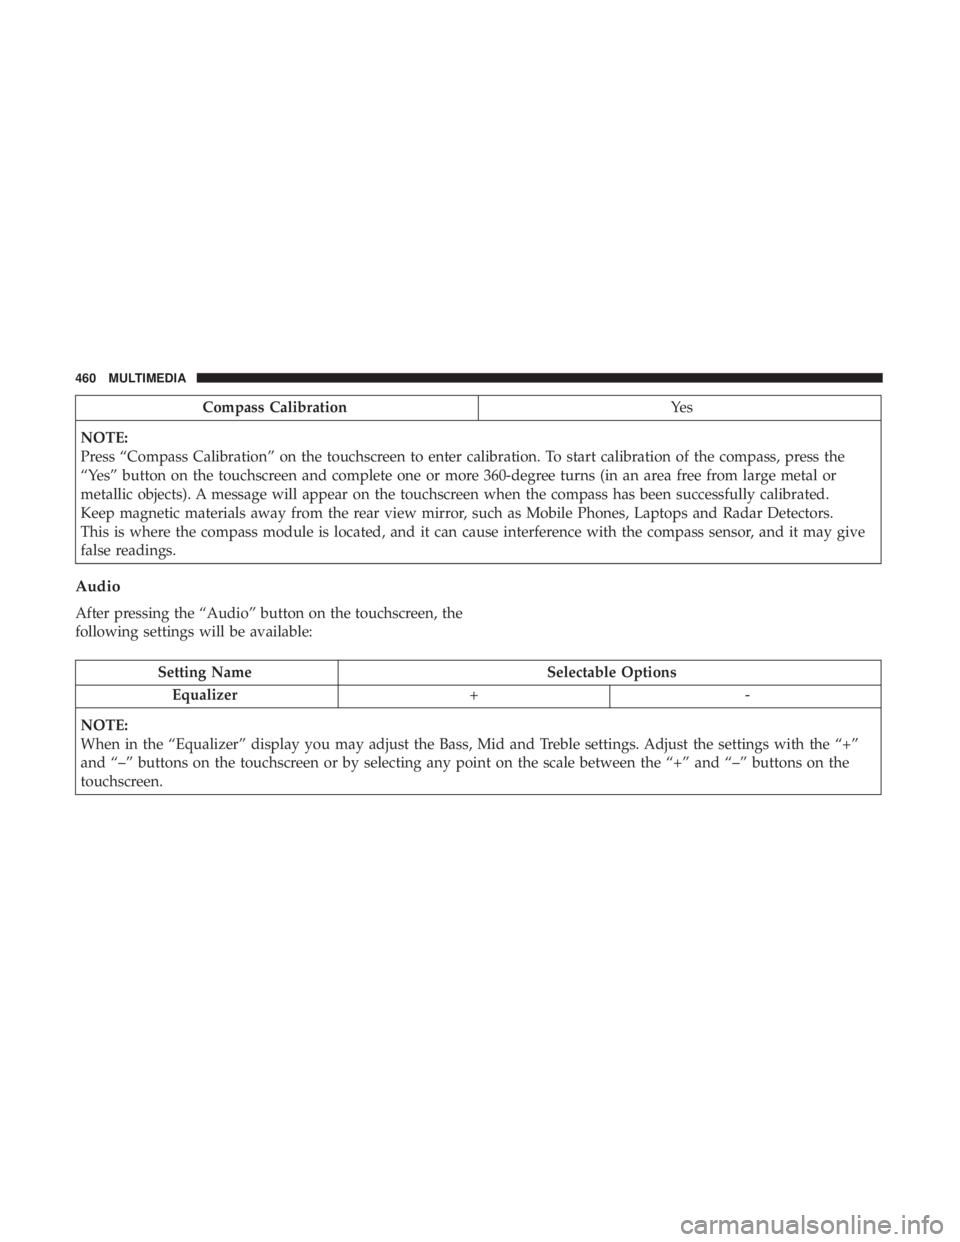
Compass CalibrationYe s
NOTE:
Press “Compass Calibration” on the touchscreen to enter calibration. To start calibration of the compass, press the
“Yes” button on the touchscreen and complete one or more 360-degree turns (in an area free from large metal or
metallic objects). A message will appear on the touchscreen when the compass has been successfully calibrated.
Keep magnetic materials away from the rear view mirror, such as Mobile Phones, Laptops and Radar Detectors.
This is where the compass module is located, and it can cause interference with the compass sensor, and it may give
false readings.
Audio
After pressing the “Audio” button on the touchscreen, the
following settings will be available:
Setting Name Selectable Options
Equalizer +-
NOTE:
When in the “Equalizer” display you may adjust the Bass, Mid and Treble settings. Adjust the settings with the “+”
and “–” buttons on the touchscreen or by selecting any point on the scale between the “+” and “–” buttons on the
touchscreen.
460 MULTIMEDIA
Page 468 of 560

Customer Programmable Features — Uconnect
4C/4C NAV Settings
Press the “Apps”button (if equipped), and then press
the “Settings” button on the touchscreen to display the
menu setting screen. In this mode, the Uconnect system
allows you to access programmable features that may be
equipped such as Language, Display, Units, Voice, Clock
& Date, Safety & Driving Assistance, Mirrors & Wipers,
Lights, Doors & Locks, Auto-On Comfort, Key Off
Options, Audio, Phone/Bluetooth, SiriusXM Setup, Reset,
and System Information.
NOTE: Depending on the vehicle’s options, feature set-
tings may vary. When making a selection, press the button on the touch-
screen to enter the desired mode. Once in the desired
mode, press and release the preferred setting “option” until
a check-mark appears next to the setting, showing that
setting has been selected. Once the setting is complete,
press the “X” button on the touchscreen to close out of the
settings screen. Pressing the up or down arrow button on
the right side of the screen will allow you to toggle up or
down through the available settings.
Language
After pressing the “Language” button on the touchscreen,
the following settings will be available:
Setting Name
Selectable Options
Set Language EnglishFrançais Español
Display
After pressing the “Display” button on the touchscreen, the
following settings will be available:
Setting Name Selectable Options
Display Mode AutoManual
466 MULTIMEDIA