2019 DODGE CHARGER oil pan
[x] Cancel search: oil panPage 237 of 560
100 to 300 miles (161 to 483 km):
•Press the accelerator pedal slowly and not more than
halfway to avoid rapid acceleration in lower gears (1st to
3rd gears).
• Avoid aggressive braking.
• Drive with the engine speed less than 5,000 RPM.
• Maintain vehicle speed below 70 mph (112 km/h) and
observe local speed limits.
300 to 500 miles (483 to 805 km):
• Exercise the full engine rpm range, shifting manually
(paddles or gear shift) at higher rpms when possible.
• Do not perform sustained operation with the accelerator
pedal at wide open throttle.
• Maintain vehicle speed below 85 mph (136 km/h) and
observe local speed limits.
For the first 1500 miles (2414 km):
• Do not participate in track events, sport driving schools,
or similar activities during the first 1500 miles (2414 km).
NOTE: Check engine oil with every refueling and add if
necessary. Oil and fuel consumption may be higher
through the first oil change interval.PARKING BRAKE
Before leaving the vehicle, make sure that the parking
brake is fully applied and place the gear selector in the
PARK position.
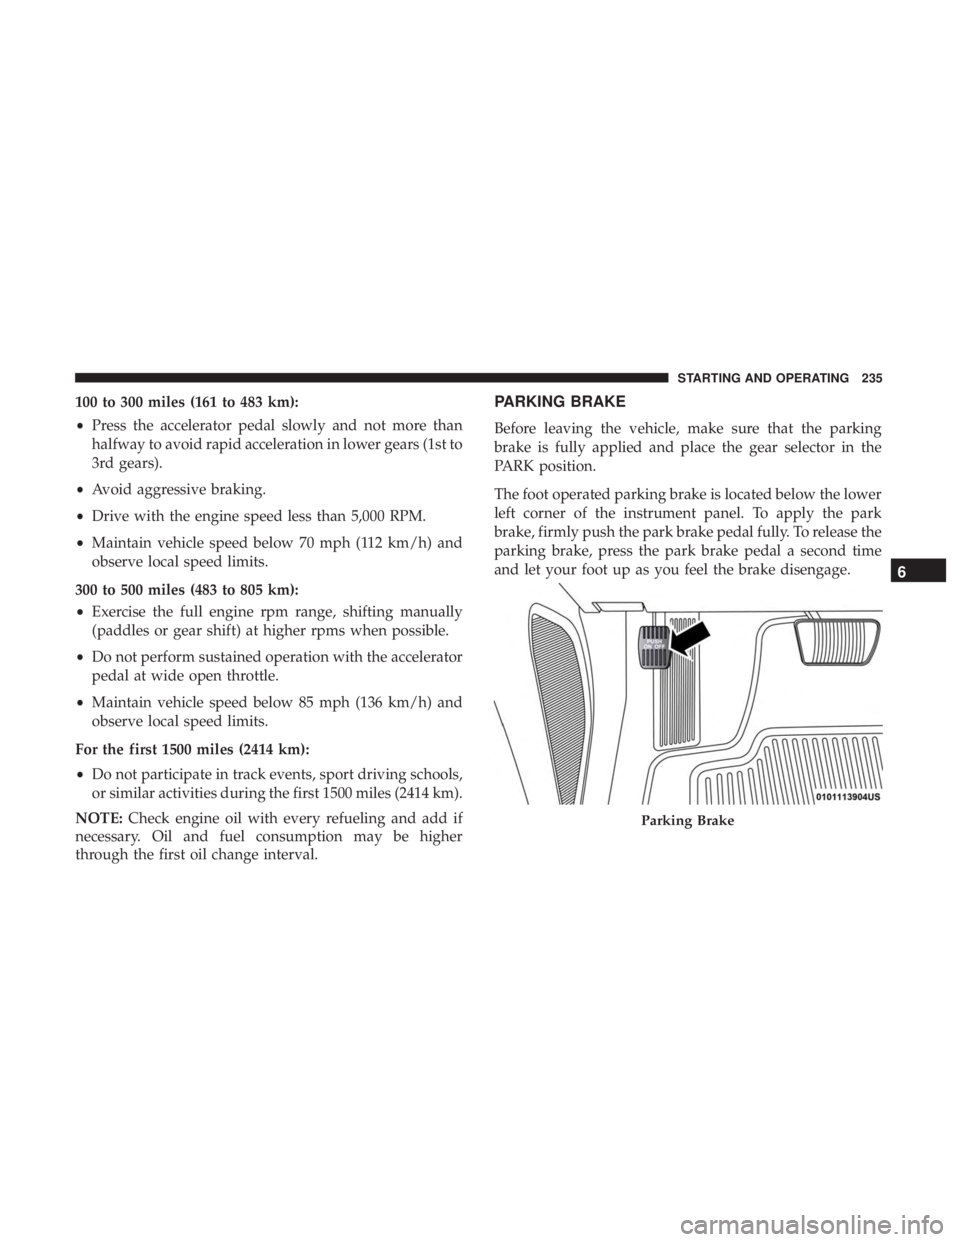
The foot operated parking brake is located below the lower
left corner of the instrument panel. To apply the park
brake, firmly push the park brake pedal fully. To release the
parking brake, press the park brake pedal a second time
and let your foot up as you feel the brake disengage.
Parking Brake
6
STARTING AND OPERATING 235
Page 341 of 560
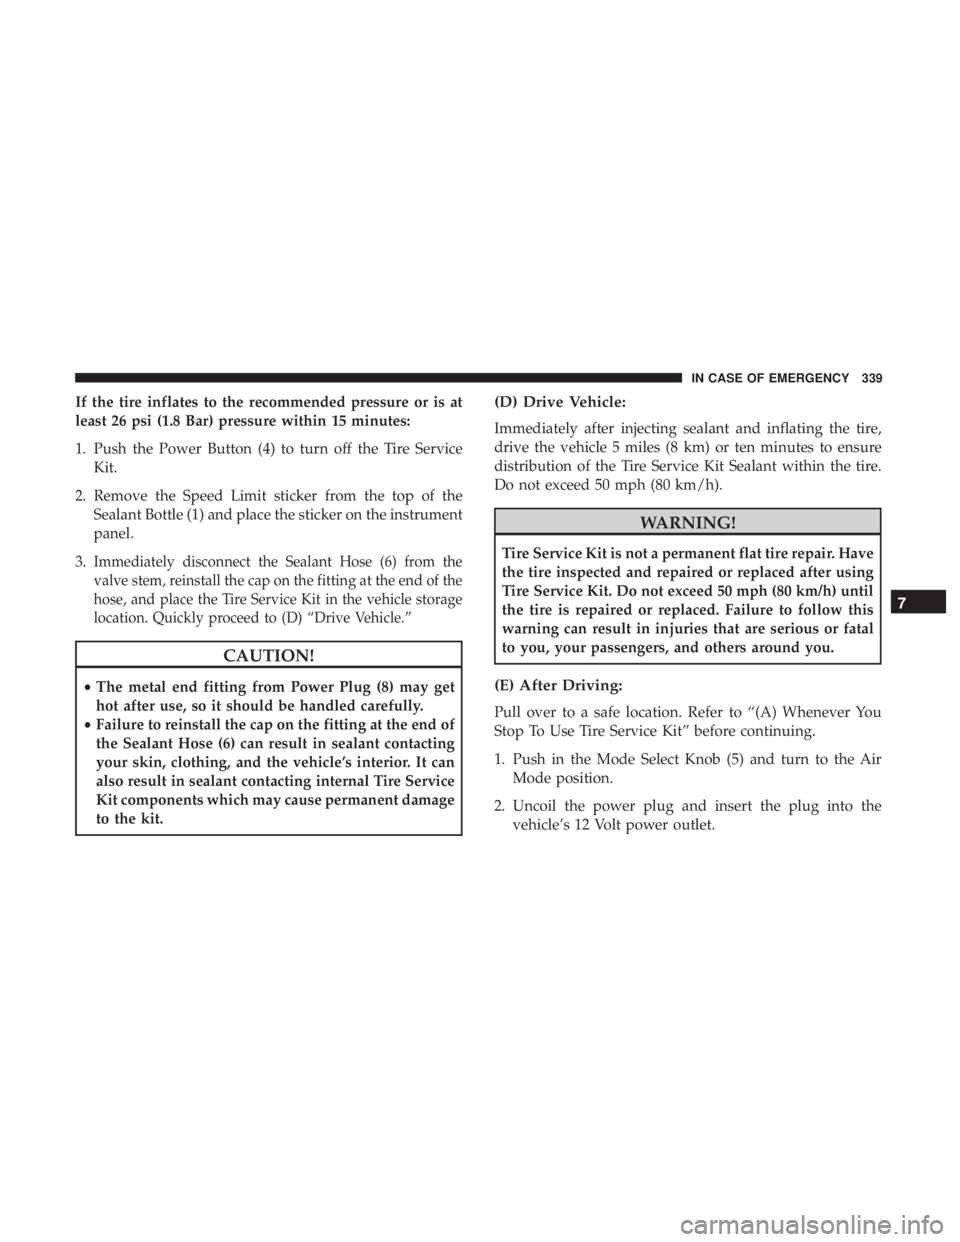
If the tire inflates to the recommended pressure or is at
least 26 psi (1.8 Bar) pressure within 15 minutes:
1. Push the Power Button (4) to turn off the Tire ServiceKit.
2. Remove the Speed Limit sticker from the top of the Sealant Bottle (1) and place the sticker on the instrument
panel.
3.
Immediately disconnect the Sealant Hose (6) from the
valve stem, reinstall the cap on the fitting at the end of the
hose, and place the Tire Service Kit in the vehicle storage
location. Quickly proceed to (D) “Drive Vehicle.”
CAUTION!
• The metal end fitting from Power Plug (8) may get
hot after use, so it should be handled carefully.
• Failure to reinstall the cap on the fitting at the end of
the Sealant Hose (6) can result in sealant contacting
your skin, clothing, and the vehicle’s interior. It can
also result in sealant contacting internal Tire Service
Kit components which may cause permanent damage
to the kit.
(D) Drive Vehicle:
Immediately after injecting sealant and inflating the tire,
drive the vehicle 5 miles (8 km) or ten minutes to ensure
distribution of the Tire Service Kit Sealant within the tire.
Do not exceed 50 mph (80 km/h).
WARNING!
Tire Service Kit is not a permanent flat tire repair. Have
the tire inspected and repaired or replaced after using
Tire Service Kit. Do not exceed 50 mph (80 km/h) until
the tire is repaired or replaced. Failure to follow this
warning can result in injuries that are serious or fatal
to you, your passengers, and others around you.
(E) After Driving:
Pull over to a safe location. Refer to “(A) Whenever You
Stop To Use Tire Service Kit” before continuing.
1. Push in the Mode Select Knob (5) and turn to the Air Mode position.
2. Uncoil the power plug and insert the plug into the vehicle’s 12 Volt power outlet.
7
IN CASE OF EMERGENCY 339
Page 342 of 560
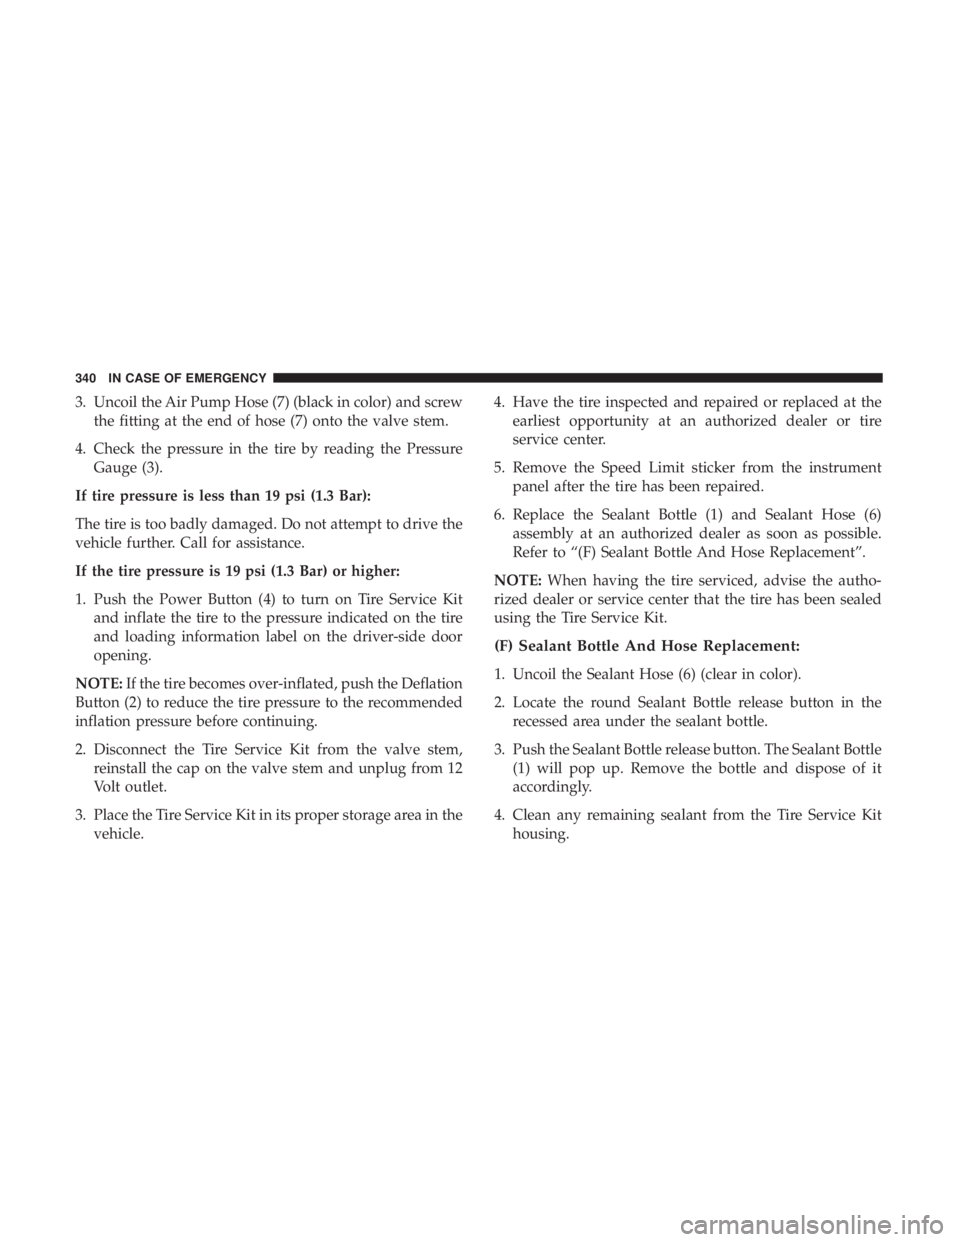
3. Uncoil the Air Pump Hose (7) (black in color) and screwthe fitting at the end of hose (7) onto the valve stem.
4. Check the pressure in the tire by reading the Pressure Gauge (3).
If tire pressure is less than 19 psi (1.3 Bar):
The tire is too badly damaged. Do not attempt to drive the
vehicle further. Call for assistance.
If the tire pressure is 19 psi (1.3 Bar) or higher:
1. Push the Power Button (4) to turn on Tire Service Kit and inflate the tire to the pressure indicated on the tire
and loading information label on the driver-side door
opening.
NOTE: If the tire becomes over-inflated, push the Deflation
Button (2) to reduce the tire pressure to the recommended
inflation pressure before continuing.
2. Disconnect the Tire Service Kit from the valve stem, reinstall the cap on the valve stem and unplug from 12
Volt outlet.
3. Place the Tire Service Kit in its proper storage area in the vehicle. 4. Have the tire inspected and repaired or replaced at the
earliest opportunity at an authorized dealer or tire
service center.
5. Remove the Speed Limit sticker from the instrument panel after the tire has been repaired.
6. Replace the Sealant Bottle (1) and Sealant Hose (6) assembly at an authorized dealer as soon as possible.
Refer to “(F) Sealant Bottle And Hose Replacement”.
NOTE: When having the tire serviced, advise the autho-
rized dealer or service center that the tire has been sealed
using the Tire Service Kit.
(F) Sealant Bottle And Hose Replacement:
1. Uncoil the Sealant Hose (6) (clear in color).
2. Locate the round Sealant Bottle release button in the recessed area under the sealant bottle.
3. Push the Sealant Bottle release button. The Sealant Bottle (1) will pop up. Remove the bottle and dispose of it
accordingly.
4. Clean any remaining sealant from the Tire Service Kit housing.
340 IN CASE OF EMERGENCY
Page 349 of 560
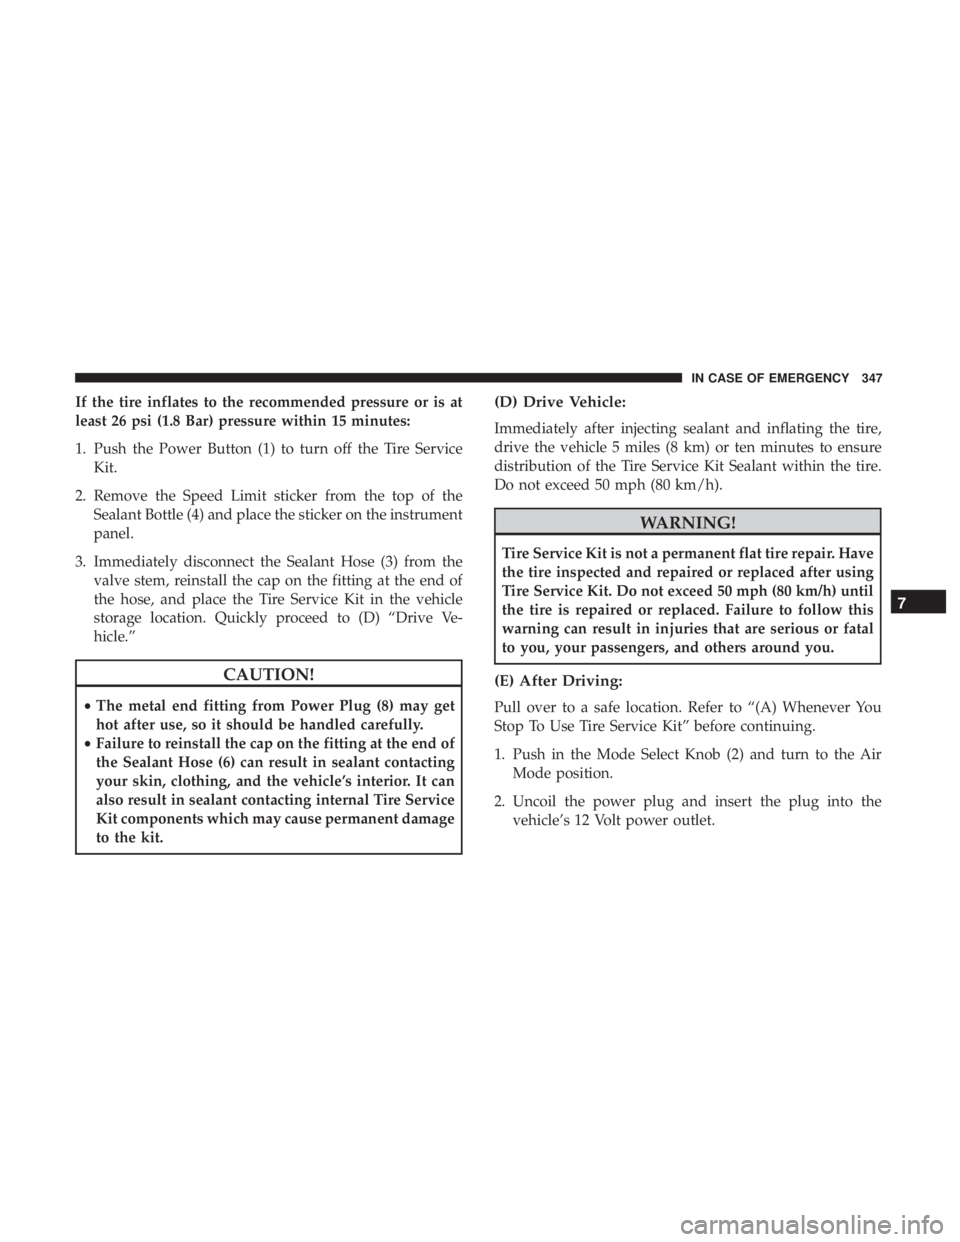
If the tire inflates to the recommended pressure or is at
least 26 psi (1.8 Bar) pressure within 15 minutes:
1. Push the Power Button (1) to turn off the Tire ServiceKit.
2. Remove the Speed Limit sticker from the top of the Sealant Bottle (4) and place the sticker on the instrument
panel.
3. Immediately disconnect the Sealant Hose (3) from the valve stem, reinstall the cap on the fitting at the end of
the hose, and place the Tire Service Kit in the vehicle
storage location. Quickly proceed to (D) “Drive Ve-
hicle.”
CAUTION!
•The metal end fitting from Power Plug (8) may get
hot after use, so it should be handled carefully.
• Failure to reinstall the cap on the fitting at the end of
the Sealant Hose (6) can result in sealant contacting
your skin, clothing, and the vehicle’s interior. It can
also result in sealant contacting internal Tire Service
Kit components which may cause permanent damage
to the kit.
(D) Drive Vehicle:
Immediately after injecting sealant and inflating the tire,
drive the vehicle 5 miles (8 km) or ten minutes to ensure
distribution of the Tire Service Kit Sealant within the tire.
Do not exceed 50 mph (80 km/h).
WARNING!
Tire Service Kit is not a permanent flat tire repair. Have
the tire inspected and repaired or replaced after using
Tire Service Kit. Do not exceed 50 mph (80 km/h) until
the tire is repaired or replaced. Failure to follow this
warning can result in injuries that are serious or fatal
to you, your passengers, and others around you.
(E) After Driving:
Pull over to a safe location. Refer to “(A) Whenever You
Stop To Use Tire Service Kit” before continuing.
1. Push in the Mode Select Knob (2) and turn to the Air Mode position.
2. Uncoil the power plug and insert the plug into the vehicle’s 12 Volt power outlet.
7
IN CASE OF EMERGENCY 347
Page 350 of 560
3. Uncoil the Air Pump Hose (5) (black in color) and screwthe fitting at the end of hose onto the valve stem.
4. Check the pressure in the tire by reading the Pressure Gauge (8).
If tire pressure is less than 19 psi (1.3 Bar):
The tire is too badly damaged. Do not attempt to drive the
vehicle further. Call for assistance.
If the tire pressure is 19 psi (1.3 Bar) or higher:
1. Push the Power Button (1) to turn on Tire Service Kit and inflate the tire to the pressure indicated on the tire
and loading information label on the driver-side door
opening.
NOTE: If the tire becomes over-inflated, push the Deflation
Button to reduce the tire pressure to the recommended
inflation pressure before continuing.
2. Disconnect the Tire Service Kit from the valve stem, reinstall the cap on the valve stem and unplug from
12 Volt outlet.
3. Place the Tire Service Kit in its proper storage area in the vehicle. 4. Have the tire inspected and repaired or replaced at the
earliest opportunity at an authorized dealer or tire
service center.
5. Remove the Speed Limit sticker from the instrument panel after the tire has been repaired.
6. Replace the Sealant Bottle (4) and Sealant Hose (3) assembly at an authorized dealer as soon as possible.
Refer to “(F) Sealant Bottle And Hose Replacement”.
NOTE: When having the tire serviced, advise the autho-
rized dealer or service center that the tire has been sealed
using the Tire Service Kit.
(F) Sealant Bottle And Hose Replacement:
1. Uncoil the Sealant Hose (3) (clear in color).
2. Locate the red colored round Sealant Bottle release button at the lower right hand corner of the kit.
3. Push and hold the Sealant Bottle release button, then pull out the bottle holding the button.
4. Clean any remaining sealant from the Tire Service Kit housing.
348 IN CASE OF EMERGENCY
Page 363 of 560
SCHEDULED SERVICING
3.6L And 5.7L Engines
Your vehicle is equipped with an automatic oil change
indicator system. The oil change indicator system will
remind you that it is time to take your vehicle in for
scheduled maintenance.
Based on engine operation conditions, the oil change
indicator message will illuminate. This means that service
is required for your vehicle. Operating conditions such as
frequent short-trips, trailer tow, extremely hot or cold
ambient temperatures, and E85 fuel usage will influence
when the “Change Oil” or “Oil Change Required” message
is displayed. Severe Operating Conditions can cause the
change oil message to illuminate as early as 3,500 miles
(5,600 km) since last reset. Have your vehicle serviced as
soon as possible, within the next 500 miles (800 km).
The “Oil Change Required” message will be displayed in
the instrument cluster and a single chime will sound,
indicating that an oil change is necessary.
Your authorized dealer will reset the oil change indicator
message after completing the scheduled oil change. If a
scheduled oil change is performed by someone other than
your authorized dealer, the message can be reset by referring
to “Instrument Cluster Display” in “Getting To Know Your
Instrument Panel” for further information.
NOTE:Under no circumstances should oil change inter-
vals exceed 10,000 miles (16,000 km), 12 months or
350 hours of engine run time, whichever comes first. The
350 hours of engine run or idle time is generally only a
concern for fleet customers.
Severe Duty All Models
Change Engine Oil at 4,000 miles (6,500 km) or 350 hours of
engine run time if the vehicle is operated in a dusty and
off-road environment, or is operated predominantly at idle
or only very low engine RPM’s. This type of vehicle use is
considered Severe Duty.
8
SERVICING AND MAINTENANCE 361
Page 367 of 560

Heavy Duty Use Of The Vehicle
Change engine oil at 4,000 miles (6,500 km) or 350 hours of
engine run time if the vehicle is operated in a dusty and off
road environment or is operated predominately at idle or
only very low engine RPM’s. This type of vehicle use is
considered Severe Duty.
6.4L Engine
The scheduled maintenance services listed in this manual
must be done at the times or mileages specified to protect
your vehicle warranty and ensure the best vehicle perfor-
mance and reliability. More frequent maintenance may be
needed for vehicles in severe operating conditions, such as
dusty areas and very short trip driving. Inspection and
service should also be done anytime a malfunction is
suspected.
The oil change indicator system will remind you that it is
time to take your vehicle in for scheduled maintenance.
A “Oil Change Required” message will be displayed in the
instrument cluster and a single chime will sound, indicat-
ing that an oil change is necessary.Based on engine operation conditions, the oil change
indicator message will illuminate. This means that service
is required for your vehicle. Have your vehicle serviced as
soon as possible, within the next 500 miles (800 km).
NOTE:
•
The oil change indicator message will not monitor the
time since the last oil change. Change your vehicle’s oil
if it has been six months since your last oil change, even
if the oil change indicator message is NOT illuminated.
• Change your engine oil more often if you drive your
vehicle off-road/track usage for an extended period of
time.
• Under no circumstances should oil change intervals
exceed 6,000 miles (10,000 km) or six months, whichever
comes first.
An authorized dealer will reset the oil change indicator
message after completing the scheduled oil change. If a
scheduled oil change is performed by someone other than
an authorized dealer, the message can be reset by referring
to the steps described under “Instrument Cluster Display”
in “Getting To Know Your Instrument Panel” for further
information.
8
SERVICING AND MAINTENANCE 365
Page 383 of 560
Refrigerant Recovery And Recycling — R–1234yf
R–1234yf Air Conditioning Refrigerant is a hydrofluo-
roolefin (HFO) that is endorsed by the Environmental
Protection Agency and is an ozone-friendly substance with
a low global-warming potential. The manufacturer recom-
mends that air conditioning service be performed by an
authorized dealer using recovery and recycling equipment.
NOTE:Use only manufacturer approved A/C system
PAG compressor oil, and refrigerants.
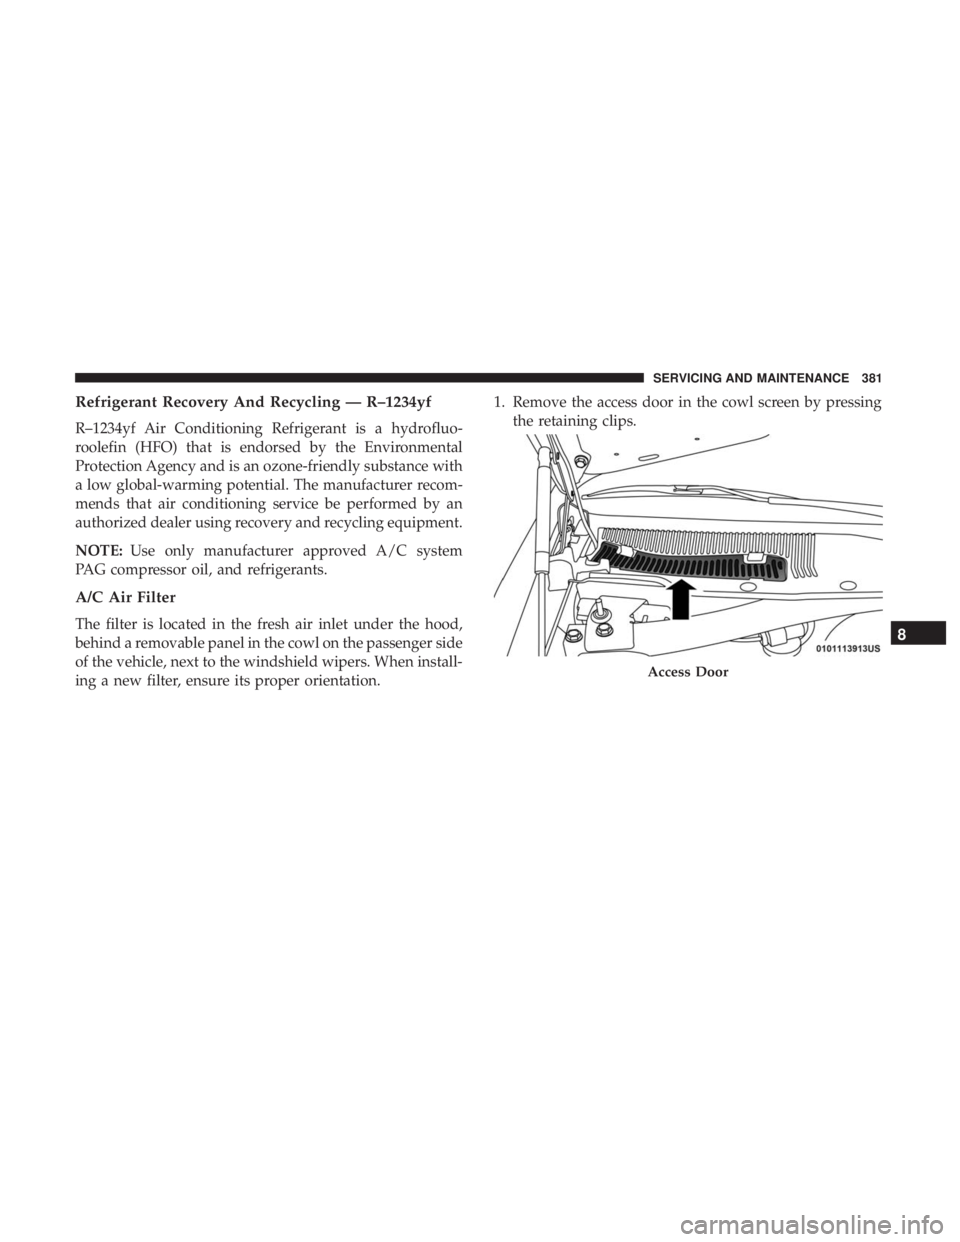
A/C Air Filter
The filter is located in the fresh air inlet under the hood,
behind a removable panel in the cowl on the passenger side
of the vehicle, next to the windshield wipers. When install-
ing a new filter, ensure its proper orientation. 1. Remove the access door in the cowl screen by pressing
the retaining clips.
Access Door
8
SERVICING AND MAINTENANCE 381