Page 299 of 532
CavityCartridge Fuse Mini-FuseDescription
15 40 Amp Green –HVAC Blower
16 20 Amp Blue –Left Spot Lamp – Police
17 20 Amp Blue –Right Spot Lamp – Police
18 30 Amp Pink –Mod Network Interface – Police
19 – –Fuse – Spare
20 – –Fuse – Spare
21 30 Amp Pink –Fuel Pump (Non 6.2L SRT HO)
22 – 5 Amp TanCyber Gateway Mod
23 – 10 Amp RedFuel Door – If Equipped/
Diagnostic Port
24 – 10 Amp RedIntegrated Center Stack
25 – 10 Amp RedTire Pressure Monitor
26 – 15 Amp BlueCygnus Transmission Module
(Charger/300) / Electronic Shift
Module (Charger/300)
27 – 25 Amp ClearAmplifier – If Equipped
31 – 25 Amp BreakerPower Seats – If Equipped
32 – 15 Amp BlueHVAC Module/Cluster
33 – 15 Amp BlueIgnition Switch/RF Hub
Module/Steering Column Lock
7
IN CASE OF EMERGENCY 297
Page 311 of 532
Tire Service Kit Storage
The Tire Service Kit is located in the trunk.
Tire Service Kit Components And Operation
Tire Service Kit LocationTire Service Kit Components
1 — Sealant Bottle5 — Mode Select Knob
2 — Deflation Button 6 — Sealant Hose (Clear)
3 — Pressure Gauge 7 — Air Pump Hose (Black)
4 — Power Button 8 — Power Plug (located on the
bottom side of the Tire Service
Kit)
7
IN CASE OF EMERGENCY 309
Page 312 of 532
Using The Mode Select Knob And Hoses
Your Tire Service Kit is equipped with the following
symbols to indicate the air or sealant mode.
Selecting Air ModePush in the Mode Select Knob (5) and turn to this
position for air pump operation only. Use the Black
Air Pump Hose (7) when selecting this mode.
Selecting Sealant Mode
Push in the Mode Select Knob (5) and turn to this
position to inject the Tire Service Kit Sealant and to
inflate the tire. Use the Sealant Hose (clear hose) (6) when
selecting this mode.
Using The Power Button
Push and release the Power Button (4) once to turn
on the Tire Service Kit. Push and release the Power Button
(4) again to turn Off the Tire Service Kit.
Using The Deflation Button
Push the Deflation Button (2) to reduce the air
pressure in the tire if it becomes over-inflated.
Tire Service Kit Usage Precautions
•Replace the Tire Service Kit Sealant Bottle (1) and Sealant
Hose (6) prior to the expiration date (printed at the
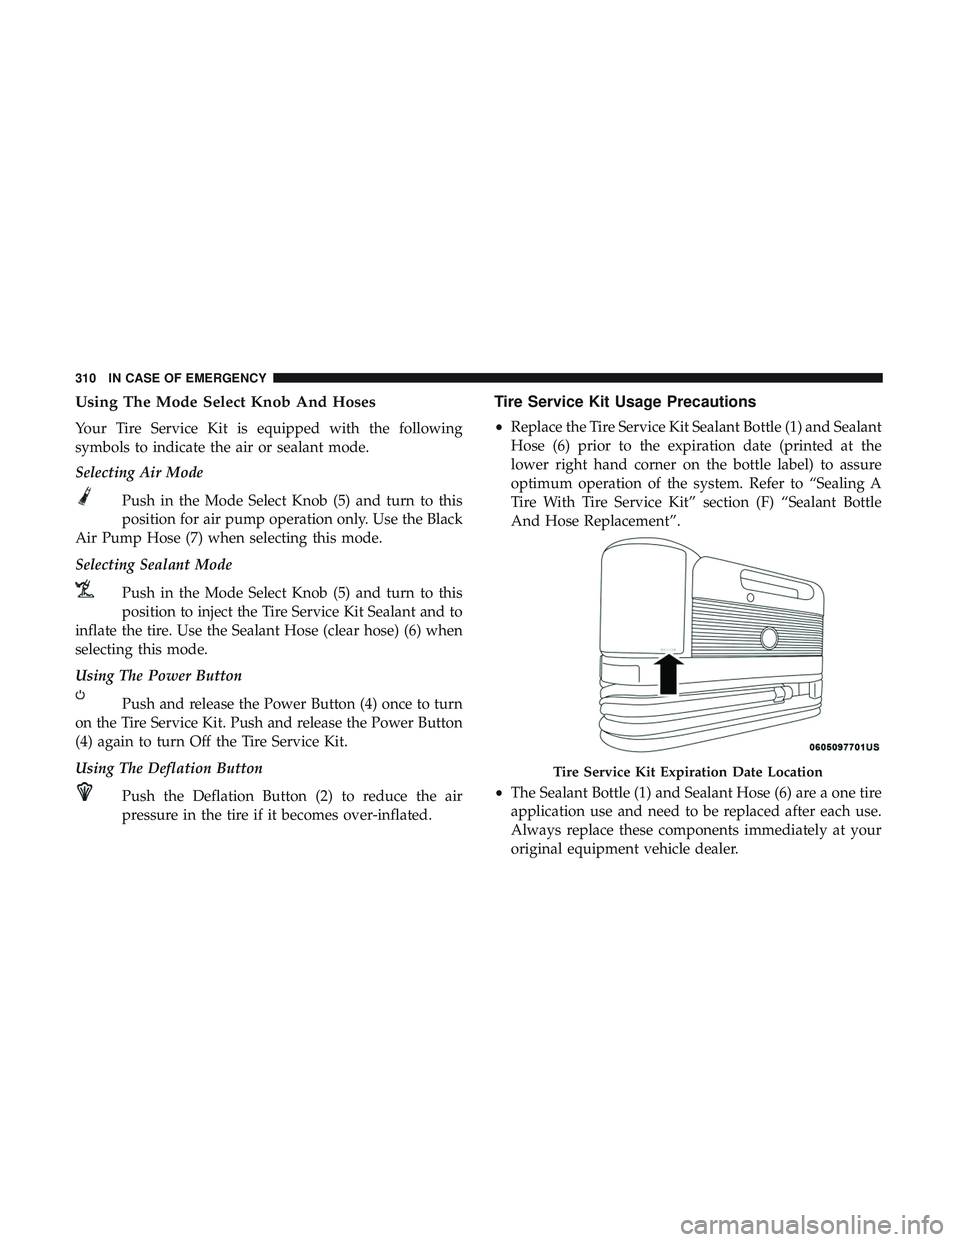
lower right hand corner on the bottle label) to assure
optimum operation of the system. Refer to “Sealing A
Tire With Tire Service Kit” section (F) “Sealant Bottle
And Hose Replacement”.
• The Sealant Bottle (1) and Sealant Hose (6) are a one tire
application use and need to be replaced after each use.
Always replace these components immediately at your
original equipment vehicle dealer.
Tire Service Kit Expiration Date Location
310 IN CASE OF EMERGENCY
Page 313 of 532
•When the Tire Service Kit sealant is in a liquid form,
clean water and a damp cloth will remove the material
from the vehicle or tire and wheel components. Once the
sealant dries, it can easily be peeled off and properly
discarded.
• For optimum performance, make sure the valve stem on
the wheel is free of debris before connecting the Tire
Service Kit.
• You can use the Tire Service Kit air pump to inflate
bicycle tires. The kit also comes with two needles,
located in the Accessory Storage Compartment (on the
bottom of the air pump) for inflating sport balls, rafts, or
similar inflatable items. However, use only the Air Pump
Hose (7) and make sure the Mode Select Knob (5) is in
the Air Mode when inflating such items to avoid inject-
ing sealant into them. The Tire Service Kit Sealant is only
intended to seal punctures less than 1/4 inch (6 mm)
diameter in the tread of your tire.
• Do not lift or carry the Tire Service Kit by the hoses.WARNING!
•Do not attempt to seal a tire on the side of the vehicle
closest to traffic. Pull far enough off the road to avoid
the danger of being hit when using the Tire Service
Kit.
• Do not use Tire Service Kit or drive the vehicle under
the following circumstances:
– If the puncture in the tire tread is approximately 1/4 inch (6 mm) or larger.
– If the tire has any sidewall damage.
– If the tire has any damage from driving with extremely low tire pressure.
– If the tire has any damage from driving on a flat tire.
– If the wheel has any damage.
– If you are unsure of the condition of the tire or the wheel.
• Keep Tire Service Kit away from open flames or heat
source.
• A loose Tire Service Kit thrown forward in a collision
or hard stop could endanger the occupants of the
vehicle. Always stow the Tire Service Kit in the place
provided. Failure to follow these warnings can result
(Continued)
7
IN CASE OF EMERGENCY 311
Page 315 of 532
5. Uncoil the Power Plug (8) and insert the plug into thevehicle’s 12 Volt power outlet.
NOTE: Do not remove foreign objects (e.g., screws or
nails) from the tire.
(C) Injecting Tire Service Kit Sealant Into The
Deflated Tire:
• Always start the engine before turning ON the Tire
Service Kit.
NOTE: Manual transmission vehicles must have the park-
ing brake engaged and the gear selector in NEUTRAL.
• After pushing the Power Button (4), the sealant (white
fluid) will flow from the Sealant Bottle (1) through the
Sealant Hose (6) and into the tire.
NOTE: Sealant may leak out through the puncture in the
tire.
If the sealant (white fluid) does not flow within0–10
seconds through the Sealant Hose (6):
1. Push the Power Button (4) to turn Off the Tire Service Kit. Disconnect the Sealant Hose (6) from the valve stem.
Make sure the valve stem is free of debris. Reconnect the
Sealant Hose (6) to the valve stem. Check that the Mode Select Knob (5) is in the Sealant Mode position and not
Air Mode. Push the Power Button (4) to turn On the Tire
Service Kit.
2. Connect the Power Plug (8) to a different 12 Volt power outlet in your vehicle or another vehicle, if available.
Make sure the engine is running before turning ON the
Tire Service Kit.
3. The Sealant Bottle (1) may be empty due to previous use. Call for assistance.
NOTE: If the Mode Select Knob (5) is on Air Mode and the
pump is operating, air will dispense from the Air Pump
Hose (7) only, not the Sealant Hose (6).
If the sealant (white fluid) does flow through the Sealant
Hose (6):
1. Continue to operate the pump until sealant is no longer flowing through the hose (typically takes 30 - 70 sec-
onds). As the sealant flows through the Sealant Hose (6),
the Pressure Gauge (3) can read as high as 70 psi
(4.8 Bar). The Pressure Gauge (3) will decrease quickly
from approximately 70 psi (4.8 Bar) to the actual tire
pressure when the Sealant Bottle (1) is empty.
7
IN CASE OF EMERGENCY 313
Page 316 of 532
2. The pump will start to inject air into the tire immedi-ately after the Sealant Bottle (1) is empty. Continue to
operate the pump and inflate the tire to the pressure
indicated on the tire pressure label on the driver-side
latch pillar (recommended pressure). Check the tire
pressure by looking at the Pressure Gauge (3).
If the tire does not inflate to at least 26 psi (1.8 Bar)
pressure within 15 minutes:
• The tire is too badly damaged. Do not attempt to drive
the vehicle further. Call for assistance.
NOTE: If the tire becomes overinflated, push the Deflation
Button (2) to reduce the tire pressure to the recommended
inflation pressure before continuing.
If the tire inflates to the recommended pressure or is at
least 26 psi (1.8 Bar) pressure within 15 minutes:
1. Push the Power Button (4) to turn off the Tire Service Kit.
2. Remove the Speed Limit sticker from the top of the Sealant Bottle (1) and place the sticker on the instrument
panel. 3. Immediately disconnect the Sealant Hose (6) from the
valve stem, reinstall the cap on the fitting at the end of
the hose, and place the Tire Service Kit in the vehicle
storage location. Quickly proceed to (D) “Drive Ve-
hicle.”
CAUTION!
•The metal end fitting from Power Plug (8) may get
hot after use, so it should be handled carefully.
• Failure to reinstall the cap on the fitting at the end of
the Sealant Hose (6) can result in sealant contacting
your skin, clothing, and the vehicle’s interior. It can
also result in sealant contacting internal Tire Service
Kit components which may cause permanent damage
to the kit.
(D) Drive Vehicle:
Immediately after injecting sealant and inflating the tire,
drive the vehicle 5 miles (8 km) or ten minutes to ensure
distribution of the Tire Service Kit Sealant within the tire.
Do not exceed 50 mph (80 km/h).
314 IN CASE OF EMERGENCY
Page 317 of 532
WARNING!
Tire Service Kit is not a permanent flat tire repair. Have
the tire inspected and repaired or replaced after using
Tire Service Kit. Do not exceed 50 mph (80 km/h) until
the tire is repaired or replaced. Failure to follow this
warning can result in injuries that are serious or fatal
to you, your passengers, and others around you.
(E) After Driving:
Pull over to a safe location. Refer to “(A) Whenever You
Stop To Use Tire Service Kit” before continuing.
1. Push in the Mode Select Knob (5) and turn to the AirMode position.
2. Uncoil the power plug and insert the plug into the vehicle’s 12 Volt power outlet.
3. Uncoil the Air Pump Hose (7) (black in color) and screw the fitting at the end of hose (7) onto the valve stem.
4. Check the pressure in the tire by reading the Pressure Gauge (3). If tire pressure is less than 19 psi (1.3 Bar):
The tire is too badly damaged. Do not attempt to drive the
vehicle further. Call for assistance.
If the tire pressure is 19 psi (1.3 Bar) or higher:
1. Push the Power Button (4) to turn on Tire Service Kit
and inflate the tire to the pressure indicated on the tire
and loading information label on the driver-side door
opening.
NOTE: If the tire becomes over-inflated, push the Deflation
Button (2) to reduce the tire pressure to the recommended
inflation pressure before continuing.
2. Disconnect the Tire Service Kit from the valve stem, reinstall the cap on the valve stem and unplug from 12
Volt outlet.
3. Place the Tire Service Kit in its proper storage area in the vehicle.
4. Have the tire inspected and repaired or replaced at the earliest opportunity at an authorized dealer or tire
service center.
5. Remove the Speed Limit sticker from the instrument panel after the tire has been repaired.7
IN CASE OF EMERGENCY 315
Page 319 of 532
Tire Service Kit Storage
The Tire Service Kit is located in the trunk.
Tire Service Kit Components And Operation
Tire Service Kit LocationTire Service Kit Components
1 — Power Button 4 — Sealant Bottle 7 — Power Plug
2 — Mode Select
Knob5 — Air Pump Hose
(Black)8 — Pressure Gauge
3 — Sealant Hose
(Clear) 6 — Sealant Bottle
Release Button9 — Deflation Button
7
IN CASE OF EMERGENCY 317