Page 84 of 718

•Press the heated seat buttona second time to turn
the LO setting on.
• Press the heated seat buttona third time to turn the
heating elements off.
If the HI-level setting is selected, the system will automati-
cally switch to LO-level after approximately 60 minutes of
continuous operation. At that time, the display will change
from HI to LO, indicating the change. The LO-level setting
will turn off automatically after approximately 45 minutes.
NOTE:
• Once a heat setting is selected, heat will be felt within
two to five minutes.
• The engine must be running for the heated seats to
operate.
Vehicles Equipped With Remote Start
On models that are equipped with remote start, the heated
seats can be programmed to come on during a remote start.
This feature can be programmed through the Uconnect
system. Refer to “Uconnect Settings” in “Multimedia” for
further information.
WARNING!
• Persons who are unable to feel pain to the skin
because of advanced age, chronic illness, diabetes,
spinal cord injury, medication, alcohol use, exhaus-
tion or other physical condition must exercise care
when using the seat heater. It may cause burns even
at low temperatures, especially if used for long
periods of time.
• Do not place anything on the seat or seatback that
insulates against heat, such as a blanket or cushion.
This may cause the seat heater to overheat. Sitting in
a seat that has been overheated could cause serious
burns due to the increased surface temperature of the
seat.
Rear Heated Seats — If Equipped
On some models, the second row seats are equipped with
heaters. There are two heated seat switches that allow the
second row passengers to operate the seats independently.
The heated seat switches are located on the sliding side
door handle trim panels.
82 GETTING TO KNOW YOUR VEHICLE
Page 104 of 718
To operate the courtesy lights, push either the driver or
passenger light switch.
NOTE:
•Before exiting the vehicle, make sure that the interior
lights are turned off. This will prevent the battery from
discharging once the doors are closed.
• If a light is left on, it will automatically be turned off
approximately 10 minutes after the ignition is in the
STOP/OFF position.
Rear Courtesy/Reading Lights — If Equipped
Located above the rear passengers are courtesy/reading
lights. The lights turn on when a front door, a sliding door
or the liftgate is opened. If your vehicle is equipped with
remote keyless entry the lights will also turn on when the
unlock button on the key fob is pushed. The courtesy lights also function as reading lights. Push the
lens to turn these lights on while inside the vehicle. Push
the lens a second time to turn each light off.
Reading Lights
102 GETTING TO KNOW YOUR VEHICLE
Page 142 of 718

WARNING!
There is no anti-pinch protection when the window is
almost closed. To avoid personal injury be sure to clear
your arms, hands, fingers and all objects from the
window path before closing.
Auto Up Reset — If Equipped
To reactivate the Auto Up feature, perform the following
steps after vehicle power is restored:
1. Pull the window control up to close the window com- pletely and continue to hold the control up for an
additional two seconds after the window is closed.
2. Push the window control down firmly to the second detent to open the window completely and continue to
hold the control down for an additional two seconds
after the window is fully open.
Sliding Side Door Power Window Control — If
Equipped
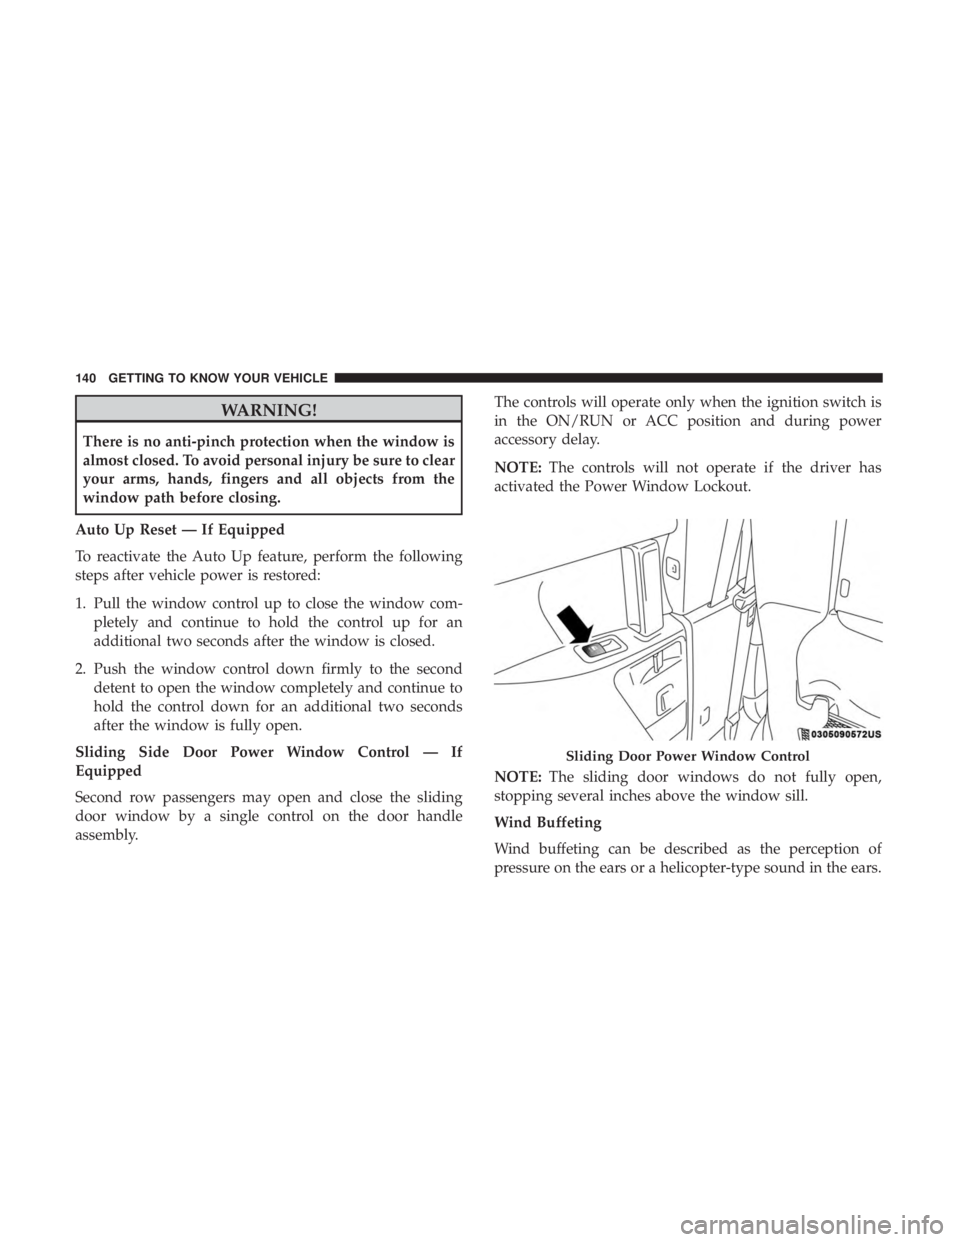
Second row passengers may open and close the sliding
door window by a single control on the door handle
assembly. The controls will operate only when the ignition switch is
in the ON/RUN or ACC position and during power
accessory delay.
NOTE:
The controls will not operate if the driver has
activated the Power Window Lockout.
NOTE: The sliding door windows do not fully open,
stopping several inches above the window sill.
Wind Buffeting
Wind buffeting can be described as the perception of
pressure on the ears or a helicopter-type sound in the ears.
Sliding Door Power Window Control
140 GETTING TO KNOW YOUR VEHICLE
Page 150 of 718

Power Liftgate — If Equipped
The power liftgate may be opened or closed in several
ways:
•Overhead console liftgate button
• Key fob
• Outside handle (opens liftgate only)
• Button just inside the liftgate on the upper left trim
(when liftgate is open)
• Hands-Free Liftgate (opens liftgate only) — If Equipped
Using the above ways:
• When the liftgate is fully closed, the liftgate will open
• When the liftgate is fully open, the liftgate will close
• When the liftgate is moving, the liftgate will reverse
Push the Power Liftgate button on the Overhead Console
to open or close the liftgate.
Push the liftgate button on the key fob twice within five
seconds to open or close the liftgate. The key fob and the overhead console button will operate
the liftgate when the liftgate is locked. The outside handle
requires the liftgate to be unlocked. If the vehicle is
equipped with Passive Entry, depressing the touch pad on
the outside handle or Hands-Free Liftgate foot activation
Overhead Console Power Switches
1 — Liftgate
2 — Right Sliding Door
3 — Sliding Door Power Off
4 — Left Sliding Door
148 GETTING TO KNOW YOUR VEHICLE
Page 154 of 718

Gas props support the liftgate in the open position. How-
ever, because the gas pressure drops with temperature, it
may be necessary to assist the props when opening the
liftgate in cold weather.
NOTE:Allow the power system to open the liftgate.
Manually pushing or pulling the liftgate may activate the
liftgate obstacle detection feature and stop the power
operation or reverse its direction.
WARNING!
During power operation, personal injury or cargo
damage may occur. Ensure the liftgate travel path is
clear. Make sure the liftgate is closed and latched
before driving away.
Cargo Area Features
Cargo Area Storage
When the third row seats are not in the stowed position,
there is a large area for cargo storage. NOTE:
With all rear seats stowed or removed,4x8ft(1.2
x 2.4 m) sheets of building material will fit on the vehicle
floor with the liftgate closed. The front seats must be
moved slightly forward of the rearmost position.
Stow ‘n Vac Integrated Vacuum — If Equipped
Your vehicle may be equipped with an integrated vacuum
system. This vacuum is for in-vehicle use only and should
only be used on dry materials and on in-vehicle surfaces. It
is located in the rear trim panel behind the sliding door on
the driver ’s side of the vehicle.
Rear Cargo Area
152 GETTING TO KNOW YOUR VEHICLE
Page 162 of 718

2. Return to vacuum nozzle storage location located be-hind the sliding door.
3. Grab the vacuum nozzle and gently pull the hose out through vacuum nozzle storage location.
4. Shake the hose to remove any objects stuck in the hose. Take care not to perforate the hose while attempting to
dislodge any objects.
5. Reverse the procedure to reinstall and clip the hose into place.
GARAGE DOOR OPENER — IF EQUIPPED
HomeLink replaces up to three hand-held transmitters that
operate devices such as garage door openers, motorized
gates, lighting or home security systems. The HomeLink
unit is powered by your vehicle’s 12 Volt battery.
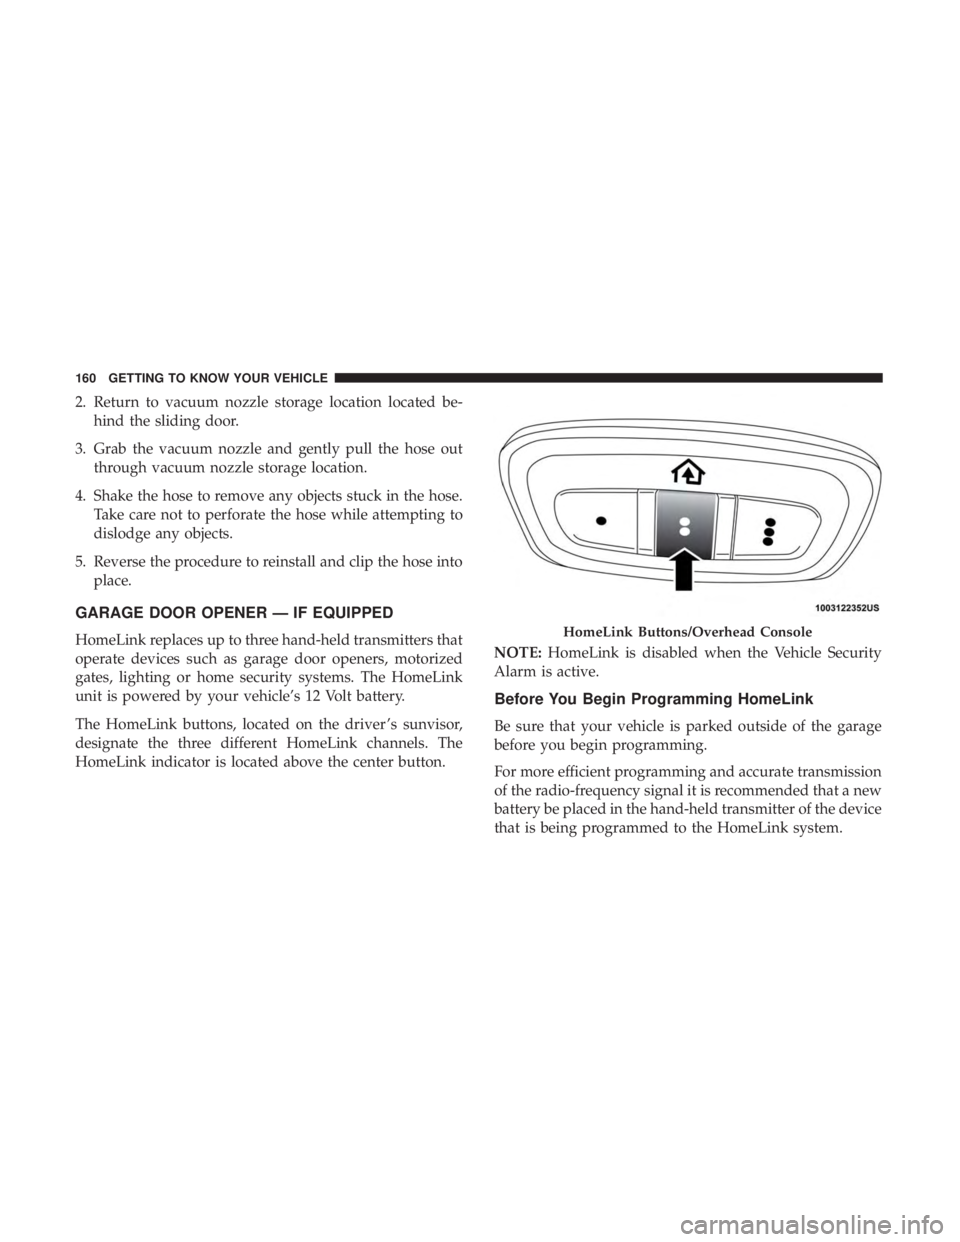
The HomeLink buttons, located on the driver ’s sunvisor,
designate the three different HomeLink channels. The
HomeLink indicator is located above the center button. NOTE:
HomeLink is disabled when the Vehicle Security
Alarm is active.
Before You Begin Programming HomeLink
Be sure that your vehicle is parked outside of the garage
before you begin programming.
For more efficient programming and accurate transmission
of the radio-frequency signal it is recommended that a new
battery be placed in the hand-held transmitter of the device
that is being programmed to the HomeLink system.
HomeLink Buttons/Overhead Console
160 GETTING TO KNOW YOUR VEHICLE
Page 423 of 718

NOTE:
•Front tires will be in image when the tires are turned.
• Due to wide angle cameras in mirror, the image will
appear distorted.
• Top view will show which sliding doors are open.
• Open front doors will remove outside image.
Rear View
This is the Default view of the system in
REVERSE and is always paired with the
Top view of the vehicle with optional
active guide lines for the projected path
when enabled.
Rear Cross Path View Pressing the Rear Cross Path soft key
will give the driver a wider angle view
of the rear camera system. The Top view
will be disabled when this is selected. Front View
The Front view will show you what is
immediately in front of the vehicle and
is always paired with the Top view of
the vehicle.
Front Cross Path View Pressing the Front Cross Path soft key
will give the driver a wider angle view
of the front camera system. The Top
view will be disabled when this is se-
lected.
Deactivation
The system can be deactivated in the following conditions:
• The speed of the vehicle reaches greater than 8 mph
(13 km/h).
• The vehicle shifted into PARK from a different gear.
• If the vehicle is in any gear other than REVERSE, press
the “X” button.
6
STARTING AND OPERATING 421
Page 462 of 718
CavityCartridge Fuse Blade FuseDescription
F38 60 Amp Yellow –Vacuum Cleaner
F39 25 Amp Clear –Rear HVAC Blower Motor
F40 ––Not Used
F41 ––Not Used
F42 40 Amp Green –Folding Seat Module
F43 –20 Amp Yellow Fuel Pump Motor
F44 30 Amp Pink –CBC Feed #1 (Interior
Lights)
F45 30 Amp Pink –Power Inverter
F46 30 Amp Pink –Driver Door Module
F47 30 Amp Pink –Passenger Door Module
F48 ––Not Used
F49 25 Amp Clear –RR Sliding Door
Module-LT
F50 25 Amp Clear –RR Door Module-RT
F51 30 Amp Pink –Front Wiper
F52 30 Amp Pink –Brake Vacuum Pump
F53 ––Not Used
F54 40 Amp Green –ESP-ECU And Valves
460 IN CASE OF EMERGENCY