Page 96 of 492
HOOD
To Open The Hood
Two latches must be released to open the hood.
1. Pull the hood release lever located under the driver ’sside of the instrument panel.
2. Move to the outside of the vehicle and push the safety catch to the left. The safety catch is located under the
center front edge of the hood. Use the hood prop rod (if equipped) to secure the hood in
the open position.
To Close The Hood
1. Hold up the hood with one hand and with the other
hand remove the support rod from its seat and reinsert
it into the locking tab.
2. Lower the hood to approximately 12 inches (30 cm) from the engine compartment and drop it. Make sure that the
hood is completely closed.
Hood Release Lever
Hood Safety Latch
94 GETTING TO KNOW YOUR VEHICLE
Page 99 of 492

Trunk Safety
Trunk Emergency Release
As a security measure, a trunk internal emergency release
lever is built into the trunk latching mechanism. In the
event of an individual being locked inside the trunk, the
trunk can be opened by actuating the glow-in-the-dark
handle attached to the trunk latching mechanism.
WARNING!
Do not allow children to have access to the trunk,
either by climbing into the trunk from outside, or
through the inside of the vehicle. Always close the
trunk lid when your vehicle is unattended. Once in the
trunk, young children may not be able to escape, even
if they entered through the rear seat. If trapped in the
trunk, children can die from suffocation or heat stroke.
Cargo Area Features
Cargo Area — Vehicles Equipped With 60/40
Split-Folding Rear Seat
The 60/40 split-folding rear seat provides cargo-carrying
versatility. The seatbacks fold down easily by pulling nylon
tabs between the seatbacks and the bolsters. When the seats
are folded down, they provide a continuous, nearly-flat
extension of the load floor.
When the seatback is folded to the upright position, make
sure it is latched by strongly pulling on the top of the
seatback above the seat strap.
Trunk Emergency Release
3
GETTING TO KNOW YOUR VEHICLE 97
Page 100 of 492
WARNING!
•Be certain that the seatback is securely locked into
position. If the seatback is not securely locked into
position, the seat will not provide the proper stabil-
ity for child seats and/or passengers. An improperly
latched seat could cause serious injury.
• The cargo area in the rear of the vehicle (with the rear
seatbacks in the locked-up or folded down position)
should not be used as a play area by children when
the vehicle is in motion. They could be seriously
injured in a collision. Children should be seated and
using the proper restraint system.
• To help protect against personal injury, passengers
should not be seated in the rear cargo area. The rear
cargo space is intended for load carrying purposes
only, not for passengers, who should sit in seats and
use seat belts.
(Continued)
WARNING! (Continued)
The weight and position of cargo and passengers can
change the vehicle center of gravity and vehicle handling.
To avoid loss of control resulting in personal injury,
follow these guidelines for loading your vehicle:
•Always place cargo evenly on the cargo floor. Put
heavier objects as low and as far forward as possible.
• Place as much cargo as possible in front of the rear
axle. Too much weight or improperly placed weight
over or behind the rear axle can cause the rear of the
vehicle to sway.
•
Do not pile luggage or cargo higher than the top of the
seatback. This could impair visibility or become a
dangerous projectile in a sudden stop or collision.
Trunk Mat — If Equipped
A trunk mat covers the bottom of the cargo area. The trunk
mat is used to protect the interior of the trunk from mud,
snow, and debris.
98 GETTING TO KNOW YOUR VEHICLE
Page 101 of 492
Grocery Bag Hooks
The rear cargo area is equipped with grocery bag hooks,
located on either side of the rear cargo area.
CAUTION!
Do not exceed the maximum weight limit 50 lbs (22 kg)
of the grocery bag hook. Damage may occur to hook
and mounting surface.
Cargo Net — If Equipped
The rear cargo area may be equipped with a cargo net to
keep items secure while driving.
Grocery Bag HooksRear Cargo Net
3
GETTING TO KNOW YOUR VEHICLE 99
Page 102 of 492
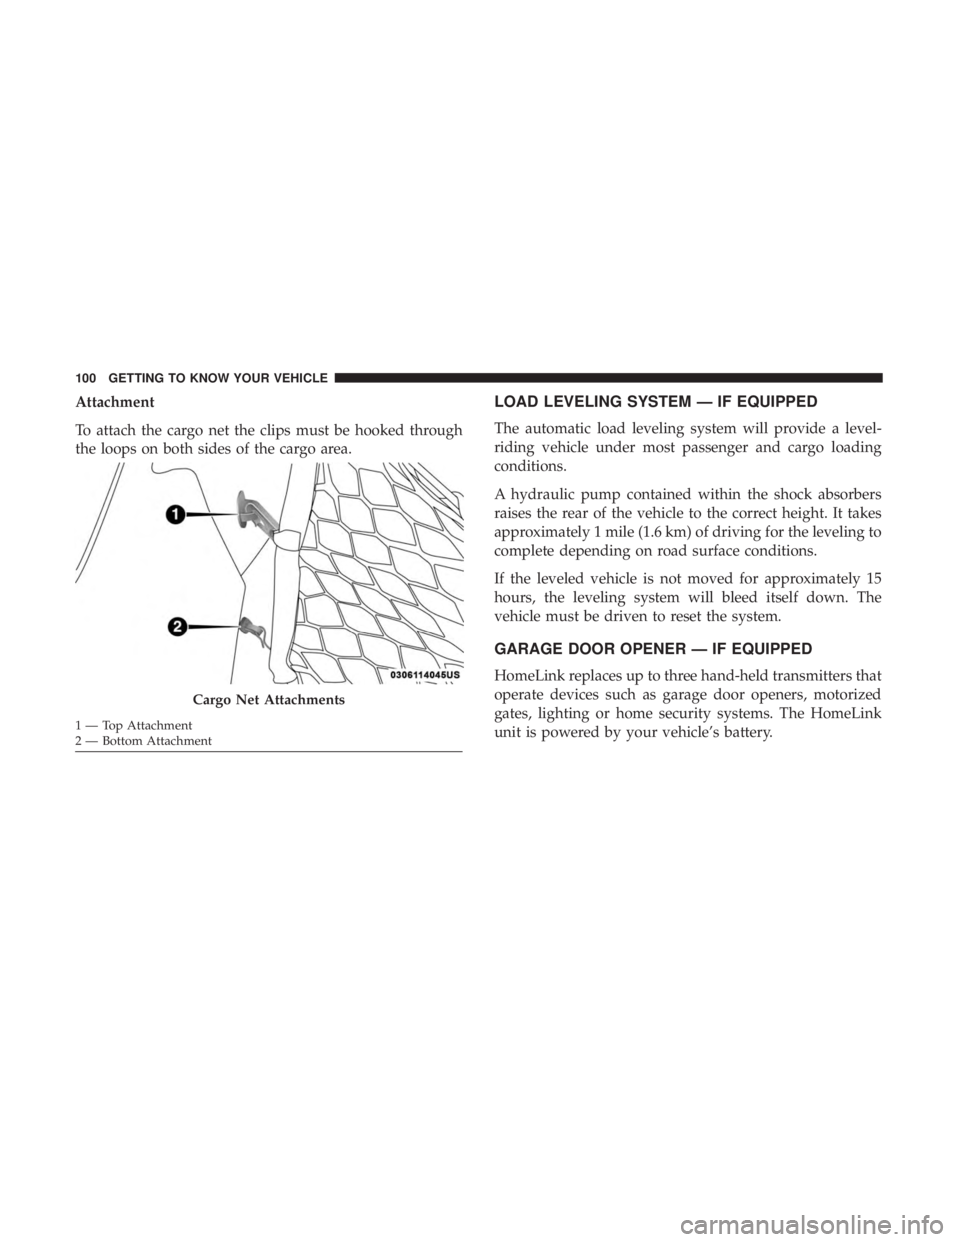
Attachment
To attach the cargo net the clips must be hooked through
the loops on both sides of the cargo area.LOAD LEVELING SYSTEM — IF EQUIPPED
The automatic load leveling system will provide a level-
riding vehicle under most passenger and cargo loading
conditions.
A hydraulic pump contained within the shock absorbers
raises the rear of the vehicle to the correct height. It takes
approximately 1 mile (1.6 km) of driving for the leveling to
complete depending on road surface conditions.
If the leveled vehicle is not moved for approximately 15
hours, the leveling system will bleed itself down. The
vehicle must be driven to reset the system.
GARAGE DOOR OPENER — IF EQUIPPED
HomeLink replaces up to three hand-held transmitters that
operate devices such as garage door openers, motorized
gates, lighting or home security systems. The HomeLink
unit is powered by your vehicle’s battery.
Cargo Net Attachments
1 — Top Attachment
2 — Bottom Attachment 100 GETTING TO KNOW YOUR VEHICLE
Page 103 of 492
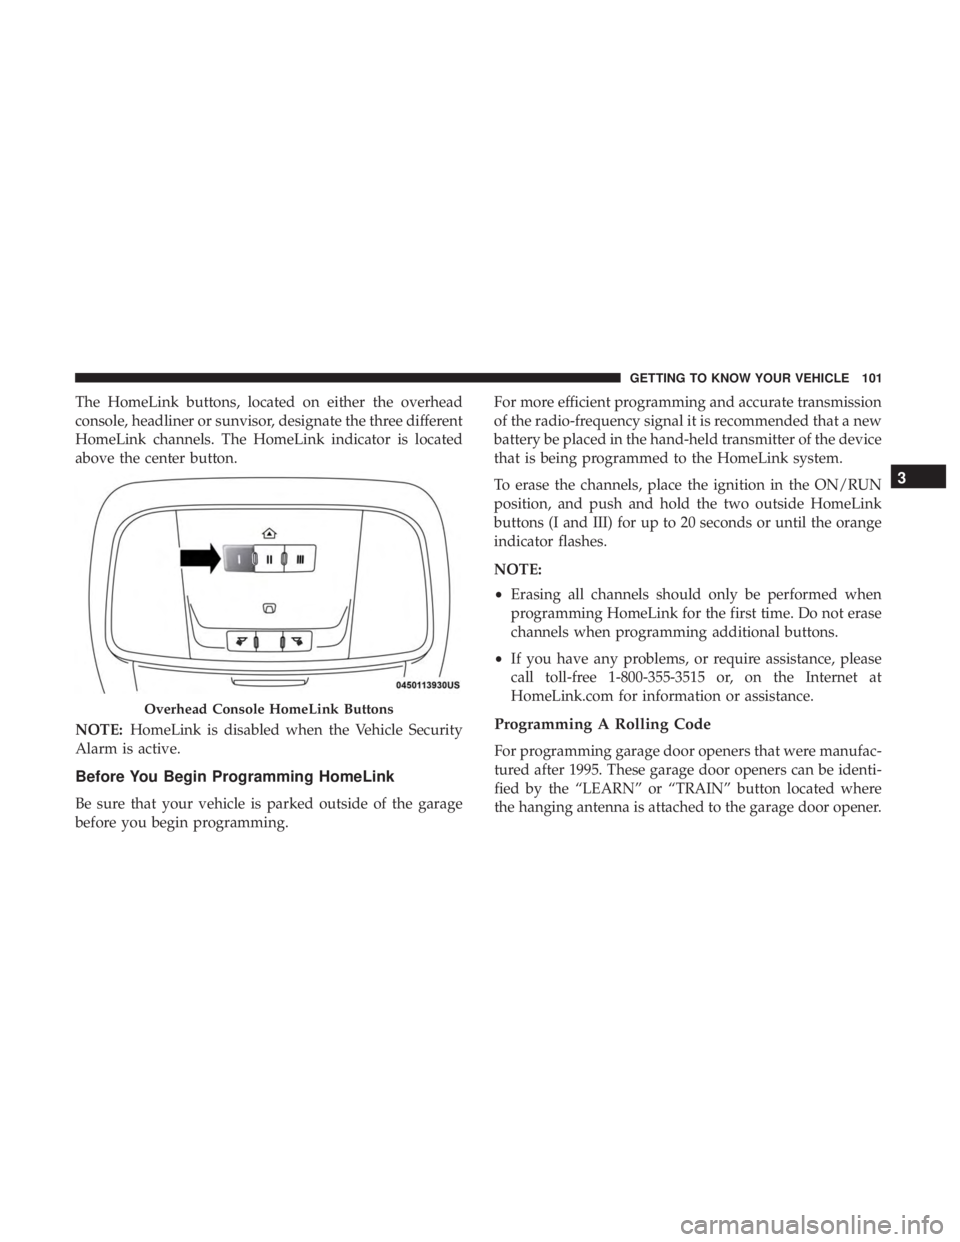
The HomeLink buttons, located on either the overhead
console, headliner or sunvisor, designate the three different
HomeLink channels. The HomeLink indicator is located
above the center button.
NOTE:HomeLink is disabled when the Vehicle Security
Alarm is active.
Before You Begin Programming HomeLink
Be sure that your vehicle is parked outside of the garage
before you begin programming. For more efficient programming and accurate transmission
of the radio-frequency signal it is recommended that a new
battery be placed in the hand-held transmitter of the device
that is being programmed to the HomeLink system.
To erase the channels, place the ignition in the ON/RUN
position, and push and hold the two outside HomeLink
buttons (I and III) for up to 20 seconds or until the orange
indicator flashes.
NOTE:
•
Erasing all channels should only be performed when
programming HomeLink for the first time. Do not erase
channels when programming additional buttons.
• If you have any problems, or require assistance, please
call toll-free 1-800-355-3515 or, on the Internet at
HomeLink.com for information or assistance.
Programming A Rolling Code
For programming garage door openers that were manufac-
tured after 1995. These garage door openers can be identi-
fied by the “LEARN” or “TRAIN” button located where
the hanging antenna is attached to the garage door opener.
Overhead Console HomeLink Buttons
3
GETTING TO KNOW YOUR VEHICLE 101
Page 107 of 492
NOTE:•If the indicator light stays on constantly, programming
is complete and the garage door/device should acti-
vate when the HomeLink button is pressed.
• To program the two remaining HomeLink buttons,
repeat each step for each remaining button. DO NOT
erase the channels.
If you unplugged the garage door opener/device for
programming, plug it back in at this time.
Reprogramming A Single HomeLink Button (Canadian/
Gate Operator)
To reprogram a channel that has been previously trained,
follow these steps:
1. Cycle the ignition to the ON/RUN position.
2. Press and hold the desired HomeLink button until the indicator light begins to flash after 20 seconds. Do not
release the button.
3. Without releasing the button, proceed with “Canadian/ Gate Operator Programming” step 2 and follow all
remaining steps.Using HomeLink
To operate, push and release the programmed HomeLink
button. Activation will now occur for the programmed
device (i.e. garage door opener, gate operator, security
system, entry door lock, home/office lighting, etc.). The
hand-held transmitter of the device may also be used at
any time.
Security
It is advised to erase all channels before you sell or turn in
your vehicle.
To do this, push and hold the two outside buttons for 20
seconds until the orange indicator flashes. Note that all
channels will be erased. Individual channels cannot be
erased.
The HomeLink Universal Transceiver is disabled when the
Vehicle Security Alarm is active.
Troubleshooting Tips
If you are having trouble programming HomeLink, here
are some of the most common solutions:
•Replace the battery in the Garage Door Opener hand-
held transmitter.
3
GETTING TO KNOW YOUR VEHICLE 105
Page 121 of 492
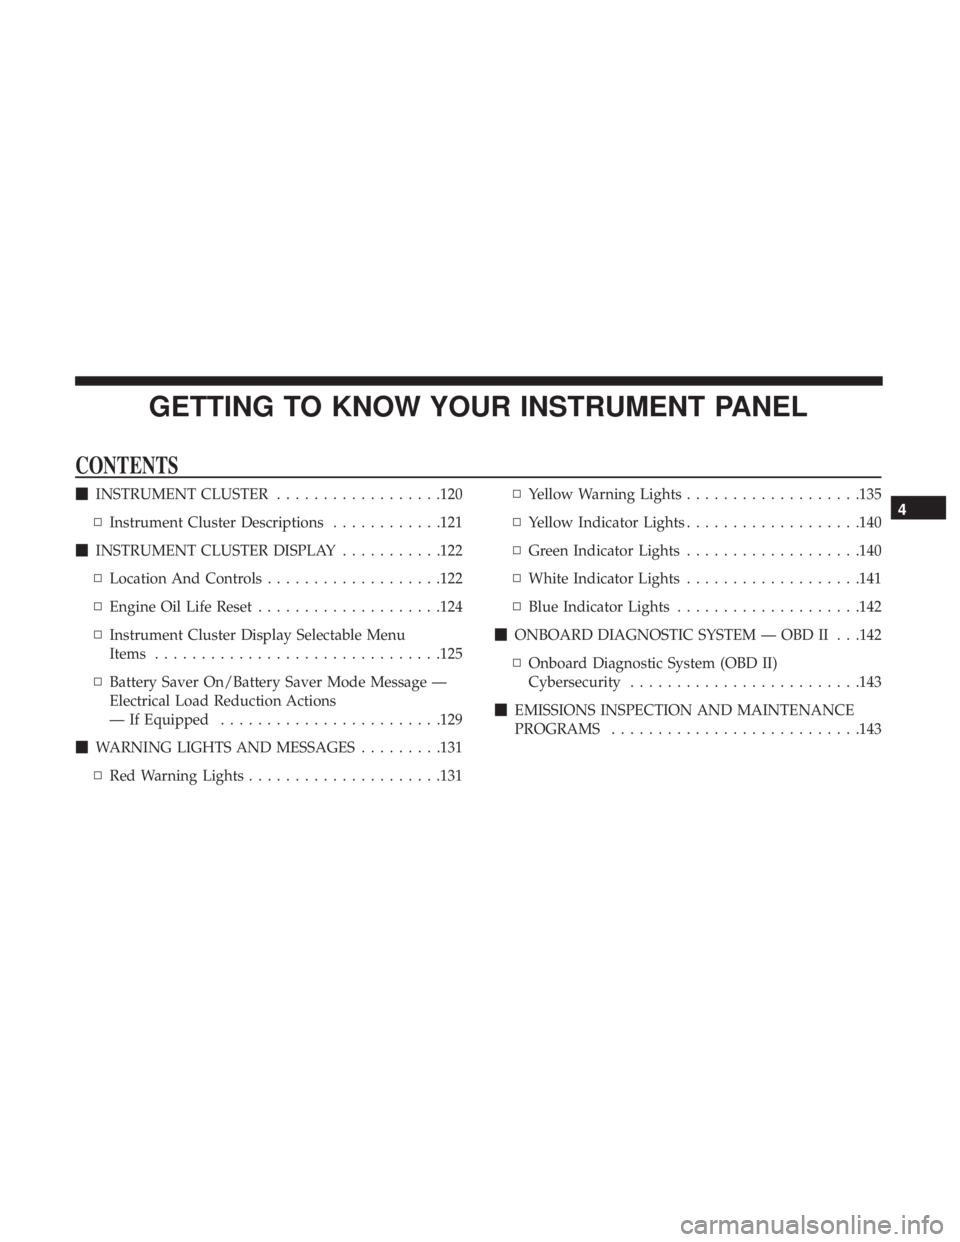
GETTING TO KNOW YOUR INSTRUMENT PANEL
CONTENTS
�INSTRUMENT CLUSTER ..................120
▫ Instrument Cluster Descriptions ............121
� INSTRUMENT CLUSTER DISPLAY ...........122
▫ Location And Controls ...................122
▫ Engine Oil Life Reset ....................124
▫ Instrument Cluster Display Selectable Menu
Items .............................. .125
▫ Battery Saver On/Battery Saver Mode Message —
Electrical Load Reduction Actions
— If Equipped ....................... .129
� WARNING LIGHTS AND MESSAGES .........131
▫ Red Warning Lights .....................131 ▫
Yellow Warning Lights ...................135
▫ Yellow Indicator Lights ...................140
▫ Green Indicator Lights ...................140
▫ White Indicator Lights ...................141
▫ Blue Indicator Lights ....................142
� ONBOARD DIAGNOSTIC SYSTEM — OBD II . . .142
▫ Onboard Diagnostic System (OBD II)
Cybersecurity ........................ .143
� EMISSIONS INSPECTION AND MAINTENANCE
PROGRAMS .......................... .1434