2019 CHEVROLET TRAVERSE ignition
[x] Cancel search: ignitionPage 4 of 20

4
KEYLESS ACCESS SYSTEMF
The Keyless Access System enables operation of the doors, ignition and l\
iftgate without removing the Remote Keyless Entry transmitter from a pocket or purse. Th\
e transmitter must be within 3 feet of a front door or within 3 feet of the liftgate.
KEYLESS UNLOCKING
With the transmitter within range:
Press the lock button on the driver’s door handle to unlock the driver’s door; press it again within 5 seconds to unlock all doors.
Press the lock button on a passenger’s door handle to unlock all doors.
Press the touchpad on the handle at the bottom of the liftgate to open the liftgate.
KEYLESS LOCKING
With the ignition off, the transmitter out of the vehicle, and all doors\
closed:
Press the lock button on any door handle to lock all doors immediately.
If Passive Locking is turned on, all doors will lock automatically after\
a short delay once all doors are closed.
Note: To change the lock and unlock settings, go to Settings > Vehicle > Remote Lock, Unlock, Start.
See Keys, Doors and Windows in your Owner’s Manual.
REMOTE KEYLESS ENTRY TRANSMITTER
F Optional equipment
Lock
Press to lock all doors.
Unlock
Press to unlock the driver’s door.
Press again to unlock all doors and liftgate.
Power LIftgateF
Press twice to open or close the lift-gate. Press once to stop power liftgate operation.
Vehicle Locator/Panic Alarm
Press and release to locate your vehicle.
Press and hold to activate the alarm. Press again to cancel the alarm.
Note: To change the remote lock, unlock, and remote start settings, go to Settings > Vehicle > Remote Lock, Unlock, Start.
Remote Vehicle StartF
Press and release the Lock button and then press and hold the button until the turn signal lamps flash to start the engine from outside the vehicle. After entering the vehicle, turn on the ignition.
• During a remote start, the engine will run for 15 minutes. Repeat the steps for an additional 15 minutes.
• To cancel a remote start, press and hold the button until the parking lamps turn off.
Key Release
In case of loss of vehicle power, press the button on the side of the transmitter to pull out the door lock key. Remove the cap on the rear part of the driver’s door handle to access the lock.
See Keys, Doors and Windows in your Owner’s Manual.
Page 5 of 20

5
KEYLESS (PUSHBUTTON) START
AUTO ENGINE STOP/START OPERATION
The Remote Keyless Entry transmitter must be in the vehicle to turn on the ignition.
STARTING THE ENGINE
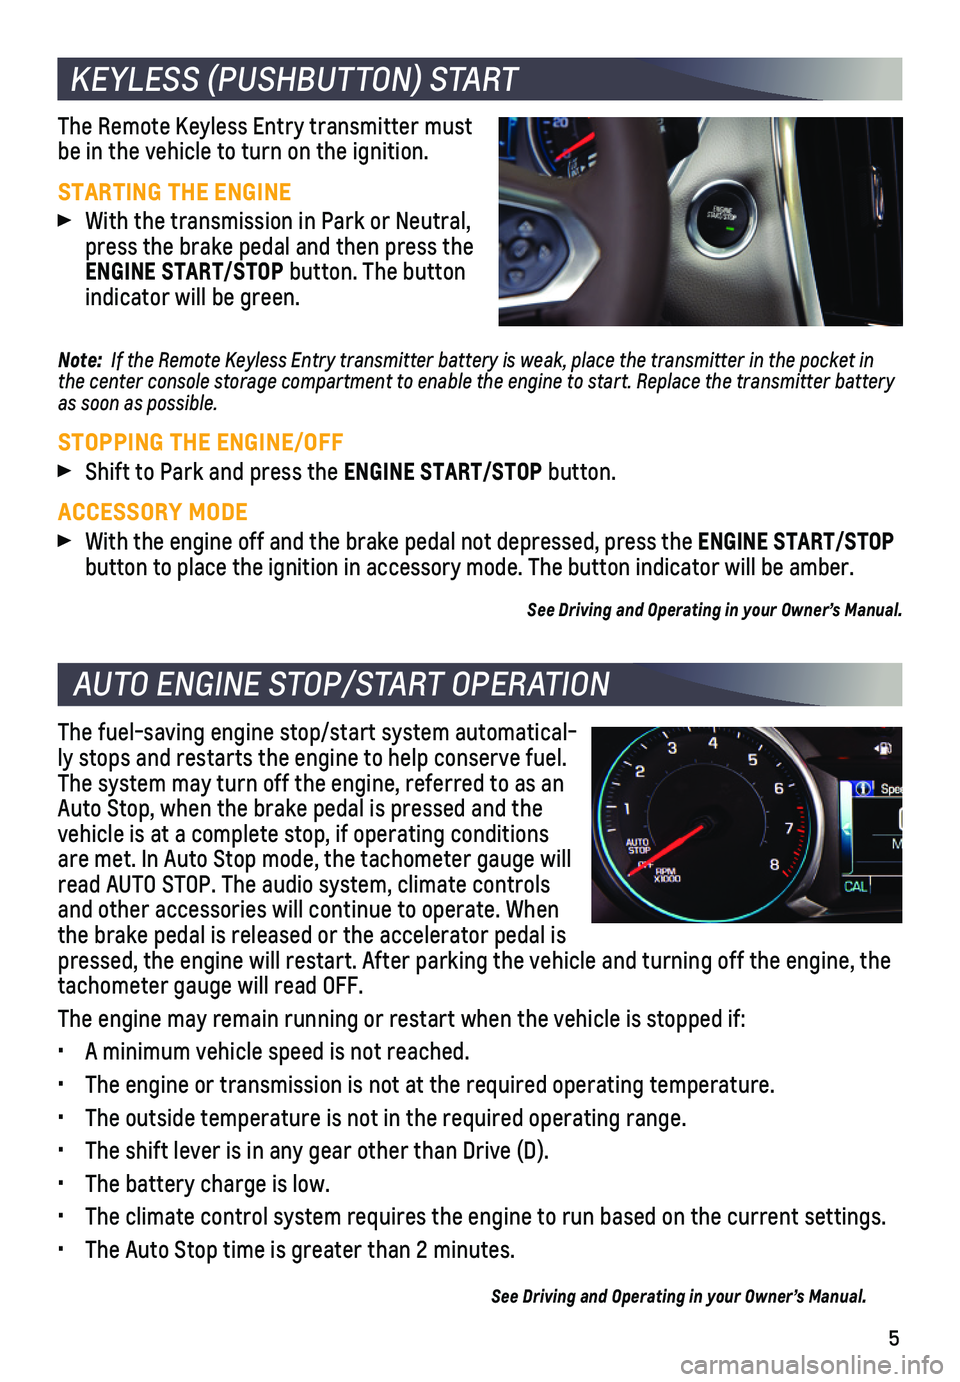
With the transmission in Park or Neutral, press the brake pedal and then press the ENGINE START/STOP button. The button indicator will be green.
Note: If the Remote Keyless Entry transmitter battery is weak, place the transmitter in the pocket i\
n the center console storage compartment to enable the engine to start. Replace the transmitter battery as soon as possible.
STOPPING THE ENGINE/OFF
Shift to Park and press the ENGINE START/STOP button.
ACCESSORY MODE
With the engine off and the brake pedal not depressed, press the ENGINE START/STOP button to place the ignition in accessory mode. The button indicator wil\
l be amber.
See Driving and Operating in your Owner’s Manual.
The fuel-saving engine stop/start system automatical-ly stops and restarts the engine to help conserve fuel. The system may turn off the engine, referred to as an Auto Stop, when the brake pedal is pressed and the vehicle is at a complete stop, if operating conditions are met. In Auto Stop mode, the tachometer gauge will read AUTO STOP. The audio system, climate controls and other accessories will continue to operate. When the brake pedal is released or the accelerator pedal is pressed, the engine will restart. After parking the vehicle and turning \
off the engine, the tachometer gauge will read OFF.
The engine may remain running or restart when the vehicle is stopped if:\
• A minimum vehicle speed is not reached.
• The engine or transmission is not at the required operating temperature.\
• The outside temperature is not in the required operating range.
• The shift lever is in any gear other than Drive (D).
• The battery charge is low.
• The climate control system requires the engine to run based on the curre\
nt settings.
• The Auto Stop time is greater than 2 minutes.
See Driving and Operating in your Owner’s Manual.
Page 13 of 20

13F Optional equipment
4G LTE WI-FI HOTSPOT®
With the vehicle’s available 4G LTE Wi-Fi hotspot, up to 7 devices (\
smartphones, tablets and laptops) can be connected to high-speed internet.
To retrieve the SSID and password for the hotspot, go to Settings > Wi-F\
i > Manage Wi-Fi Networks.
Note: For more information on use and system limitations, visit my.chevrolet.com/learn.
See Instruments and Controls in your Owner’s Manual.
BLUETOOTH® SYSTEM
Refer to your Owner’s Manual for important information about using the Bluetooth system while driving.
Before using a Bluetooth-enabled device in the vehicle, it must be paire\
d with the in-vehicle Bluetooth system. The pairing process is disabled when the vehic\
le is moving. Not all devices will support all functions. Visit my.chevrolet.com/learn for more information.
PAIR A PHONE
1. To use voice recognition, press the Push to Talk button; after the beep, say “Pair phone.” To use the screen buttons, touch the Phone icon and \
then select Pair or Search Device.
2. Start the pairing process on the phone. From your phone’s Bluetooth s\
ettings, select the name shown on the infotainment screen.
3. Follow the pairing instructions.
4. When pairing is complete, the phone screen is displayed. Depending on th\
e phone, your phone book may be downloaded automatically.
See Infotainment System in your Owner’s Manual.
TEEN DRIVERF
Teen Driver allows multiple keys to be registered for beginning drivers.\
When active, the system automatically activates certain safety systems, allows setting of\
some features, and limits the use of others. An in-vehicle Report Card records vehicle \
data about driving behavior. When the vehicle is started with a registered key, the Driver \
Information Center displays that Teen Driver is active.
To create a Personal Identification Number, register a key, change Tee\
n Driver set-tings, or access the Report Card, go to Settings > Teen Driver.
See your Infotainment System Manual.
To apply the parking brake, pull the Parking Brake switch on the center console.
To release the parking brake, turn on the ignition, press the brake peda\
l, and then press the switch.
Note: The parking brake will release automatically if the vehicle is running, plac\
ed into gear and an attempt is made to drive. See Driving and Operating in your Owner’s Manual.
ELECTRIC PARKING BRAKE
Page 17 of 20

17F Optional equipment
SETTING CRUISE CONTROL
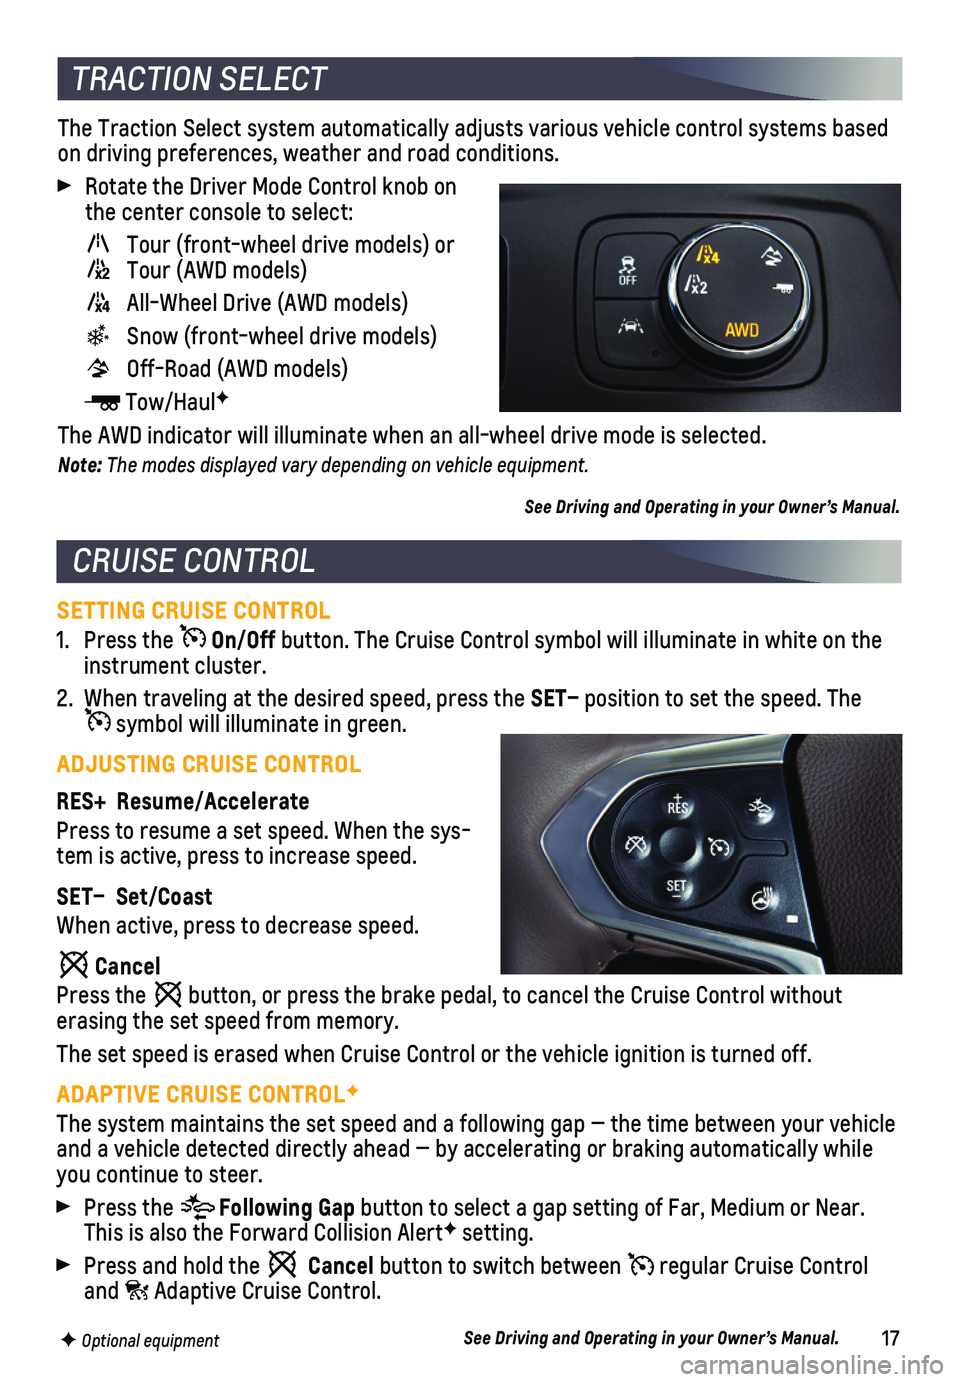
1. Press the On/Off button. The Cruise Control symbol will illuminate in white on the instrument cluster.
2. When traveling at the desired speed, press the SET– position to set the speed. The symbol will illuminate in green.
ADJUSTING CRUISE CONTROL
RES+ Resume/Accelerate
Press to resume a set speed. When the sys-tem is active, press to increase speed.
SET– Set/Coast
When active, press to decrease speed.
Cancel
Press the button, or press the brake pedal, to cancel the Cruise Control without
erasing the set speed from memory.
The set speed is erased when Cruise Control or the vehicle ignition is t\
urned off.
ADAPTIVE CRUISE CONTROLF
The system maintains the set speed and a following gap — the time bet\
ween your vehicle and a vehicle detected directly ahead — by accelerating or braking au\
tomatically while you continue to steer.
Press the Following Gap button to select a gap setting of Far, Medium or Near. This is also the Forward Collision AlertF setting.
Press and hold the Cancel button to switch between regular Cruise Control and Adaptive Cruise Control.
See Driving and Operating in your Owner’s Manual.
The Traction Select system automatically adjusts various vehicle control\
systems based on driving preferences, weather and road conditions.
Rotate the Driver Mode Control knob on the center console to select:
Tour (front-wheel drive models) or Tour (AWD models)
All-Wheel Drive (AWD models)
Snow (front-wheel drive models)
Off-Road (AWD models)
Tow/HaulF
The AWD indicator will illuminate when an all-wheel drive mode is select\
ed.
Note: The modes displayed vary depending on vehicle equipment.
See Driving and Operating in your Owner’s Manual.
CRUISE CONTROL
TRACTION SELECT