2019 CADILLAC XTS ECO mode
[x] Cancel search: ECO modePage 6 of 20

6
INSTRUMENT CLUSTER
UPLEVEL CLUSTER CONFIGURATIONS♦
If equipped with the 12.3-inch reconfigurable cluster, an alterna-tive cluster display can be selected. V-Sport models also feature an available V-Sport-specific configuration.
1. Use the 5-way control on the steering wheel to view the Options page in one of the display zones on the cluster.
2. Press SEL (Select) to enter the Options menu.
3. Scroll down to highlight Display Layout; press SEL.
4. Scroll up or down to highlight the desired display; press SEL.
5. Press to exit the menu.
See Instruments and Controls in your Owner's Manual.
CLUSTER DISPLAY ZONES
Use the 5-way control on the right side of the steering wheel to move between the different display zones and scroll through the v arious displays in each cluster configuration.
Uplevel reconfigurable cluster shown
Page 9 of 20

9
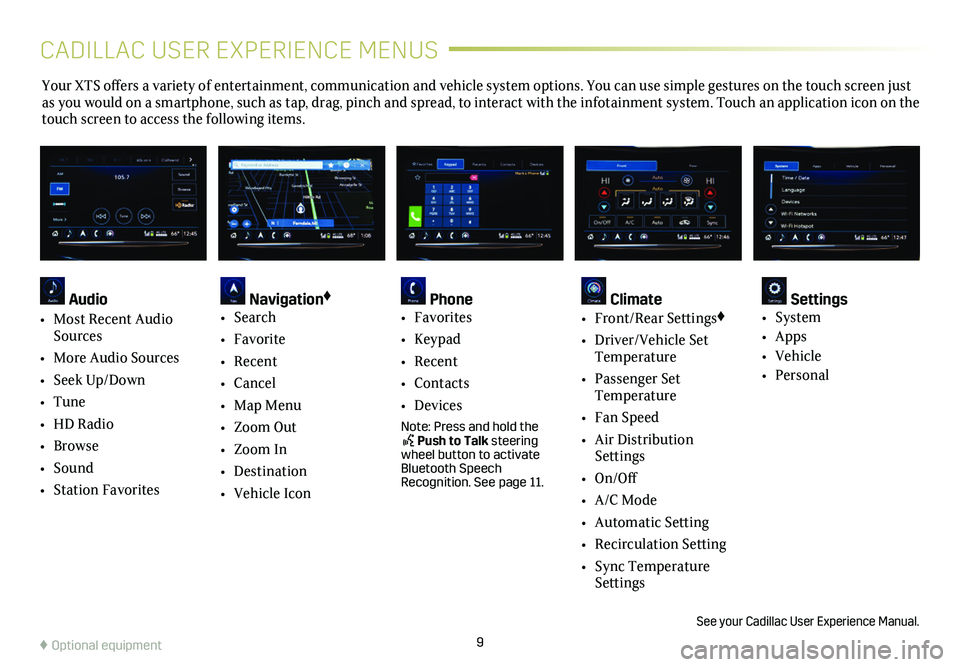
Your XTS offers a variety of entertainment, communication and vehicle system options. You can use simple gestures on the touch screen just as you would on a smartphone, such as tap, drag, pinch and spread, to in\
teract with the infotainment system. Touch an application icon on the touch screen to access the following items.
See your Cadillac User Experience Manual.
♦ Optional equipment
Audio
• Most Recent Audio Sources
• More Audio Sources
• Seek Up/Down
• Tune
• HD Radio
• Browse
• Sound
• Station Favorites
Navigation♦
• Search
• Favorite
• Recent
• Cancel
• Map Menu
• Zoom Out
• Zoom In
• Destination
• Vehicle Icon
Phone • Favorites
• Keypad
• Recent
• Contacts
• Devices
Note: Press and hold the Push to Talk steering wheel button to activate Bluetooth Speech Recognition. See page 11.
Climate • Front/Rear Settings♦
• Driver/Vehicle Set Temperature
• Passenger Set Temperature
• Fan Speed
• Air Distribution Settings
• On/Off
• A/C Mode
• Automatic Setting
• Recirculation Setting
• Sync Temperature Settings
Settings • System
• Apps
• Vehicle
• Personal
CADILLAC USER EXPERIENCE MENUS
Page 13 of 20

VEHICLE PERSONALIZATION
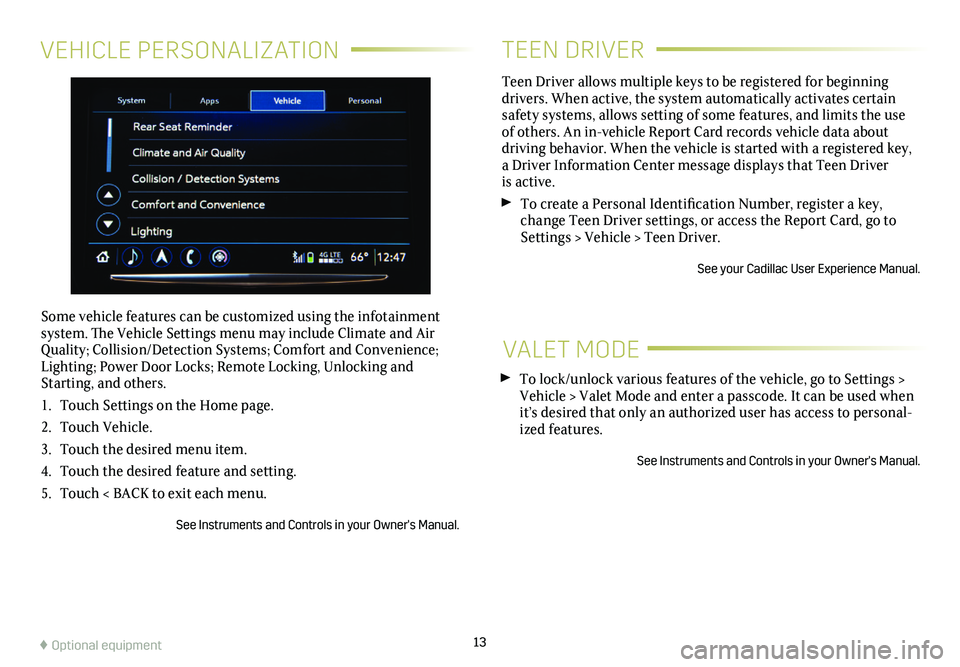
Some vehicle features can be customized using the infotainment system. The Vehicle Settings menu may include Climate and Air Quality; Collision/Detection Systems; Comfort and Convenience; Lighting; Power Door Locks; Remote Locking, Unlocking and Starting, and others.
1. Touch Settings on the Home page.
2. Touch Vehicle.
3. Touch the desired menu item.
4. Touch the desired feature and setting.
5. Touch < BACK to exit each menu.
See Instruments and Controls in your Owner's Manual.
13
TEEN DRIVER
Teen Driver allows multiple keys to be registered for beginning
drivers. When active, the system automatically activates certain safety systems, allows setting of some features, and limits the use of others. An in-vehicle Report Card records vehicle data about driving behavior. When the vehicle is started with a registered key, a Driver Information Center message displays that Teen Driver is active.
To create a Personal Identification Number, register a key, change Teen Driver settings, or access the Report Card, go to Settings > Vehicle > Teen Driver.
See your Cadillac User Experience Manual.
VALET MODE
To lock/unlock various features of the vehicle, go to Settings > Vehicle > Valet Mode and enter a passcode. It can be used when it’s desired that only an authorized user has access to personal-ized features.
See Instruments and Controls in your Owner's Manual.
♦ Optional equipment
Page 16 of 20

16
DRIVER ASSISTANCE SYSTEMS♦
Safety or driver assistance features are no substitute for the driver’s responsibility to operate the vehicle in a safe manner. The driver should remain attentive to traffic, surroundings and road conditions at all times. Read your Owner’s Manual for important feature limitations and information\
.
DRIVER AWARENESS PACKAGE
Low-Speed Forward Automatic Braking – In potential front-end imminent collision situations with detected vehicles, the brakes may be applied, if you have not already done so, to help reduce damage or avoid collisions at very low speeds.
To turn on or off, go to Settings > Vehicle > Collision/Detection Systems > Forward Collision System.
Lane Departure Warning (All-Wheel Drive models) – When crossing a detected lane marking without using a turn signal in that direction, the system flashes an amber on the instrument cluster and the Safety Alert Seat pulses or beeps sound (if selected) on the side of the lane departure direction.
To turn on or off, press the Lane Departure Warning button.
Lane Keep Assist with Lane Departure Warning (Front-Wheel Drive models) – The system may help you avoid collisions due to unintentional lane departures. The Lane Keep Assist Indicator is green if the system is available to assist. If the vehicle approaches\
a detected lane marking without using a turn signal in that direc-tion, the system may assist by gently turning the steering wheel and
displaying an amber .
If active driver steering is not detected, the amber may flash and the Safety Alert Seat may pulse or beeps may sound (if select-ed) on the side of the departure direction as the lane marking is crossed. The Lane Keep Assist system does not continuously steer the vehicle; the driver needs to steer and be in complete control of the vehicle.
To turn on or off, press the Lane Keep Assist button.
Lane Change Alert with Side Blind Zone Alert – While driving, the system displays a warning symbol on the left or right side mirror when a vehicle is detected in that side blind zone area or
rapidly approaching that area. The warning symbol flashes if a turn signal is activated when a vehicle has been detected on the same side.
To turn on or off, go to Settings > Vehicle > Collision/Detection Systems > Lane Change Alert.
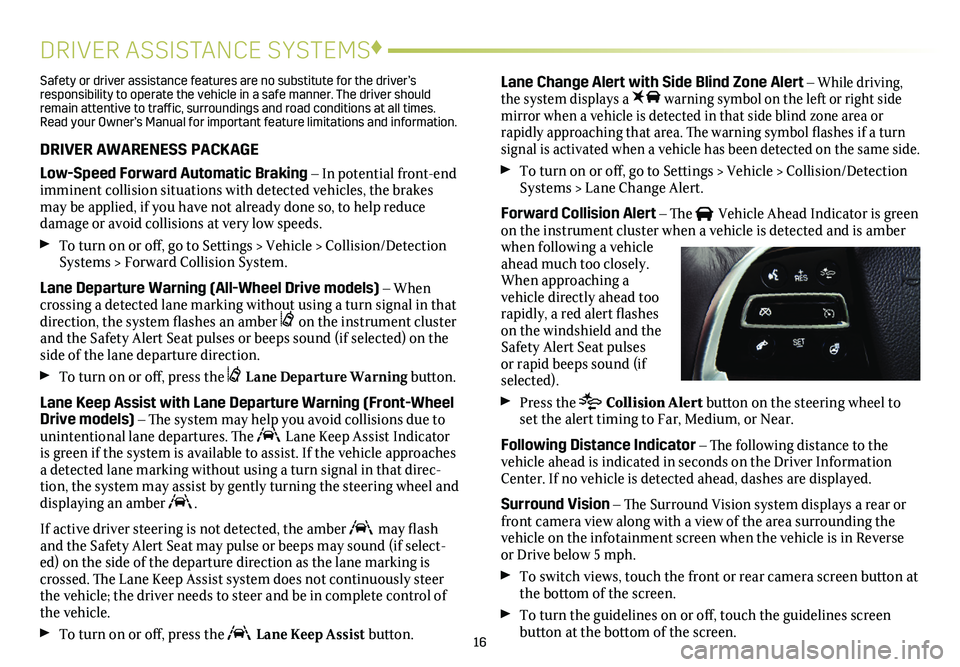
Forward Collision Alert – The Vehicle Ahead Indicator is green on the instrument cluster when a vehicle is detected and is amber when following a vehicle ahead much too closely. When approaching a vehicle directly ahead too rapidly, a red alert flashes on the windshield and the Safety Alert Seat pulses or rapid beeps sound (if selected).
Press the Collision Alert button on the steering wheel to set the alert timing to Far, Medium, or Near.
Following Distance Indicator – The following distance to the vehicle ahead is indicated in seconds on the Driver Information Center. If no vehicle is detected ahead, dashes are displayed.
Surround Vision – The Surround Vision system displays a rear or front camera view along with a view of the area surrounding the vehicle on the infotainment screen when the vehicle is in Reverse or Drive below 5 mph.
To switch views, touch the front or rear camera screen button at the bottom of the screen.
To turn the guidelines on or off, touch the guidelines screen button at the bottom of the screen.
Page 18 of 20

18
MEMORY SEATS♦
PASSENGER MEMORY SEAT♦
The front passenger memory seat operates the same as the driv-er's seat. Use the memory seat controls, located on the passenger's door, to save and recall settings for the front
passenger's seat.
ADDITIONAL DRIVER’S SEAT ADJUSTMENTS♦
Feature Selection
Press and release the tab on the Feature Select control knob, located on the driver’s seat, to display seat adjustment
features on the infotainment screen. Press and hold the tab to scroll through the adjustments.
Use the 4-way control pad on the control knob to make adjust-ments up, down, forward, or rearward to the selected feature.
Massage
With the ignition on, press the massage control on the driver’s seat to recall the last massage type and intensity.
See Seats and Restraints in your Owner's Manual.
ELECTRIC PARKING BRAKE
To apply the parking brake, pull the Parking Brake switch on the left side of the
instrument panel.
To release the parking brake, turn on the ignition, press the brake pedal, and then press the switch.
See Driving and Operating in your Owner's Manual.
MEMORY SEATS♦
SET MEMORY POSITIONS
With the ignition on or in Accessory mode:
1. Adjust the driver’s seat, power outside mirrors and the power steering column to the desired positions.
2. Press and release the SET button on the driver's door. A beep will sound.
3. Immediately press and hold button 1 until two beeps sound.
Repeat the steps using button 2 for a second driver.
SET EXIT POSITION
1. Adjust the driver’s seat, power outside mirrors and the power steering column to the desired positions.
2. Press and release the SET button. A beep will sound.
3. Immediately press and hold the Exit button until two beeps sound.
RECALL POSITIONS
Press and hold button 1, 2 or Exit until the set position is reached.