2019 Abarth 124 Spider display
[x] Cancel search: displayPage 212 of 224

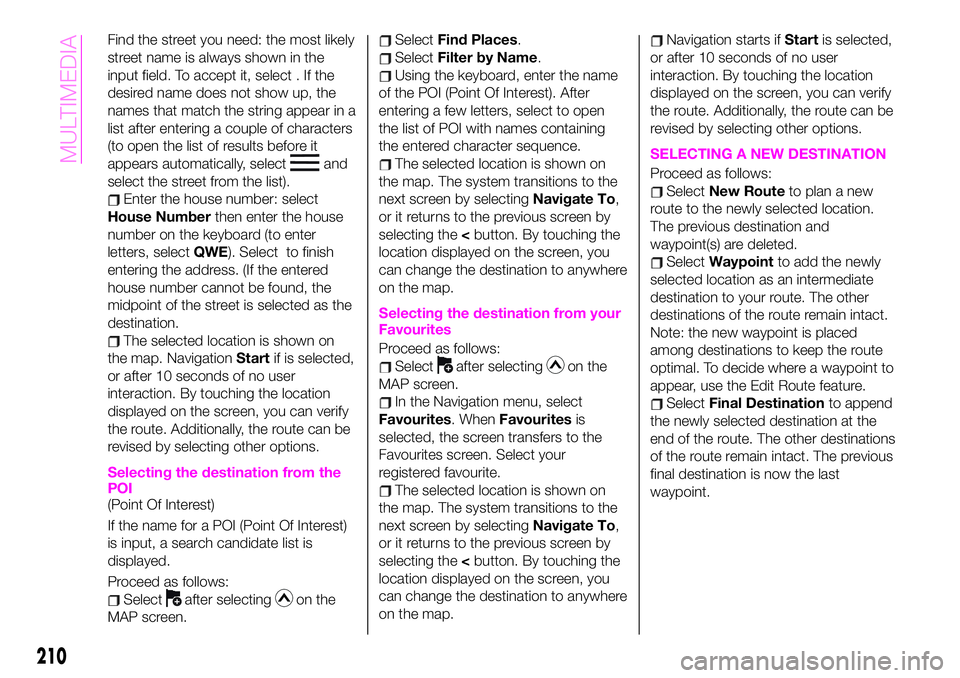
Find the street you need: the most likely
street name is always shown in the
input field. To accept it, select . If the
desired name does not show up, the
names that match the string appear in a
list after entering a couple of characters
(to open the list of results before it
appears automatically, select
and
select the street from the list).
Enter the house number: select
House Numberthen enter the house
number on the keyboard (to enter
letters, selectQWE). Select to finish
entering the address. (If the entered
house number cannot be found, the
midpoint of the street is selected as the
destination.
The selected location is shown on
the map. NavigationStartif is selected,
or after 10 seconds of no user
interaction. By touching the location
displayed on the screen, you can verify
the route. Additionally, the route can be
revised by selecting other options.
Selecting the destination from the
POI
(Point Of Interest)
If the name for a POI (Point Of Interest)
is input, a search candidate list is
displayed.
Proceed as follows:
Selectafter selectingon the
MAP screen.
SelectFind Places.
SelectFilter by Name.
Using the keyboard, enter the name
of the POI (Point Of Interest). After
entering a few letters, select to open
the list of POI with names containing
the entered character sequence.
The selected location is shown on
the map. The system transitions to the
next screen by selectingNavigate To,
or it returns to the previous screen by
selecting the
can change the destination to anywhere
on the map.
Selecting the destination from your
Favourites
Proceed as follows:
Selectafter selectingon the
MAP screen.
In the Navigation menu, select
Favourites. WhenFavouritesis
selected, the screen transfers to the
Favourites screen. Select your
registered favourite.
The selected location is shown on
the map. The system transitions to the
next screen by selectingNavigate To,
or it returns to the previous screen by
selecting the
can change the destination to anywhere
on the map.
Navigation starts ifStartis selected,
or after 10 seconds of no user
interaction. By touching the location
displayed on the screen, you can verify
the route. Additionally, the route can be
revised by selecting other options.
SELECTING A NEW DESTINATION
Proceed as follows:
SelectNew Routeto plan a new
route to the newly selected location.
The previous destination and
waypoint(s) are deleted.
SelectWaypointto add the newly
selected location as an intermediate
destination to your route. The other
destinations of the route remain intact.
Note: the new waypoint is placed
among destinations to keep the route
optimal. To decide where a waypoint to
appear, use the Edit Route feature.
SelectFinal Destinationto append
the newly selected destination at the
end of the route. The other destinations
of the route remain intact. The previous
final destination is now the last
waypoint.
210
MULTIMEDIA
Page 213 of 224

SETTINGS MENU
Selecticon after selectingon the
MAP screen.
Settings menu options:
Map Settings: you can fine-tune the
appearance of the Map screen. Adjust
the map view to your needs, show or
hide 3D buildings, and manage POI
(point of interest) display settings (which
POI to show on map).
Guidance Settings:a
guidance-related setting is available
during route guidance.
Warning Settings: a setting related
to warnings is available.
Route Settings.
Traffic Settings: a setting for traffic
information is available.
Connected Settings: a setting for
online service is available
NOTE Some functions are not available
depending on some countries and
regions.
MAP SETTINGS
The map is always shown on the
screen. Scroll the screen downward to
display the setting behind the lower part
of the screen:
View Mode: when this button is
selected, the map view mode can be
changed.3Ddisplays things such as
actual construction sites three
dimensionally on the map.2Dthe map
is rotated so that the direction of travel
is displayed in the upward direction/2D
Nthe map is displayed so that north is
up regardless of the direction of travel).
Viewpoint: adjust the basic zoom
and tilt levels to your needs. Three
levels are available.
Automatic Zoom: during route
guidance in any map view mode, the
function for zooming in on approaching
intersections turns on/off automatically.
Buildings: show or hide 3D town
models, 3D artistic or block
representation of all town building data
containing actual building sizes and
positions on the map.
Motorway Owerview: when
enabled, the map zooms out to show
an overview of the surrounding area if
the next route event (manoeuvre) is far
away. The system goes back to the
normal map view when you approach
the next event.
Place Markers: select which Places
to show on the map while navigating.
Too many Places make the map
crowded, so it is a good idea to show
as few as possible. You have the
following possibilities: select the
checkbox to show or hide the Place
category or Select the name of the
Place category to open the list of its
subcategories.
211
Page 220 of 224

Internal equipment............38
Jump starting..............159
Jump starting (procedure).......160
Key battery replacement........10
Keyless Entry System...........9
Keys......................9
Lane change signals...........27
Leaving Home Light system.......27
Load limiter (pretensioner)........85
Maintaining the finish.........179
Maintenance monitor...........53
Manual climate control system.....32
Manual transmission..........118
Mechanical Limited Slip
Differential................79
Message indicated on display.....71
Mirrors....................22
Multimedia.................195
Navigation................208
Occupant protection systems.....81
Odometer/Trip meter...........50
Outside mirrors...............22
Owner maintenance precautions . . .165
Paintwork (preserving).........178
Parking...................116
Parking brake...............117
Parking Sensor System.........129
Passenger Air Bag............102Passenger occupant classification
system.................107
Passive Entry................17
Performance...............192
Periodic checks (scheduled
servicing)................166
Power mirrors...............23
Power window lock switch.......37
Power windows..............36
Prescriptions for handling the
vehicle at the end of its life.....194
Pretensioners................85
Push button start positions.......11
Radio 3”.................197
Radio 7”..................202
Read this carefully..............2
Rear camera (ParkView rear
backup camera)...........133
Rear fog lights...............26
Refuelling procedure..........131
Refuelling the vehicle..........131
Replacing a bulb.............139
Replacing a tire..............177
Replacing exterior light bulbs.....142
Replacing fuses.............147
Rims and tires..............185
Rims and tires provided........186
SBA system (Seat Belt Alert)......84
Scheduled servicing plan.......167Seat belt precautions...........82
Seat belt pretensioner and load
limiting systems.............85
Seat Belt pretensioners.........102
Seat belts..................82
Seat belts (fastening/unfastening)}.......................82
Seats.....................19
Seats (manual adjustment).......19
Seats and fabric parts (cleaning) . . .181
Shift-lock override (automatic
gearbox)................120
Shift-lock system (automatic
gearbox)................120
Side Air Bags...............103
Snow chains...............177
Speed limiter...............126
SPORT mode...............123
Starting the engine.........11,116
Steering wheel...............21
Supplementary restraint system
(SRS) - Air bag............100
Symbols....................3
TCS (Traction Control System).....73
Theft deterrent system..........15
Tips, controls and general
information...............196
Tire service kit..............154
Tires rotation (recommendations) . .177
Tool storage................154
Towing the vehicle............161
INDEX