2019.75 VAUXHALL CROSSLAND X ignition
[x] Cancel search: ignitionPage 108 of 247

106Lighting
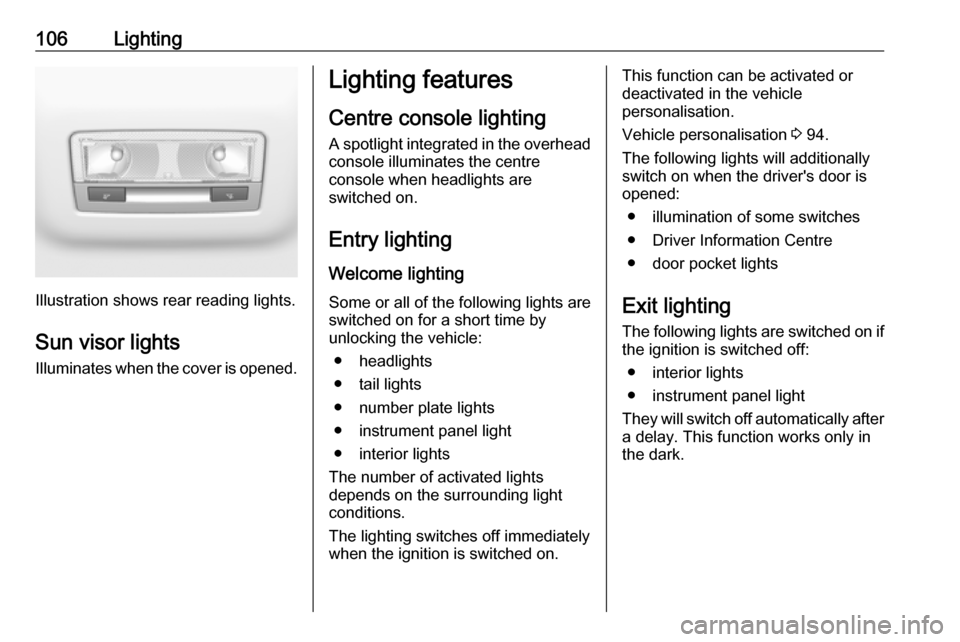
Illustration shows rear reading lights.Sun visor lights
Illuminates when the cover is opened.
Lighting features
Centre console lighting A spotlight integrated in the overheadconsole illuminates the centre
console when headlights are
switched on.
Entry lighting Welcome lighting
Some or all of the following lights are
switched on for a short time by
unlocking the vehicle:
● headlights
● tail lights
● number plate lights
● instrument panel light
● interior lights
The number of activated lights
depends on the surrounding light
conditions.
The lighting switches off immediately
when the ignition is switched on.This function can be activated or
deactivated in the vehicle
personalisation.
Vehicle personalisation 3 94.
The following lights will additionally
switch on when the driver's door is
opened:
● illumination of some switches
● Driver Information Centre
● door pocket lights
Exit lighting The following lights are switched on if
the ignition is switched off:
● interior lights
● instrument panel light
They will switch off automatically after
a delay. This function works only in
the dark.
Page 109 of 247

Lighting107Battery discharge protection
Vehicle battery state of charge
function
The function guarantees longest
vehicle battery life via a generator with controllable power output and
optimised power distribution.
To prevent discharge of the vehicle
battery when driving, the following
systems are reduced automatically in two stages and finally switched off:
● auxiliary heater
● heated rear window and heated mirrors
● heated seats
● fan
In the second stage, a message
which confirms the activation of the
vehicle battery discharge protection
will be displayed in the Driver
Information Centre.Switching off interior lights
To prevent discharge of the vehicle
battery when the ignition is switched off, some interior lights are switched
off automatically after some time.
Page 122 of 247

120Driving and operatingDriving and
operatingDriving hints ............................... 121
Control of the vehicle ...............121
Steering ................................... 121
Starting and operating ...............121
New vehicle running-in ............121
Ignition switch positions ...........122
Power button ........................... 122
Starting the engine ..................123
Overrun cut-off ........................ 125
Stop-start system ....................125
Parking .................................... 127
Engine exhaust .......................... 128
Exhaust filter ............................ 128
Catalytic converter ...................129
AdBlue ..................................... 129
Automatic transmission ..............132
Transmission display ...............132
Gear selection ......................... 132
Manual mode ........................... 133
Electronic driving programmes 133
Fault ........................................ 134
Interruption of power supply ....134
Manual transmission ..................135Brakes........................................ 136
Antilock brake system .............136
Parking brake .......................... 136
Brake assist ............................. 137
Hill start assist ......................... 137
Ride control systems .................137
Electronic Stability Control and Traction Control system .........137
Driver assistance systems .........139
Cruise control .......................... 139
Speed limiter ........................... 141
Forward collision alert .............144
Active emergency braking .......145
Front pedestrian protection .....148
Parking assist .......................... 149
Advanced parking assist .........152
Side blind spot alert .................156
Panoramic view system ...........158
Rear view camera ...................160
Lane departure warning ..........162
Driver alert ............................... 163
Fuel ............................................ 164
Fuel for petrol engines .............164
Fuel for diesel engines ............164
Refuelling ................................ 166
Trailer hitch ................................ 167
General information .................167
Driving characteristics and towing tips .............................. 168Trailer towing........................... 168
Towing equipment ...................169
Page 124 of 247

122Driving and operatingIgnition switch positions0:ignition off: some functions
remain active until key is
removed or driver's door is
opened, provided the ignition was
on previously1:ignition on power mode: ignition
is on, control indicators illuminate and most electrical functions are
operable2:engine start: release key after
engine has been started
Steering wheel lock
Remove key from ignition switch and
turn steering wheel until it engages.
9 Danger
Never remove the key from
ignition switch during driving as
this will cause steering wheel lock.
Power button
The electronic key must be inside the
vehicle.
Ignition on power mode without
starting the engine
Press Start/Stop without operating a
pedal. Control indicators illuminate
and most electrical functions are
operable.Engine start
Operate the clutch pedal, the brake
pedal and press Start/Stop. Release
the button after starting procedure
begins.Engine and ignition off
Press Start/Stop briefly in each mode
or when engine is running and vehicle
is stationary. Some functions remain
active until driver's door is opened,
provided the ignition was on
previously.
Emergency shut off during driving
If the engine needs to be switched offduring driving in case of emergency,
press Start/Stop for 5 seconds.
9Danger
Switching off the engine during
driving may cause loss of power
support for brake and steering
systems. Assistance systems and
airbag systems are disabled.
Lighting and brake lights will
extinguish. Therefore power down
Page 125 of 247

Driving and operating123the engine and ignition while
driving only when required in case
of emergency.
Steering wheel lock
The steering wheel lock activates
automatically when:
● The vehicle is stationary.
● The ignition has been switched off.
To release steering wheel lock, open
and close driver's door and switch the
ignition on power mode or start the
engine directly.
9 Warning
If the vehicle battery is discharged,
the vehicle must not be towed,
tow-started or jump-started as the
steering wheel lock cannot be
disengaged.
Operation in case of failure
If either the electronic key fails or the
battery of the electronic key is weak,
the Driver Information Centre may
display No Remote Detected or
Replace Battery in Remote Key when
you try to start the vehicle.
Hold the electronic key with buttons
outside at the marking on the steering column cover as shown in the
illustration.
Operate the clutch pedal, the brake
pedal and press Start/Stop. Release
the button after starting procedure begins.
This option is intended for
emergencies only. Replace the
electronic key battery as soon as
possible 3 22.
For unlocking or locking the doors,
see fault in radio remote control unit
or electronic key system 3 23.
Starting the engine
Vehicles with ignition switch
● Turn key to position 1.
● Move the steering wheel slightly to release the steering wheel
lock.
● Manual transmission: operate clutch and brake pedal.
● Automatic transmission: operate brake pedal and move selector
lever to P or N.
Page 127 of 247

Driving and operating125Overrun cut-off
The fuel supply is automatically cut off
during overrun, i.e. when the vehicle
is driven with a gear engaged but accelerator pedal is released.
Depending on driving conditions, the
overrun cut-off may be deactivated.
Stop-start system The stop-start system helps to save
fuel and to reduce the exhaust
emissions. When conditions allow, it
switches off the engine as soon as the
vehicle is at a low speed or at a
standstill, e.g. at a traffic light or in a
traffic jam.
Activation
The stop-start system is available as
soon as the engine is started, the
vehicle starts-off and the conditions
as stated below in this section are
fulfilled.
The system is ready to operate when
the LED in the button Ò is not
illuminated. To activate the system
when the system is deactivated,
press Ó.If the stop-start system is temporarily
not available and the button Ò is
pressed, the LED in the button
flashes.
Deactivation
Deactivate the stop-start system
manually by pressing Ò. The
deactivation is indicated when the
LED in the button illuminates.
Autostop
Vehicles with manual transmission
An Autostop can be activated at a
standstill.Activate an Autostop as follows:
● Depress the clutch pedal.
● Set the lever to neutral.
● Release the clutch pedal.
The engine will be switched off while
the ignition stays on.Vehicles with automatic transmission If the vehicle is at a standstill with
depressed brake pedal, Autostop is
activated automatically.
The engine will be switched off while
the ignition stays on.
The stop-start system will be disabled
on inclines of 12% or more.
Indication
An Autostop is indicated by control
indicator D.
Page 129 of 247

Driving and operating127Restart of the engine by the stop-start system
The selector lever must be in neutral
to enable an automatic restart.
If one of the following conditions
occurs during an Autostop, the
engine will be restarted automatically by the stop-start system:
● The stop-start system is manually deactivated.
● The driver's seat belt is unfastened or the driver's door is
opened.
● The engine temperature is too low.
● The charging level of the vehicle battery is below a defined level.
● The brake vacuum is not sufficient.
● The climate control system requests an engine start.
If an electrical accessory, e.g. a
portable CD player, is connected to
the power outlet, a brief power drop
during the restart might be noticeable.Parking9 Warning
● Do not park the vehicle on an
easily ignitable surface. The
high temperature of the
exhaust system could ignite the
surface.
● Always apply the parking brake. Activate the parking
brake without pressing the
release button. Apply as firmly
as possible on a downhill slope
or uphill slope. Depress brake
pedal at the same time to
reduce operating force.
● Switch off the engine.
● If the vehicle is on a level surface or uphill slope, engage
first gear or set the selector
lever to position P. On an uphill
slope, turn the front wheels
away from the kerb.
If the vehicle is on a downhill
slope, engage reverse gear or
set the selector lever to position
P . Turn the front wheels
towards the kerb.
● Close the windows.
● Remove the ignition key from the ignition switch or switch off
ignition on vehicles with power
button. Turn the steering wheel until the steering wheel lock is
felt to engage.
● Lock the vehicle with e on the
radio remote control.
Or with electronic key system
press marking on front door
handles 3 22.
● Activate the anti-theft alarm system 3 31.
● The engine cooling fans may run
after the engine has been
switched off 3 174.
Caution
After running at high engine
speeds or with high engine loads,
operate the engine briefly at a low load or run in neutral for
Page 133 of 247

Driving and operating1311. Continuously drive the vehiclefor 10 min making sure that
vehicle speed is always higher
than 12 mph.
2. If AdBlue refill is detected successfully, AdBlue supply-
driven warnings or limitations will disappear.
If AdBlue refill is still not detected, seek the assistance of a workshop.
If AdBlue must be refilled at
temperatures below -11 °C, the
refilling of AdBlue may not be
detected by the system. In this
event, park the vehicle in a space
with a higher ambient temperature
until AdBlue is liquified.
Notice
When unscrewing the protective cap from the filler neck, ammonia fumes
may emerge. Do not inhale as the
fumes have a pungent smell. The
fumes are not harmful by inhalation.
It is recommended to fill the AdBlue
tank completely.
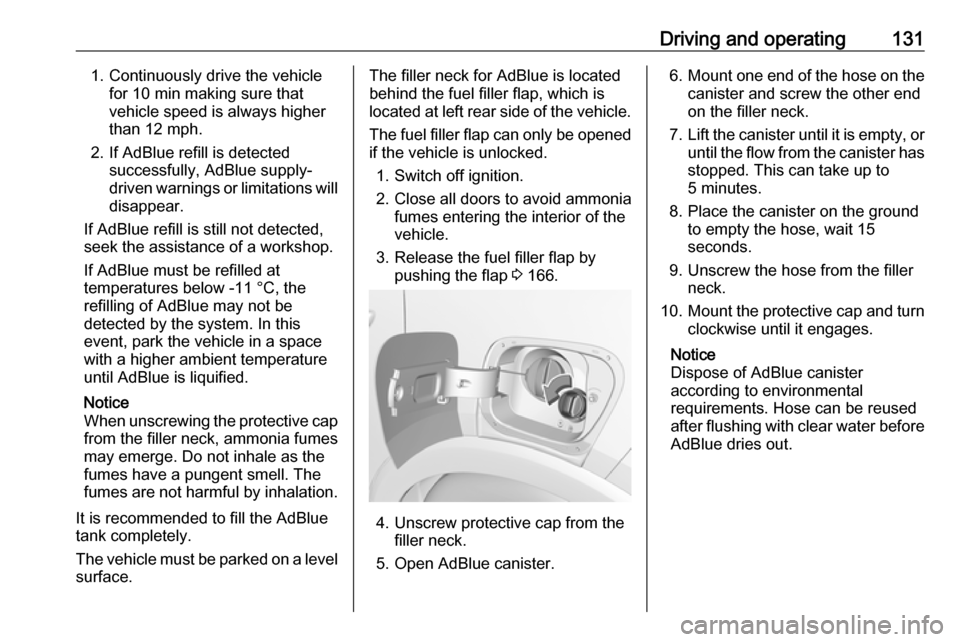
The vehicle must be parked on a level surface.The filler neck for AdBlue is locatedbehind the fuel filler flap, which is
located at left rear side of the vehicle.
The fuel filler flap can only be opened
if the vehicle is unlocked.
1. Switch off ignition.
2. Close all doors to avoid ammonia fumes entering the interior of the
vehicle.
3. Release the fuel filler flap by pushing the flap 3 166.
4. Unscrew protective cap from the
filler neck.
5. Open AdBlue canister.
6. Mount one end of the hose on the
canister and screw the other end
on the filler neck.
7. Lift the canister until it is empty, or
until the flow from the canister has stopped. This can take up to
5 minutes.
8. Place the canister on the ground to empty the hose, wait 15
seconds.
9. Unscrew the hose from the filler neck.
10. Mount the protective cap and turn
clockwise until it engages.
Notice
Dispose of AdBlue canister
according to environmental
requirements. Hose can be reused
after flushing with clear water before
AdBlue dries out.