2018 YAMAHA NIKEN reset
[x] Cancel search: resetPage 26 of 106

Instrument and control functions
3-11
3
EAU84540
Multi-function meter unit
WARNING
EWA12423
Be sure to stop the vehicle before
makin g any settin g chan ges to the
multi-function meter unit. Chan gin g
settin gs while ri din g can d istract the
operator an d increase the risk of an
acci dent.
The multi-function meter unit is
equipped with the following:
speedometer
tachometer
clock
fuel meter
eco indicator
transmission gear display
drive mode display
TCS display
QS indicator
multi-function display
brightness and shift light control
modeTIPThe multi-function meter unit can
be set to kilometers or miles. To
switch between kilometers and
miles, set the multi-function dis-
play to the odometer, and then
push the “RESET” button for one
second.
“ ” does not function.
1. “TCS” button
2. “RESET” button
1
2
1. Transmission gear display
2. QS indicator
3. Tachometer
4. Speedometer
5. Fuel meter
6. Eco indicator “ECO”
7. Multi-function display
8. Clock
9. TCS display
10.Drive mode display
3
4
5
12
6
7
8
9
10
UBD5E0E0.book Page 11 Wednesday, April 25, 2018 2:23 PM
Page 29 of 106

Instrument and control functions
3-14
3
This display indicates which traction
control system setting has been se-
lected: “1”, “2”, or “OFF”. For more de-
tails on the TCS settings and how to
select them, see page 3-21.
QS in
dicator
This indicator comes on when the
quick shift system (page 3-19) is turned
on. Multi-function
display
The multi-function display can show
the following: odometer (ODO)
two tripmeters (TRIP 1 and TRIP 2)
fuel reserve tripmeter (TRIP F)
instantaneous fuel consumption
average fuel consumption
coolant temperature
air temperature
TIPThe odometer will lock at 999999.
The tripmeters reset and continue
counting after 9999.9 is reached.
Push the “SELECT” switch to change
the display between the odometer
“ODO”, the tripmeters “TRIP 1” and
“TRIP 2”, instantaneous fuel consump-
tion “km/L”, “L/100 km”, or “MPG”, av-
erage fuel consumption “AVE – –.–
km/L”, “AVE – –.– L/100 km”, or “AVE
– –.– MPG”, coolant temperature “°C”,
and air temperature “°C Air”. When
pushing “ ”, the display will change
in the following order.
ODO → TRIP 1 → TRIP 2 → km/L,
L/100 km, or MPG → AVE – –.– km/L,
AVE – –.– L/100 km, or AVE – –.– MPG
→ °C (coolant) → °C Air → ODO
1. QS indicator1
1. Multi-function display
1
1. “SELECT” switch
1
UBD5E0E0.book Page 14 Wednesday, April 25, 2018 2:23 PM
Page 30 of 106

Instrument and control functions
3-15
3 When the last segment of the fuel me-
ter starts flashing, the display changes
to the fuel reserve tripmeter “TRIP F”
and starts counting the distance trav-
eled from that point. In this case,
push “ ” to change the display in the
following order.
TRIP F
→ km/L, L/100 km, or MPG →
AVE – –.– km/L, AVE – –.– L/100 km, or
AVE – –.– MPG → °C (coolant) → °C Air
→ ODO → TRIP 1 → TRIP 2 → TRIP F
TIP Push “ ” to change the display
in the opposite order.
To reset a tripmeter, push the
“RESET” button for one second.
The fuel reserve tripmeter can be
reset manually, or you can allow it
to reset automatically after refuel-
ing and traveling about 5 km (3
mi).
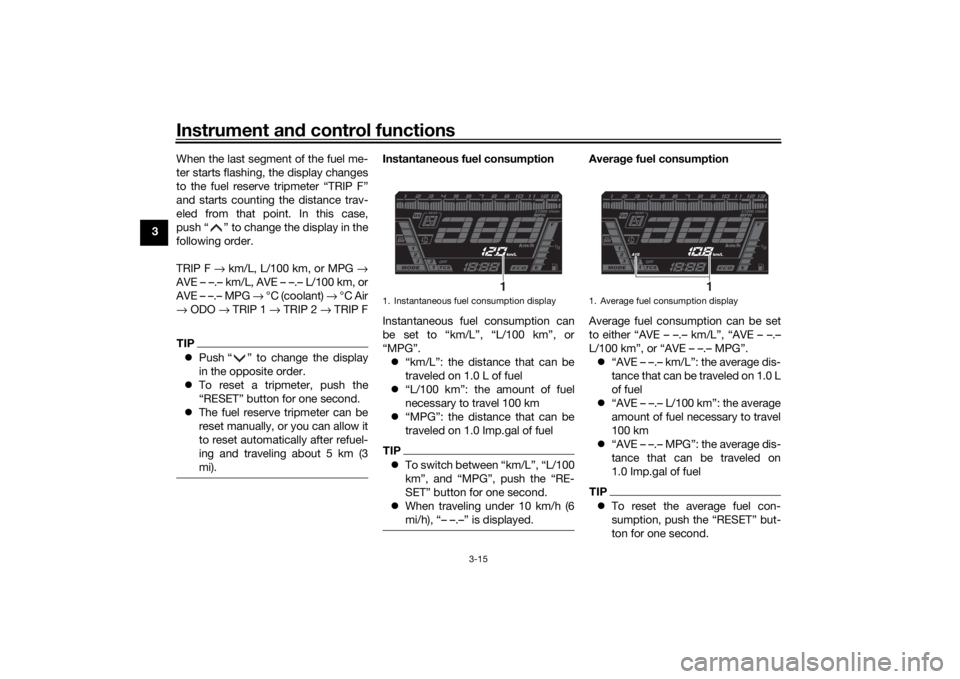
Instantaneous fuel consumption
Instantaneous fuel consumption can
be set to “km/L”, “L/100 km”, or
“MPG”.
“km/L”: the distance that can be
traveled on 1.0 L of fuel
“L/100 km”: the amount of fuel
necessary to travel 100 km
“MPG”: the distance that can be
traveled on 1.0 Imp.gal of fuelTIPTo switch between “km/L”, “L/100
km”, and “MPG”, push the “RE-
SET” button for one second.
When traveling under 10 km/h (6
mi/h), “– –.–” is displayed.
Averag e fuel consumption
Average fuel consumption can be set
to either “AVE – –.– km/L”, “AVE – –.–
L/100 km”, or “AVE – –.– MPG”. “AVE – –.– km/L”: the average dis-
tance that can be traveled on 1.0 L
of fuel
“AVE – –.– L/100 km”: the average
amount of fuel necessary to travel
100 km
“AVE – –.– MPG”: the average dis-
tance that can be traveled on
1.0 Imp.gal of fuelTIPTo reset the average fuel con-
sumption, push the “RESET” but-
ton for one second.
1. Instantaneous fuel consumption display
1
1. Average fuel consumption display
1
UBD5E0E0.book Page 15 Wednesday, April 25, 2018 2:23 PM
Page 31 of 106

Instrument and control functions
3-16
3
After resetting, “– –.–” will be
shown until the vehicle has trav-
eled a sufficient distance.
The display units cannot be
switched between “km/L”, “L/100
km”, and “MPG” in this mode;
change to the instantaneous fuel
consumption mode first.
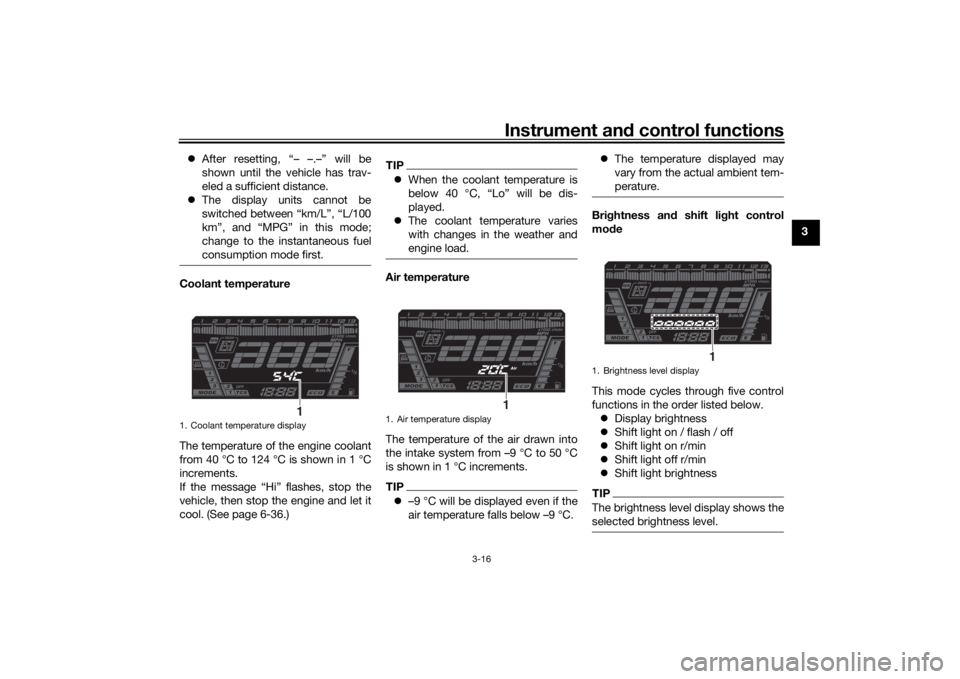
Coolant temperature
The temperature of the engine coolant
from 40 °C to 124 °C is shown in 1 °C
increments.
If the message “Hi” flashes, stop the
vehicle, then stop the engine and let it
cool. (See page 6-36.)
TIPWhen the coolant temperature is
below 40 °C, “Lo” will be dis-
played.
The coolant temperature varies
with changes in the weather and
engine load.Air temperature
The temperature of the air drawn into
the intake system from –9 °C to 50 °C
is shown in 1 °C increments.TIP–9 °C will be displayed even if the
air temperature falls below –9 °C.
The temperature displayed may
vary from the actual ambient tem-
perature.
Brig htness and shift light control
mo de
This mode cycles through five control
functions in the order listed below. Display brightness
Shift light on / flash / off
Shift light on r/min
Shift light off r/min
Shift light brightnessTIPThe brightness level display shows the
selected brightness level.
1. Coolant temperature display
1
1. Air temperature display
1
1. Brightness level display
1
UBD5E0E0.book Page 16 Wednesday, April 25, 2018 2:23 PM
Page 37 of 106

Instrument and control functions
3-22
3
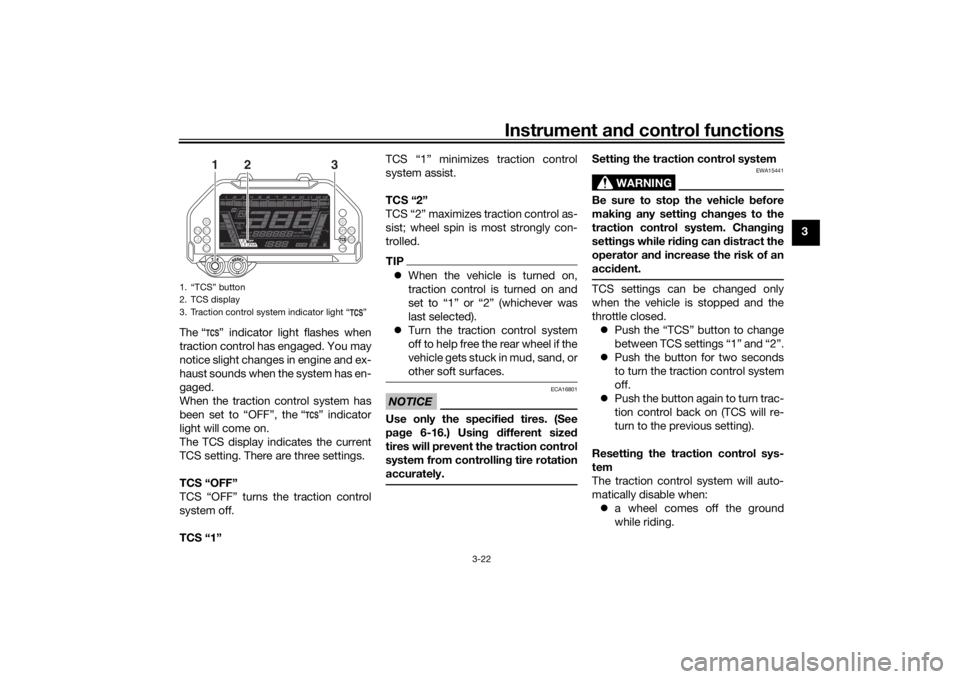
The “ ” indicator light flashes when
traction control has engaged. You may
notice slight changes in engine and ex-
haust sounds when the system has en-
gaged.
When the traction control system has
been set to “OFF”, the “ ” indicator
light will come on.
The TCS display indicates the current
TCS setting. There are three settings.
TCS “OFF”
TCS “OFF” turns the traction control
system off.
TCS “1” TCS “1” minimizes traction control
system assist.
TCS “2”
TCS “2” maximizes traction control as-
sist; wheel spin is most strongly con-
trolled.
TIP
When the vehicle is turned on,
traction control is turned on and
set to “1” or “2” (whichever was
last selected).
Turn the traction control system
off to help free the rear wheel if the
vehicle gets stuck in mud, sand, or
other soft surfaces.NOTICE
ECA16801
Use only the specifie d tires. (See
pa ge 6-16.) Usin g different sized
tires will prevent the traction control
system from controllin g tire rotation
accurately.
Settin g the traction control system
WARNING
EWA15441
Be sure to stop the vehicle before
makin g any settin g chan ges to the
traction control system. Chan gin g
settin gs while ri din g can d istract the
operator an d increase the risk of an
acci dent.TCS settings can be changed only
when the vehicle is stopped and the
throttle closed.
Push the “TCS” button to change
between TCS settings “1” and “2”.
Push the button for two seconds
to turn the traction control system
off.
Push the button again to turn trac-
tion control back on (TCS will re-
turn to the previous setting).
Resettin g the traction control sys-
tem
The traction control system will auto-
matically disable when: a wheel comes off the ground
while riding.
1. “TCS” button
2. TCS display
3. Traction control system indicator light “ ”
1
3
2
UBD5E0E0.book Page 22 Wednesday, April 25, 2018 2:23 PM
Page 38 of 106

Instrument and control functions
3-23
3
excessive rear wheel spin is de-
tected while riding.
a wheel is rotated by external forc-
es with the vehicle power on (such
as when performing mainte-
nance).
If the traction control system is dis-
abled, both the “ ” indicator light and
the “ ” warning light will come on.
Should this occur, try resetting the sys-
tem as follows. 1. Stop the vehicle and turn the vehi- cle off.
2. Wait a few seconds and then turn the vehicle back on. 3. The “ ” indicator light should
turn off and the system be en-
abled.
TIPIf the “ ” indicator light remains on af-
ter resetting, the vehicle may still be
ridden; however, have a Yamaha deal-
er check the vehicle as soon as possi-
ble.4. Have a Yamaha dealer check thevehicle and turn off the “ ”
warning light.
EAU13076
Fuel tank capTo open the fuel tank cap
Open the fuel tank cap lock cover, in-
sert the key into the lock, and then turn
it 1/4 turn clockwise. The lock will be
released and the fuel tank cap can be
opened.
To close the fuel tank cap
With the key still inserted in the lock,
push down the fuel tank cap. Turn the
key 1/4 turn counterclockwise, remove
it, and then close the lock cover.
1. Engine trouble warning light “ ”
2. TCS display
3. Traction control system indicator light “ ”
3
2
1
1. Fuel tank cap lock cover
2. Unlock.
1
2
UBD5E0E0.book Page 23 Wednesday, April 25, 2018 2:23 PM