2018 VOLVO XC90 door lock
[x] Cancel search: door lockPage 514 of 666

||
AUDIO, MEDIA AND INTERNET
* Option/accessory.
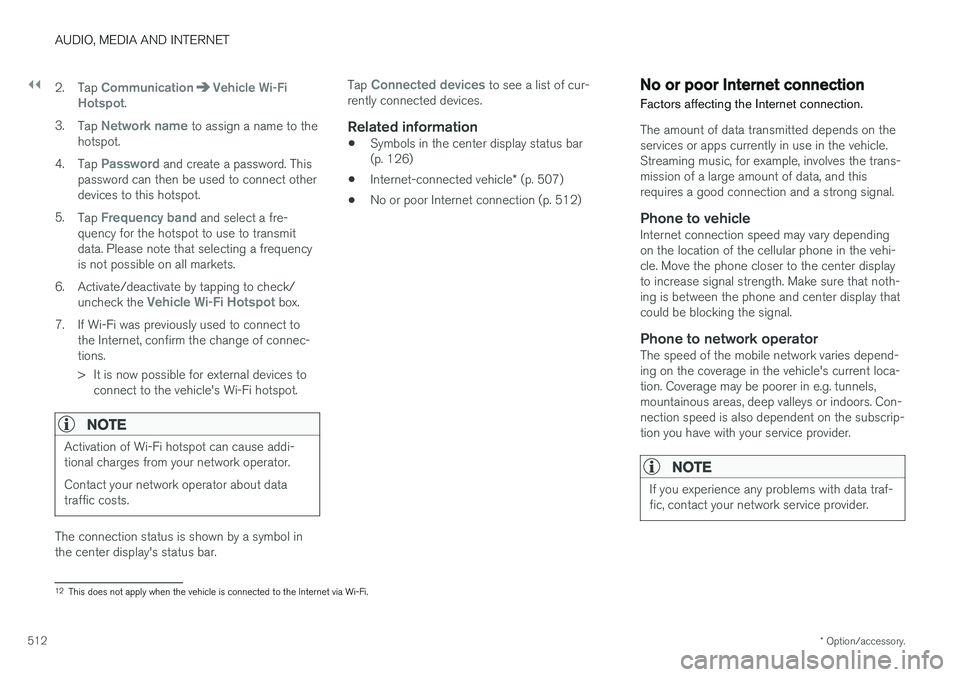
512 2. Tap
CommunicationVehicle Wi-Fi
Hotspot.
3. Tap
Network name to assign a name to the
hotspot.
4. Tap
Password and create a password. This
password can then be used to connect other devices to this hotspot.
5. Tap
Frequency band and select a fre-
quency for the hotspot to use to transmit data. Please note that selecting a frequencyis not possible on all markets.
6. Activate/deactivate by tapping to check/ uncheck the
Vehicle Wi-Fi Hotspot box.
7. If Wi-Fi was previously used to connect to the Internet, confirm the change of connec- tions.
> It is now possible for external devices toconnect to the vehicle's Wi-Fi hotspot.
NOTE
Activation of Wi-Fi hotspot can cause addi- tional charges from your network operator. Contact your network operator about data traffic costs.
The connection status is shown by a symbol in the center display's status bar. Tap
Connected devices to see a list of cur-
rently connected devices.
Related information
• Symbols in the center display status bar (p. 126)
• Internet-connected vehicle
* (p. 507)
• No or poor Internet connection (p. 512)
No or poor Internet connection Factors affecting the Internet connection.
The amount of data transmitted depends on the services or apps currently in use in the vehicle.Streaming music, for example, involves the trans-mission of a large amount of data, and thisrequires a good connection and a strong signal.
Phone to vehicleInternet connection speed may vary dependingon the location of the cellular phone in the vehi-cle. Move the phone closer to the center displayto increase signal strength. Make sure that noth-ing is between the phone and center display thatcould be blocking the signal.
Phone to network operatorThe speed of the mobile network varies depend-ing on the coverage in the vehicle's current loca-tion. Coverage may be poorer in e.g. tunnels,mountainous areas, deep valleys or indoors. Con-nection speed is also dependent on the subscrip-tion you have with your service provider.
NOTE
If you experience any problems with data traf- fic, contact your network service provider.
12
This does not apply when the vehicle is connected to the Internet via Wi-Fi.
Page 574 of 666

||
LOADING, STORAGE AND PASSENGER COMPARTMENT
572
WARNING
Objects in the cargo compartment must always be securely anchored, even with a cor-rectly installed cargo net.
Installing the cargo net
WARNING
All of the cargo net's upper consoles, hooks and straps must be securely mounted andattached before the net is used. Never use the net if it is damaged.
NOTE
With front mounting, the cargo net is most easily installed via a rear door.
1. Fold out the cargo net and make sure thatthe upper rod folds out and locks into posi- tion.
2. Insert one of the net's hooks into the front or rear ceiling mounting point with the straplock facing you. 3. Insert the other upper hook into the ceiling
mounting point on the opposite side. Thetelescopic spring-loaded hooks make mount-ing easier. Make sure that the net's hooks are pushed forward as far as possible into their respec-tive mounting points. 4. Rear mounting: With the cargo net hooked
into the rear ceiling mounting points, attachthe net's straps into the front floor eyelets inthe cargo compartment.
Rear mounting.
Front mounting: With the cargo net mounted in the front ceiling mounting points, hook thestraps into the outer eyelets on the front seatrails behind the seats. Attaching the net iseasier if the seat backrests are upright andthe seats are moved slightly forward.
Page 625 of 666

MAINTENANCE AND SERVICE
623
Automatic car washes The vehicle should be washed as soon as it becomes dirty. This makes the vehicle easier toclean because dirt does not attach as strongly. Italso reduces the risk of scratches and keeps thevehicle looking new.
Automatic car washesAn automatic car wash is a fast and easy way to keep your vehicle clean, but it does not reach allareas of the vehicle. For best results, Volvo rec-ommends hand washing your vehicle or supple-menting automatic car washes with a hand wash.
NOTE
Volvo recommends not washing the vehicle in an automatic car wash during the first fewmonths; the paintwork on new vehicles takessome time to fully harden.
CAUTION
Before driving the vehicle into a car wash, deactivate the Automatic Braking when Sta-tionary and Automatic Parking Brake Applica-tion functions. If the functions are not deacti-vated, the brake system will seize when thevehicle is stationary and the vehicle will not beable to roll.
CAUTION
For automatic car washes in which the vehicle is pulled forward on rolling wheels:
1. Before washing the vehicle, make surethat the automatic rain sensor is deacti- vated. If it is not deactivated and inadver-tently starts, the wiper arms could bedamaged.
2. To help prevent damage from the auto- matic car wash machinery, make surethat the door mirrors are folded in, anten-nas retracted or removed, and any auxili-ary lights secured.
3. Drive into the automatic car wash.
4. Turn off the "Automatic Braking when Stationary" function using the switch in the tunnel console.
5. Turn off the "Automatic Parking Brake Application" function in the center dis-play's Top view.
6. Turn off the engine by turning the start knob in the tunnel console clockwise.Hold the knob in position for at least2 seconds.
The vehicle is now ready for the automatic carwash.
Related information
• Cleaning the exterior (p. 620)
• Polishing and waxing (p. 621)
• Hand washing (p. 621)
• High-pressure washing (p. 624)
• Cleaning the wiper blades (p. 624)
• Cleaning exterior plastic, rubber and trim components (p. 625)
• Cleaning rims (p. 626)
• Corrosion protection (p. 626)
Page 654 of 666

INDEX
652CZIP (Clean Zone Interior Package) 210
D
Data
recording 33 transferring between vehicle and work-
shop 578
Data sharing 514
Daytime running lights 156Decals location of 636
Defrosting 225
Detection of cyclist 337
Dimensions 639
Dipstick, electronic 588
Direction of rotation 530
Disengaging the shiftlock 421
Display lighting 167
Distance Alert 289, 290, 291 limitations 292
DivX ®
490
Door mirrors 173, 175 compass 459, 460
dimming 174
outer 173, 175
power folding 175
resetting 175
Driveline transmission 417
Drive mode 423 changing 425
Driver Alert Control 360 operation 361, 362
Driver Alert Control limitations 362
Driver performance 92, 93
Driver profile 139 edit 141
select 140
Driver support system 270 Driving cooling system 446
with a trailer 449
Driving economy 438
Driving through standing water 441 driving with a trailer towball load 642
towing capacity 642E
ECO climate 426
ECO mode 426
activate with function button 428
Economical driving 426, 438
Electrical outlet 560 use 562
Electrical system 598
Electric parking brake 411
Electronic immobilizer 250
emergency brake lights 163
Emission inspection readiness 576 Engine overheating 446
start 404
Start/Stop 428
turn off 406
Engine braking, automatic 437 Engine compartment coolant 590
engine oil 587
overview 587
Engine drag control 272
Engine oil 587 filling 588
Page 659 of 666

INDEX
657
P
Paddle at steering wheel 203 Paintcolor code 628
paint damage and touch-up 627, 628
Panoramic roof opening and closing 177
pinch protection 170
sun shade 176, 179
ventilation position 178
PAP – Park Assist Pilot 393, 394, 397, 398, 400, 401
Park Assist Camera 384, 385, 386, 388, 389, 391, 392
settings 389
Park Assist Camera limitations 389
Park Assist Pilot 393, 394, 397, 398, 400, 401
function 393, 394, 398, 400, 401
limitations 398
operation 394, 397
Symbols and messages 401
Park Assist Pilot – PAP 393, 394, 397, 398, 400, 401
parking on hills 414
Parking Assist 379, 380, 381, 382, 383
function 379, 380, 381
Parking brake 411 activate and deactivate 412
automatic activation 413
Low battery charge level 414
Passenger compartment filter 211
Passenger compartment interior 558 center console 559
electrical outlet 560
glove compartment 563
sun visor 564
Passenger compartment lighting 165, 167 auto switch 165
Passing assistance 302, 303, 319
personal information (Privacy Policy) 34
Phone 498 changing to another 502
connect 499
connect automatically 501
connect manually 501
delete 503
disconnect 502
phone call 503, 505
text message 504
voice control 149Pilot Assist 309, 312, 313, 314, 315, 317, 319, 320, 321, 322
pass 319
pinch protection 170 resetting 171
PIN code 511
Polishing 621
Position lights 156
Power 643
Power folding door mirrors 175
Power panoramic roof 176
Power save mode 447
Power seats 189
Power tailgate 259
Power windows 171, 172 pinch protection 170
Pressure wash 624
Privacy Policy 34
Private locking 264 activation/deactivation 265
PROPOSITION 65 WARNING 447
Page 662 of 666

INDEX
660Starting the engine
after a collision 62
Start the vehicle 404
Steel cargo grid 570Steering assistance at risk of colli-
sion 370, 371, 372, 373, 374, 375, 376, 378 Steering assistance at risk of rear-end col-
lision 375, 376 Steering power level, see Steering wheel
resistance 270 Steering resistance at risk of head-on colli-
sion 373, 374
Steering wheel 203 heating 222, 223
keypad 203
paddle 203
steering wheel adjustment 203
Steering wheel keypad 203
Steering wheel paddles 419Steering wheel resistance, speed-depend- ent 270
Stone chips and scratches 627, 628
Stop/start function 428
Storage compartments 558 center console 559
glove compartment 563
sun visor 564
Sunroof
pinch protection 170
Sun shade panoramic roof 176, 179
pinch protection 170
rear door 173
Sun visor 564 mirror lighting 166
Support battery 601 Symbols indicator symbols 95
Symbols and messages Adaptive Cruise Control 307
center display's status bar 126
Collision warner with auto-brake 344
Symbols and messages for Assistance at
risk of collision 378
system updates 579
T
Tailgate locking/unlocking 241, 254
open/close with foot movement 263
power 259
unlocking from inside 257
Technician certification 37
Temperature adjusting 230, 231, 232
perceived 207
Temporary spare spare tire 547
Temporary tire sealing system execution, checking 551
Inflating tires 555
location 550
overview 550
sealing compound 550
Terms and conditions services 34
users 514
Tire dimensions 532, 542
Tire pressure decal 537 Tire pressure monitoring calibrating 539
Tires 528 direction of rotation 530
glossary of terms 531
inflation pressure table 647
mounting 546
pressure 647
removal 544
rotation 529
specifications 532, 647
storage 528
tire pressure monitoring 537