2018 VOLVO V90 CROSS COUNTRY suspension
[x] Cancel search: suspensionPage 11 of 662
9
Park Assist Camera limitations385
Recommended maintenance of the Park Assist Camera 387
Park Assist Camera symbols andmessages 388
Park Assist Pilot *
389
Types of parking with Park Assist Pilot 389
Parking with Park Assist Pilot 390
Leaving a parking space with ParkAssist Pilot 393
Park Assist Pilot * limitations
394
Recommended maintenance forPark Assist Pilot 396
Park Assist Pilot * messages
397
STARTING AND DRIVING
Starting the vehicle
400
Switching off the vehicle 402
Ignition modes 403
Selecting ignition mode 404
Brake functions 404
Brakes 405
Brake Assist System 406
Braking on wet roads 406
Braking on salted roads 407
Maintenance of the brake system 407
Parking brake 407
Activating and deactivating the park- ing brake 408
Settings for automatically activatingthe parking brake 409
Parking on a hill 410
Parking brake malfunction 410
Auto-hold brakes 411
Activating and deactivating Auto-hold at a standstill 412
Hill Start Assist 412
Braking assist after a collision 413
Transmission 413
Gear selector positions for automatictransmissions 414
Using the steering wheel paddles
* to
shift 415
Shiftlock 417
Deactivating the automatic shiftlock 417
The kickdown function 418
Gear indicator *
418
All Wheel Drive (AWD) 419
Drive modes *
419
Changing drive mode *
421
ECO drive mode 422
Activating and deactivating ECO drive mode using the function button 424
Start/Stop function 424
Driving with the Start/Stop function 424
Temporarily deactivating the Start/Stop function 426
Conditions for the Start/Stop function 426
Leveling control * and suspension
428
Leveling control settings *
430
Low Speed Control 430
Activating and deactivating LowSpeed Control using the function button 431
Hill Descent Control 431
Activating and deactivating HillDescent Control using the functionbutton 432
Page 140 of 662
||
DISPLAYS AND VOICE CONTROL
* Option/accessory.
138
Type ofsettingDescription
Slider Select a level for a function by pressing and dragging the slider control, e.g. to set volume level.
Informa-tion dis-play This is not an actual setting, butinstead displays information suchas the vehicle's VIN number.
Related information
•
Center display overview (p. 111)
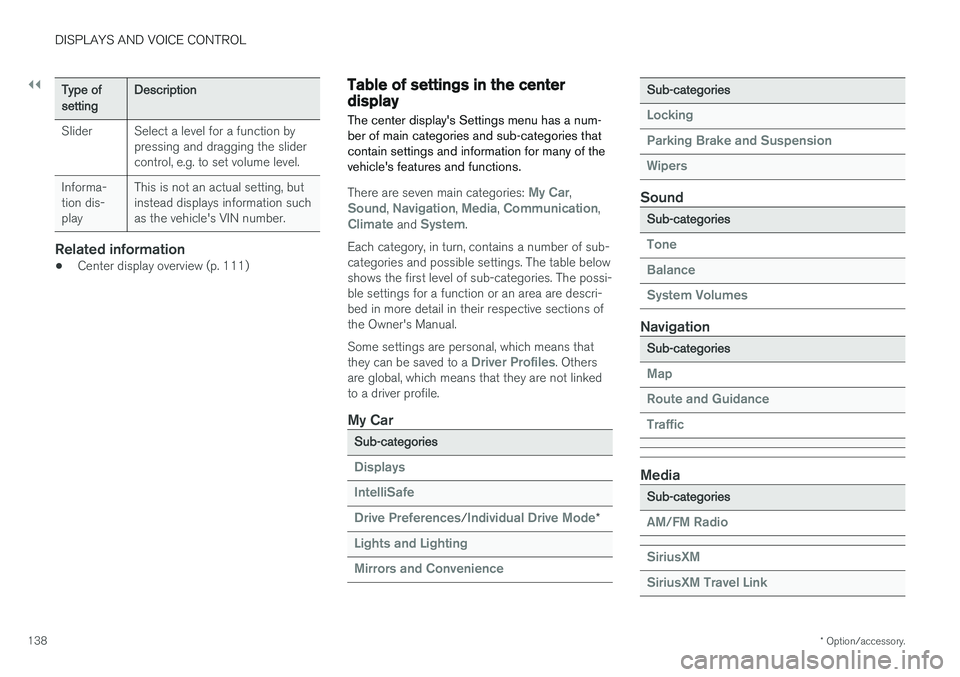
Table of settings in the centerdisplay The center display's Settings menu has a num- ber of main categories and sub-categories thatcontain settings and information for many of thevehicle's features and functions.
There are seven main categories: My Car,Sound, Navigation, Media, Communication,Climate and System.
Each category, in turn, contains a number of sub- categories and possible settings. The table belowshows the first level of sub-categories. The possi-ble settings for a function or an area are descri-bed in more detail in their respective sections ofthe Owner's Manual. Some settings are personal, which means that they can be saved to a
Driver Profiles. Others
are global, which means that they are not linked to a driver profile.
My Car
Sub-categories
Displays IntelliSafe Drive Preferences
/Individual Drive Mode*
Lights and Lighting Mirrors and Convenience
Sub-categories
Locking Parking Brake and SuspensionWipers
Sound
Sub-categories
Tone BalanceSystem Volumes
Navigation
Sub-categories
Map Route and GuidanceTraffic
Media
Sub-categories
AM/FM Radio SiriusXM SiriusXM Travel Link
Page 411 of 662
STARTING AND DRIVING
409
Emergency braking
In an emergency, the parking brake can be acti- vated when the vehicle is moving by pulling andholding up the control. The braking process iscanceled when the control is released or if theaccelerator pedal is depressed.
NOTE
In case of emergency braking at high speeds, a signal sounds during the brake procedure.
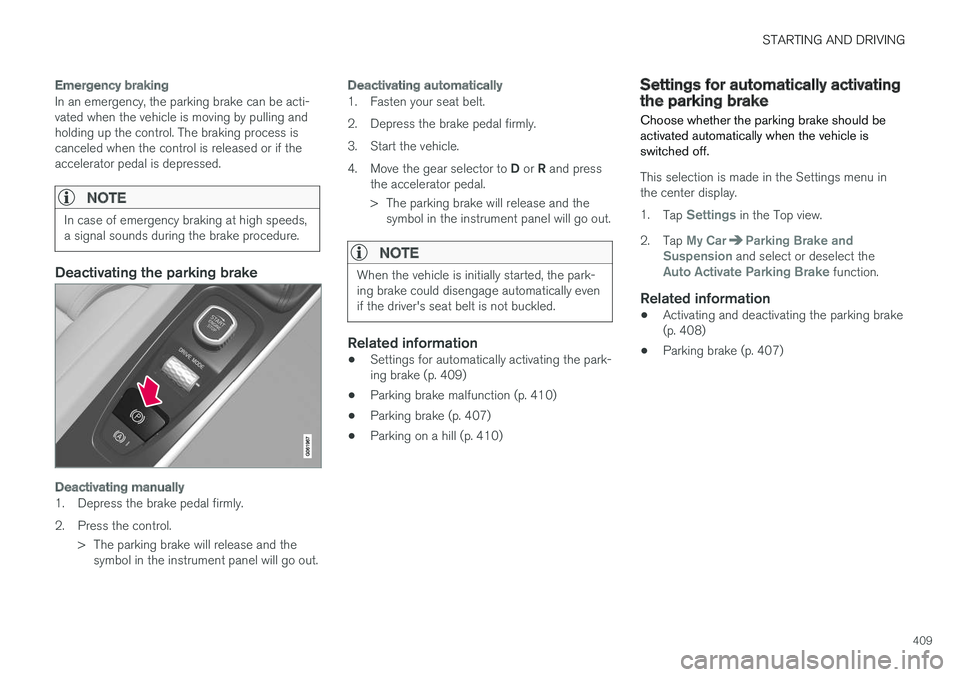
Deactivating the parking brake
Deactivating manually
1. Depress the brake pedal firmly.
2. Press the control.> The parking brake will release and thesymbol in the instrument panel will go out.
Deactivating automatically
1. Fasten your seat belt.
2. Depress the brake pedal firmly.
3. Start the vehicle.4. Move the gear selector to D or R and press
the accelerator pedal.
> The parking brake will release and the symbol in the instrument panel will go out.
NOTE
When the vehicle is initially started, the park- ing brake could disengage automatically evenif the driver's seat belt is not buckled.
Related information
• Settings for automatically activating the park- ing brake (p. 409)
• Parking brake malfunction (p. 410)
• Parking brake (p. 407)
• Parking on a hill (p. 410)
Settings for automatically activatingthe parking brake
Choose whether the parking brake should be activated automatically when the vehicle isswitched off.
This selection is made in the Settings menu in the center display. 1. Tap
Settings in the Top view.
2. Tap
My CarParking Brake and
Suspension and select or deselect theAuto Activate Parking Brake function.
Related information
• Activating and deactivating the parking brake (p. 408)
• Parking brake (p. 407)
Page 421 of 662
STARTING AND DRIVING
}}
* Option/accessory.419
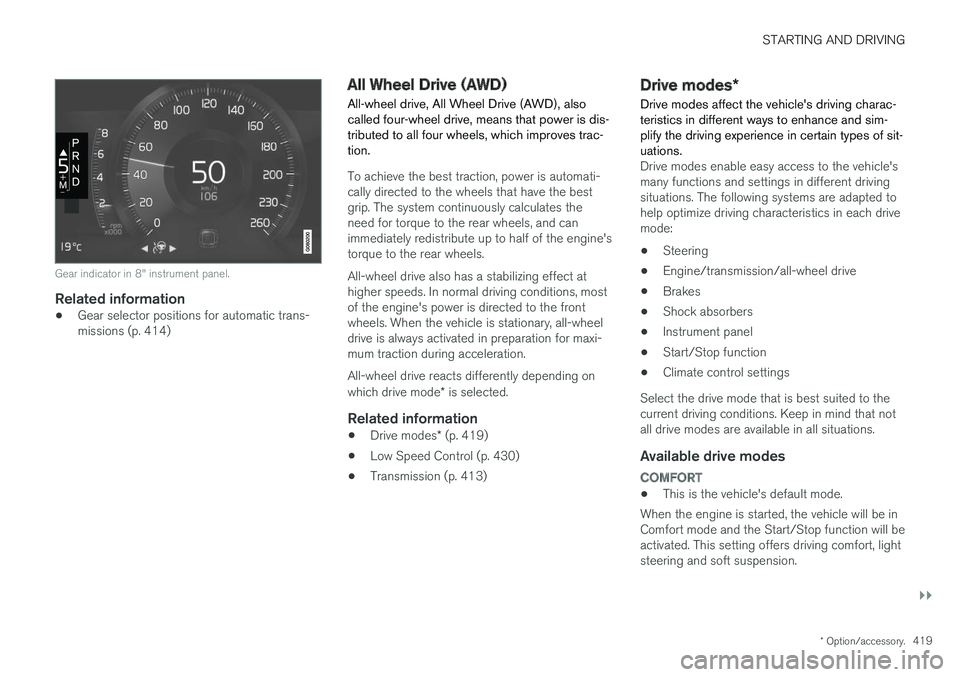
Gear indicator in 8" instrument panel.
Related information
•Gear selector positions for automatic trans- missions (p. 414)
All Wheel Drive (AWD)
All-wheel drive, All Wheel Drive (AWD), also called four-wheel drive, means that power is dis-tributed to all four wheels, which improves trac-tion.
To achieve the best traction, power is automati- cally directed to the wheels that have the bestgrip. The system continuously calculates theneed for torque to the rear wheels, and canimmediately redistribute up to half of the engine'storque to the rear wheels. All-wheel drive also has a stabilizing effect at higher speeds. In normal driving conditions, most of the engine's power is directed to the front wheels. When the vehicle is stationary, all-wheel drive is always activated in preparation for maxi- mum traction during acceleration. All-wheel drive reacts differently depending on which drive mode * is selected.
Related information
• Drive modes
* (p. 419)
• Low Speed Control (p. 430)
• Transmission (p. 413)
Drive modes
*
Drive modes affect the vehicle's driving charac- teristics in different ways to enhance and sim-plify the driving experience in certain types of sit-uations.
Drive modes enable easy access to the vehicle's many functions and settings in different drivingsituations. The following systems are adapted tohelp optimize driving characteristics in each drivemode: • Steering
• Engine/transmission/all-wheel drive
• Brakes
• Shock absorbers
• Instrument panel
• Start/Stop function
• Climate control settings
Select the drive mode that is best suited to the current driving conditions. Keep in mind that notall drive modes are available in all situations.
Available drive modes
COMFORT
• This is the vehicle's default mode.
When the engine is started, the vehicle will be in Comfort mode and the Start/Stop function will beactivated. This setting offers driving comfort, lightsteering and soft suspension.
Page 422 of 662
||
STARTING AND DRIVING
420
ECO
•Adapt the vehicle for more fuel-efficient and eco-friendly driving with Eco mode.
In this mode, the Start/Stop function is activatedand certain climate settings are reduced. The instrument panel has an ECO gauge to facili- tate fuel-efficient driving.
OFF ROAD
• Maximizes the vehicle's ability to traverse dif- ficult terrain or poor roads.
Steering is light and all-wheel drive and HillDescent Control are activated. The Start/Stopfunction is deactivated. This mode can only be activated at low speeds. The permitted speed range will be shown in thespeedometer. If this speed is exceeded, Off roadmode will be deactivated and another drive modeactivated. In Off road mode, a compass will be displayed between the speedometer and the tachometer inthe instrument panel.
NOTE
This drive mode is not designed to be used for normal street driving.
DYNAMIC
• Dynamic mode is designed to provide sport- ier driving characteristics and a faster accel-eration response.
Gear shifting will be faster and more distinct andthe transmission will prioritize gears with a highertraction force. Steering response is faster and suspension is stiffer 4
to help reduce body roll when cornering.
The Start/Stop function is deactivated.
INDIVIDUAL
• Customizes drive mode to personal preferen- ces.
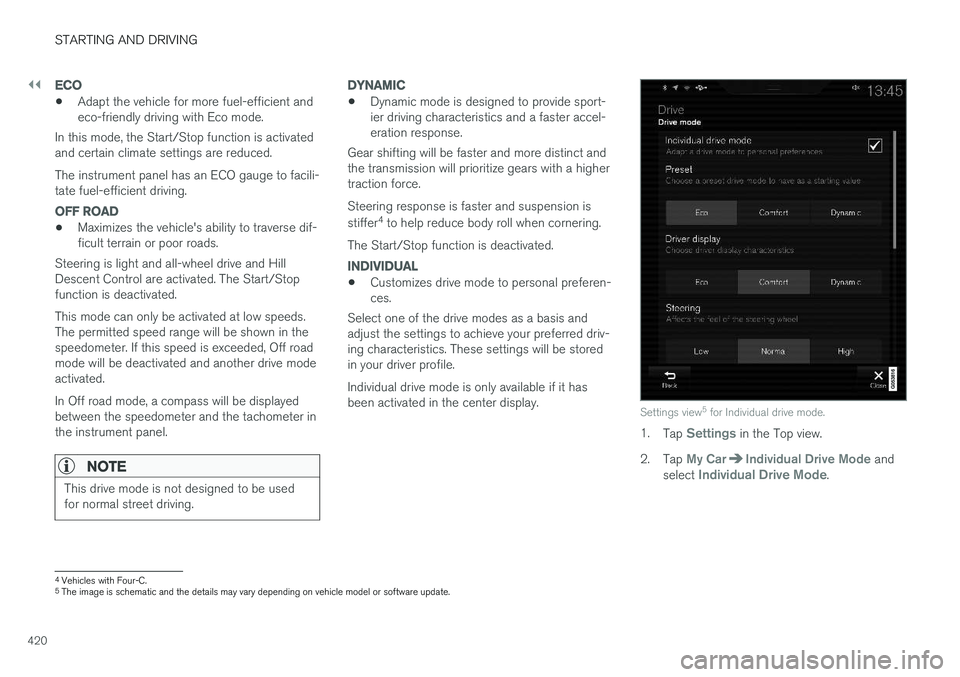
Select one of the drive modes as a basis andadjust the settings to achieve your preferred driv-ing characteristics. These settings will be storedin your driver profile. Individual drive mode is only available if it has been activated in the center display.
Settings view 5
for Individual drive mode.
1. Tap Settings in the Top view.
2. Tap
My CarIndividual Drive Mode and
select Individual Drive Mode.
4 Vehicles with Four-C.
5 The image is schematic and the details may vary depending on vehicle model or software update.
Page 423 of 662
STARTING AND DRIVING
* Option/accessory.421
3.
Under
Presets, select one of the following
drive modes as a basis: Eco, Comfort orDynamic.
The following settings can be modified: •
Driver Display
•Steering force
•Powertrain Characteristics
•Brake Characteristics
•Suspension Control
•ECO Climate
•Start/Stop.
Related information
• Changing drive mode
* (p. 421)
• ECO drive mode (p. 422)
• Economical driving (p. 433)
• Start/Stop function (p. 424)
• Low Speed Control (p. 430)
• Hill Descent Control (p. 431)
• All Wheel Drive (AWD) (p. 419)
Changing drive mode
*
The drive mode is changed using the control in the tunnel console.
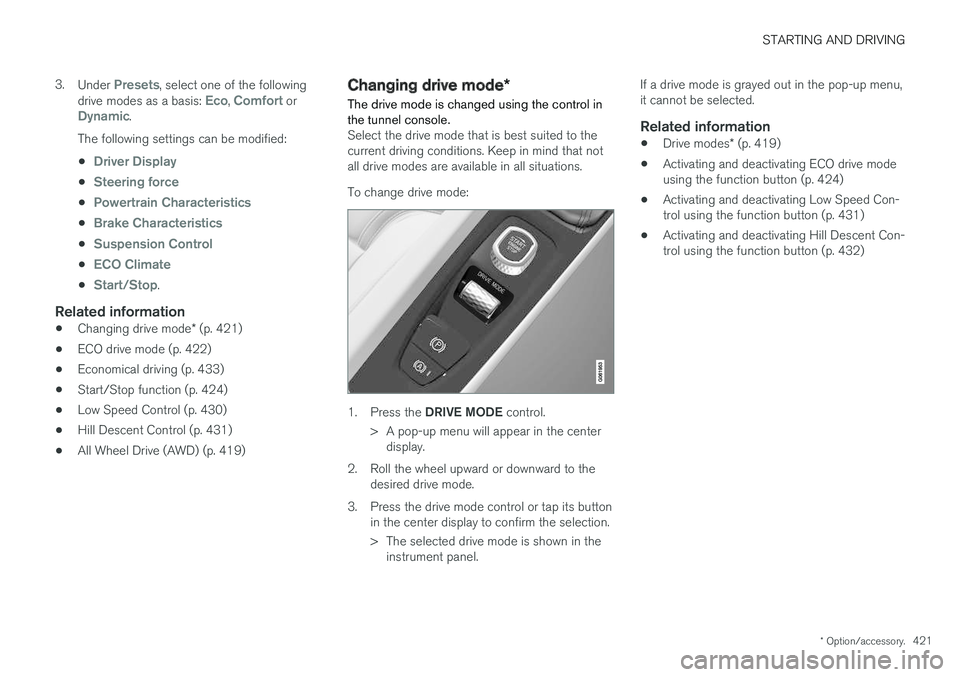
Select the drive mode that is best suited to the current driving conditions. Keep in mind that notall drive modes are available in all situations. To change drive mode:
1. Press the DRIVE MODE control.
> A pop-up menu will appear in the center display.
2. Roll the wheel upward or downward to the desired drive mode.
3. Press the drive mode control or tap its button in the center display to confirm the selection.
> The selected drive mode is shown in theinstrument panel. If a drive mode is grayed out in the pop-up menu, it cannot be selected.
Related information
•
Drive modes
* (p. 419)
• Activating and deactivating ECO drive modeusing the function button (p. 424)
• Activating and deactivating Low Speed Con-trol using the function button (p. 431)
• Activating and deactivating Hill Descent Con-trol using the function button (p. 432)
Page 430 of 662
STARTING AND DRIVING
* Option/accessory.
428
Leveling control * and suspension
Self-leveling and suspension functions are con- trolled automatically.
Rear leveling control keeps the rear section of the vehicle at the same height regardless of load.Leveling control may also remain active when thevehicle is parked.
Shock absorbers (Four-C)The shock absorbers are adapted to the selecteddrive mode and vehicle speed. The shock absorb-ers are normally set to provide the best possiblecomfort and are adjusted continuously accordingto the road surface and the vehicle's acceleration,braking and cornering.TransportingWhen transporting the vehicle on a ferry, train ortruck, only secure (lash) the vehicle around thetires, not using any other parts of the chassis.Changes in the pneumatic suspension may occurduring transport, which could adversely affect thelashing and result in damage.
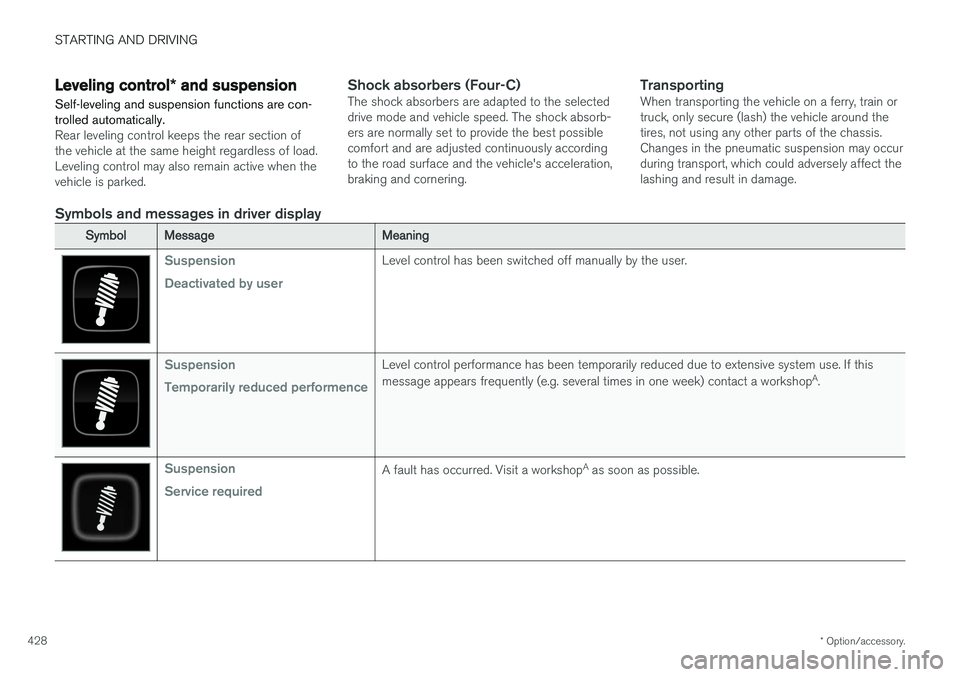
Symbols and messages in driver display
SymbolMessageMeaning
Suspension Deactivated by userLevel control has been switched off manually by the user.
Suspension Temporarily reduced performenceLevel control performance has been temporarily reduced due to extensive system use. If this message appears frequently (e.g. several times in one week) contact a workshop A
.
Suspension Service requiredA fault has occurred. Visit a workshop A
as soon as possible.
Page 431 of 662
STARTING AND DRIVING
* Option/accessory.429
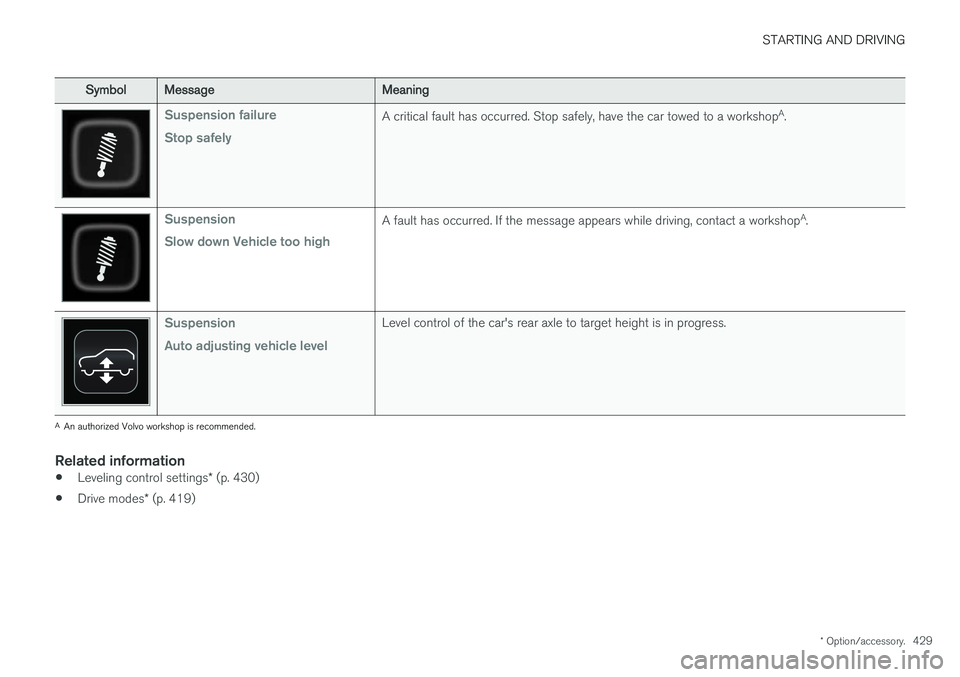
SymbolMessageMeaning
Suspension failure Stop safelyA critical fault has occurred. Stop safely, have the car towed to a workshop A
.
Suspension Slow down Vehicle too highA fault has occurred. If the message appears while driving, contact a workshop A
.
Suspension Auto adjusting vehicle levelLevel control of the car's rear axle to target height is in progress.
A An authorized Volvo workshop is recommended.
Related information
• Leveling control settings
* (p. 430)
• Drive modes
* (p. 419)