2018 VOLVO V60 CROSS COUNTRY engine
[x] Cancel search: enginePage 277 of 404
STARTING AND DRIVING
}}
275
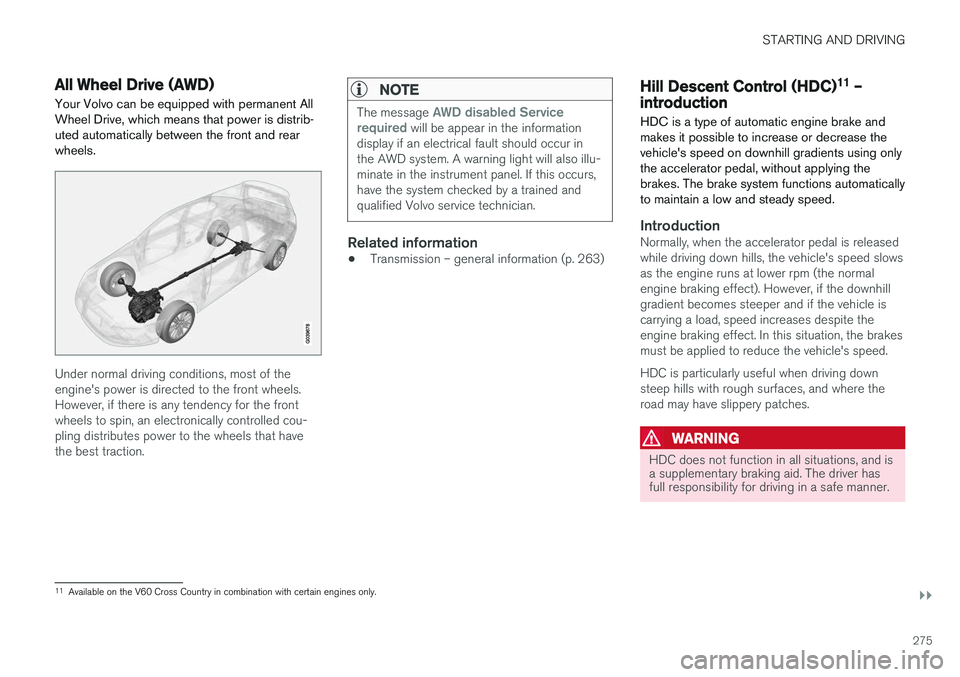
All Wheel Drive (AWD)Your Volvo can be equipped with permanent All Wheel Drive, which means that power is distrib-uted automatically between the front and rearwheels.
Under normal driving conditions, most of the engine's power is directed to the front wheels.However, if there is any tendency for the frontwheels to spin, an electronically controlled cou-pling distributes power to the wheels that havethe best traction.
NOTE
The message AWD disabled Service
required will be appear in the information
display if an electrical fault should occur in the AWD system. A warning light will also illu-minate in the instrument panel. If this occurs,have the system checked by a trained andqualified Volvo service technician.
Related information
• Transmission – general information (p. 263)
Hill Descent Control (HDC) 11
–
introduction
HDC is a type of automatic engine brake and makes it possible to increase or decrease thevehicle's speed on downhill gradients using onlythe accelerator pedal, without applying thebrakes. The brake system functions automaticallyto maintain a low and steady speed.
IntroductionNormally, when the accelerator pedal is released while driving down hills, the vehicle's speed slowsas the engine runs at lower rpm (the normalengine braking effect). However, if the downhillgradient becomes steeper and if the vehicle iscarrying a load, speed increases despite theengine braking effect. In this situation, the brakesmust be applied to reduce the vehicle's speed. HDC is particularly useful when driving down steep hills with rough surfaces, and where theroad may have slippery patches.
WARNING
HDC does not function in all situations, and is a supplementary braking aid. The driver hasfull responsibility for driving in a safe manner.
11 Available on the V60 Cross Country in combination with certain engines only.
Page 278 of 404
||
STARTING AND DRIVING
276
Related information
•Hill Descent Control (HDC) – operation (p. 276)
• Brakes – general (p. 277)Hill Descent Control (HDC) 12
–
operation
Function
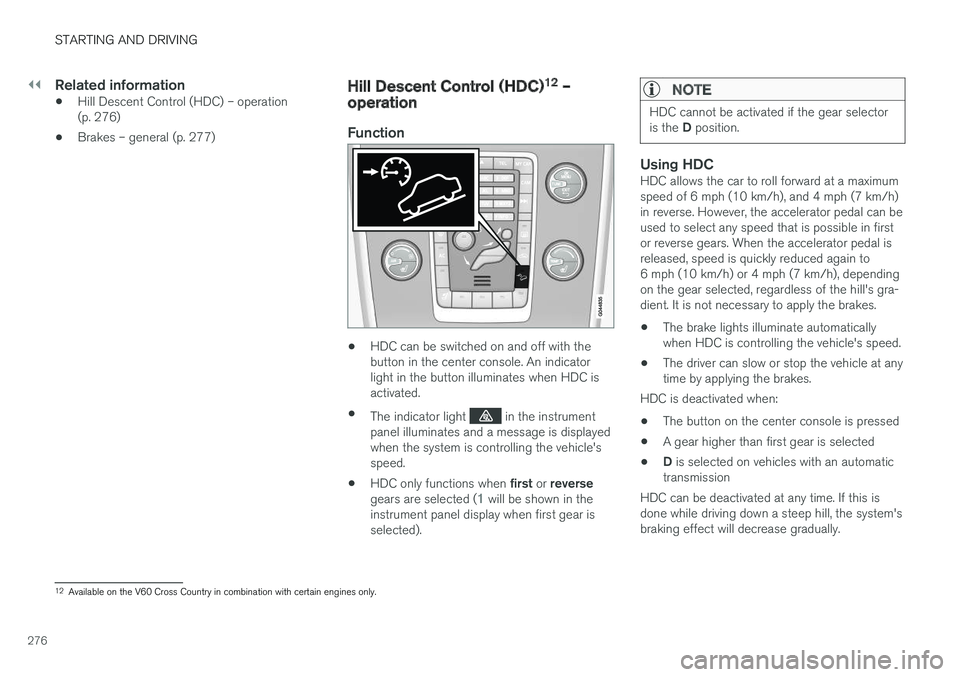
• HDC can be switched on and off with the button in the center console. An indicatorlight in the button illuminates when HDC isactivated.
• The indicator light
in the instrument
panel illuminates and a message is displayed when the system is controlling the vehicle'sspeed.
• HDC only functions when
first or reverse
gears are selected (
1 will be shown in the
instrument panel display when first gear is selected).
NOTE
HDC cannot be activated if the gear selector is the D position.
Using HDCHDC allows the car to roll forward at a maximum speed of 6 mph (10 km/h), and 4 mph (7 km/h)in reverse. However, the accelerator pedal can beused to select any speed that is possible in firstor reverse gears. When the accelerator pedal isreleased, speed is quickly reduced again to6 mph (10 km/h) or 4 mph (7 km/h), dependingon the gear selected, regardless of the hill's gra-dient. It is not necessary to apply the brakes.
• The brake lights illuminate automaticallywhen HDC is controlling the vehicle's speed.
• The driver can slow or stop the vehicle at anytime by applying the brakes.
HDC is deactivated when:
• The button on the center console is pressed
• A gear higher than first gear is selected
• D
is selected on vehicles with an automatic
transmission
HDC can be deactivated at any time. If this isdone while driving down a steep hill, the system'sbraking effect will decrease gradually.
12 Available on the V60 Cross Country in combination with certain engines only.
Page 279 of 404

STARTING AND DRIVING
}}
* Option/accessory.277
NOTE
Engine response to pressure on the accelera- tor pedal may be slightly slower than normalwhen HDC is activated.
Related information
•Hill Descent Control (HDC) – introduction (p. 275)
• Brakes – general (p. 277)
Brakes – general The brake system is a hydraulic system consist- ing of two separate brake circuits. If a problemshould occur in one of these circuits, it is stillpossible to stop the vehicle with the other brakecircuit.
If the brake pedal must be depressed farther than normal and requires greater foot pressure,the stopping distance will be longer. A warning light in the instrument panel will light up to warn the driver that a fault has occurred. If this light comes on while driving or braking, stop immediately and check the brake fluid levelin the reservoir.
NOTE
Press the brake pedal hard and maintain pressure on the pedal – do not pump thebrakes.
WARNING
If the fluid level is below the
MIN mark in the
reservoir or if a brake system message is shown in the information display: DO NOT
DRIVE . Have the vehicle towed to a trained
and qualified Volvo service technician and have the brake system inspected.
Brake pad inspection
On vehicles equipped with a jack *, the condition
of the brake pads can be checked by raising the vehicle (see Changing a wheel – removing wheel(p. 303) for information about using the jack andremoving a wheel) and performing a visualinspection of the brake pads.
WARNING
• If the vehicle has been driven immediately prior to a brake pad inspection, the wheelhub, brake components, etc., will be veryhot. Allow time for these components tocool before carrying out the inspection.
• Apply the parking brake and put the gear selector in the Park (
P) position.
• Block the wheels standing on the ground, use rigid wooden blocks or large stones.
Page 280 of 404
||
STARTING AND DRIVING
278
WARNING
•Use the jack intended for the vehicle when changing a tire. For any other job,use stands to support the vehicle.
• The jack should be kept well-greased andclean, and should not be damaged.
• Be sure the jack is on a firm, level, non-slippery surface.
• No objects should be placed between thebase of jack and the ground, or betweenthe jack and the attachment bar on thevehicle.
• The jack must correctly engage the jackattachment.
• Never allow any part of your body to beextended under a vehicle supported by ajack.
Power brakes function only when the engine is running
The power brakes utilize vacuum pressure which is only created when the engine is running. Neverlet the vehicle roll to a stop with the engineswitched off. If the power brakes are not working, considerably higher pressure will be required on the brakepedal to compensate for the lack of power assis-tance. This can happen for example when towingyour vehicle or if the engine is switched off when the vehicle is rolling. The brake pedal feels harderthan usual.
Water on brake discs and brake pads
affects braking
Driving in rain and slush or passing through anautomatic car wash can cause water to collect onthe brake discs and pads. This will cause a delayin braking effect when the pedal is depressed. Toavoid such a delay when the brakes are needed,depress the pedal occasionally when drivingthrough rain, slush, etc. This will remove the waterfrom the brakes. Check that brake applicationfeels normal. This should also be done afterwashing or starting in very damp or cold weather.
Severe strain on the brake systemThe brakes will be subject to severe strain whendriving in mountains or hilly areas, or when towinga trailer. Vehicle speed is usually slower, whichmeans that the cooling of the brakes is less effi-cient than when driving on level roads. To reducethe strain on the brakes, shift into a lower gearand let the engine help with the braking. Do notforget that if you are towing a trailer, the brakeswill be subjected to a greater than normal load.
Cleaning the brake discsCoatings of dirt and water on the brake discsmay result in delayed brake function. This delay isminimized by cleaning the brake linings. Cleaning the brake pads is advisable in wet weather, prior to long-term parking, and after the vehicle has been washed. Do this by braking gen-tly for a short period while the vehicle is moving.
Related information
•
Parking brake – general information (p. 280)
• Emergency Brake Assistance (EBA) (p. 280)
• Brakes – general (p. 277)
• Anti-lock braking system (ABS) (p. 279)
Page 281 of 404

STARTING AND DRIVING
279
Brakes – symbols
Symbols in the instrument panel
SymbolSpecification
Steady glow – Check the brake fluid level. If the level is low, fill withbrake fluid and check for the causeof the brake fluid loss.
Automatic function check: steady glow for two seconds when theengine is started.
WARNING
If and come on at the same
time and the brake level is below the MIN
mark in the reservoir or if a brake system-rela- ted message is shown in the information dis- play: DO NOT DRIVE . Have the vehicle towed
to a trained and qualified Volvo service techni- cian and have the brake system inspected.
Related information
• Brakes – general (p. 277)
• Parking brake – general information (p. 280)
Anti-lock braking system (ABS) The ABS system helps to improve vehicle con- trol (stopping and steering) during severe brak-ing conditions by limiting brake lockup.
When the system "senses" impending lockup, braking pressure is automatically modulated inorder to help prevent lockup that could lead to askid. The system performs a brief self-diagnostic test when the engine has been started and driverreleases the brake pedal. Another automatic testmay be performed when the vehicle first reachesa speed of approximately 6 mph (10 km/h). Thebrake pedal will pulsate several times and asound may be audible from the ABS controlmodule, which is normal.
Related information
• Parking brake – general information (p. 280)
• Emergency Brake Assistance (EBA) (p. 280)
• Brakes – general (p. 277)
Brake lights The brake lights come on automatically when the brakes are applied.
Adaptive brake lights
The adaptive brake lights activate in the event of sudden braking or if the ABS system is activated.This function causes an additional taillight oneach side of the vehicle to illuminate to help alertvehicles traveling behind. The adaptive brake lights activate if:
• The ABS system activates for more than approximately a half second
• In the event of sudden braking while thevehicle is moving at speeds above approxi-mately 6 mph (10 km/h).
When the vehicle has come to a stop, the brakelights and additional taillights remain on for aslong as the brake pedal is depressed or untilbraking force on the vehicle is reduced.
Related information
• Brakes – general (p. 277)
• Parking brake – general information (p. 280)
Page 282 of 404
STARTING AND DRIVING
280
Emergency Brake Assistance (EBA)
EBA is designed to provide full brake effect immediately in the event of sudden, hard brak-ing.
Emergency Brake AssistanceThe EBA system is activated by the speed with which the brake pedal is depressed. When the EBA system is activated, the brake pedal will go down and pressure in the brake sys-tem immediately increases to the maximum level.Maintain full pressure on the brake pedal in orderto utilize the system completely. EBA is automati-cally deactivated when the brake pedal isreleased.
NOTE
• When the EBA system is activated, the brake pedal will go down and pressure inthe brake system immediately increasesto the maximum level. You must maintainfull pressure on the brake pedal in orderto utilize the system completely. Therewill be no braking effect if the pedal isreleased. EBA is automatically deacti-vated when the brake pedal is released.
• When the vehicle has been parked forsome time, the brake pedal may sinkmore than usual when the engine isstarted. This is normal and the pedal willreturn to its usual position when it isreleased.
Related information
• Parking brake – general information (p. 280)
• Brakes – general (p. 277)
• Anti-lock braking system (ABS) (p. 279)
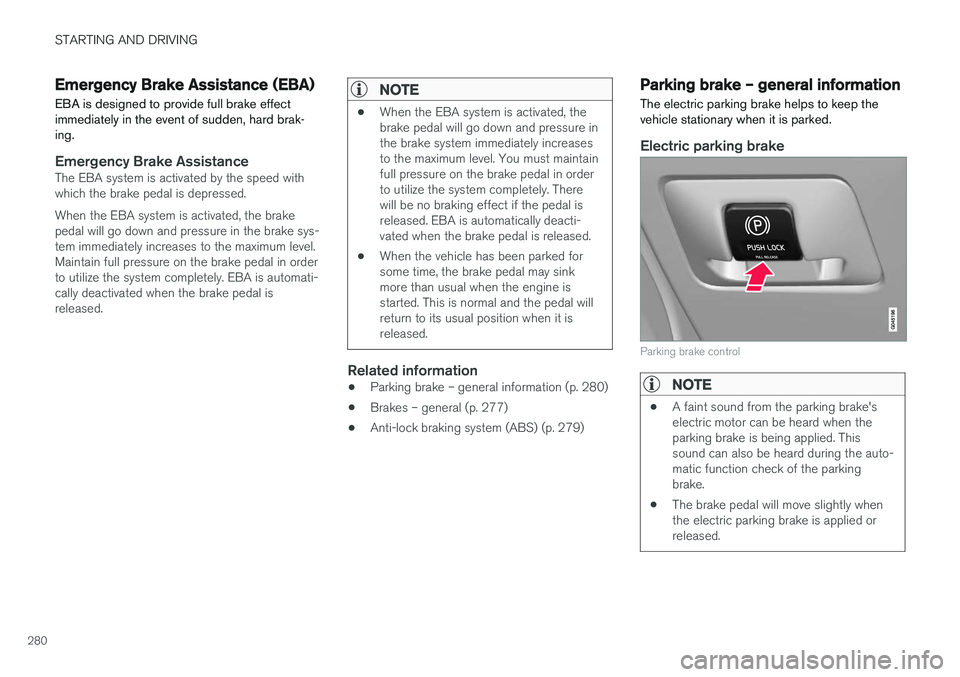
Parking brake – general information The electric parking brake helps to keep the vehicle stationary when it is parked.
Electric parking brake
Parking brake control
NOTE
•
A faint sound from the parking brake's electric motor can be heard when theparking brake is being applied. Thissound can also be heard during the auto-matic function check of the parkingbrake.
• The brake pedal will move slightly whenthe electric parking brake is applied orreleased.
Page 284 of 404
STARTING AND DRIVING
282
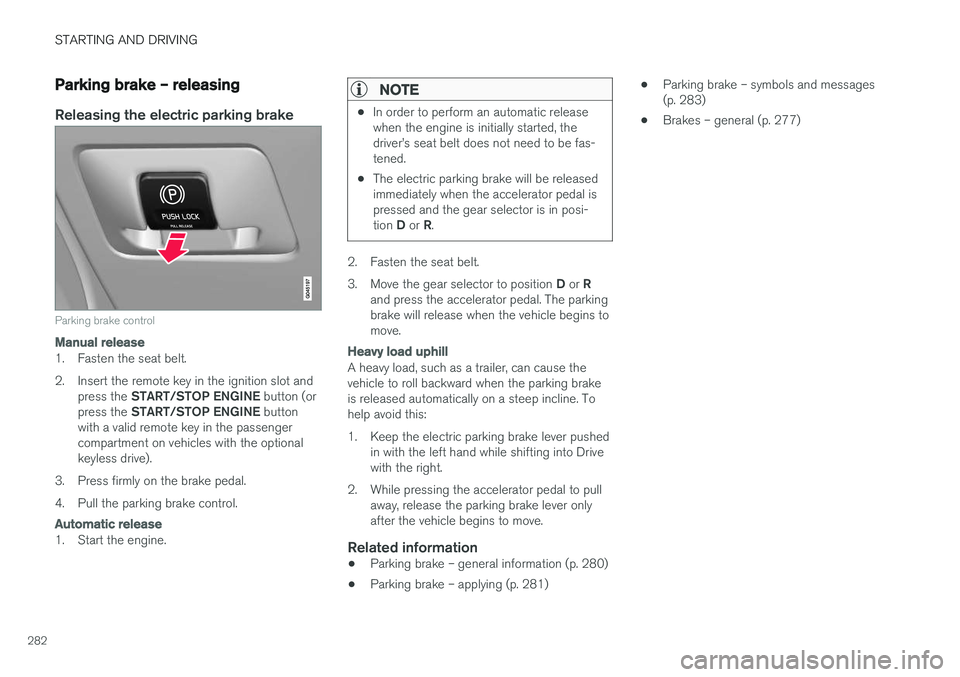
Parking brake – releasing
Releasing the electric parking brake
Parking brake control
Manual release
1. Fasten the seat belt.
2. Insert the remote key in the ignition slot andpress the START/STOP ENGINE button (or
press the START/STOP ENGINE button
with a valid remote key in the passenger compartment on vehicles with the optionalkeyless drive).
3. Press firmly on the brake pedal.
4. Pull the parking brake control.
Automatic release
1. Start the engine.
NOTE
• In order to perform an automatic release when the engine is initially started, thedriver
Page 286 of 404

STARTING AND DRIVING
284
Driving through water
The vehicle should be driven with extreme cau- tion if it is necessary to drive through standingwater.
The vehicle can be driven through water up to a depth of approximately 10 in. (25 cm), (V60Cross Country: approximately 12 in. (30 cm)) atwalking speed to help prevent water from enter-ing the differential and the transmission. Waterreduces the oil's lubricating capacity and mayshorten the service life of these components.
• Take particular care when driving throughflowing water.
• Clean the electrical connections for trailerwiring after driving in mud or water.
• When driving through water, maintain lowspeed and do not stop in the water.
WARNING
•Avoid driving through standing or rushing water. Doing so can be dangerous and itmay also be difficult to determine theactual depth of the water.
• If water cannot be avoided, after drivingthrough the water, press lightly on thebrake pedal to ensure that the brakes arefunctioning normally. Water or mud canmake the brake linings slippery, resultingin delayed braking effect.
CAUTION
•Engine damage will occur if water is drawn into the air cleaner.
• If the vehicle is driven through waterdeeper than approximately 10 in.(25 cm), (V60 Cross Country: approxi-mately 12 in. (30 cm)), water may enterthe differential and the transmission. Thisreduces the oil's lubricating capacity andmay shorten the service life of thesecomponents.
• Damage to any components, the engine,transmission, turbo-charger, differential orits internal components caused by flood-ing, vapor lock or insufficient oil is notcovered under warranty.
• Do not allow the vehicle to stand in waterup to the door sills longer than absolutelynecessary. This could result in electricalmalfunctions.
• If the engine has been stopped while thevehicle is in water, do not attempt torestart it. Have the vehicle towed out ofthe water.
Related information
•Towing the vehicle (p. 295)
• Towing by tow truck (p. 296)
Engine and cooling system
Under special conditions, for example when driv- ing in hilly terrain, extreme heat or with heavyloads, there is a risk that the engine and coolingsystem will overheat.
Proceed as follows to avoid overheating the engine.
• Maintain a low speed when driving with atrailer up long, steep hills. For information,see Towing a trailer (p. 292)
• Do not turn the engine off immediately whenstopping after a hard drive.
WARNING
The cooling fan may start or continue to oper- ate (for up to 6 minutes) after the engine hasbeen switched off.
• Remove any auxiliary lights from in front of the grille when driving in hot weather condi-tions.
• Do not exceed engine speeds of 4500 rpm ifdriving with a trailer in hilly terrain. The oiltemperature could become too high.