Page 19 of 127

Basic operation19Configuring the systemSelect System settings to perform
some basic system configurations,
e.g.:
● Adjust the display of units for temperature or fuel consumption.
● Reset the system configuration to
factory defaults.
● Update the installed software version.
Changing display language To adjust the language for the menutexts, select Languages and then
select the desired language.
Notice
If the selected display language is
supported by the embedded speech
recognition, the language of the
speech recognition will be changed
accordingly; if not, embedded
speech recognition will be not
available.
Adjusting time and date
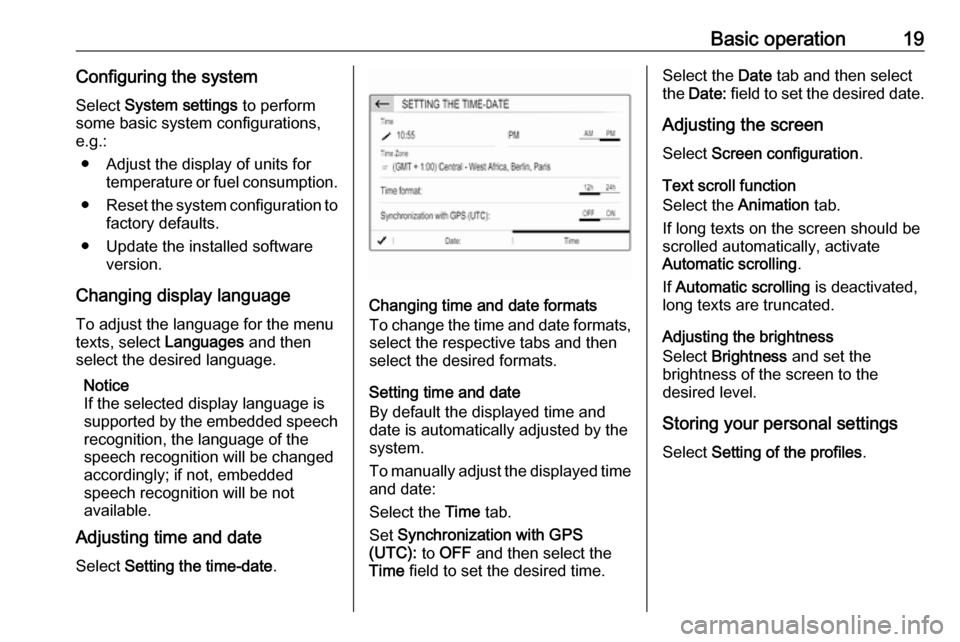
Select Setting the time-date .
Changing time and date formats
To change the time and date formats, select the respective tabs and then
select the desired formats.
Setting time and date
By default the displayed time and
date is automatically adjusted by the
system.
To manually adjust the displayed time
and date:
Select the Time tab.
Set Synchronization with GPS
(UTC): to OFF and then select the
Time field to set the desired time.
Select the Date tab and then select
the Date: field to set the desired date.
Adjusting the screen
Select Screen configuration .
Text scroll function
Select the Animation tab.
If long texts on the screen should be scrolled automatically, activate
Automatic scrolling .
If Automatic scrolling is deactivated,
long texts are truncated.
Adjusting the brightness
Select Brightness and set the
brightness of the screen to the
desired level.
Storing your personal settings
Select Setting of the profiles .
Page 80 of 127

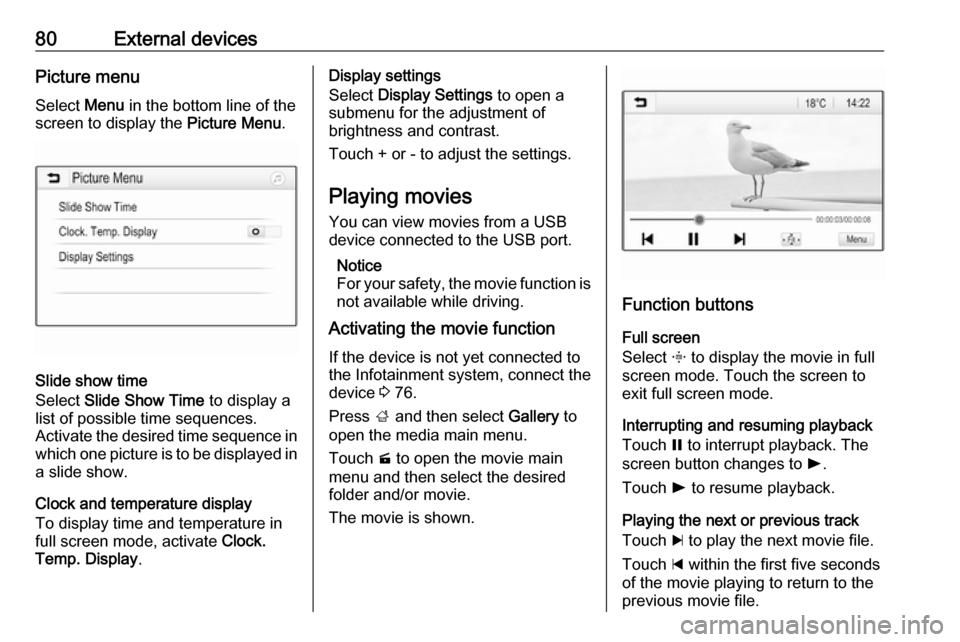
80External devicesPicture menuSelect Menu in the bottom line of the
screen to display the Picture Menu.
Slide show time
Select Slide Show Time to display a
list of possible time sequences.
Activate the desired time sequence in which one picture is to be displayed in
a slide show.
Clock and temperature display
To display time and temperature in
full screen mode, activate Clock.
Temp. Display .
Display settings
Select Display Settings to open a
submenu for the adjustment of
brightness and contrast.
Touch + or - to adjust the settings.
Playing movies
You can view movies from a USB
device connected to the USB port.
Notice
For your safety, the movie function is
not available while driving.
Activating the movie function
If the device is not yet connected to
the Infotainment system, connect the
device 3 76.
Press ; and then select Gallery to
open the media main menu.
Touch m to open the movie main
menu and then select the desired folder and/or movie.
The movie is shown.
Function buttons
Full screen
Select x to display the movie in full
screen mode. Touch the screen to
exit full screen mode.
Interrupting and resuming playback
Touch = to interrupt playback. The
screen button changes to l.
Touch l to resume playback.
Playing the next or previous track
Touch c to play the next movie file.
Touch d within the first five seconds
of the movie playing to return to the
previous movie file.
Page 81 of 127

External devices81Returning to the beginning of the
current movie
Touch d after five seconds of the
movie playing.
Fast forwarding and rewinding
Touch and hold d or c. Release to
return to normal playback mode.
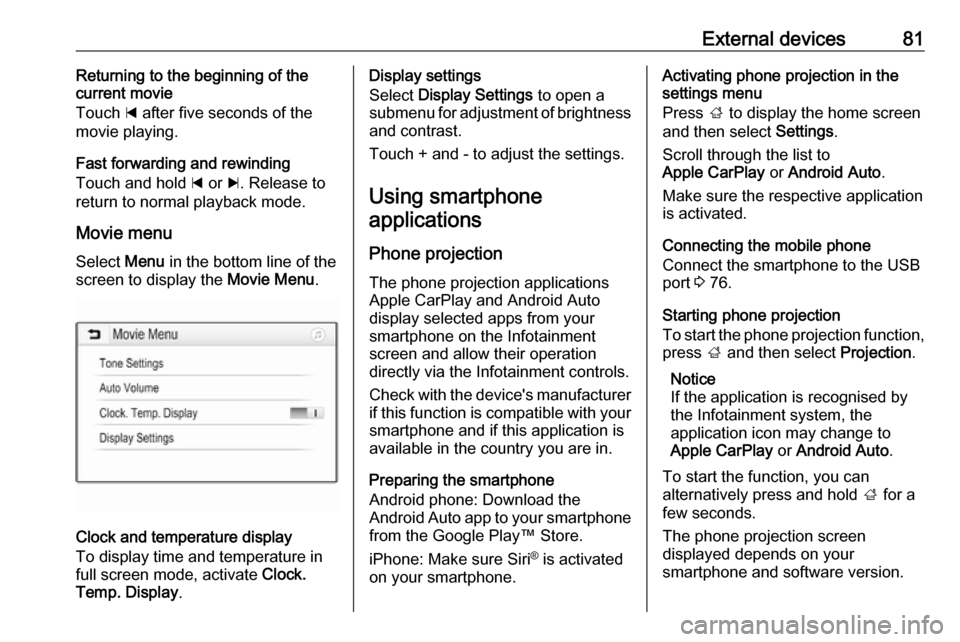
Movie menu Select Menu in the bottom line of the
screen to display the Movie Menu.
Clock and temperature display
To display time and temperature in
full screen mode, activate Clock.
Temp. Display .
Display settings
Select Display Settings to open a
submenu for adjustment of brightness and contrast.
Touch + and - to adjust the settings.
Using smartphone applications
Phone projection
The phone projection applications
Apple CarPlay and Android Auto
display selected apps from your
smartphone on the Infotainment
screen and allow their operation
directly via the Infotainment controls.
Check with the device's manufacturer if this function is compatible with your
smartphone and if this application is
available in the country you are in.
Preparing the smartphone
Android phone: Download the
Android Auto app to your smartphone
from the Google Play™ Store.
iPhone: Make sure Siri ®
is activated
on your smartphone.Activating phone projection in the
settings menu
Press ; to display the home screen
and then select Settings.
Scroll through the list to
Apple CarPlay or Android Auto .
Make sure the respective application
is activated.
Connecting the mobile phone
Connect the smartphone to the USB
port 3 76.
Starting phone projection
To start the phone projection function,
press ; and then select Projection.
Notice
If the application is recognised by
the Infotainment system, the
application icon may change to
Apple CarPlay or Android Auto .
To start the function, you can
alternatively press and hold ; for a
few seconds.
The phone projection screen
displayed depends on your
smartphone and software version.
Page 108 of 127

108Basic operationTo adjust the language for the menu
texts, select the desired language
and press OK.
Adjusting time and date Press MENU and then select
Personalisation-configuration .
Select Display configuration and then
select Date and time adjustment .
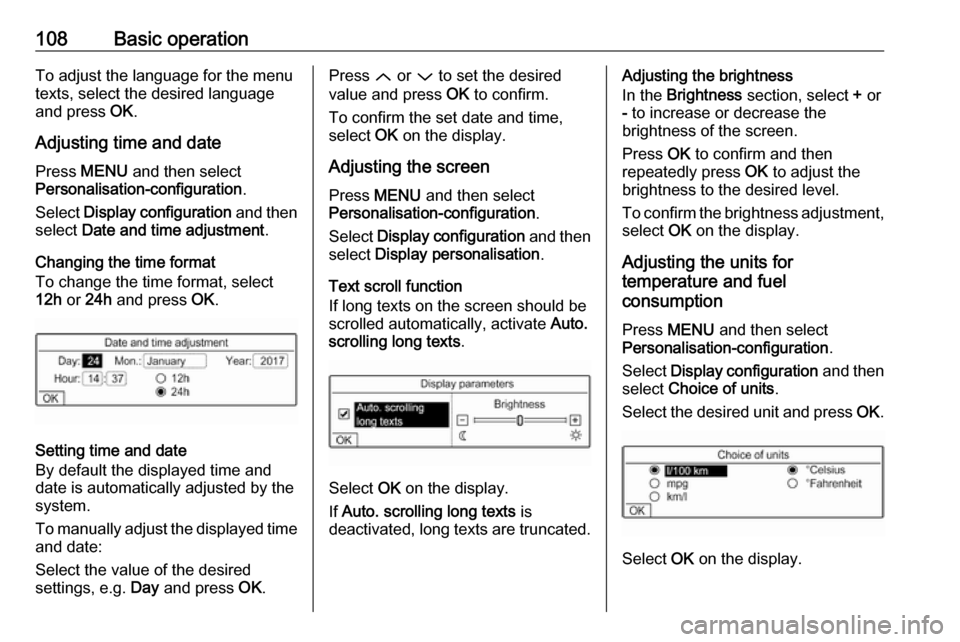
Changing the time format To change the time format, select
12h or 24h and press OK.
Setting time and date
By default the displayed time and date is automatically adjusted by the
system.
To manually adjust the displayed time
and date:
Select the value of the desired
settings, e.g. Day and press OK.
Press Q or P to set the desired
value and press OK to confirm.
To confirm the set date and time,
select OK on the display.
Adjusting the screen
Press MENU and then select
Personalisation-configuration .
Select Display configuration and then
select Display personalisation .
Text scroll function
If long texts on the screen should be scrolled automatically, activate Auto.
scrolling long texts .
Select OK on the display.
If Auto. scrolling long texts is
deactivated, long texts are truncated.
Adjusting the brightness
In the Brightness section, select + or
- to increase or decrease the
brightness of the screen.
Press OK to confirm and then
repeatedly press OK to adjust the
brightness to the desired level.
To confirm the brightness adjustment,
select OK on the display.
Adjusting the units for
temperature and fuel
consumption
Press MENU and then select
Personalisation-configuration .
Select Display configuration and then
select Choice of units .
Select the desired unit and press OK.
Select OK on the display.