Page 528 of 632
5288-2. Steps to take in an emergency
YARIS_HV_OM_Europe_OM52J66E
NOTICE
■To ensure the tire pressure warning system operates properly (vehi-
cles with a tire pressure warning system)
Do not install tires with different specif ications or makers, as the tire pres-
sure warning system may not operate properly.
Page 538 of 632

5388-2. Steps to take in an emergency
YARIS_HV_OM_Europe_OM52J66E
●Stop the vehicle in a safe place on a hard, flat surface.
● Set the parking brake.
● Shift the shift lever to P.
● Stop the hybrid system.
● Turn on the emergency flashers. (P. 506)
● Check the degree of the tire damage.
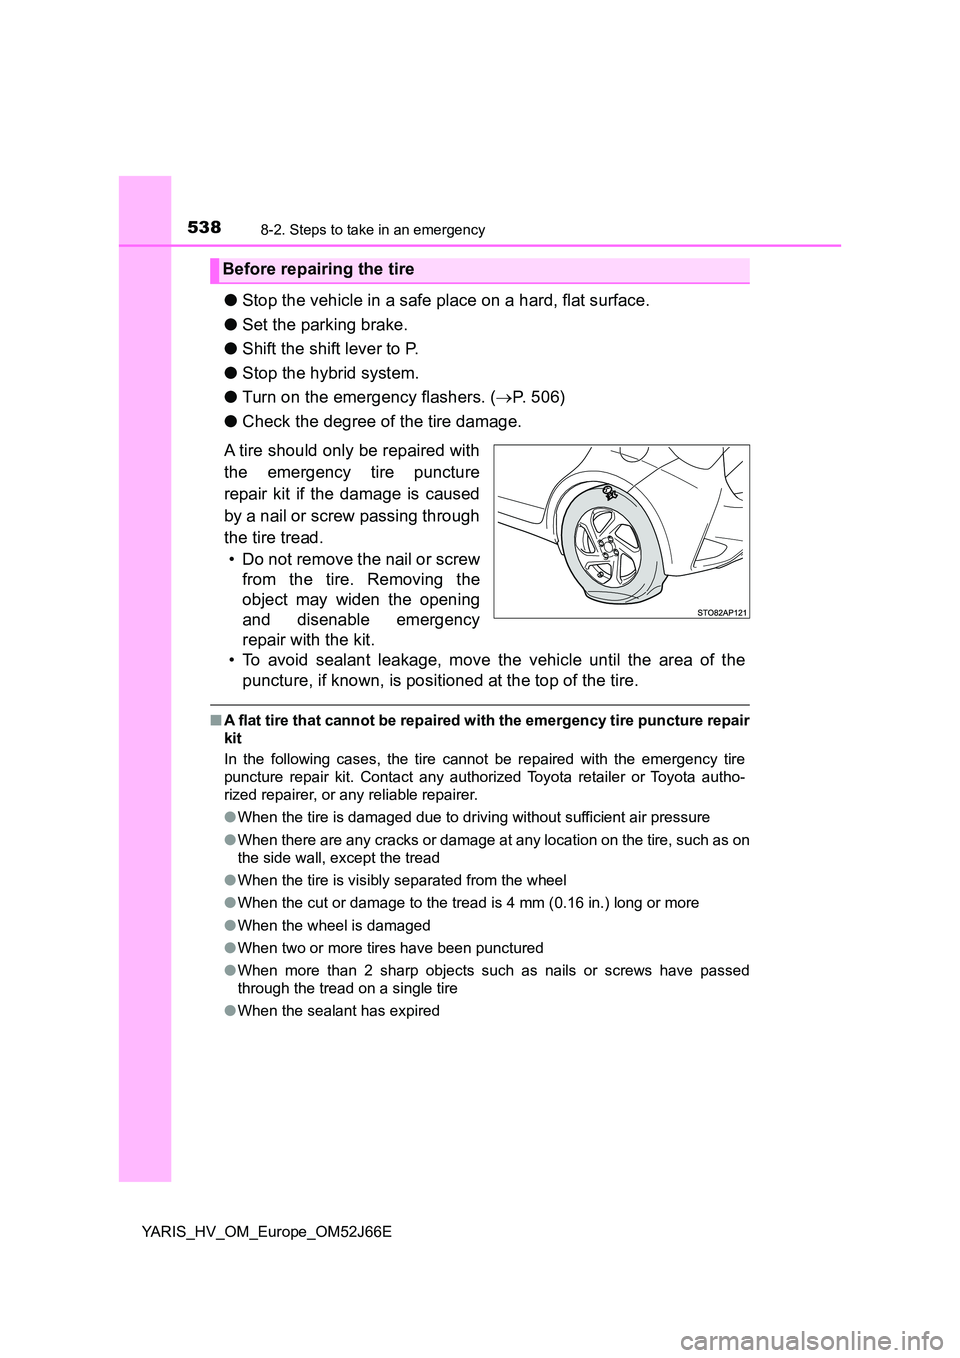
A tire should only be repaired with
the emergency tire puncture
repair kit if the damage is caused
by a nail or screw passing through
the tire tread.
• Do not remove the nail or screw
from the tire. Removing the
object may widen the opening
and disenable emergency
repair with the kit.
• To avoid sealant leakage, move the vehicle until the area of the
puncture, if known, is positioned at the top of the tire.
■ A flat tire that cannot be repaired with the emergency tire puncture repair
kit
In the following cases, the tire c annot be repaired with the emergency tire
puncture repair kit. Contact any authorized Toyota retailer or Toyota autho-
rized repairer, or any reliable repairer.
● When the tire is damaged due to driving without sufficient air pressure
● When there are any cracks or damage at any location on the tire, such as on
the side wall, except the tread
● When the tire is visibly separated from the wheel
● When the cut or damage to the tread is 4 mm (0.16 in.) long or more
● When the wheel is damaged
● When two or more tires have been punctured
● When more than 2 sharp objects such as nails or screws have passed
through the tread on a single tire
● When the sealant has expired
Before repairing the tire
Page 540 of 632
5408-2. Steps to take in an emergency
YARIS_HV_OM_Europe_OM52J66E
Emergency tire puncture repair kit components
Nozzle
Hose
Compressor switch
Air pressure gauge
Pressure release button
Power plug
Stickers
1
2
3
4
5
6
7
Page 545 of 632
5458-2. Steps to take in an emergency
8
When trouble arises
YARIS_HV_OM_Europe_OM52J66E
Check the specified tire inflation
pressure.
Tire inflation pressure is specified
on the label in the glove box.
( P. 598)
Start the hybrid system.
To inject the sealant and inflate
the tire, turn the compressor
switch on.
12
13
14
Page 546 of 632
5468-2. Steps to take in an emergency
YARIS_HV_OM_Europe_OM52J66E
Inflate the tire until the specified
air pressure is reached.
The sealant will be injected
and the pressure will surge
and then gradually decrease.
The air pressure gauge will
display the actual tire infla-
tion pressure about 1 minute
(5 minutes at low tempera-
ture) after the switch is
turned on.
Inflate the tire until the speci-
fied air pressure.
• If the tire inflation pressure is
still lower than the specified
point after inflation for 35 min-
utes with the switch on, the tire
is too damaged to be repaired.
Turn the compressor switch off
and contact any authorized Toy-
ota retailer or Toyota authorized
repairer, or any reliable repairer.
• If the tire inflation pressure exceeds the specified air pressure, let out
some air to adjust the tire inflation pressure. ( P. 550,598)
15
1
2
3
Page 547 of 632
5478-2. Steps to take in an emergency
8
When trouble arises
YARIS_HV_OM_Europe_OM52J66E
Turn the compressor off.
Disconnect the nozzle from the valve on the tire and then pull out
the power plug from the power outlet socket or cigarette lighter.
Some sealant may leak when the nozzle is removed.
Press the button to release
pressure from the bottle.
Attach the cap to the nozzle.
Install the valve cap onto the valve of the emergency repaired tire.
16
17
Page 549 of 632

5498-2. Steps to take in an emergency
8
When trouble arises
YARIS_HV_OM_Europe_OM52J66E
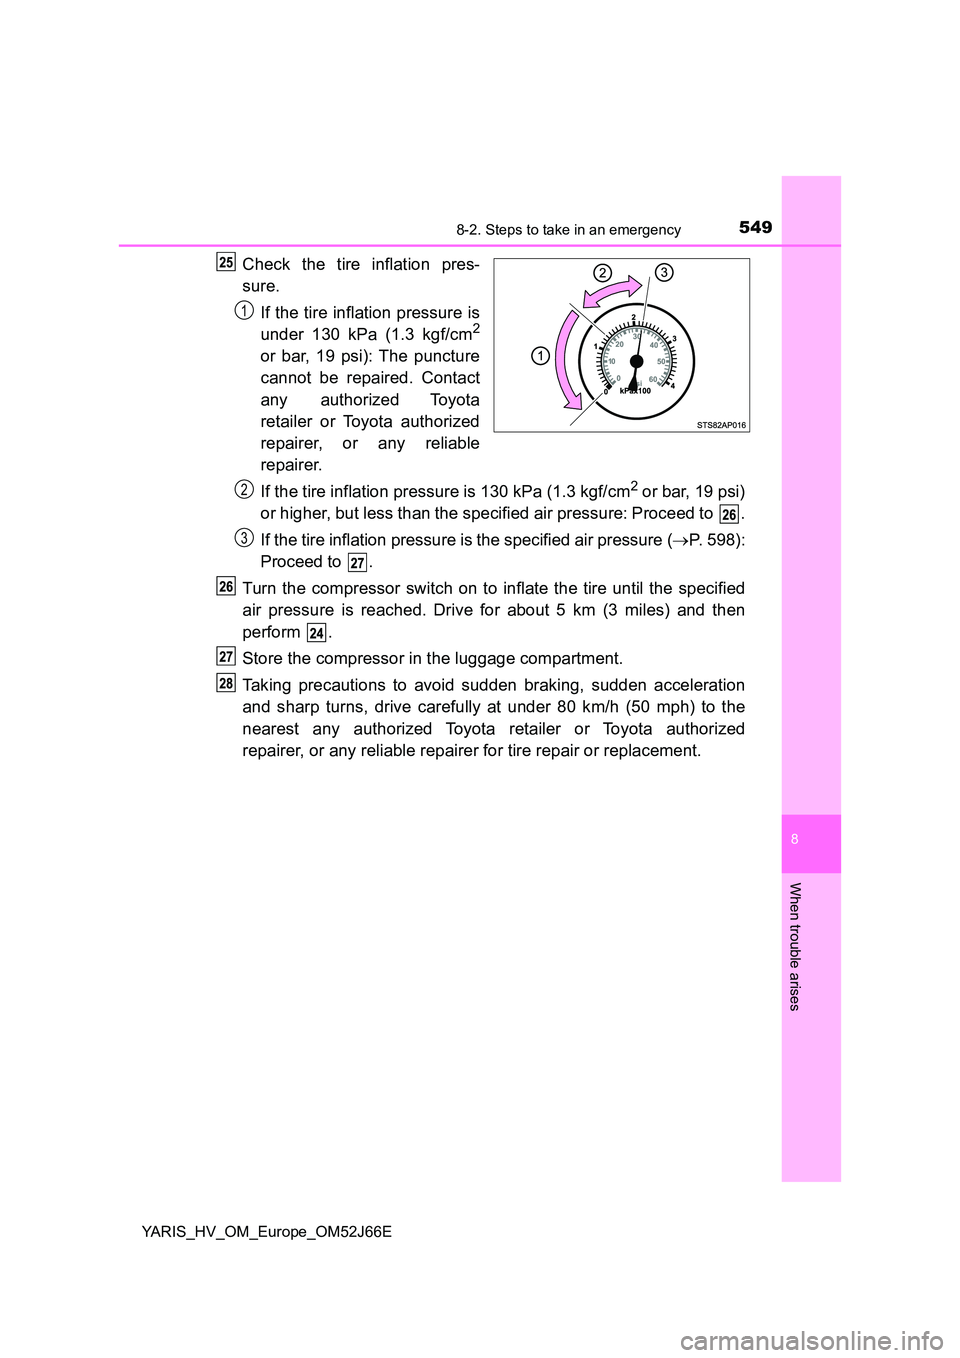
Check the tire inflation pres-
sure.
If the tire inflation pressure is
under 130 kPa (1.3 kgf/cm2
or bar, 19 psi): The puncture
cannot be repaired. Contact
any authorized Toyota
retailer or Toyota authorized
repairer, or any reliable
repairer.
If the tire inflation pressure is 130 kPa (1.3 kgf/cm2 or bar, 19 psi)
or higher, but less than the specified air pressure: Proceed to .
If the tire inflation pressure is the specified air pressure ( P. 598):
Proceed to .
Turn the compressor switch on to inflate the tire until the specified
air pressure is reached. Drive for about 5 km (3 miles) and then
perform .
Store the compressor in the luggage compartment.
Taking precautions to avoid sudden braking, sudden acceleration
and sharp turns, drive carefully at under 80 km/h (50 mph) to the
nearest any authorized Toyota retailer or Toyota authorized
repairer, or any reliable repairer for tire repair or replacement.
1
2
3
Page 550 of 632
5508-2. Steps to take in an emergency
YARIS_HV_OM_Europe_OM52J66E
■If the tire is inflated to more than the specified air pressure
Check that the air pressure indicator shows the specified air pressure.
If the air pressure is under the designated pressure, turn the compressor
switch on again and repeat the inflation procedure until the specified air
pressure is reached.
■ The tire pressure warning valve and transmitter
● After a tire is repaired with the emergency tire puncture repair kit should be
replaced.
● Even if the tire inflation pressure is at the recommended level, the tire pres-
sure warning light may come on/flash.
■ Note for checking the emergency tire puncture repair kit
Check the sealant expiry date occasionally.
The expiry date is shown on the bottle. Do not use sealant whose expiry date
has already passed. Otherwise, repairs conducted using the emergency tire
puncture repair kit may not be performed properly.
Press the button to let some air out.1
2