Page 555 of 820
555
PRIUS_OM_OM47B89U_(U)
6-4. Using the other interior features
6
Interior features
Other interior features
To set the visor in the forward
position, flip it down.
To set the visor in the side posi-
tion, flip down, unhook, and
swing it to the side.
Slide the cover to open.
The light turns on when the cover
is opened.
If the vanity light remain on when the power switch is turned off, the light will
go off automatically after 20 minutes.
Sun visors
1
2
Vanity mirrors
NOTICE
To prevent 12-volt battery discharge, do not leave the vanity lights on for
extended periods while the hybrid system is off.
Page 559 of 820

PRIUS_OM_OM47B89U_(U)
5596-4. Using the other interior features
6
Interior features
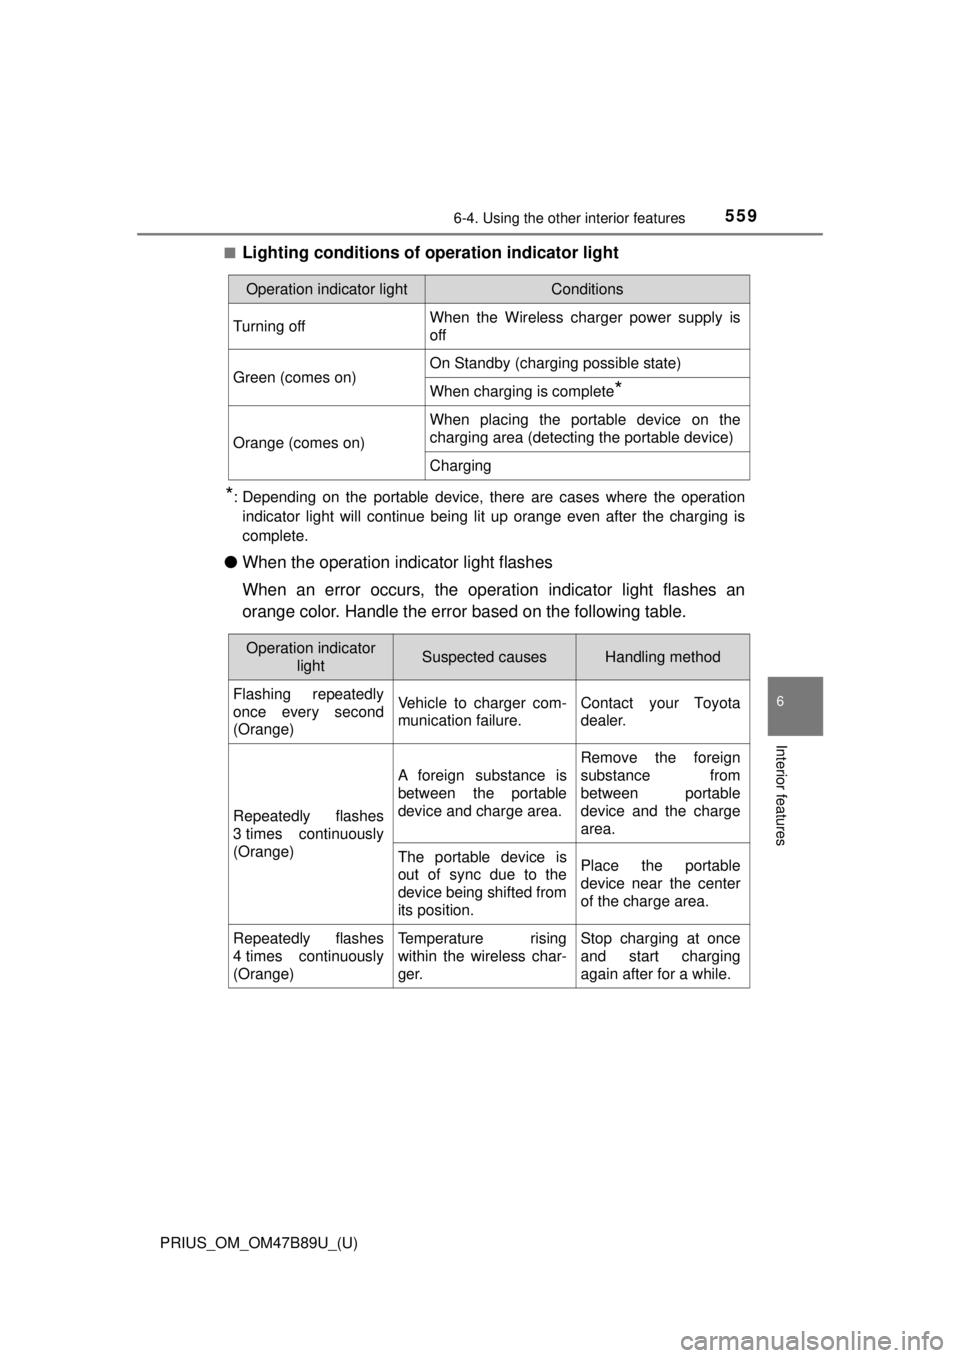
■Lighting conditions of operation indicator light
*: Depending on the portable device, there are cases where the operationindicator light will continue being lit up orange even after the chargin\
g is
complete.
● When the operation indicator light flashes
When an error occurs, the operat ion indicator light flashes an
orange color. Handle the error based on the following table.
Operation indicator lightConditions
Turning offWhen the Wireless charger power supply is
off
Green (comes on)On Standby (charging possible state)
When charging is complete*
Orange (comes on)
When placing the portable device on the
charging area (detecting the portable device)
Charging
Operation indicator lightSuspected causesHandling method
Flashing repeatedly
once every second
(Orange)Vehicle to charger com-
munication failure.Contact your Toyota
dealer.
Repeatedly flashes
3 times continuously
(Orange)
A foreign substance is
between the portable
device and charge area.
Remove the foreign
substance from
between portable
device and the charge
area.
The portable device is
out of sync due to the
device being shifted from
its position.Place the portable
device near the center
of the charge area.
Repeatedly flashes
4 times continuously
(Orange)Temperature rising
within the wireless char-
ger.Stop charging at once
and start charging
again after for a while.
Page 585 of 820

PRIUS_OM_OM47B89U_(U)
5857-1. Maintenance and care
7
Maintenance and care
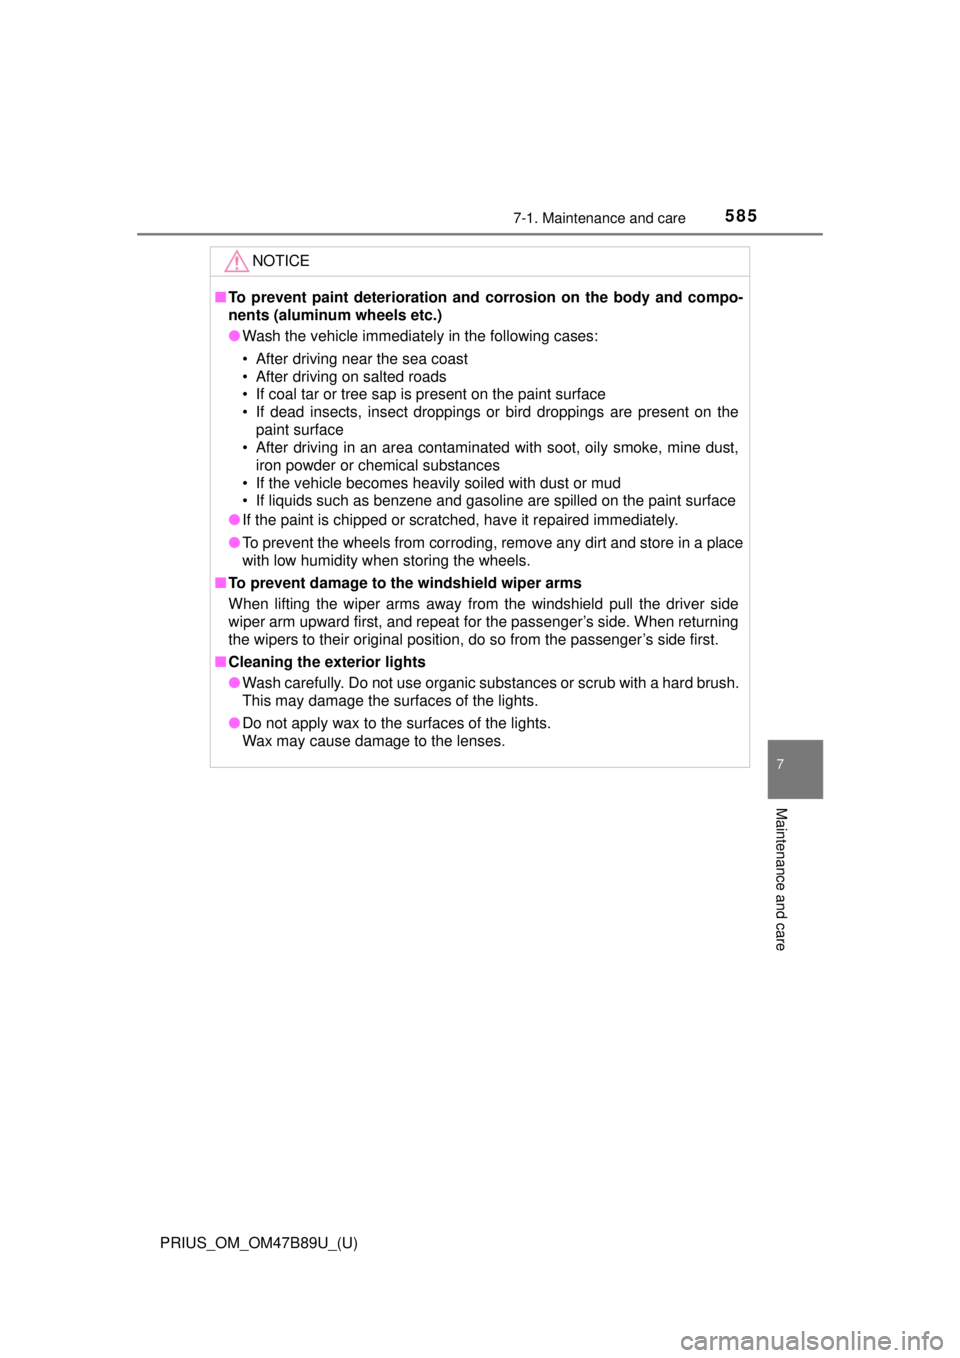
NOTICE
■To prevent paint deterioration and corrosion on the body and compo-
nents (aluminum wheels etc.)
● Wash the vehicle immediately in the following cases:
• After driving near the sea coast
• After driving on salted roads
• If coal tar or tree sap is present on the paint surface
• If dead insects, insect droppings or bird droppings are present on the
paint surface
• After driving in an area contaminated with soot, oily smoke, mine dust, iron powder or chemical substances
• If the vehicle becomes heavily soiled with dust or mud
• If liquids such as benzene and gasoline are spilled on the paint surface
● If the paint is chipped or scratched, have it repaired immediately.
● To prevent the wheels from corroding, remove any dirt and store in a place
with low humidity when storing the wheels.
■ To prevent damage to the windshield wiper arms
When lifting the wiper arms away from the windshield pull the driver side
wiper arm upward first, and repeat for the passenger’s side. When returning
the wipers to their original position, do so from the passenger’s side first.
■ Cleaning the exterior lights
● Wash carefully. Do not use organic substances or scrub with a hard brush.
This may damage the surfaces of the lights.
● Do not apply wax to the surfaces of the lights.
Wax may cause damage to the lenses.
Page 595 of 820

PRIUS_OM_OM47B89U_(U)
5957-2. Maintenance
7
Maintenance and care
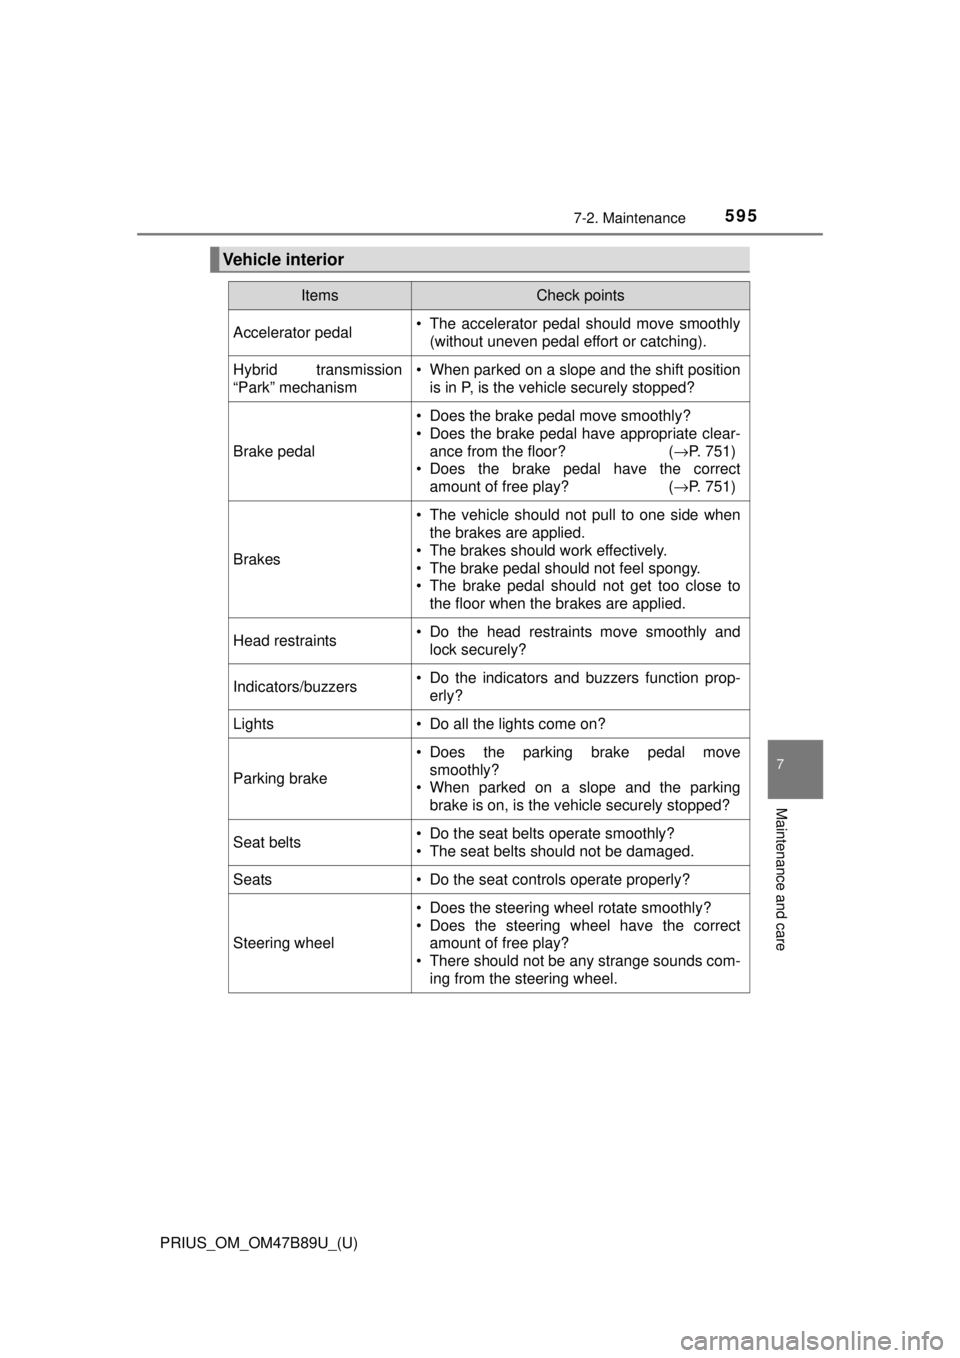
Vehicle interior
ItemsCheck points
Accelerator pedal• The accelerator pedal should move smoothly(without uneven pedal effort or catching).
Hybrid transmission
“Park” mechanism• When parked on a slope and the shift positionis in P, is the vehicle securely stopped?
Brake pedal
• Does the brake pedal move smoothly?
• Does the brake pedal have appropriate clear-
ance from the floor? ( →P. 751)
• Does the brake pedal have the correct amount of free play? ( →P. 751)
Brakes
• The vehicle should not pull to one side when
the brakes are applied.
• The brakes should work effectively.
• The brake pedal should not feel spongy.
• The brake pedal should not get too close to the floor when the brakes are applied.
Head restraints• Do the head restraints move smoothly andlock securely?
Indicators/buzzers• Do the indicators and buzzers function prop-erly?
Lights• Do all the lights come on?
Parking brake
• Does the parking brake pedal movesmoothly?
• When parked on a slope and the parking brake is on, is the vehicle securely stopped?
Seat belts• Do the seat belts operate smoothly?
• The seat belts should not be damaged.
Seats• Do the seat controls operate properly?
Steering wheel
• Does the steering wheel rotate smoothly?
• Does the steering wheel have the correctamount of free play?
• There should not be any strange sounds com- ing from the steering wheel.
Page 651 of 820

PRIUS_OM_OM47B89U_(U)
6517-3. Do-it-yourself maintenance
7
Maintenance and care
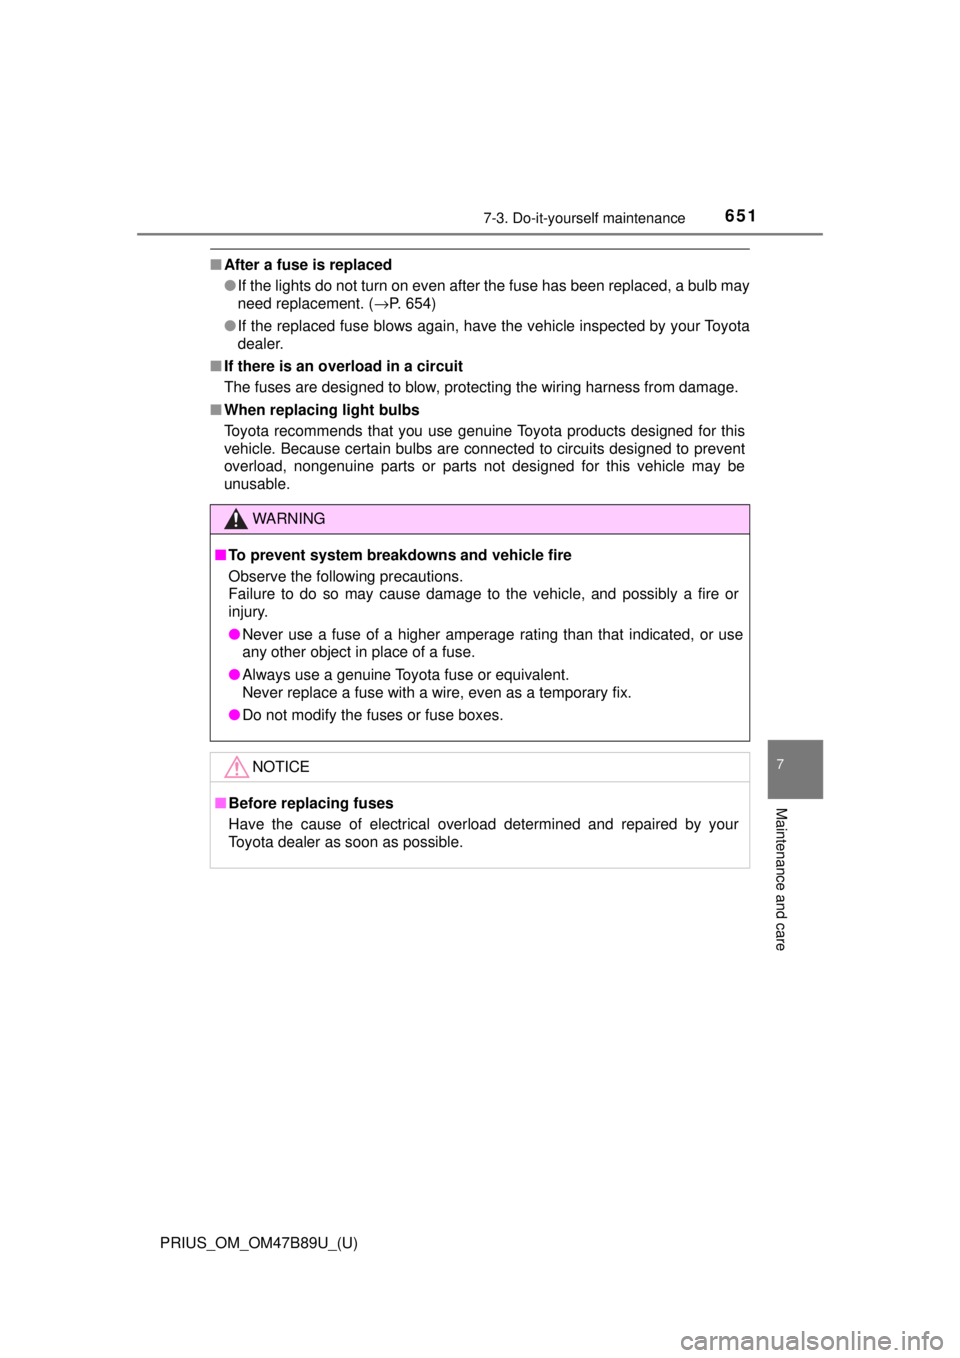
■After a fuse is replaced
●If the lights do not turn on even after the fuse has been replaced, a bulb may
need replacement. ( →P. 654)
● If the replaced fuse blows again, have the vehicle inspected by your Toyota
dealer.
■ If there is an overload in a circuit
The fuses are designed to blow, protecting the wiring harness from damage.
■ When replacing light bulbs
Toyota recommends that you use genuine Toyota products designed for this
vehicle. Because certain bulbs are connected to circuits designed to prevent
overload, nongenuine parts or parts not designed for this vehicle may be
unusable.
WARNING
■To prevent system breakdowns and vehicle fire
Observe the following precautions.
Failure to do so may cause damage to the vehicle, and possibly a fire or
injury.
● Never use a fuse of a higher amperage rating than that indicated, or use\
any other object in place of a fuse.
● Always use a genuine Toyota fuse or equivalent.
Never replace a fuse with a wire, even as a temporary fix.
● Do not modify the fuses or fuse boxes.
NOTICE
■Before replacing fuses
Have the cause of electrical overload determined and repaired by your
Toyota dealer as soon as possible.
Page 656 of 820
656
PRIUS_OM_OM47B89U_(U)
7-3. Do-it-yourself maintenance
■Front turn signal lights/Parking lights (bulb type)
For the right side only:
Using a screwdriver, press
down on the center portion of
the clip to remove it. After
removing the clip, slide the
washer tank inlet pipe to the
right.
Turn the bulb base counter-
clockwise.
Remove the light bulb.
When installing the bulb, reverse the steps and in reverse.
For the right side only: Install
the washer tank inlet pipe
and the clip by conducting
in reverse.
Replacing light bulbs
1
2
3
432
5
1
Page 657 of 820
PRIUS_OM_OM47B89U_(U)
6577-3. Do-it-yourself maintenance
7
Maintenance and care
■Rear turn signal lights and back-up lightsOpen the back door. Insert a
screwdriver into the cover on
the side of the light and
detach the claws indicated by
the dotted lines near the
exterior of the vehicle. Then,
pry the cover and pull it
toward the rear of the vehicle
to detach the claws indi-
cated by the dotted lines
near the vehicle interior.
To prevent damage to the cover, protect the tip of the screwdriver with a
rag.
Remove the 2 screws.
Pull the light unit toward the
rear of the vehicle to remove
it.
1
2
3
Page 660 of 820

660
PRIUS_OM_OM47B89U_(U)
7-3. Do-it-yourself maintenance
■Replacing the following bulbs
If any of the lights listed below has burnt out, have it replaced by
your Toyota dealer.
● Headlights and daytime running lights
● Front side marker lights
● Parking lights (LED type: if equipped)
● Fog lights
● Rear side marker/tail lights
● Stop lights
● High mounted stoplight
● License plate lights
■LED lights
The lights other than the parking lights (bulb type: if equipped), front turn sig-
nal lights, rear turn signal lights and back-up lights each consist of a number
of LEDs. If any of the LEDs burn out, take your vehicle to your Toyota dealer
to have the light replaced.
■ Condensation build-up on the inside of the lens
Temporary condensation build-up on the inside of the headlight lens does not
indicate a malfunction. Contact your Toyota dealer for more information in the
following situations:
●Large drops of water have built up on the inside of the lens.
● Water has built up inside the headlight.
■ When replacing light bulbs
→P. 651