Page 149 of 292
149
1. REAR VIEW MONITOR SYSTEM
PERIPHERAL MONITORING SYSTEM
6
MIRAI_Navi_USA_OM62029U_17CY
2. REAR VIEW MONITOR SYSTEM PRECAUTIONS
The image adjustment procedure for the
rear view monitor system screen is the
same as the procedure for adjusting the
screen. ( P.39)
AREA DISPLAYED ON
SCREEN
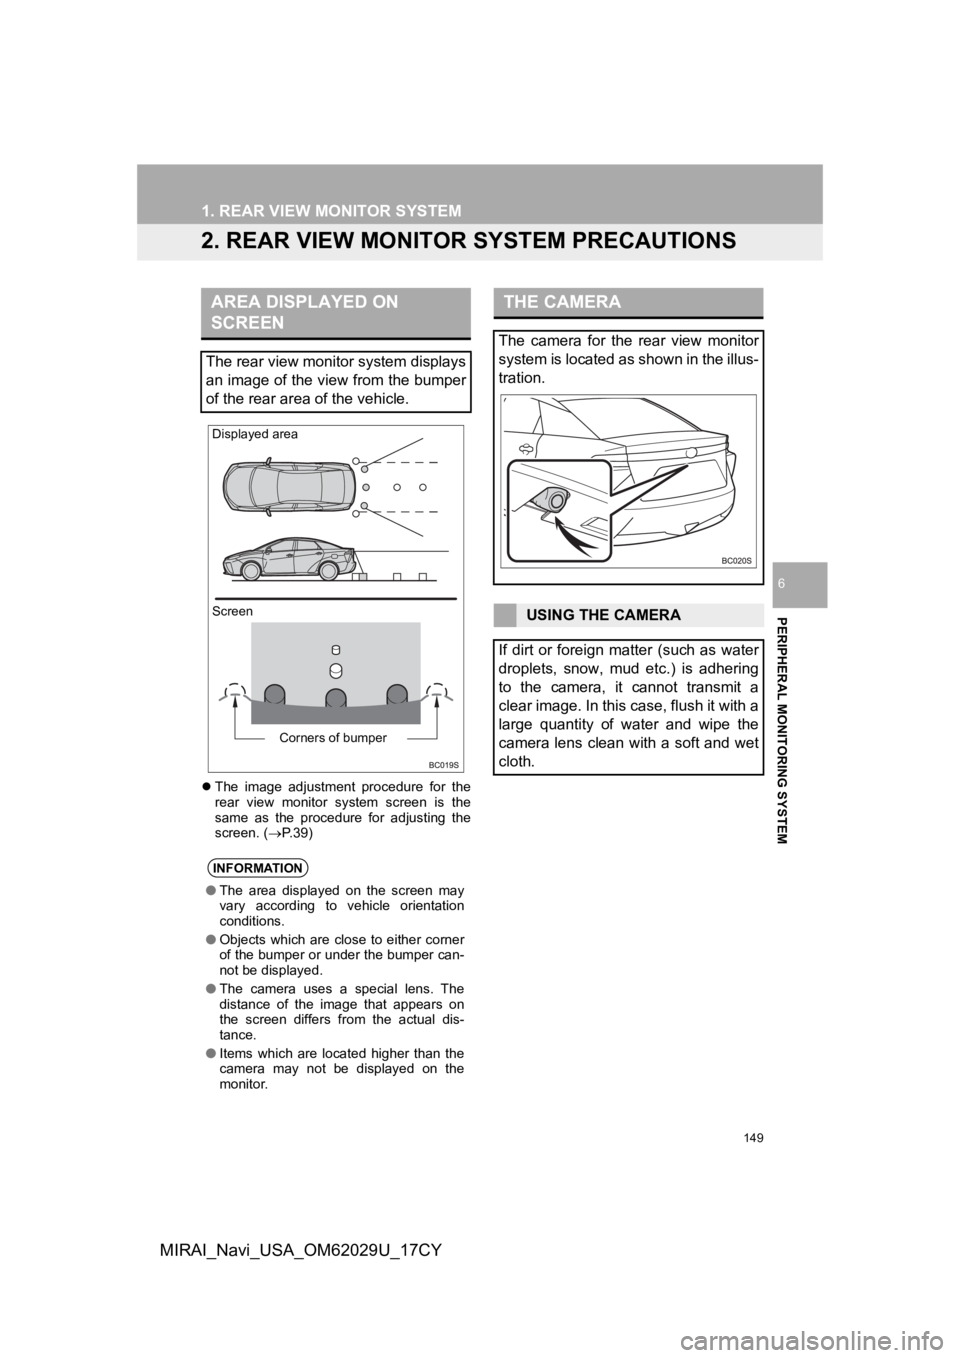
The rear view monitor system displays
an image of the view from the bumper
of the rear area of the vehicle.
INFORMATION
● The area displayed on the screen may
vary according to vehicle orientation
conditions.
● Objects which are close to either corner
of the bumper or under the bumper can-
not be displayed.
● The camera uses a special lens. The
distance of the image that appears on
the screen differs from the actual dis-
tance.
● Items which are located higher than the
camera may not be displayed on the
monitor.
Screen Displayed area
Corners of bumper
THE CAMERA
The camera for the rear view monitor
system is located as shown in the illus-
tration.
USING THE CAMERA
If dirt or foreign matter (such as water
droplets, snow, mud etc.) is adhering
to the camera, it cannot transmit a
clear image. In this case, flush it with a
large quantity of water and wipe the
camera lens clean with a soft and wet
cloth.
Page 152 of 292
152
1. REAR VIEW MONITOR SYSTEM
MIRAI_Navi_USA_OM62029U_17CY
WHEN ANY PART OF THE
VEHICLE SAGS
When any part of the vehicle sags due
to the number of passengers or the dis-
tribution of the load, there is a margin
of error between the fixed guide lines
on the screen and the actual distance/
course on the road.
A margin of error
WHEN APPROACHING
THREE-DIMENSIONAL
OBJECTS
The distance guide lines are displayed
according to flat surfaced objects
(such as the road). It is not possible to
determine the position of three-dimen-
sional objects (such as vehicles) using
the vehicle width guide lines and dis-
tance guide lines. When approaching a
three-dimensional object that extends
outward (such as the flatbed of a
truck), be careful of the following.
Page 155 of 292
7
155
1
2
3
4
5
6
7
8
9
MIRAI_Navi_USA_OM62029U_17CY
1. QUICK REFERENCE ................... 156
2. SOME BASICS ............................ 157
REGISTERING/CONNECTING A Bluetooth® PHONE ........................... 158
USING THE PHONE SWITCH/ MICROPHONE ................................. 158
VOICE COMMAND SYSTEM .............. 159
ABOUT THE CONTACTS IN THE CONTACT LIST ................................ 160
WHEN SELLING OR DISPOSING OF THE VEHICLE................................... 160
3. PLACING A CAL L USING THE
Bluetooth® HANDS-FREE
SYSTEM..................................... 161
BY CALL HISTORY ............................. 161
BY FAVORITES LIST .......................... 162
BY CONTACTS LIST .......................... 162
BY KEYPAD ........................................ 164
BY HOME SCREEN ............................ 165
4. RECEIVING A CALL USING THE Bluetooth® HANDS-FREE
SYSTEM..................................... 166
INCOMING CALLS .............................. 166
5. TALKING ON THE Bluetooth®
HANDS-FR
EE SYSTEM ........... 167
INCOMING CALL WAITING ................ 169
6. Bluetooth® PHONE MESSAGE
FUNCTION ...... ....................... ... 170
DISPLAYING THE MESSAGE
SC REEN ........................................... 170
RECEIVING A MESSAGE ................... 170
CHECKING RECEIVED MESSAGES ...................................... 171
REPLYING TO A MESSAGE (DICTATION REPLY) ........................ 172
REPLYING TO A MESSAGE (QUICK REPLY) ................................ 173
CALLING THE MESSAGE SENDER ........................................... 174
1. PHONE SETTINGS ..................... 175
PHONE SETTINGS SCREEN ............. 175
SOUND SETTINGS SCREEN ............ 176
NOTIFICATION SETTINGS SCREEN ........................................... 177
CONTACT/CALL HISTORY SETTINGS SCREEN......................... 178
MESSAGE SETTINGS SCREEN ........ 185
1. TROUBLESHOOTING ................ 187
1
PHONE OPERATION
(HANDS-FREE SYSTEM FOR
CELLULAR PHONES)
2SETUP
3WHAT TO DO IF...
PHONE
Page 158 of 292
158
1. PHONE OPERATION (HANDS-FREE SYSTEM FOR CELLULAR PHONES)
MIRAI_Navi_USA_OM62029U_17CY
Registering an add itional device
1Display the phone top screen.
(P.156)
2Select “Select Device” .
3Select “Add Device” .
When another Bluetooth® device is con-
nected, a confirmation screen will be dis-
played. To disconnect the Bluetooth
®
device, select “Yes”.
4Follow the steps in “REGISTERING A
Bluetooth
® PHONE FOR THE FIRST
TIME” from “STEP 5”. ( P.42)
Selecting a registered device
1Display the phone top screen.
(P.156)
2Select “Select Device” .
3Select the desired device to be con-
nected.
4Check that a confirmation screen is
displayed when the connection is com-
plete.
If an error message is displayed, follow
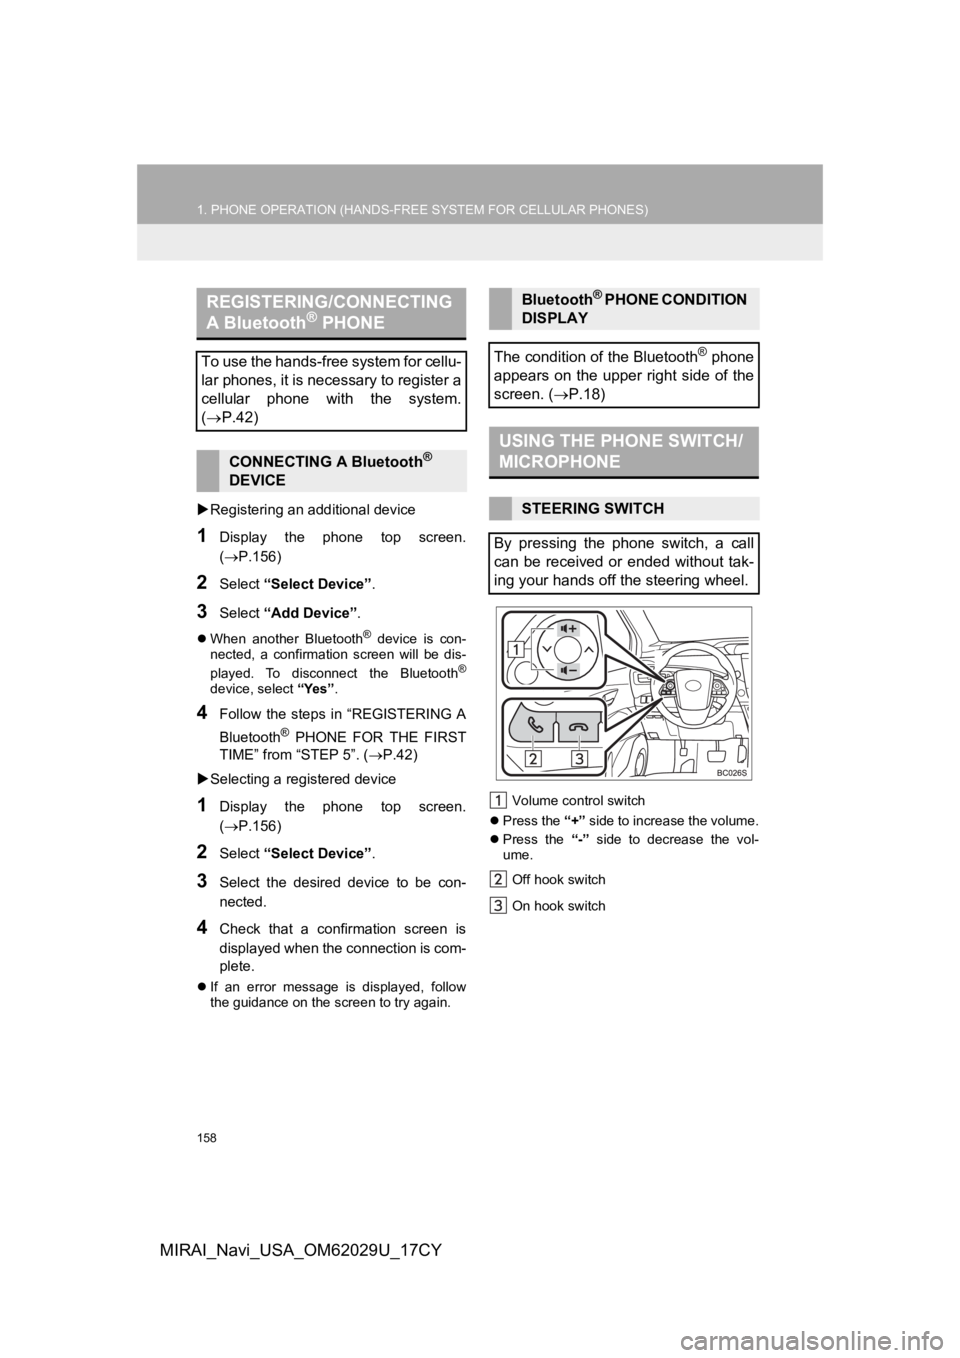
the guidance on the screen to try again. Volume control switch
Press the “+” side to increase the volume.
Press the “-” side to decrease the vol-
ume.
Off hook switch
On hook switch
REGISTERING/CONNECTING
A Bluetooth® PHONE
To use the hands-free system for cellu-
lar phones, it is necessary to register a
cellular phone with the system.
( P.42)
CONNECTING A Bluetooth®
DEVICE
Bluetooth® PHONE CONDITION
DISPLAY
The condition of the Bluetooth
® phone
appears on the upper right side of the
screen. ( P.18)
USING THE PHONE SWITCH/
MICROPHONE
STEERING SWITCH
By pressing the phone switch, a call
can be received or ended without tak-
ing your hands off the steering wheel.
Page 161 of 292
161
1. PHONE OPERATION (HANDS-FREE SYSTEM FOR CELLULAR PHONES)
PHONE
7
MIRAI_Navi_USA_OM62029U_17CY
3. PLACING A CALL USING THE Bluetooth® HANDS-FREE SYSTEM
1Display the phone top screen.
(P.156)
2Select “History” and select the de-
sired contact.
When the unknown contact screen is dis-
played, select the number.
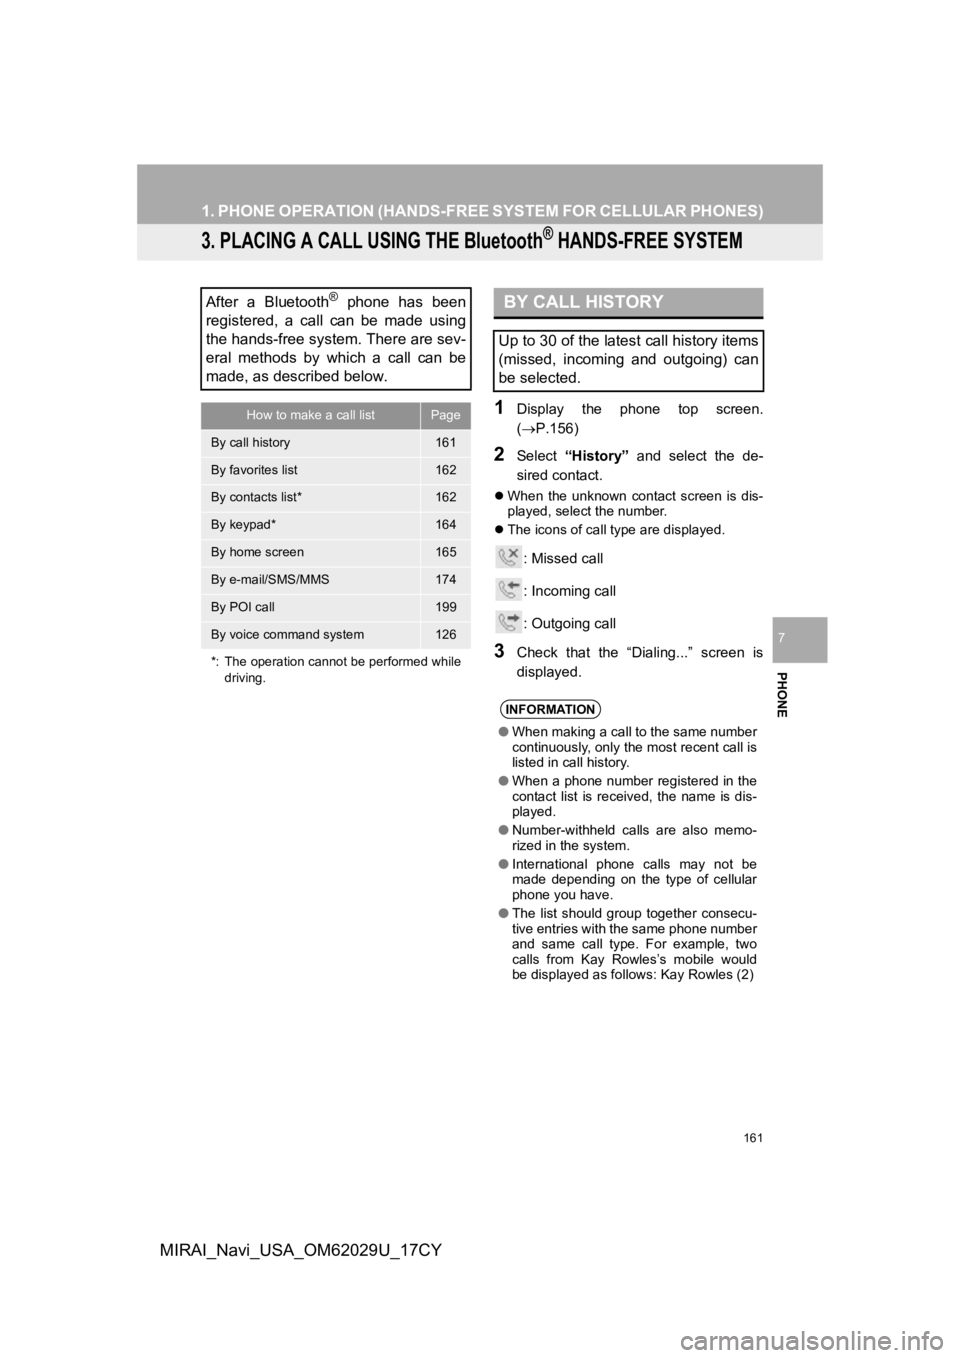
The icons of call type are displayed.
: Missed call
: Incoming call
: Outgoing call
3Check that the “Dialing...” screen is
displayed.
After a Bluetooth® phone has been
registered, a call can be made using
the hands-free system. There are sev-
eral methods by which a call can be
made, as described below.
How to make a call listPage
By call history161
By favorites list162
By contacts list*162
By keypad*164
By home screen165
By e-mail/SMS/MMS174
By POI call199
By voice command system126
*: The operation cannot be performed while driving.
BY CALL HISTORY
Up to 30 of the latest call history items
(missed, incoming and outgoing) can
be selected.
INFORMATION
●When making a call to the same number
continuously, only the most recent call is
listed in call history.
● When a phone number registered in the
contact list is received, the name is dis-
played.
● Number-withheld calls are also memo-
rized in the system.
● International phone calls may not be
made depending on the type of cellular
phone you have.
● The list should group together consecu-
tive entries with the same phone number
and same call type. For example, two
calls from Kay Rowles’s mobile would
be displayed as follows: Kay Rowles (2)
Page 162 of 292
162
1. PHONE OPERATION (HANDS-FREE SYSTEM FOR CELLULAR PHONES)
MIRAI_Navi_USA_OM62029U_17CY
1Display the phone top screen.
(P.156)
2Select “Favorites” and select the de-
sired contact.
3Select the desired number.
4Check that the “Dialing...” screen is
displayed.
1Display the phone top screen.
( P.156)
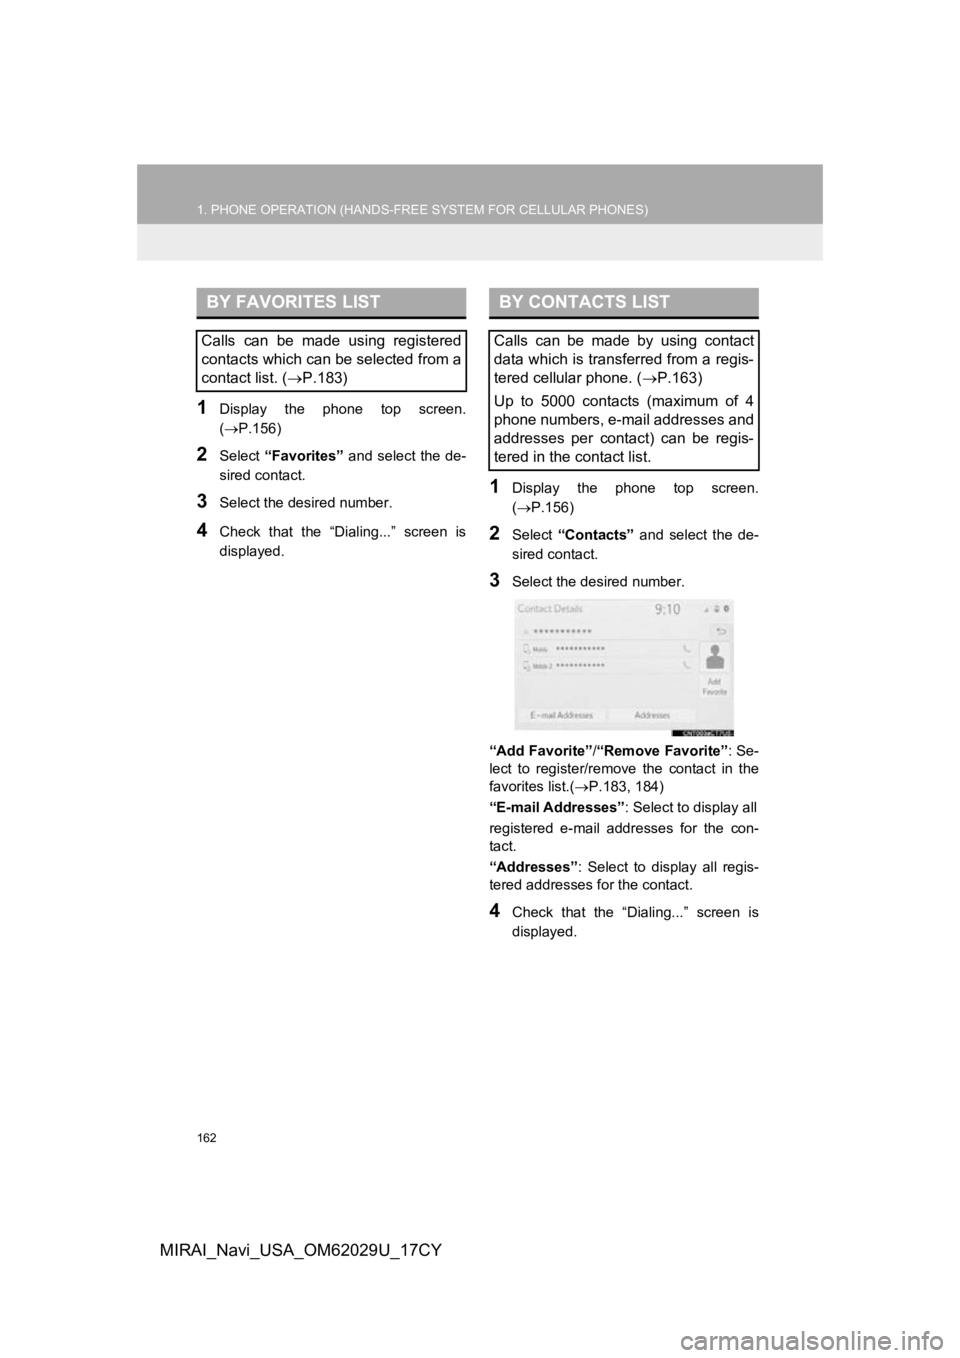
2Select “Contacts” and select the de-
sired contact.
3Select the desired number.
“Add Favorite” /“Remove Favorite” : Se-
lect to register/remove the contact in the
favorites list.( P.183, 184)
“E-mail Addresses” : Select to display all
registered e-mail addresses for the con-
tact.
“Addresses” : Select to display all regis-
tered addresses for the contact.
4Check that the “Dialing...” screen is
displayed.
BY FAVORITES LIST
Calls can be made using registered
contacts which can be selected from a
contact list. ( P.183)
BY CONTACTS LIST
Calls can be made by using contact
data which is transferred from a regis-
tered cellular phone. ( P.163)
Up to 5000 contacts (maximum of 4
phone numbers, e-mail addresses and
addresses per contact) can be regis-
tered in the contact list.
Page 163 of 292
163
1. PHONE OPERATION (HANDS-FREE SYSTEM FOR CELLULAR PHONES)
PHONE
7
MIRAI_Navi_USA_OM62029U_17CY
■FOR PBAP COMPATIBLE
Bluetooth
® PHONES
When “Automatic Transfer” is set to on
( P.178)
Contacts are transferred automatically.
When “Automatic Transfer” is set to off
( P.178)
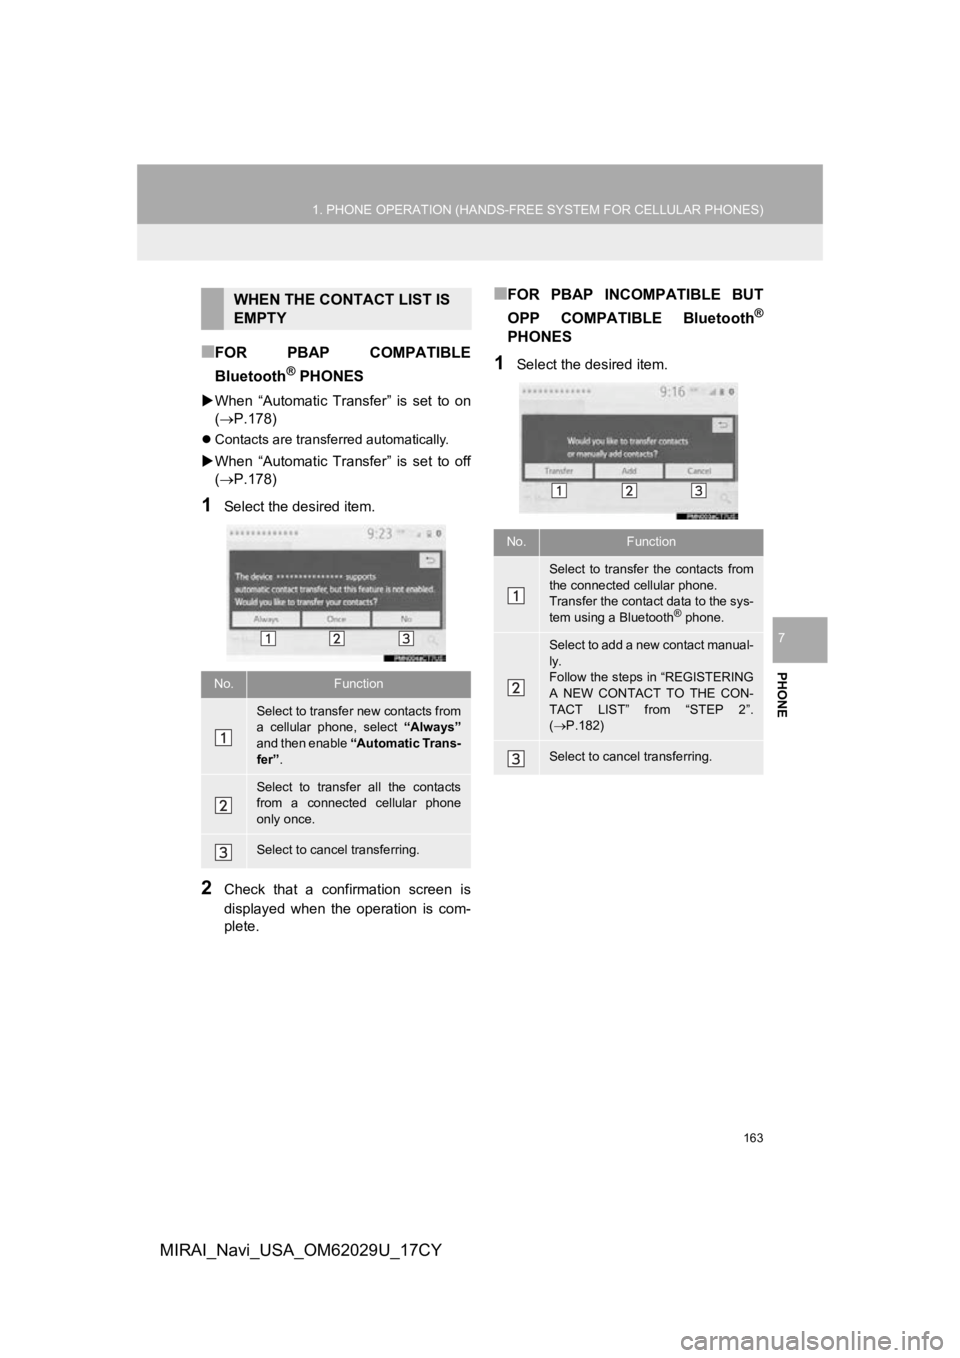
1Select the desired item.
2Check that a confirmation screen is
displayed when the operation is com-
plete.
■FOR PBAP INCOMPATIBLE BUT
OPP COMPATIBLE Bluetooth
®
PHONES
1Select the desired item.
WHEN THE CONTACT LIST IS
EMPTY
No.Function
Select to transfer new contacts from
a cellular phone, select “Always”
and then enable “Automatic Trans-
fer” .
Select to transfer all the contacts
from a connected cellular phone
only once.
Select to cancel transferring.
No.Function
Select to transfer the contacts from
the connected cellular phone.
Transfer the contact data to the sys-
tem using a Bluetooth
® phone.
Select to add a new contact manual-
ly.
Follow the steps in “REGISTERING
A NEW CONTACT TO THE CON-
TACT LIST” from “STEP 2”.
( P.182)
Select to cancel transferring.
Page 164 of 292
164
1. PHONE OPERATION (HANDS-FREE SYSTEM FOR CELLULAR PHONES)
MIRAI_Navi_USA_OM62029U_17CY
1Display the phone top screen.
(P.156)
2Select “Keypad” and enter the phone
number.
3Select or press the switch on
the steering wheel.
4Check that the “Dialing...” screen is
displayed.
INFORMATION
● Manual transfer operation cannot be
performed while driving.
● If your cellular phone is neither PBAP
nor OPP compatible, the contacts can-
not be transferred.
● Depending on the type of Bluetooth
®
phone:
• It may be necessary to perform addi-
tional steps on the phone when trans-
ferring contact data.
• The registered image in the contact list may not transfer depending on the
type of Bluetooth
® phone connected.
BY KEYPAD
INFORMATION
● Depending on the type of Bluetooth®
phone being connected, it may be nec-
essary to perform additional steps on
the phone.