Page 66 of 165
(whichever is greater) when you move the
gear lever fully down once then release.
Note: If Speed Assist is unable to determine a
speed limit, your set speed does not change
when you move the gear lever fully down once
then release.Warning: Do not rely on Speed Assist orTraffic-Aware Cruise Control to determine
an accurate or appropriate cruising
speed. Always cruise at a safe speed
based on road conditions and applicable
speed limits.
Changing the Set Speed
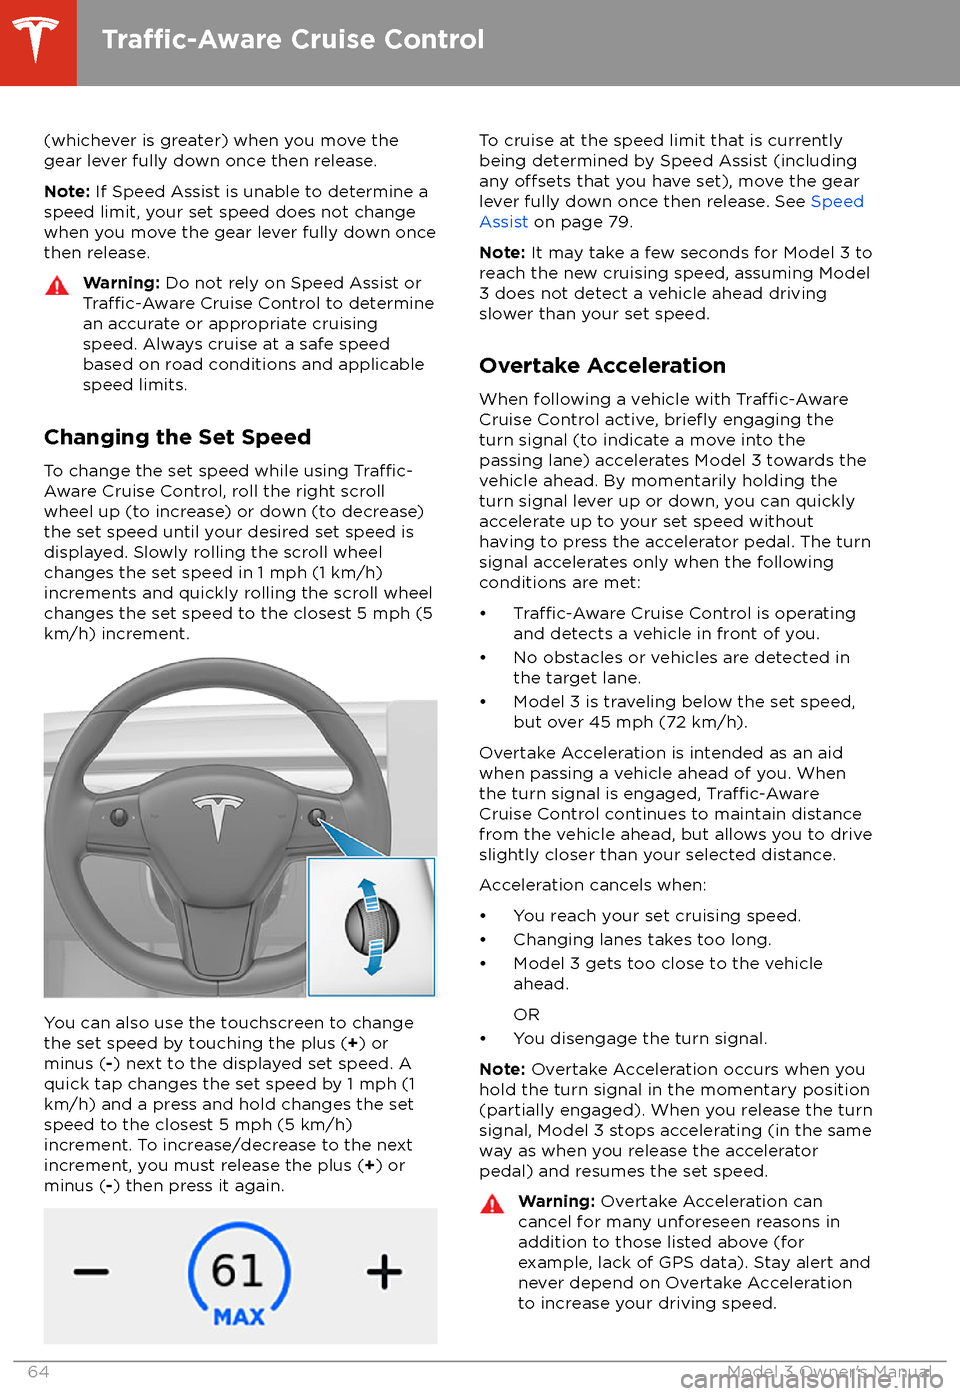
To change the set speed while using
Traffic-
Aware Cruise Control, roll the right scroll
wheel up (to increase) or down (to decrease)
the set speed until your desired set speed is
displayed. Slowly rolling the scroll wheel changes the set speed in 1 mph (1 km/h)
increments and quickly rolling the scroll wheel
changes the set speed to the closest 5 mph (5
km/h) increment.
You can also use the touchscreen to change
the set speed by touching the plus ( +) or
minus ( -) next to the displayed set speed. A
quick tap changes the set speed by 1 mph (1
km/h) and a press and hold changes the set
speed to the closest 5 mph (5 km/h)
increment. To increase/decrease to the next
increment, you must release the plus ( +) or
minus ( -) then press it again.
To cruise at the speed limit that is currently
being determined by Speed Assist (including
any
offsets that you have set), move the gear
lever fully down once then release. See Speed
Assist on page 79.
Note: It may take a few seconds for Model 3 to
reach the new cruising speed, assuming Model
3 does not detect a vehicle ahead driving
slower than your set speed.
Overtake Acceleration
When following a vehicle with
Traffic-AwareCruise Control active, briefly engaging the
turn signal (to indicate a move into the
passing lane) accelerates Model 3 towards the vehicle ahead. By momentarily holding theturn signal lever up or down, you can quickly
accelerate up to your set speed without having to press the accelerator pedal. The turn
signal accelerates only when the following
conditions are met:
Page 73 of 165
Note: Auto Lane Change moves Model 3 one
lane at a time. Moving into an additional lane
requires you to engage the turn signal a second time after the
first lane change is
complete.
Warning: If Auto Lane Change aborts
during a lane change (for example, Auto
Lane Change cannot detect the outside
of the target lane midway through the
lane change), Model 3 returns to its
original driving lane.
When Auto Lane Change is active, it is
important to monitor its performance by
watching the driving path in front of you and
the surrounding area. Stay prepared to take
over steering at any time. As you are crossing
over into the adjacent lane, the touchscreen
displays the lane marking as a dashed blue line. Once in your new lane, lane markings are
displayed as solid blue lines again.
In situations where Auto Lane Change is
unable to operate at optimal performance, or
cannot operate due to inadequate data, the
touchscreen displays a series of warnings.
Therefore, when using Auto Lane Change,
always pay attention to the touchscreen and
be prepared to manually steer Model 3.
Warning: When Auto Lane Change is
actively steering Model 3, the steering
wheel moves accordingly. Any
significantrestriction of or force on the steering
wheel
Page 75 of 165
In situations where Autopark cannot operatedue to inadequate sensor data, the
touchscreen displays a message indicating that you must manually park Model 3.
Note: If you press the brake when Autopark is
actively parking Model 3, the parking process
pauses until you touch Resume on the
touchscreen.
Note: Autopark detects potential
perpendicular parking spaces that are at least
9.5 feet (2.9 meters) wide with a vehicle
parked on each side. Autopark detects parallel parking spaces that are at least 20 feet (6
meters), but less than 30 feet (9 meters) long.
Autopark does not operate on angled parkingspaces.Warning: Never depend on Autopark tofind a parking space that is legal, suitable,
and safe. Autopark may not always detect
objects in the parking space. Always
perform visual checks to
confirm that a
parking space is appropriate and safe.
Warning: When Autopark is actively
steering Model 3, the steering wheel moves in accordance with Autopark
Page 79 of 165
Warning: Forward Collision Warning may
provide a warning in situations where the
likelihood of collision may not exist. Stay
alert and always pay attention to the area
in front of Model 3 so you can anticipate whether any action is required.Warning: Forward Collision Warning
operates only when driving between
approximately 7 mph (10 km/h) and 90
mph (150 km/h).Warning: Forward Collision Warning does
not provide a warning when the driver is
already applying the brake.
Automatic Emergency Braking
The forward looking camera(s) and the radar
sensor are designed to determine the distance
from an object (vehicle, motorcycle, bicycle, or
pedestrian) traveling in front of Model 3.
When a frontal collision is considered
unavoidable, Automatic Emergency Braking is
designed to apply the brakes to reduce the
severity of the impact.
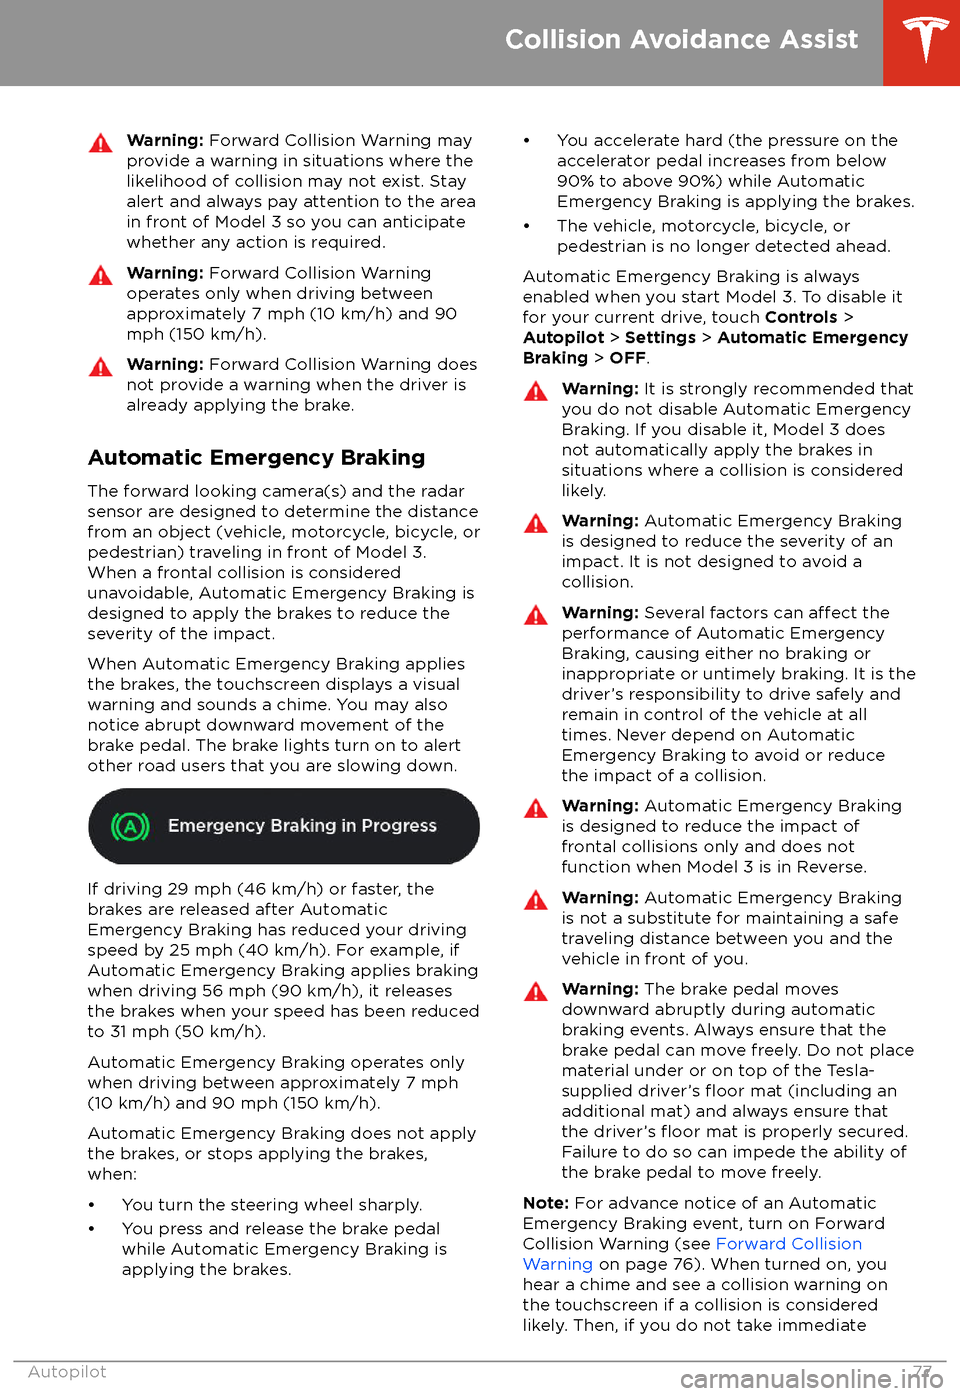
When Automatic Emergency Braking applies
the brakes, the touchscreen displays a visual
warning and sounds a chime. You may also
notice abrupt downward movement of the
brake pedal. The brake lights turn on to alert
other road users that you are slowing down.
If driving 29 mph (46 km/h) or faster, the
brakes are released after Automatic
Emergency Braking has reduced your driving
speed by 25 mph (40 km/h). For example, if
Automatic Emergency Braking applies braking
when driving 56 mph (90 km/h), it releases
the brakes when your speed has been reduced to 31 mph (50 km/h).
Automatic Emergency Braking operates only
when driving between approximately 7 mph (10 km/h) and 90 mph (150 km/h).
Automatic Emergency Braking does not apply the brakes, or stops applying the brakes,when:
Page 81 of 165
How Speed Assist Works
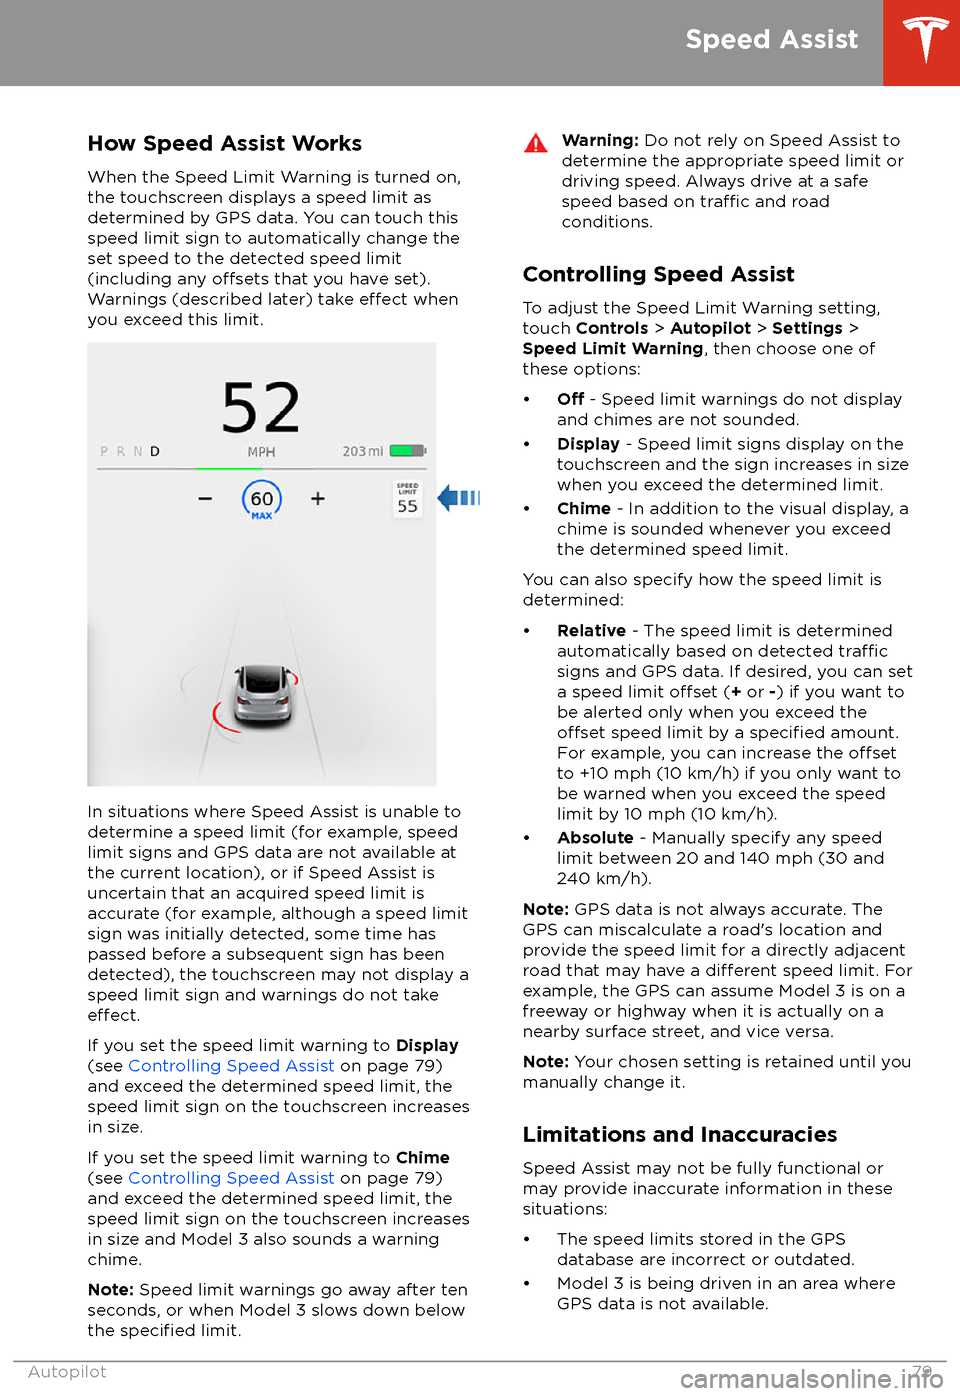
When the Speed Limit Warning is turned on,
the touchscreen displays a speed limit as determined by GPS data. You can touch this
speed limit sign to automatically change the
set speed to the detected speed limit
(including any
offsets that you have set).
Warnings (described later) take effect when
you exceed this limit.
In situations where Speed Assist is unable to
determine a speed limit (for example, speed
limit signs and GPS data are not available at the current location), or if Speed Assist is
uncertain that an acquired speed limit is
accurate (for example, although a speed limit sign was initially detected, some time has
passed before a subsequent sign has been
detected), the touchscreen may not display a
speed limit sign and warnings do not take
effect.
If you set the speed limit warning to Display
(see Controlling Speed Assist on page 79)
and exceed the determined speed limit, the
speed limit sign on the touchscreen increases
in size.
If you set the speed limit warning to Chime
(see Controlling Speed Assist on page 79)
and exceed the determined speed limit, the
speed limit sign on the touchscreen increases
in size and Model 3 also sounds a warning
chime.
Note: Speed limit warnings go away after ten
seconds, or when Model 3 slows down below
the
specified limit.
Warning: Do not rely on Speed Assist to
determine the appropriate speed limit or driving speed. Always drive at a safe
speed based on
traffic and road
conditions.
Controlling Speed Assist
To adjust the Speed Limit Warning setting,
touch Controls > Autopilot > Settings >
Speed Limit Warning , then choose one of
these options:
Page 83 of 165
OverviewTouch Controls on the bottom left corner of the touchscreen to control features
and customize Model 3 to suit your preferences. The Controls window (shown
below) appears over the map. Touch an option on the left side of the window to
display the associated controls and settings. By default, Quick Controls displays
to make it easy to access commonly used settings.To close the Controls window, touch the X in the top left corner or touch
Controls again.To access Settings associated with a Controls window (if applicable), touch the
gear icon in the top right corner of a Controls window.
Note: Throughout this owner
Page 85 of 165
DrivingAcceleration: Adjust the amount of acceleration. Chill limits acceleration for
a slightly smoother and gentler ride, whereas Standard provides the normal
level of acceleration.
Note: When Chill is selected, Chill displays on the touchscreen above the
driving speed.
Steering Mode : Adjust the amount of
effort required to turn the steering
wheel. Sport feels more responsive whereas Comfort feels easier to drive
and park (see Adjusting Steering
Effort on page 36).
Regenerative Braking : When you release the accelerator when driving,
regenerative braking slows Model 3 and feeds any surplus energy back to
the Battery. If set to LOW, Model 3 does not slow down as quickly, but also
feeds less energy back to the Battery (see Regenerative Braking on page
49).
Note: Regardless of the setting selected, the energy gained by regenerative
braking is reduced if the Battery is full, or is extremely cold or hot (in which
case, surplus energy is used to heat or cool it).
Traction Control : Turn slip start on to allow wheels to spin (see Traction
Control on page 51).
Creep : When on, Model 3 applies forward torque in Drive and backwards
torque in Reverse when you release the brake pedal (similar to a conventional vehicle with an automatic transmission). The torque moves the
vehicle slowly on
flat roads, but may require you to press the accelerator
pedal in some situations (for example, when on a steep hill or driveway).
When
off, Model 3 is free rolling when you let your foot off the brake pedal
and the motor does not apply torque until the accelerator pedal is pressed.
You can adjust this setting only when Model 3 is in Park.
Warning: Never rely on Creep to apply enough torque to prevent your
vehicle from rolling down a hill. Always apply brakes to remain stopped
or the accelerator to proceed up the hill. Failure can result in property
damage and/or a collision.
Controls and Settings
Using the Touchscreen83
Page 91 of 165
Operating Seat Heaters
To control the front seat heaters for the driver
and passenger, touch the corresponding
control on the main climate control area. To
control rear seat heaters, and access duplicate
controls for the front seat heaters, touch the
fan icon, touch the Seats tab, then touch the
seat for which you want to adjust heating.
Seat heaters operate at three setting levels
from 3 (highest) to 1 (lowest). When
operating, the associated seat icon displays
twisting lines that turn red to indicate the
setting level.
Climate Control Operating Tips