Page 362 of 568

362 4-3. Do-it-yourself maintenance
BRZ_U (A4450BE-A)■
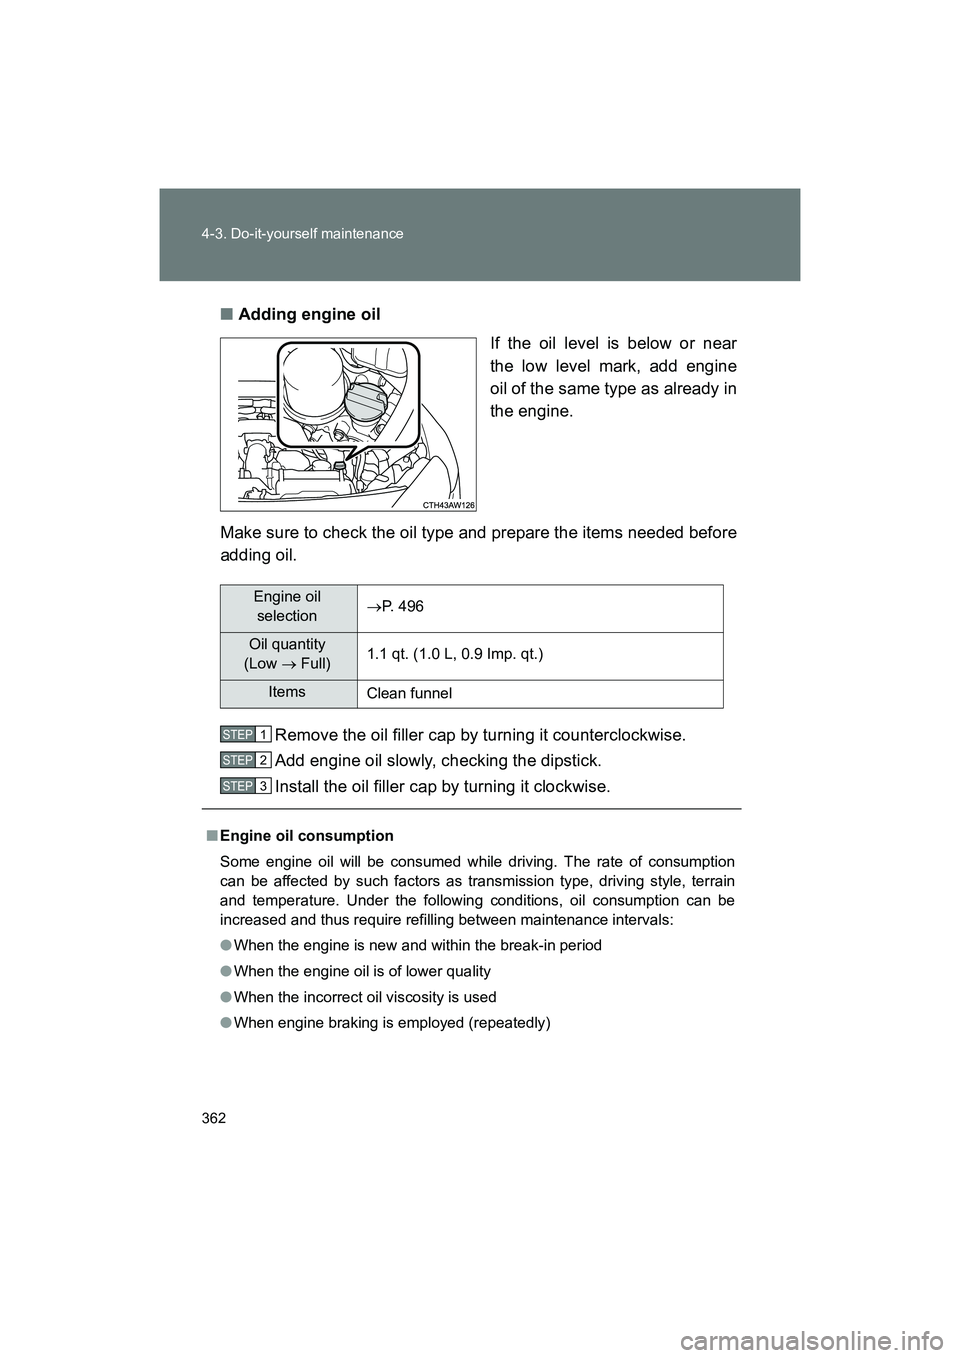
Adding engine oil
If the oil level is below or near
the low level mark, add engine
oil of the same type as already in
the engine.
Make sure to check the oil type and prepare the items needed before
adding oil.
Remove the oil filler cap by turning it counterclockwise.
Add engine oil slowly, checking the dipstick.
Install the oil filler cap by turning it clockwise.
Engine oil selection →
P. 496
Oil quantity
(Low → Full) 1.1 qt. (1.0 L, 0.9 Imp. qt.)
Items
Clean funnel
■ Engine oil consumption
Some engine oil will be consumed while driving. The rate of consumption
can be affected by such factors as transmission type, driving style, terrain
and temperature. Under the followi ng conditions, oil consumption can be
increased and thus require refilling between maintenance intervals:
● When the engine is new and within the break-in period
● When the engine oil is of lower quality
● When the incorrect oil viscosity is used
● When engine braking is employed (repeatedly)
STEP 1
STEP 2
STEP 3
Page 408 of 568
408 4-3. Do-it-yourself maintenance
BRZ_U (A4450BE-A)Pull out the lamp and turn the
lens counterclockwise.
Remove the light bulb.
When installing, reverse the steps listed.
STEP 4
STEP 5
STEP 6
Page 409 of 568
409
4-3. Do-it-yourself maintenance
4
Maintenance and care
BRZ_U (A4450BE-A)
■
Back-up lights
Remove the clips.
To prevent damage to the vehicle,
cover the tip of the screwdriver
with a rag.
Turn the bulb base counterclock-
wise.
Remove the light bulb.
When installing, reverse the steps listed.
STEP 1
STEP 2
STEP 3
STEP 4
Page 410 of 568
410 4-3. Do-it-yourself maintenance
BRZ_U (A4450BE-A)■
License plate lights
Remove the trunk lid panel cover
clips and partly remove the trunk
lid panel cover.
To prevent damage to the vehicle,
cover the tip of the screwdriver
with a rag.
Turn the bulb base counterclock-
wise.
Remove the light bulb.
When installing, reverse the steps listed.
STEP 1
STEP 2
STEP 3
STEP 4
Page 477 of 568

5
When trouble arises
477
5-2. Steps to take in an emergency
BRZ_U (A4450BE-A)
Trun k li d
Turn the mechanical key clock-
wise to open.
Starting the engine
Vehicles with an automatic transmission Ensure that the select lever is in P and firmly depress the
brake pedal.
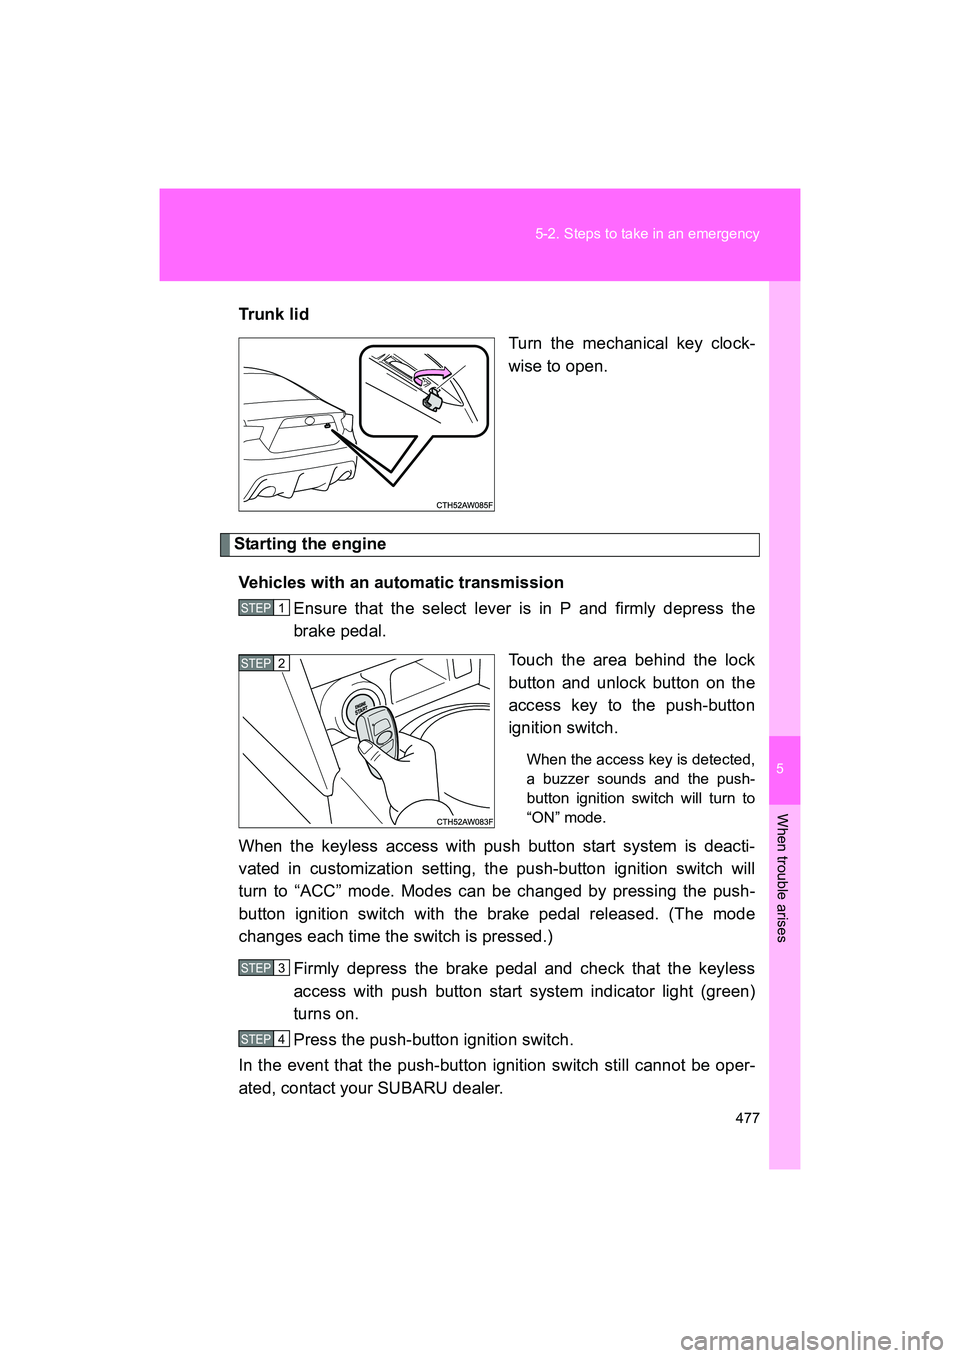
Touch the area behind the lock
button and unlock button on the
access key to the push-button
ignition switch.
When the access key is detected,
a buzzer sounds and the push-
button ignition switch will turn to
“ON” mode.
When the keyless access with push button start system is deacti-
vated in customization setting, the push-button ignition switch will
turn to “ACC” mode. Modes can be changed by pressing the push-
button ignition switch with the brake pedal released. (The mode
changes each time the switch is pressed.)
Firmly depress the brake pedal and check that the keyless
access with push button start system indicator light (green)
turns on.
Press the push-button ignition switch.
In the event that the push-button ignition switch still cannot be oper-
ated, contact your SUBARU dealer.
STEP 1
STEP 2
STEP 3
STEP 4
Page 556 of 568

556 Alphabetical index
BRZ_U (A4450BE-A)
Brightness controlInstrument panel light control .................................201
Care Alcantara
®............................. 346
Alloy wheels .......................... 337
Exterior.................................. 336
Interior ................................... 342
Seatbelts ............................... 343
Cargo capacity ......................... 272
Chains ....................................... 279
Child restraint system
Booster seats, definition ............................. 141
Booster seats, installation ........................... 145
Convertible seats, definition ............................. 141
Convertible seats, installation ........................... 145
Front passenger occupant detection system .................131
Infant seats,
definition ............................. 141
Infant seats, installation ........................... 145
Installing CRS with LATCH anchors .................. 146
Installing CRS with
seatbelts ............................. 148
Installing CRS with top tether straps .................. 151 Child safety
Airbag precautions ................ 125
Battery precautions ....... 371, 483
Child restraint system ........... 141
How your child should wear the seatbelt .................. 62
Installing child restraints........ 145
Power window lock switch ...... 74
Power window precautions ........................... 77
Removed key battery precautions ......................... 395
Seat heater precautions ........ 319
Seatbelt guide ......................... 61
Seatbelt precautions ............... 64
Trunk precautions ................... 49
Cleaning Alcantara
®............................. 346
Alloy wheels .......................... 337
Exterior.................................. 336
Interior ................................... 342
Seatbelts ............................... 343
Clock ......................................... 315
Condenser ................................ 366
Console tray ............................. 311
Coolant Capacity ................................ 498
Checking ............................... 364
Cooling system Engine overheating ............... 485
Cruise control .......................... 243
Cup holders .............................. 311
Curtain airbags .......................... 93
Customizable features ............ 522
Daytime running light
system .................................... 235
Defogger Rear window ......................... 302
Side mirror ............................ 302
Dimensions .............................. 492
Dinghy towing .......................... 283
C
D