Page 23 of 226
1.17
Charge start
Charging starts at the set time:
– if the ignition is switched off;
– The gear lever should be in posi-tion P;
– if the vehicle is connected to a power supply.
ELECTRIC VEHICLE: charging programming (2/2)
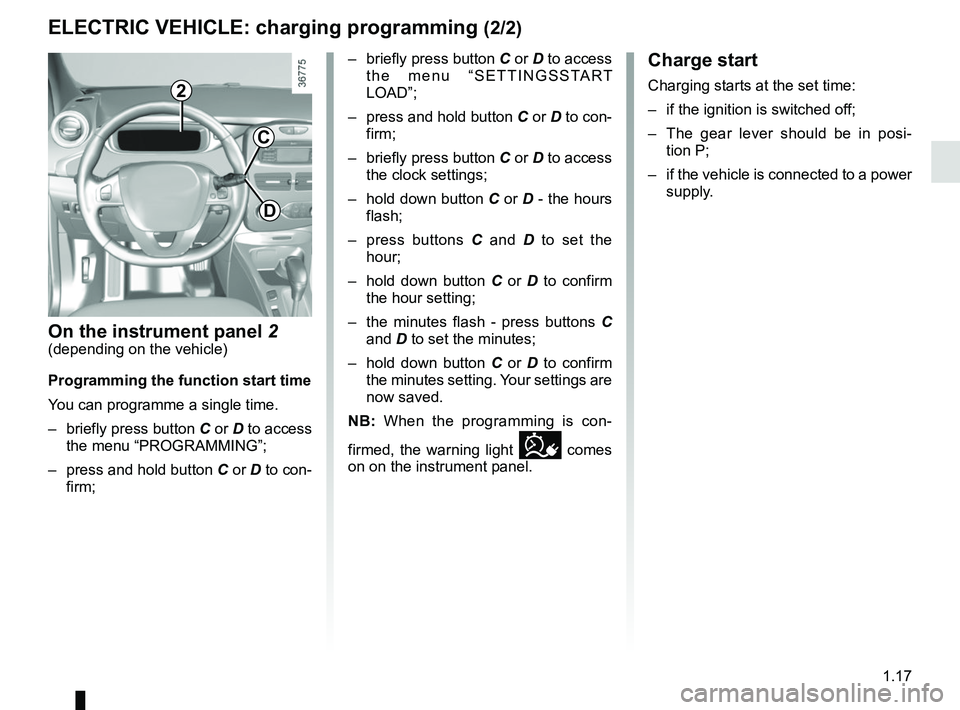
On the instrument panel 2(depending on the vehicle)
Programming the function start time
You can programme a single time.
– briefly press button C or D to access
the menu “PROGRAMMING”;
– press and hold button C or D to con-
firm; – briefly press button C or D to access
the menu “SETTINGSSTART
LOAD”;
– press and hold button C or D to con-
firm;
– briefly press button C or D to access the clock settings;
– hold down button C or D - the hours
flash;
– press buttons C and D to set the
hour;
– hold down button C or D to confirm
the hour setting;
– the minutes flash - press buttons C and D to set the minutes;
– hold down button C or D to confirm
the minutes setting. Your settings are
now saved.
NB: When the programming is con-
firmed, the warning light
comes
on on the instrument panel.
2
C
D
Page 71 of 226
1.65
DISPLAYS AND INDICATORS (1/2)
You may customise your instrument
panel A with content and colours of
your choice.
Press the switch 1 repeatedly to obtain
the desired display.
Charge meter 2Please refer to the information on the
“Charge meter” in Section 2.
The presence and operation of the display and indicators DEPENDS ON THE \
LEVEL OF EQUIPMENT AND THE COUNTRY.
Message indicating vehicle
ready for driving 3
The message READY comes on when
the engine is started.
Speedometer 4Vehicle speed is limited to approxi-
mately 80 mph (135 km/h).
Indicator of charging
programming and/or air
conditioning 5
A
124635
On-board computer display 6Please refer to the information on the
“Trip computer: general information” in
Section 1.
Instrument panel in milesIt is possible to switch to km/h.
On the multimedia display, select
“Menu”, “System ”, “System settings ”,
“Set units ” and confirm. To return to the
previous mode, repeat the same opera-
tion.
Page 73 of 226
1.67
TRIP COMPUTER: general information (1/2)
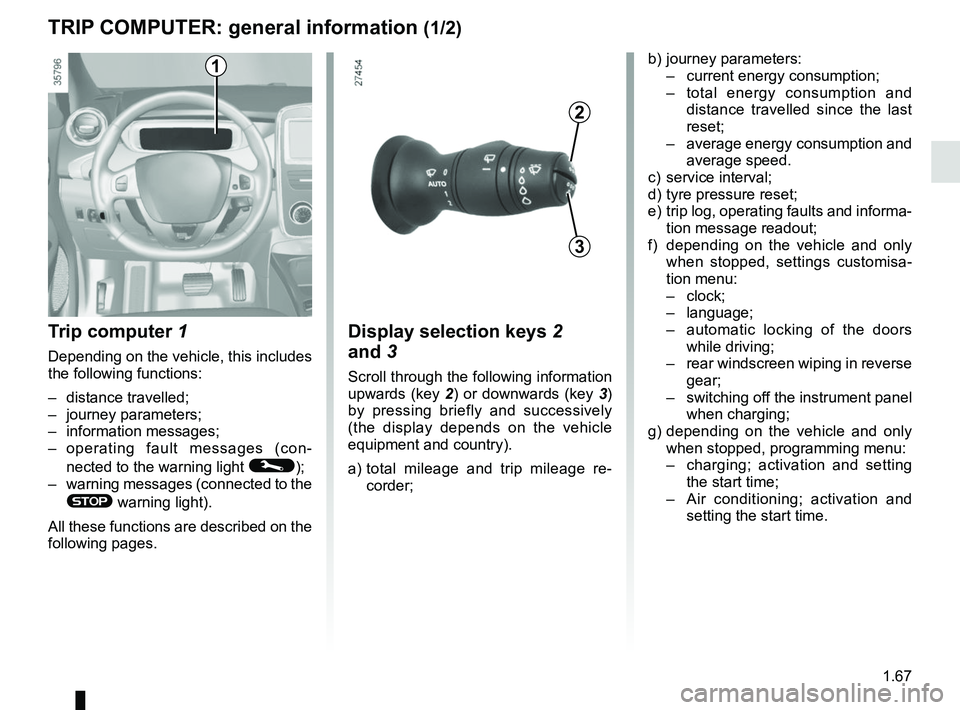
Trip computer 1
Depending on the vehicle, this includes
the following functions:
– distance travelled;
– journey parameters;
– information messages;
– operating fault messages (con-
nected to the warning light
©);
– warning messages (connected to the
® warning light).
All these functions are described on the
following pages.
Display selection keys 2
and 3
Scroll through the following information
upwards (key 2) or downwards (key 3)
by pressing briefly and successively
(the display depends on the vehicle
equipment and country).
a) total mileage and trip mileage re-
corder;
b) journey parameters:
– current energy consumption;
– total energy consumption and
distance travelled since the last
reset;
– average energy consumption and
average speed.
c) service interval;
d) tyre pressure reset;
e) trip log, operating faults and informa- tion message readout;
f) depending on the vehicle and only when stopped, settings customisa-
tion menu:
– clock;
– language;
– automatic locking of the doors
while driving;
– rear windscreen wiping in reverse
gear;
– switching off the instrument panel
when charging;
g) depending on the vehicle and only when stopped, programming menu:
– charging; activation and setting
the start time;
– Air conditioning; activation and
setting the start time.
3
2
1
Page 74 of 226
1.68
TRIP COMPUTER: general information (2/2)
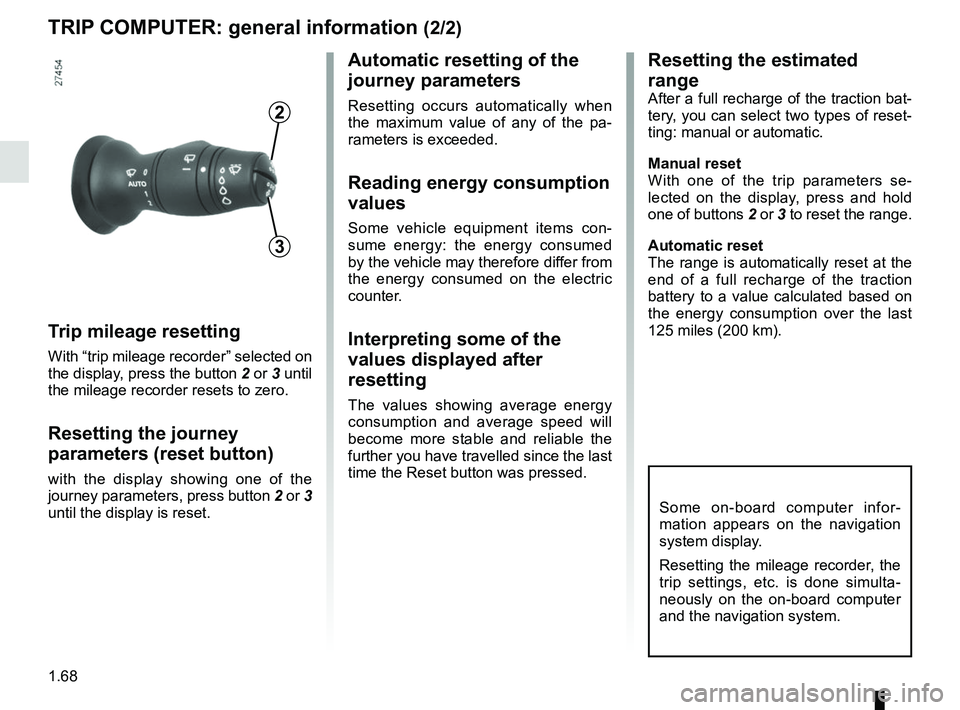
Trip mileage resetting
With “trip mileage recorder” selected on
the display, press the button 2 or 3 until
the mileage recorder resets to zero.
Resetting the journey
parameters (reset button)
with the display showing one of the
journey parameters, press button 2 or 3
until the display is reset.
Automatic resetting of the
journey parameters
Resetting occurs automatically when
the maximum value of any of the pa-
rameters is exceeded.
Reading energy consumption
values
Some vehicle equipment items con-
sume energy: the energy consumed
by the vehicle may therefore differ from
the energy consumed on the electric
counter.
Interpreting some of the
values displayed after
resetting
The values showing average energy
consumption and average speed will
become more stable and reliable the
further you have travelled since the last
time the Reset button was pressed.
3
2
Some on-board computer infor-
mation appears on the navigation
system display.
Resetting the mileage recorder, the
trip settings, etc. is done simulta-
neously on the on-board computer
and the navigation system.
Resetting the estimated
range
After a full recharge of the traction bat-
tery, you can select two types of reset-
ting: manual or automatic.
Manual reset
With one of the trip parameters se-
lected on the display, press and hold
one of buttons 2 or 3 to reset the range.
Automatic reset
The range is automatically reset at the
end of a full recharge of the traction
battery to a value calculated based on
the energy consumption over the last
125 miles (200 km).
Page 76 of 226
1.70
ON-BOARD COMPUTER: trip settings (2/3)
Examples of selectionsInterpreting the display selected
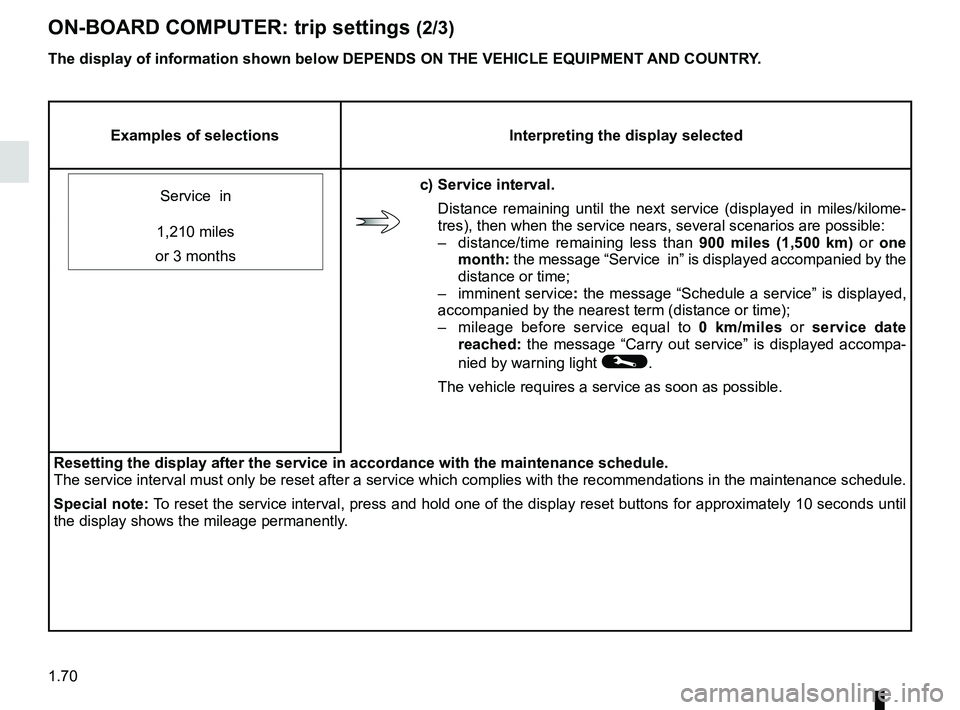
Service in
c) Service interval. Distance remaining until the next service (displayed in miles/kilome-
tres), then when the service nears, several scenarios are possible:
– distance/time remaining less than 900 miles (1,500 km) or one
month: the message “Service in” is displayed accompanied by the
distance or time;
– imminent service : the message “Schedule a service” is displayed,
accompanied by the nearest term (distance or time);
– mileage before service equal to 0 km/miles or service date
reached: the message “Carry out service” is displayed accompa-
nied by warning light
©.
The vehicle requires a service as soon as possible.
1,210 miles
or 3 months
Resetting the display after the service in accordance with the maintenan\
ce schedule.
The service interval must only be reset after a service which complies w\
ith the recommendations in the maintenance schedule.
Special note: To reset the service interval, press and hold one of the display reset bu\
ttons for approximately 10 seconds until
the display shows the mileage permanently.
The display of information shown below DEPENDS ON THE VEHICLE EQUIPMENT \
AND COUNTRY.
Page 81 of 226
1.75
CLOCK AND EXTERIOR TEMPERATURE (1/2)
– the minutes flash - press buttons 1 and 2 to set the minutes;
– hold down button 1 or 2 to confirm
the minutes setting. Your settings are
now saved.Resetting the clock A
To access the display 3 for setting the
time:
– press button 1 or 2 a few times to
obtain the menu “Time settings”.
Wait for a few seconds.
– hold down button 1 or 2 - the hours
flash;
– press buttons 1 and 2 to set the hour;
– hold down button 1 or 2 to confirm
the hour setting;
If the power supply is cut (battery
disconnected, supply wire cut, etc.),
the clock must be reset.
We recommend that you do not
adjust these settings while driving.
9°C 12:00
3
A
1
2
Page 82 of 226
1.76
External temperature
indicator
As ice formation is related
to climatic exposure, local
air humidity and temperature, the
external temperature alone is not
sufficient to detect ice.
External temperature
indicator
Special note:
When the outside temperature is – 3°C
to + 3°C, the °C characters flash (sig-
nalling a risk of ice on the road).B
End
Clock
Resetting the clock B
The time setting is done automatically.
You may, however, change this.
On the display
B, select “Menu”,
“System ” then “Time settings”.
Set the hours and minutes.
Then confirm your choice.
B
CLOCK AND EXTERIOR TEMPERATURE (2/2)
Page 123 of 226
2.29
PARKING DISTANCE CONTROL (2/2)
In the event of an impact to
the underside of the vehicle
(e.g.: striking a post, raised
kerb or other street furni-
ture), this may result in damage to
the vehicle (e.g.: twisted axle), the
electrical circuit or the traction bat-
tery.
To avoid any risk of accident, have
your vehicle checked by an ap-
proved dealer.
Operating faults
Depending on the vehicle, when the
system detects an operating fault, the
message “check parking distance con-
trol” appears on the instrument panel,
accompanied by the warning light
© and a beep lasting approxi-
mately 5 seconds. Please contact an
authorised dealer.
Special featuresMake sure that the ultrasonic sensors
are not obscured (by dirt, mud, snow
etc.).
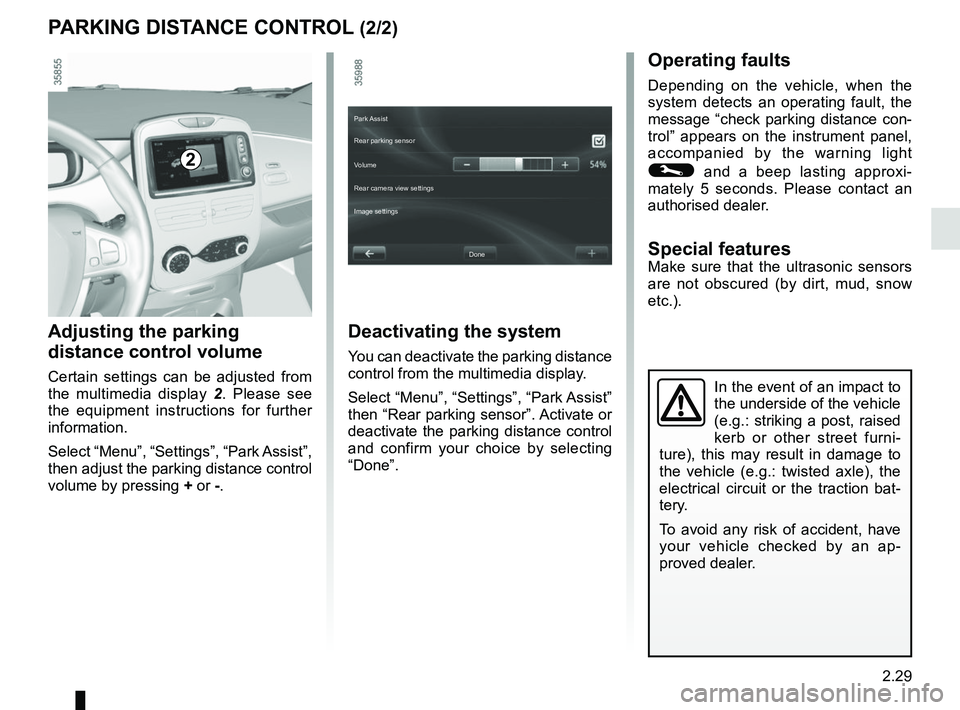
Adjusting the parking
distance control volume
Certain settings can be adjusted from
the multimedia display 2. Please see
the equipment instructions for further
information.
Select “Menu”, “Settings”, “Park Assist”,
then adjust the parking distance control
volume by pressing + or -.
2
Deactivating the system
You can deactivate the parking distance
control from the multimedia display.
Select “Menu”, “Settings”, “Park Assist”
then “Rear parking sensor”. Activate or
deactivate the parking distance control
and confirm your choice by selecting
“Done”.
Done
Park Assist
Rear parking sensor
Volume
Image settings Rear camera view settings