2018 RENAULT MEGANE sat nav
[x] Cancel search: sat navPage 63 of 348

1.57
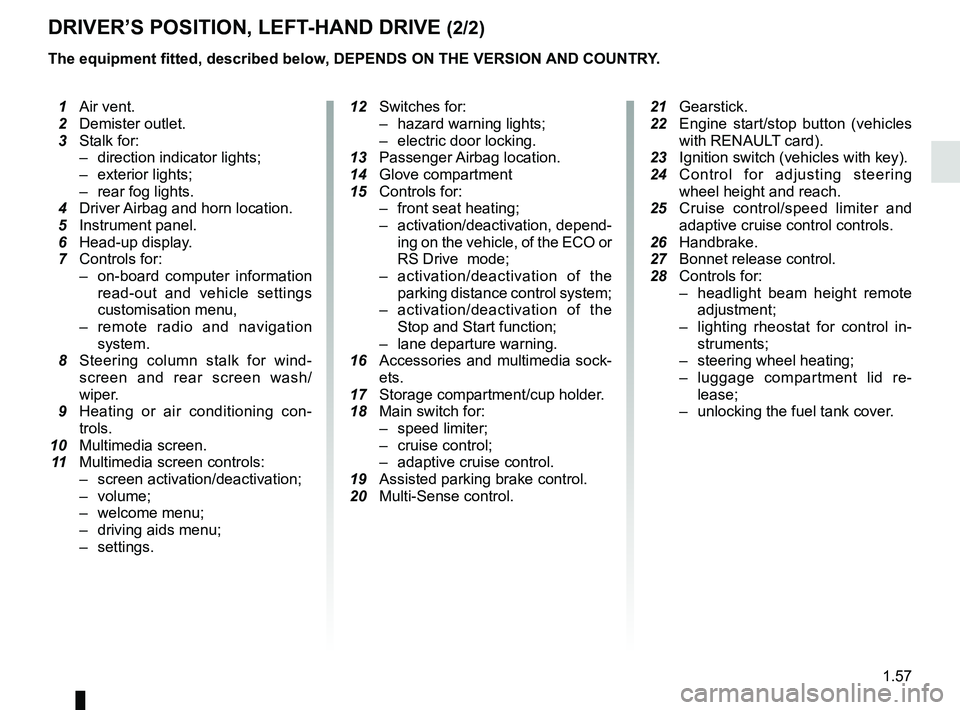
DRIVER’S POSITION, LEFT-HAND DRIVE (2/2)
The equipment fitted, described below, DEPENDS ON THE VERSION AND COUNTRY.
1 Air vent.
2 Demister outlet.
3 Stalk for:
– direction indicator lights;
– exterior lights;
– rear fog lights.
4 Driver Airbag and horn location.
5 Instrument panel.
6 Head-up display.
7 Controls for:
– on-board computer information
read-out and vehicle settings
customisation menu,
– remote radio and navigation
system.
8 Steering column stalk for wind-
screen and rear screen wash/
wiper.
9 Heating or air conditioning con-
trols.
10 Multimedia screen.
11 Multimedia screen controls:
– screen activation/deactivation;
– volume;
– welcome menu;
– driving aids menu;
– settings.
12 Switches for:
– hazard warning lights;
– electric door locking.
13 Passenger Airbag location.
14 Glove compartment
15 Controls for:
– front seat heating;
– activation/deactivation, depend-
ing on the vehicle, of the ECO or
RS Drive mode;
– activation/deactivation of the
parking distance control system;
– activation/deactivation of the
Stop and Start function;
– lane departure warning.
16 Accessories and multimedia sock-
ets.
17 Storage compartment/cup holder.
18 Main switch for:
– speed limiter;
– cruise control;
– adaptive cruise control.
19 Assisted parking brake control.
20 Multi-Sense control.
21
Gearstick.
22 Engine start/stop button (vehicles
with RENAUL
T card).
23 Ignition switch (vehicles with key).
24 Control for adjusting steering
wheel height and reach.
25 Cruise control/speed limiter and
adaptive cruise control controls.
26 Handbrake.
27 Bonnet release control.
28 Controls for:
– headlight beam height remote
adjustment;
– lighting rheostat for control in-
struments;
– steering wheel heating;
– luggage compartment lid re-
lease;
– unlocking the fuel tank cover.
Page 65 of 348

1.59
DRIVING POSITION: RIGHT-HAND DRIVE (2/2)
The equipment fitted, described below, DEPENDS ON THE VERSION AND COUNTRY.
16 Control for adjusting steering
wheel height and reach.
17 Engine start/stop button (vehicles
with RENAULT card).
18 Switches for:
– hazard warning lights;
– electric door locking.
19 Gearstick.
20 Storage compartment/cup holders.
21 Main switch for:
– speed limiter;
– cruise control;
– adaptive cruise control.
22 Assisted parking brake control.
23 Multi-Sense control.
24 Accessories and multimedia sock-
ets.
25 Glove compartment
26 Handbrake.
27 Bonnet release control.
1 Air vent.
2 Demister outlet.
3 Passenger Airbag location.
4 Controls for:
– front seat heating;
– activation/deactivation, depend-
ing on the vehicle, of the ECO or
RS Drive mode;
– activation/deactivation of the
parking distance control system;
– activation/deactivation of the
Stop and Start function;
– lane departure warning.
5 Heating or air conditioning con-
trols.
6 Multimedia screen.
7 Multimedia screen controls:
– screen activation/deactivation;
– volume;
– welcome menu;
– driving aids menu;
– settings.
8 Stalk:
– direction indicator lights;
– exterior lights;
– rear fog lights.
9 Cruise control/speed limiter and
adaptive cruise control controls.
10 Instrument panel.
11 Driver Airbag and horn location.
12 Controls
for:
– on-board computer information
read-out and vehicle settings
customisation menu,
– remote radio and navigation
system.
13 Steering column stalk for wind-
screen and rear screen wash/
wiper.
14 Controls for:
– headlight beam height remote
adjustment;
– lighting rheostat for control in-
struments;
– steering wheel heating;
– luggage compartment lid re-
lease;
– unlocking the fuel tank cover.
15 Ignition switch (vehicles with key).
Page 72 of 348

1.66
DISPLAYS AND INDICATORS (1/6)
Instrument panel A
lights up when the driver’s door is
opened. In some cases, the appear-
ance of a warning light is accompanied
by a message.
You can customise your instrument
panel with the content and colours of
your choice.
For vehicles fitted with a navigation
system, refer to the handbook for the
equipment.
For vehicles not fitted with a naviga-
tion system, refer to the information on
“Vehicle settings customisation menu”
in Section 1.
Rev counter 1
(graduations x 1000)
Speedometer 2
This is displayed differently according
to how the instrument panel is custom-
ised.
Overspeed buzzer
Depending on the vehicle and coun-
try, a buzzer sounds for approximately
10 seconds every 40 seconds, as long
as the vehicle is travelling in excess of
72 mph (120 km/h).
3
A
Driving style indicator 3
Please refer to the information on “Eco-
driving” in Section 2.
Trip computer and warning system
Refer to the information on the “Trip
computer and warning system” in
Section 1.
1
2
Page 76 of 348

1.70
DISPLAYS AND INDICATORS (5/6)
Head-up display 16
The display details driving and navi-
gation information from the instrument
panel and the multimedia screen.
If fitted to the vehicle, this comes on
when the engine is started and is re-
tracted when the engine is switched off.
16You can adjust certain settings from
the multimedia screen: with the engine
running, access the menu “System”,
“Display”, then “Head-up display”.
Adjusting the display information
height
Depending on your driving position,
you can raise or lower the information
on the display.
Adjusting the display brightness
You can adjust the brightness (day or
night mode)
– automatically : the brightness will
vary depending on the outdoor light.
– manually: the brightness automati-
cally switches with the activation/de-
activation of the lights.
In both cases, the day mode varies
based on the outdoor brightness.
Good information visibility can be af-
fected by:
– the seat position;
– the presence of an object placed
on the opened display;
– the polarisation of some spectacle
lenses;
– extreme weather conditions (rain,
snow, very strong sunlight, etc.).
In the event of contradic-
tory information between
the instrument panel and
the head-up display/mul-
timedia screen, please refer to the
information displayed on the instru-
ment panel.
Do not manually force the opening/
closure of the head-up display.
For safety reasons, carry
out any adjustments when
the vehicle is stationary.
Page 132 of 348

2.20
DRIVING ADVICE, ECO-DRIVING (1/5)
Gear change indicator 2
Depending on the vehicle, to obtain op-
timum consumption levels, a warning
light on the instrument panel lets you
know the best time to move up or down
a gear:
Š move up a gear;
‰ move down a gear.
If you regularly follow this indicator, you
will reduce your vehicle’s fuel consump-
tion.
Fuel consumption is accredited in ac-
cordance with a standard regulatory
method. Identical for all manufactur-
ers, this enables vehicles to be com-
pared with one another. Consumption
in real time depends on vehicle usage
conditions, the equipment fitted and the
user’s driving style. To optimise fuel
consumption, please refer to the follow-
ing advice.
Depending on the vehicle, you will have
various functions which enable you to
lower your fuel consumption:
– the rev counter with ECO zone;
– gear change indicator;
– the driving style indicator;
– the journey record and eco-driving
advice via the multimedia screen;
– ECO mode.
Warning light
is displayed on
the instrument panel when parameter
“Free wheel in ECO mode” is activated
(ON in menu "User settings”).
If fitted on the vehicle, the navigation
system provides additional information.
On the instrument panel A
or B
Depending on the vehicle, the informa-
tion display can be organised and cus-
tomised based on the instrument panel
customisation style selected from the
multimedia screen.
The rev counter with ECO zone 1
Driving in the ECO zone helps you op-
timise fuel consumption under most cir-
cumstances.
2
1
AB
2
1
Page 221 of 348

3.27
Note: for vehicles fitted with a naviga-
tion system, you can use the multime-
dia screen to deactivate/activate the
courtesy lights which come on when
the doors or boot are opened. To do
this, please refer to “Vehicle settings
customisation menu” in Section 1.
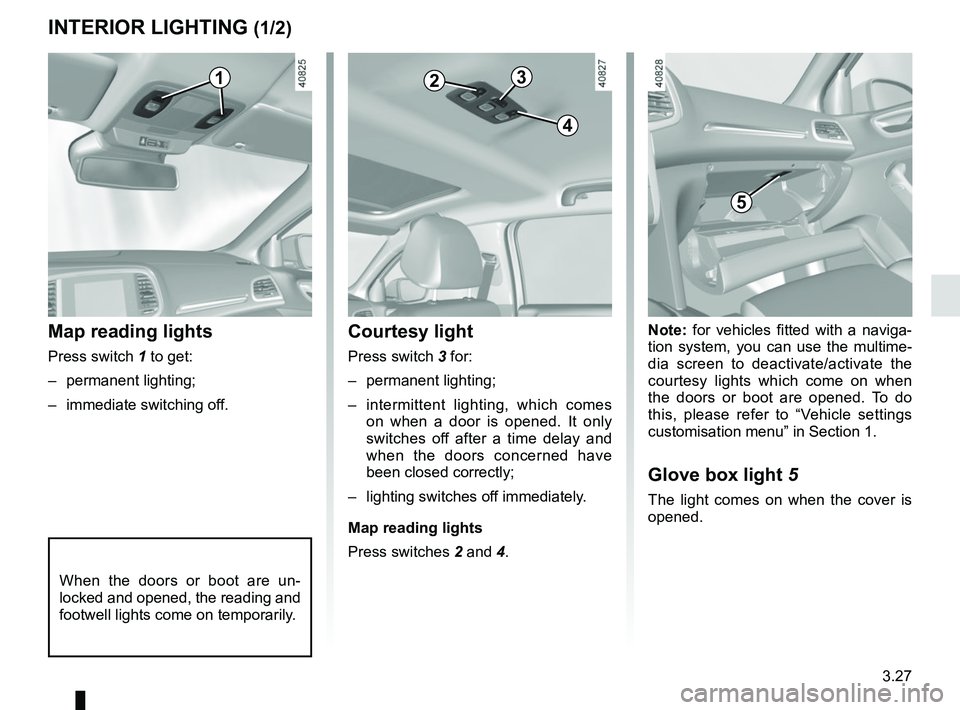
Glove box light 5
The light comes on when the cover is
opened.
Courtesy light
Press switch 3 for:
– permanent lighting;
– intermittent lighting, which comes
on when a door is opened. It only
switches off after a time delay and
when the doors concerned have
been closed correctly;
– lighting switches off immediately.
Map reading lights
Press switches 2 and 4.
Map reading lights
Press switch 1 to get:
– permanent lighting;
– immediate switching off.
When the doors or boot are un-
locked and opened, the reading and
footwell lights come on temporarily.
INTERIOR LIGHTING (1/2)
123
4
5