Page 57 of 347
Outside Air Intake
Make sure the air intake, located directly in front of the
windshield, is free of obstructions such as leaves. Leaves
collected in the air intake may reduce airflow, can cause
odor, and if they enter the plenum they could plug the
water drains. In Winter months make sure the air intake is
clear of ice, slush and snow.
A/C Air Filter
The climate control system filters outside air containing
dust, pollen and some odors. Strong odors cannot be totally
filtered out. Refer to “Dealer Service” in “Servicing and
Maintenance” for filter replacement instructions.
3
GETTING TO KNOW YOUR VEHICLE 55
Page 58 of 347
Control Setting Suggestions For Various Weather Conditions
Control Settings Suggestions For Various Weather Conditions Chart
56 GETTING TO KNOW YOUR VEHICLE
Page 59 of 347

WINDOWS
Power Windows — If Equipped
The control on the left front door panel has up-down
switches that give you fingertip control of all power
windows. There is a single opening and closing switch on
the front passenger door for passenger window control. If
the vehicle is equipped with rear power windows, a singleopening and closing switch on the rear passenger doors for
passenger window control is provided.
NOTE:
The key off power delay feature will allow the
power windows to operate for up to three minutes after the
ignition is turned OFF. This feature is cancelled when
either front door is opened.
The window opening mechanism is fitted with a security
system (if equipped) that can detect the presence of an
obstacle whilst the window is closing. When this happens,
the system activates and the movement of the glass is
immediately reversed.
If the presence of an object is detected and the system is
activated, it may be necessary to perform the reset proce-
dure by fully opening the windows.
WARNING!
•Never leave children alone in a vehicle, or with access
to an unlocked vehicle. Allowing children to be in a
vehicle unattended is dangerous for a number of
reasons. A child or others could be seriously or fatally
injured. Children should be warned not to touch the
parking brake, brake pedal or the gear selector.
(Continued)
Power Window Switch Panel
1 – Rear Window Control Buttons – If Equipped
2 – Driver Passenger Window Control Buttons
3 – Passenger Window Lock Button
3
GETTING TO KNOW YOUR VEHICLE 57
Page 60 of 347

WARNING!(Continued)
•Do not leave the key fob in or near the vehicle or in
a location accessible to children. A child could oper-
ate power windows, other controls, or move the
vehicle.
Auto-Down Feature — If Equipped
The window switches are equipped with an Auto-Down
feature. Push the window switch for half a second, release,
and the window will go down automatically.
To open the window part way, lift the window switch to
the detent for less than half a second and release it to stop
the window.
NOTE: The power window switches remain active for up
to three minutes (depending on the accessory delay set-
ting) after the ignition switch has been turned OFF. Open-
ing either of the vehicle’s front doors will cancel this
feature.
Auto-Up Feature
Lift the window switch to the detent for half a second,
release, and the window will go up automatically. To stop the window from going all the way up during the
auto-up operation, pull up/push down on the switch
briefly.
To close the window part way, lift the window switch to
the detent for less than half a second and release it when
you want the window to stop.
WARNING!
There is no auto-reverse protection when the window
is almost closed. Be sure to clear all objects from the
window before closing.
Power Windows System Initialization
The power windows may be reset if any of the following
occurs:
•
On the front doors
• Fuse or battery are disconnected when the window is
moving.
• 50 window movements without ever closing the win-
dow.
• On the rear doors (in addition to the condition for the
front doors)
58 GETTING TO KNOW YOUR VEHICLE
Page 61 of 347

•Fuse or battery are disconnected when the window is
moving.
• The auto-revese system is activated while the window
is moving and the door is opening.
• 50 window movements without ever closing the win-
dow.
• One door opening movements with the window mov-
ing, without ever closing the door.
• Three door opening with the window in motion.
During these maneuvers, the upper stop position is
never reached.
Proceed as follows for initialization:
1. Completely close the driver’s door window, keeping the operating button pushed for at least five seconds after
the (upper) end of travel position.
2. Proceed in the same way on the passenger’s side door button and on the buttons of rear doors.
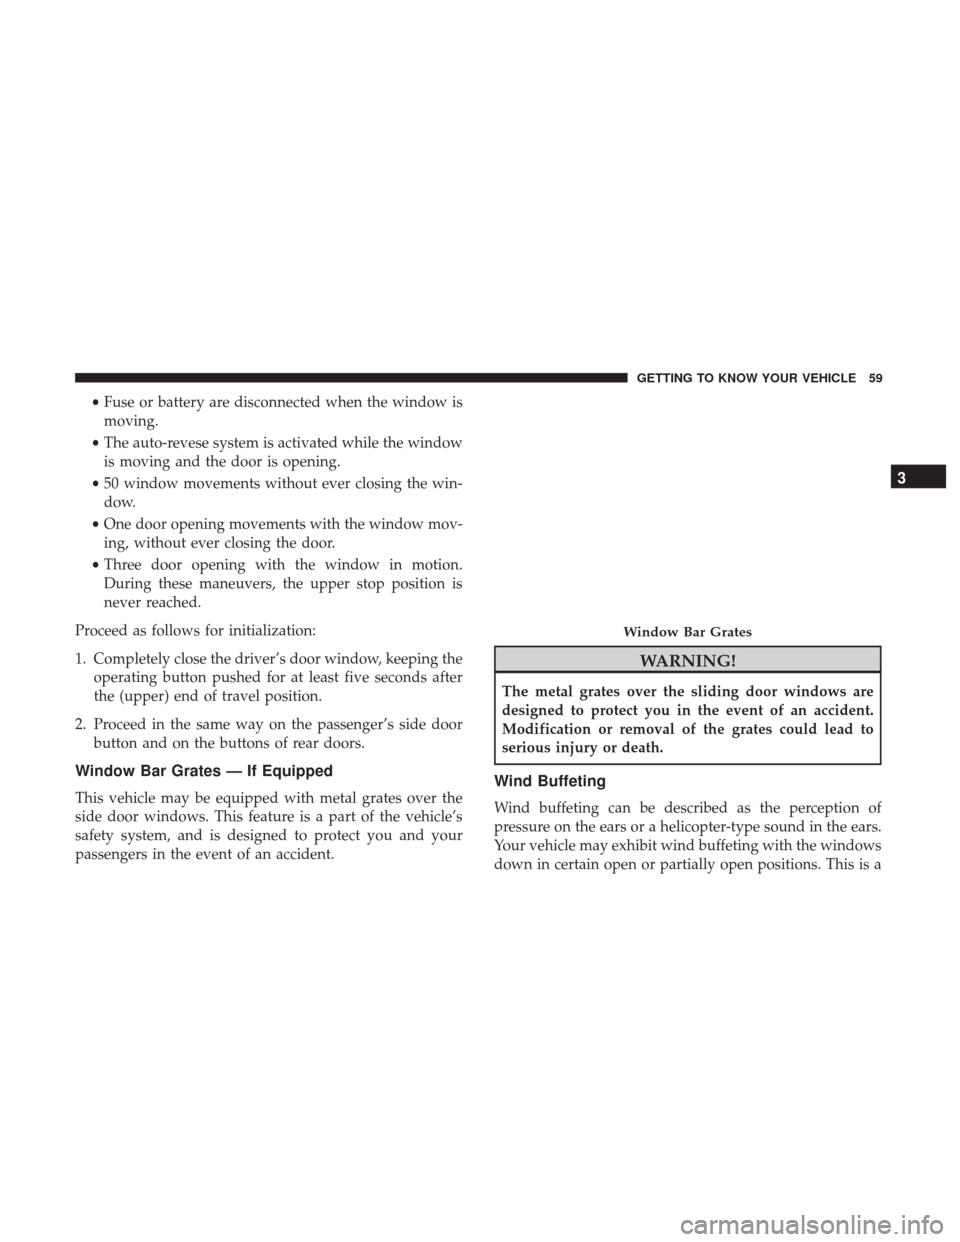
Window Bar Grates — If Equipped
This vehicle may be equipped with metal grates over the
side door windows. This feature is a part of the vehicle’s
safety system, and is designed to protect you and your
passengers in the event of an accident.
WARNING!
The metal grates over the sliding door windows are
designed to protect you in the event of an accident.
Modification or removal of the grates could lead to
serious injury or death.
Wind Buffeting
Wind buffeting can be described as the perception of
pressure on the ears or a helicopter-type sound in the ears.
Your vehicle may exhibit wind buffeting with the windows
down in certain open or partially open positions. This is a
Window Bar Grates
3
GETTING TO KNOW YOUR VEHICLE 59
Page 62 of 347
normal occurrence and can be minimized. If the buffeting
occurs open the front windows together to minimize the
buffeting.
HOOD
Opening
To open the hood, two latches must be released.
1. Pull the release lever located below the instrument paneland in front of the driver’s door. 2. Move to the outside of the vehicle, reach into the
opening beneath the center of the hood and push up the
safety latch lever to release it, before raising the hood.
Hood Release Lever
Hood Safety Latch Lever Location
60 GETTING TO KNOW YOUR VEHICLE
Page 63 of 347
3. Raise the hood and place the hood prop rod in hood slotto secure the hood in the open position.
CAUTION!
Be sure to disengage the rod and secure it in close
position before closing the hood. Damage may occur.
Closing
WARNING!
Be sure the hood is fully latched before driving your
vehicle. If the hood is not fully latched, it could open
when the vehicle is in motion and block your vision.
Failure to follow this warning could result in serious
injury or death.
CAUTION!
To prevent possible damage, do not slam the hood to
close it. Lower hood to approximately 12 inches (30 cm)
and drop the hood to close. Make sure hood is fully
closed for both latches. Never drive vehicle unless
hood is fully closed, with both latches engaged.
Hood Prop Rod
3
GETTING TO KNOW YOUR VEHICLE 61
Page 64 of 347
CARGO AREA FEATURES
Rear Cargo Tie-Downs
To make it easier to secure your load, there are hooks (if
equipped) fixed to the floor.NOTE:Power washing is not allowed inside the cargo
area.
WARNING!
• To help protect against personal injury, passengers
should not be seated in the rear cargo area. The rear
cargo space is intended for load carrying purposes
only, not for passengers, who should sit in seats and
use seat belts.
(Continued)
Rear Cargo Tie-Downs (Cargo Version)
Rear Cargo Tie-Downs (Passenger Version)
62 GETTING TO KNOW YOUR VEHICLE