2018 Ram 3500 Chassis Cab suspension
[x] Cancel search: suspensionPage 168 of 527

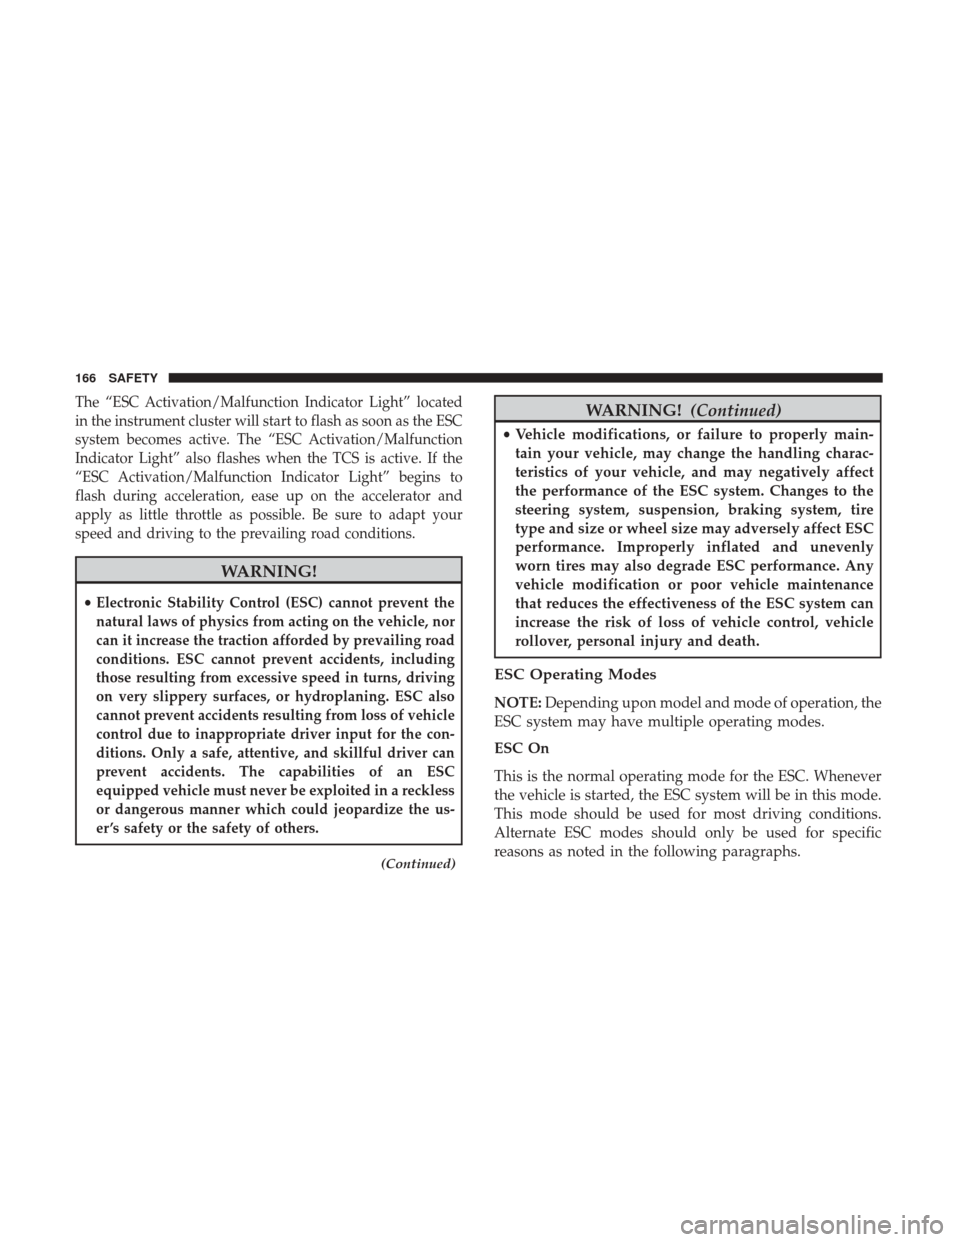
The “ESC Activation/Malfunction Indicator Light” located
in the instrument cluster will start to flash as soon as the ESC
system becomes active. The “ESC Activation/Malfunction
Indicator Light” also flashes when the TCS is active. If the
“ESC Activation/Malfunction Indicator Light” begins to
flash during acceleration, ease up on the accelerator and
apply as little throttle as possible. Be sure to adapt your
speed and driving to the prevailing road conditions.
WARNING!
•Electronic Stability Control (ESC) cannot prevent the
natural laws of physics from acting on the vehicle, nor
can it increase the traction afforded by prevailing road
conditions. ESC cannot prevent accidents, including
those resulting from excessive speed in turns, driving
on very slippery surfaces, or hydroplaning. ESC also
cannot prevent accidents resulting from loss of vehicle
control due to inappropriate driver input for the con-
ditions. Only a safe, attentive, and skillful driver can
prevent accidents. The capabilities of an ESC
equipped vehicle must never be exploited in a reckless
or dangerous manner which could jeopardize the us-
er ’s safety or the safety of others.
(Continued)
WARNING! (Continued)
•Vehicle modifications, or failure to properly main-
tain your vehicle, may change the handling charac-
teristics of your vehicle, and may negatively affect
the performance of the ESC system. Changes to the
steering system, suspension, braking system, tire
type and size or wheel size may adversely affect ESC
performance. Improperly inflated and unevenly
worn tires may also degrade ESC performance. Any
vehicle modification or poor vehicle maintenance
that reduces the effectiveness of the ESC system can
increase the risk of loss of vehicle control, vehicle
rollover, personal injury and death.
ESC Operating Modes
NOTE: Depending upon model and mode of operation, the
ESC system may have multiple operating modes.
ESC On
This is the normal operating mode for the ESC. Whenever
the vehicle is started, the ESC system will be in this mode.
This mode should be used for most driving conditions.
Alternate ESC modes should only be used for specific
reasons as noted in the following paragraphs.
166 SAFETY
Page 291 of 527

Payload
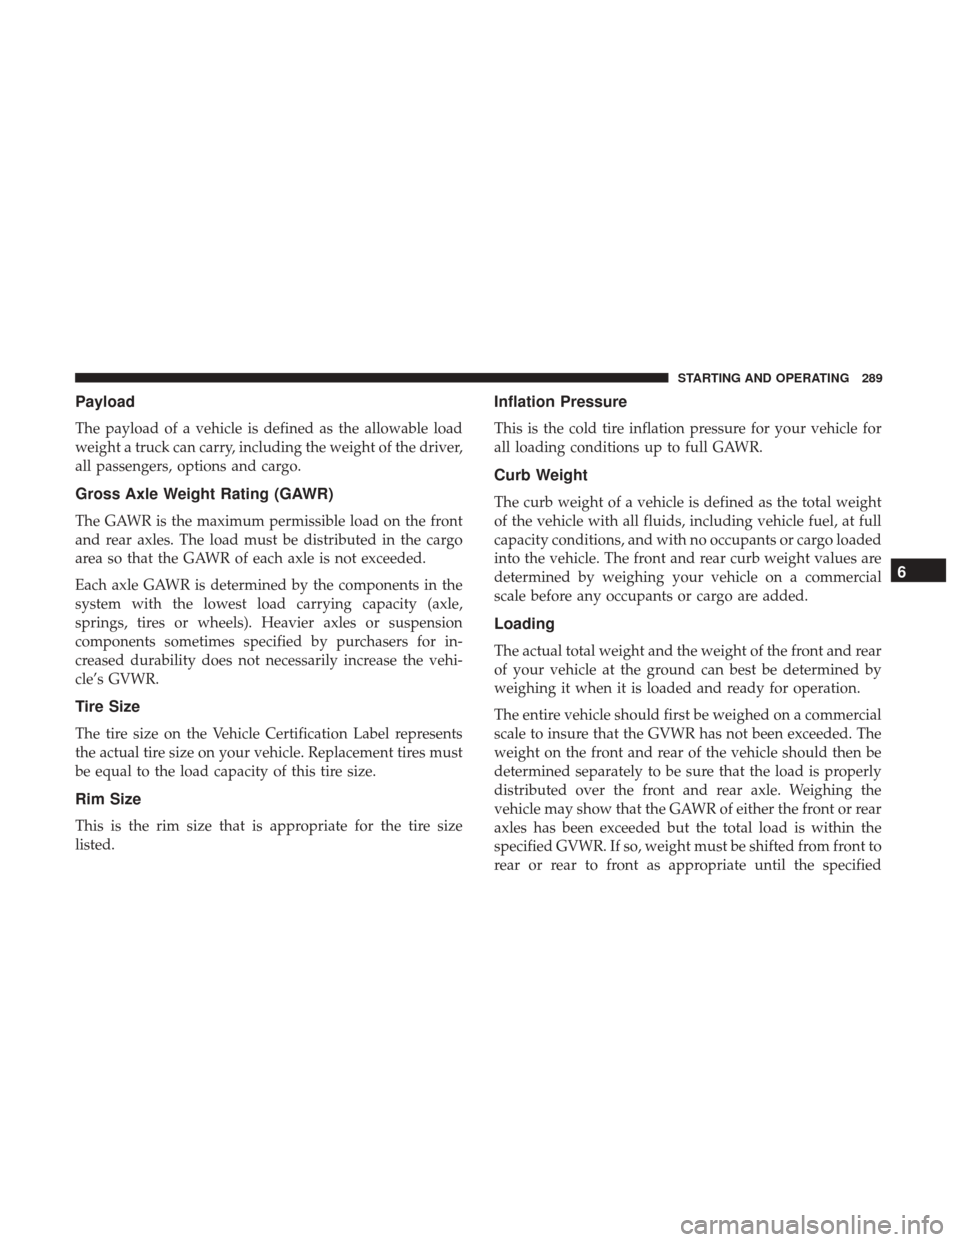
The payload of a vehicle is defined as the allowable load
weight a truck can carry, including the weight of the driver,
all passengers, options and cargo.
Gross Axle Weight Rating (GAWR)
The GAWR is the maximum permissible load on the front
and rear axles. The load must be distributed in the cargo
area so that the GAWR of each axle is not exceeded.
Each axle GAWR is determined by the components in the
system with the lowest load carrying capacity (axle,
springs, tires or wheels). Heavier axles or suspension
components sometimes specified by purchasers for in-
creased durability does not necessarily increase the vehi-
cle’s GVWR.
Tire Size
The tire size on the Vehicle Certification Label represents
the actual tire size on your vehicle. Replacement tires must
be equal to the load capacity of this tire size.
Rim Size
This is the rim size that is appropriate for the tire size
listed.
Inflation Pressure
This is the cold tire inflation pressure for your vehicle for
all loading conditions up to full GAWR.
Curb Weight
The curb weight of a vehicle is defined as the total weight
of the vehicle with all fluids, including vehicle fuel, at full
capacity conditions, and with no occupants or cargo loaded
into the vehicle. The front and rear curb weight values are
determined by weighing your vehicle on a commercial
scale before any occupants or cargo are added.
Loading
The actual total weight and the weight of the front and rear
of your vehicle at the ground can best be determined by
weighing it when it is loaded and ready for operation.
The entire vehicle should first be weighed on a commercial
scale to insure that the GVWR has not been exceeded. The
weight on the front and rear of the vehicle should then be
determined separately to be sure that the load is properly
distributed over the front and rear axle. Weighing the
vehicle may show that the GAWR of either the front or rear
axles has been exceeded but the total load is within the
specified GVWR. If so, weight must be shifted from front to
rear or rear to front as appropriate until the specified
6
STARTING AND OPERATING 289
Page 295 of 527

Recommended Distribution Hitch Adjustment
Towing With 1500 Air Suspension
1. Set air suspension to normal ride height. No action isrequired if already in normal ride height.
NOTE: The vehicle must remain in the engine run position
with all doors closed while attaching a trailer for proper
leveling of the air suspension system.
2. Position the truck to be ready to connect to the trailer (do not connect the trailer).
With Weight-Distributing Hitch (Correct)Improper Adjustment Of Weight-Distributing Hitch
(Incorrect)
6
STARTING AND OPERATING 293
Page 297 of 527

Towing With 2500/3500 Air Suspension
1. Position the truck to be ready to connect to the trailer(do not connect the trailer).
NOTE: Normal Ride Height (NRH) or Alternate Trailer
Height (ATH) can be used. The vehicle must remain in the
engine running position while attaching a trailer for proper
leveling of the air suspension system. It may not be
possible to enter Alternate Trailer Height (ATH) while
lightly loaded.
2. Measure the height of the top of the front wheel opening on the fender to ground, this is height H1.
3. Attach the trailer to the vehicle without the weight distribution bars connected.
4. Measure the height of the top of the front wheel opening on the fender to ground, this is height H2.
5. Install and adjust the tension in the weight distributing bars per the manufacturers’ recommendations so that
the height of the front fender is approximately (H2-H1)/
2+H1 (about 1/2 the difference between H2 and H1
above normal ride height [H1]). 6. Preform a visual inspection of the trailer and weight
distributing hitch to confirm manufacturers’ recommen-
dations have been met.
Measurement Example Example 2500/3500
Height (mm)
H1 1030
H2 1058
H2-H1 28
(H2-H1)/2 14
(H2-H1)/2 + H1 1044
NOTE: For all towing conditions, we recommend towing
with tow haul mode engaged.
Towing With All Other 1500/2500/3500 (Non-Air Suspen-
sion)
1. Position the truck to be ready to connect to the trailer (do not connect the trailer).
2. Measure the height of the top of the front wheel opening on the fender to ground, this is height H1.
3. Attach the trailer to the vehicle without the weight distribution bars connected.
6
STARTING AND OPERATING 295
Page 308 of 527

NOTE:Check the automatic transmission fluid level be-
fore towing.
Tow/Haul Mode
To reduce potential for automatic transmission overheat-
ing, activate TOW/HAUL mode when driving in hilly
areas, or select a lower gear range (using the Electronic
Range Select (ERS) shift control) on more severe grades.
Speed Control — If Equipped
• Do not use on hilly terrain or with heavy loads.
• When using the speed control, if you experience speed
drops greater than 10 mph (16 km/h), disengage until
you can get back to cruising speed.
• Use speed control in flat terrain and with light loads to
maximize fuel efficiency.
Cooling System
To reduce potential for engine and transmission overheat-
ing, take the following actions:
City Driving
In city traffic — while stopped, place the transmission in
NEUTRAL, but do not increase engine idle speed. Highway Driving
Reduce speed.
Air Conditioning
Turn off temporarily.
Air Suspension System
To aid in attaching/detaching the trailer from the vehicle,
the air suspension system can be used. Refer to “Air
Suspension System” in “Starting And Operating” for fur-
ther information.
NOTE:
The vehicle must remain in the engine running
position while attaching a trailer for proper leveling of the
air suspension system.
SNOWPLOW
2500/3500 Models Only
Snowplow Prep Packages are available as a factory in-
stalled option. These packages include components neces-
sary to equip your vehicle with a snowplow.
306 STARTING AND OPERATING
Page 332 of 527

Power Distribution Center
The Power Distribution Center is located in the engine
compartment near the battery. This center contains car-
tridge fuses, micro fuses, relays, and circuit breakers. A
description of each fuse and component may be stamped
on the inside cover, otherwise the cavity number of each
fuse is stamped on the inside cover that corresponds to the
following chart.
CavityCartridge Fuse Micro Fuse Description
F01 80 Amp Black –Rad Fan Control Module – If Equipped
F03 60 Amp Yellow –Rad Fan – If Equipped
F05 40 Amp Green –Compressor for Air Suspension – If
Equipped
F06 40 Amp Green –Antilock Brakes/Electronic Stability Control
Pump
F07 40 Amp Green –Starter Solenoid
Power Distribution Center Location
330 IN CASE OF EMERGENCY
Page 335 of 527

CavityCartridge Fuse Micro Fuse Description
F38 30 Amp Pink –Power Inverter 115V AC – If Equipped
F39 20 Amp Blue –Power Outlet – Special Services Only
F41 –10 Amp Red Active Grill Shutter – If Equipped
F42 –20 Amp Yellow Horn
F44 –10 Amp Red Diagnostic Port
F46 –10 Amp Red Upfitter – If Equipped
F49 –10 Amp Red Instrument Panel Cluster (Except Fleet Ve-
hicles)
F50 –20 Amp Yellow Air Suspension Control Module – If
Equipped
F51 –10 Amp Red Ignition Node Module / Keyless Ignition
(Instrument Panel Cluster – Fleet VehiclesOnly)
F52 –5 Amp Tan Battery Sensor
F53 –20 Amp Yellow Trailer Tow – Left Turn/Stop Lights
F54 –20 Amp Yellow Adjustable Pedals
F56 –15 Amp Blue Additional Diesel Content – If Equipped
F57 –20 Amp Yellow Transmission
F58 –20 Amp Yellow Spare Fuse
F59 –10 Amp Red SCR Relay – If Equipped
7
IN CASE OF EMERGENCY 333
Page 337 of 527

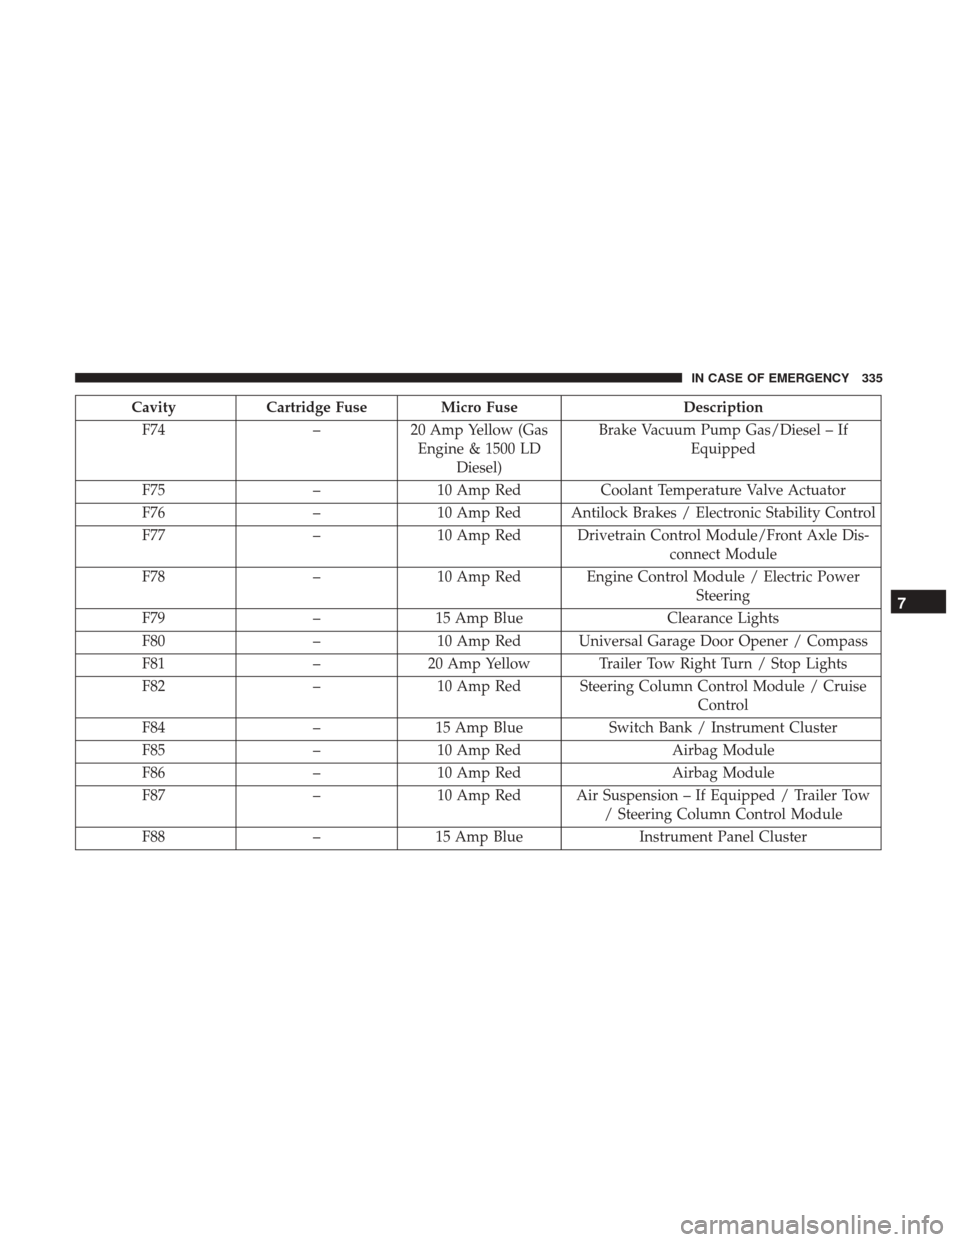
CavityCartridge Fuse Micro Fuse Description
F74 –20 Amp Yellow (Gas
Engine & 1500 LD Diesel) Brake Vacuum Pump Gas/Diesel – If
Equipped
F75 –10 Amp Red Coolant Temperature Valve Actuator
F76 –10 Amp Red Antilock Brakes / Electronic Stability Control
F77 –10 Amp Red Drivetrain Control Module/Front Axle Dis-
connect Module
F78 –10 Amp Red Engine Control Module / Electric Power
Steering
F79 –15 Amp Blue Clearance Lights
F80 –10 Amp Red Universal Garage Door Opener / Compass
F81 –20 Amp Yellow Trailer Tow Right Turn / Stop Lights
F82 –10 Amp Red Steering Column Control Module / Cruise
Control
F84 –15 Amp Blue Switch Bank / Instrument Cluster
F85 –10 Amp Red Airbag Module
F86 –10 Amp Red Airbag Module
F87 –10 Amp Red Air Suspension – If Equipped / Trailer Tow
/ Steering Column Control Module
F88 –15 Amp Blue Instrument Panel Cluster
7
IN CASE OF EMERGENCY 335