Page 443 of 527

NOTE:
•FCA US LLC or your dealer may contact you directly
regarding software updates.
• To help further improve vehicle security and minimize
the potential risk of a security breach, vehicle owners
should:
• Routinely check www.driveuconnect.com/software-
update to learn about available Uconnect software
updates.
• Only connect and use trusted media devices (e.g.
personal mobile phones, USBs, CDs).
Privacy of any wireless and wired communications cannot
be assured. Third parties may unlawfully intercept infor-
mation and private communications without your consent.
For further information, refer to “Data Collection & Pri-
vacy” in “Uconnect + SiriusXM Guardian” in your
Uconnect Owner’s Manual Supplement and “Onboard
Diagnostic System (OBD II) Cybersecurity” in “Getting To
Know Your Instrument Panel”.UCONNECT SETTINGS
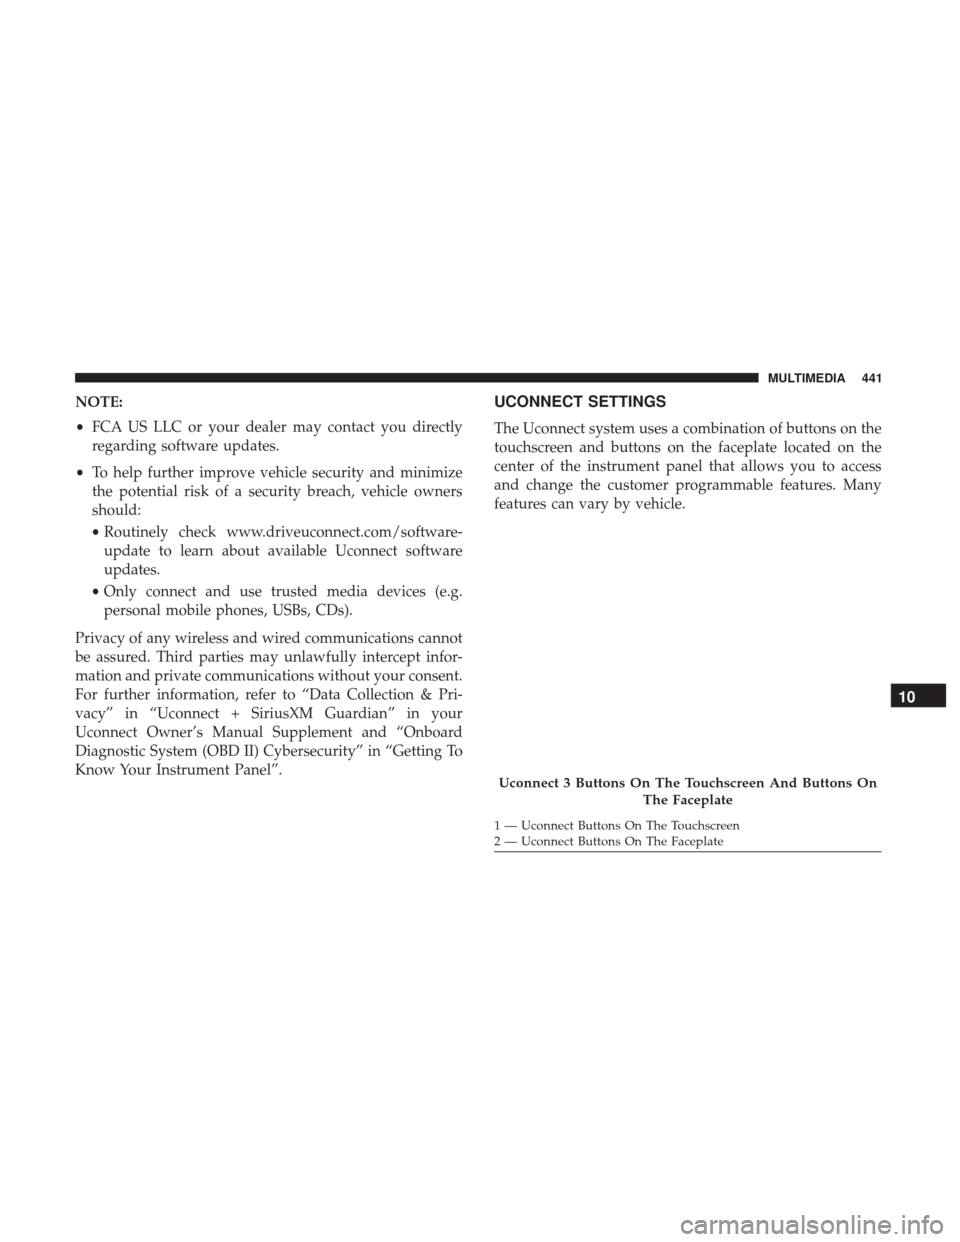
The Uconnect system uses a combination of buttons on the
touchscreen and buttons on the faceplate located on the
center of the instrument panel that allows you to access
and change the customer programmable features. Many
features can vary by vehicle.
Uconnect 3 Buttons On The Touchscreen And Buttons On The Faceplate
1 — Uconnect Buttons On The Touchscreen
2 — Uconnect Buttons On The Faceplate
10
MULTIMEDIA 441
Page 444 of 527

Customer Programmable Features — Uconnect 3
Personal Settings
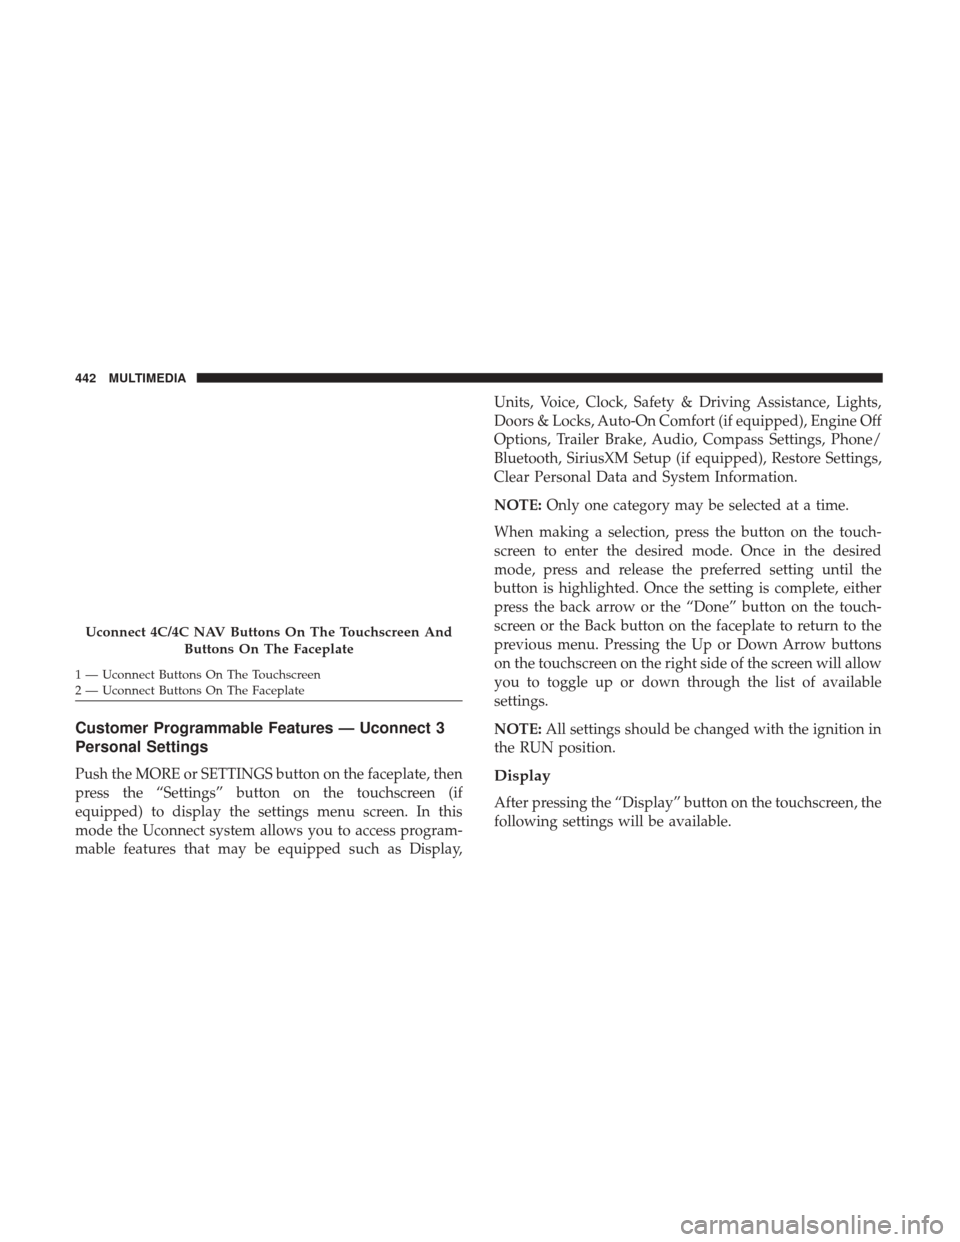
Push the MORE or SETTINGS button on the faceplate, then
press the “Settings” button on the touchscreen (if
equipped) to display the settings menu screen. In this
mode the Uconnect system allows you to access program-
mable features that may be equipped such as Display,Units, Voice, Clock, Safety & Driving Assistance, Lights,
Doors & Locks, Auto-On Comfort (if equipped), Engine Off
Options, Trailer Brake, Audio, Compass Settings, Phone/
Bluetooth, SiriusXM Setup (if equipped), Restore Settings,
Clear Personal Data and System Information.
NOTE:
Only one category may be selected at a time.
When making a selection, press the button on the touch-
screen to enter the desired mode. Once in the desired
mode, press and release the preferred setting until the
button is highlighted. Once the setting is complete, either
press the back arrow or the “Done” button on the touch-
screen or the Back button on the faceplate to return to the
previous menu. Pressing the Up or Down Arrow buttons
on the touchscreen on the right side of the screen will allow
you to toggle up or down through the list of available
settings.
NOTE: All settings should be changed with the ignition in
the RUN position.Display
After pressing the “Display” button on the touchscreen, the
following settings will be available.
Uconnect 4C/4C NAV Buttons On The Touchscreen And
Buttons On The Faceplate
1 — Uconnect Buttons On The Touchscreen
2 — Uconnect Buttons On The Faceplate 442 MULTIMEDIA
Page 459 of 527
Setting NameSelectable Options
Perform Compass Calibra- tion On
Off
NOTE: Press the “Calibration” button on the touchscreen to change this setting. This compass is self-calibrating,
which eliminates the need to manually reset the compass. When the vehicle is new, the compass may appear erratic
until it is calibrated. You may also calibrate the compass by pressing the “ON” button on the touchscreen and com-
pleting one or more 360-degree turns (in an area free from large metal or metallic objects). The compass will now
function normally.
Compass Variance Map
10
MULTIMEDIA 457
Page 463 of 527

Customer Programmable Features — Uconnect
4C/4C NAV Personal Settings
Press the “Apps” button on the touchscreen then press the
“Settings” button on the touchscreen to display the settings
menu screen. In this mode the Uconnect system allows you
to access programmable features that may be equipped
such as Display, Voice, Clock, Safety & Driving Assistance,
Lights, Doors & Locks, Auto-On Comfort (if equipped),
Engine Off Options, Trailer Brake, Audio, Phone/
Bluetooth, SiriusXM Setup (if equipped), Restore Settings,
Clear Personal Data and System Information.
NOTE:Only one category may be selected at a time.
When making a selection, press the button on the touch-
screen to enter the desired mode. Once in the desired
mode, press and release the preferred setting until a check-mark appears next to the setting, showing that
setting has been selected. Once the setting is complete,
either press the back arrow button on the touchscreen or
the Back button on the faceplate to return to the previous
menu or press the “X” button on the touchscreen to close
out of the settings screen. Pressing the Up or Down Arrow
buttons on the touchscreen on the right side of the screen
will allow you to toggle up or down through the list of
available settings.
NOTE:
All settings should be changed with the ignition in
the RUN position.
Language
After pressing the “Language” button on the touchscreen,
the following settings will be available:
Setting Name Selectable Options
Set Language EnglishFrançais Español
10
MULTIMEDIA 461
Page 464 of 527
Display
After pressing the “Display” button on the touchscreen, the
following settings will be available:
Setting NameSelectable Options
Display Mode DayNight Auto
NOTE:
When Day or Night is selected for the Display Mode, the usage of the Parade Mode feature will cause the radio to
activate the Display Brightness Day control even though the headlights are on. Display Brightness With Headlights ON +–
NOTE:
To make changes to the �Display Brightness with Headlights ON� setting, the headlights must be on and the interior
dimmer switch must not be in the �party�or�parade� positions.
Display Brightness With Headlights OFF +–
NOTE:
To make changes to the �Display Brightness with Headlights OFF� setting, the headlights must be off and the interior
dimmer switch must not be in the �party�or�parade� positions.
462 MULTIMEDIA
Page 485 of 527

RADIO OPERATION AND MOBILE PHONES
Under certain conditions, the mobile phone being on in
your vehicle can cause erratic or noisy performance from
your radio. This condition may be lessened or eliminated
by relocating the mobile phone antenna. This condition is
not harmful to the radio. If your radio performance does
not satisfactorily “clear” by the repositioning of the an-
tenna, it is recommended that the radio volume be turned
down or off during mobile phone operation when not
using Uconnect (if equipped).
Regulatory And Safety Information
USA/CANADA
Exposure to Radio Frequency Radiation
The radiated output power of the internal wireless radio is
far below the FCC and IC radio frequency exposure limits.
Nevertheless, the wireless radio will be used in such a
manner that the radio is 20 cm or further from the human
body.
The internal wireless radio operates within guidelines
found in radio frequency safety standards and recommen-
dations, which reflect the consensus of the scientific com-
munity.The radio manufacturer believes the internal wireless radio
is safe for use by consumers. The level of energy emitted is
far less than the electromagnetic energy emitted by wire-
less devices such as mobile phones. However, the use of
wireless radios may be restricted in some situations or
environments, such as aboard airplanes. If you are unsure
of restrictions, you are encouraged to ask for authorization
before turning on the wireless radio.
The following regulatory statement applies to all Radio
Frequency (RF) devices equipped in this vehicle:
This device complies with Part 15 of the FCC Rules and
with Industry Canada license-exempt RSS standard(s).
Operation is subject to the following two conditions:
1. This device may not cause harmful interference, and
2. This device must accept any interference received, in-
cluding interference that may cause undesired opera-
tion.
NOTE: Changes or modifications not expressly approved
by the party responsible for compliance could void the
user ’s authority to operate the equipment.
10
MULTIMEDIA 483
Page 492 of 527
Media
Uconnect offers connections via USB, Bluetooth and auxil-
iary ports (If Equipped). Voice operation is only available
for connected USB and AUX devices. (Remote CD player
optional and not available on all vehicles.)
Push the VR button
. After the beep, say one of the
following commands and follow the prompts to switch
your media source or choose an artist.
• “Change source to Bluetooth”
• “Change source to AUX”
• “Change source to USB”
• “Play artist Beethoven”; “ Play albumGreatest Hits”; “
Play song Moonlight Sonata”; “ Play genreClassical”
Uconnect 4C/4C NAV
490 MULTIMEDIA
Page 502 of 527

Refer to your Uconnect Owner ’s Manual Supplement for
further information.
General Information
The following regulatory statement applies to all Radio
Frequency (RF) devices equipped in this vehicle:
This device complies with Part 15 of the FCC Rules and
with Industry Canada license-exempt RSS standard(s).
Operation is subject to the following two conditions:
1. This device may not cause harmful interference, and
2. This device must accept any interference received, in-cluding interference that may cause undesired opera-
tion.
NOTE: Changes or modifications not expressly approved
by the party responsible for compliance could void the
user ’s authority to operate the equipment.
Additional Information
© 2017 FCA US LLC. All rights reserved. Mopar and
Uconnect are registered trademarks and Mopar Owner
Connect is a trademark of FCA US LLC. Android is a
trademark of Google Inc. SiriusXM and all related marks
and logos are trademarks of SiriusXM Radio Inc.
Uconnect 4C/4C NAV Android Auto
500 MULTIMEDIA