Page 628 of 700
Setting NameSelectable Options
Wheel Alignment Mode
NOTE:
The “Wheel Alignment Mode” feature prevents auto leveling of the air suspension while performing a wheel align-
ment service. Before performing a wheel alignment, this mode must be enabled. Refer to your authorized dealer for
further information.
Trailer Brake
After pressing the “Trailer Brake” button on the touch-
screen, the following settings will be available:
Setting Name Selectable Options
Trailer Select Trailer 1Trailer 2Trailer 3 Trailer 4
Trailer Brake Type Light Electric Heavy Electric Light EOHHeavy EOH
Audio
After pressing the “Audio” button on the touchscreen, the
following settings will be available:
Setting Name Selectable Options
Balance/Fade Speaker Icon (Arrow Buttons) C
626 MULTIMEDIA
Page 635 of 700

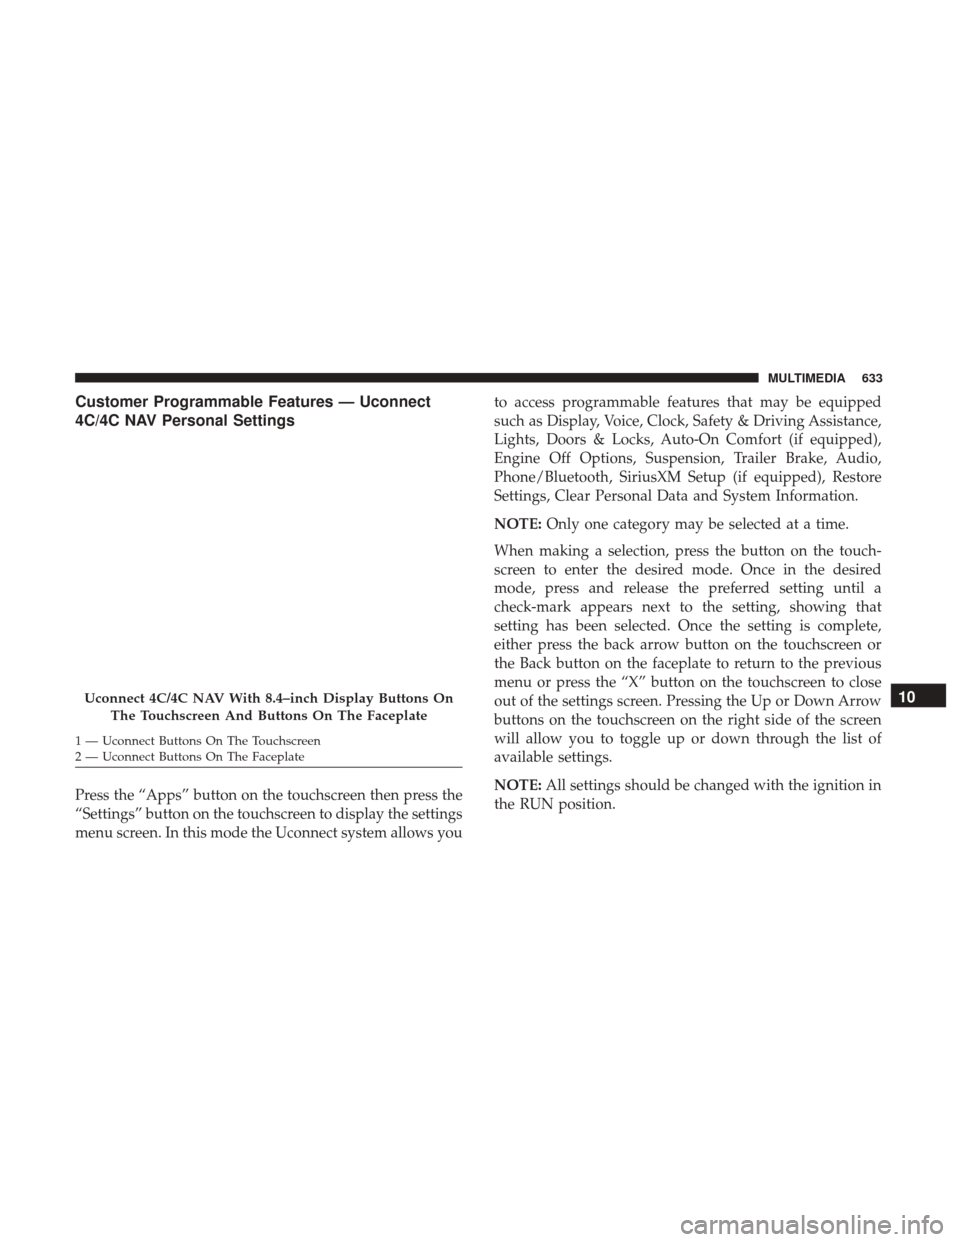
Customer Programmable Features — Uconnect
4C/4C NAV Personal Settings
Press the “Apps” button on the touchscreen then press the
“Settings” button on the touchscreen to display the settings
menu screen. In this mode the Uconnect system allows youto access programmable features that may be equipped
such as Display, Voice, Clock, Safety & Driving Assistance,
Lights, Doors & Locks, Auto-On Comfort (if equipped),
Engine Off Options, Suspension, Trailer Brake, Audio,
Phone/Bluetooth, SiriusXM Setup (if equipped), Restore
Settings, Clear Personal Data and System Information.
NOTE:
Only one category may be selected at a time.
When making a selection, press the button on the touch-
screen to enter the desired mode. Once in the desired
mode, press and release the preferred setting until a
check-mark appears next to the setting, showing that
setting has been selected. Once the setting is complete,
either press the back arrow button on the touchscreen or
the Back button on the faceplate to return to the previous
menu or press the “X” button on the touchscreen to close
out of the settings screen. Pressing the Up or Down Arrow
buttons on the touchscreen on the right side of the screen
will allow you to toggle up or down through the list of
available settings.
NOTE: All settings should be changed with the ignition in
the RUN position.
Uconnect 4C/4C NAV With 8.4–inch Display Buttons On
The Touchscreen And Buttons On The Faceplate
1 — Uconnect Buttons On The Touchscreen
2 — Uconnect Buttons On The Faceplate
10
MULTIMEDIA 633
Page 645 of 700

Setting NameSelectable Options
•If the vehicle is programmed “1st Press Of Key Fob Unlocks: All Doors”, all doors will unlock no matter which
Passive Entry equipped door handle is grasped. If “1st Press Of Key Fob Unlocks: Driver Door” is programmed,
only the driver ’s door will unlock when the driver ’s door is grasped.
•With Passive Entry, if “1st Press Of Key Fob Unlocks: Driver Door” is programmed pushing the handle more than
once will only result in the driver ’s door opening. If “Driver Door” is selected, once the driver ’s door is opened,
the interior door lock/unlock switch can be used to unlock all doors (or use key fob).
Passive Entry — If Equipped
NOTE:
The “Passive Entry” feature allows you to lock and unlock the vehicle’s door(s) without having to push the key fob
lock or unlock buttons.
Personal Settings Linked To Key Fob — IfEquipped
NOTE:
•The “Personal Settings Linked To Key Fob” feature provides automatic driver seat positioning to enhance driver
mobility when entering and exiting the vehicle.
•The seat will return to the memorized seat location (if “Personal Settings Linked To Key Fob” is set to on) when
the key fob is used to unlock the door.
10
MULTIMEDIA 643
Page 650 of 700
Audio
After pressing the “Audio” button on the touchscreen, the
following settings will be available:
Setting NameSelectable Options
Balance/Fade Speaker Icon (Arrow Buttons) C
NOTE:
The “Balance/Fade” feature allows you to adjust the Balance and Fade settings. Press and drag the speaker icon or
use the arrows to adjust, tap the “C” icon to readjust to the center. Equalizer +–
NOTE:
When in the “Equalizer” display you may adjust the Bass, Mid and Treble settings. Speed Adjusted Vol- ume OFF
12 3
NOTE:
The “Speed Adjusted Volume” feature increases or decreases volume relative to vehicle speed. Surround Sound — If Equipped On
Off
NOTE:
The “Surround Sound” feature provides simulated surround sound mode.
648 MULTIMEDIA
Page 655 of 700

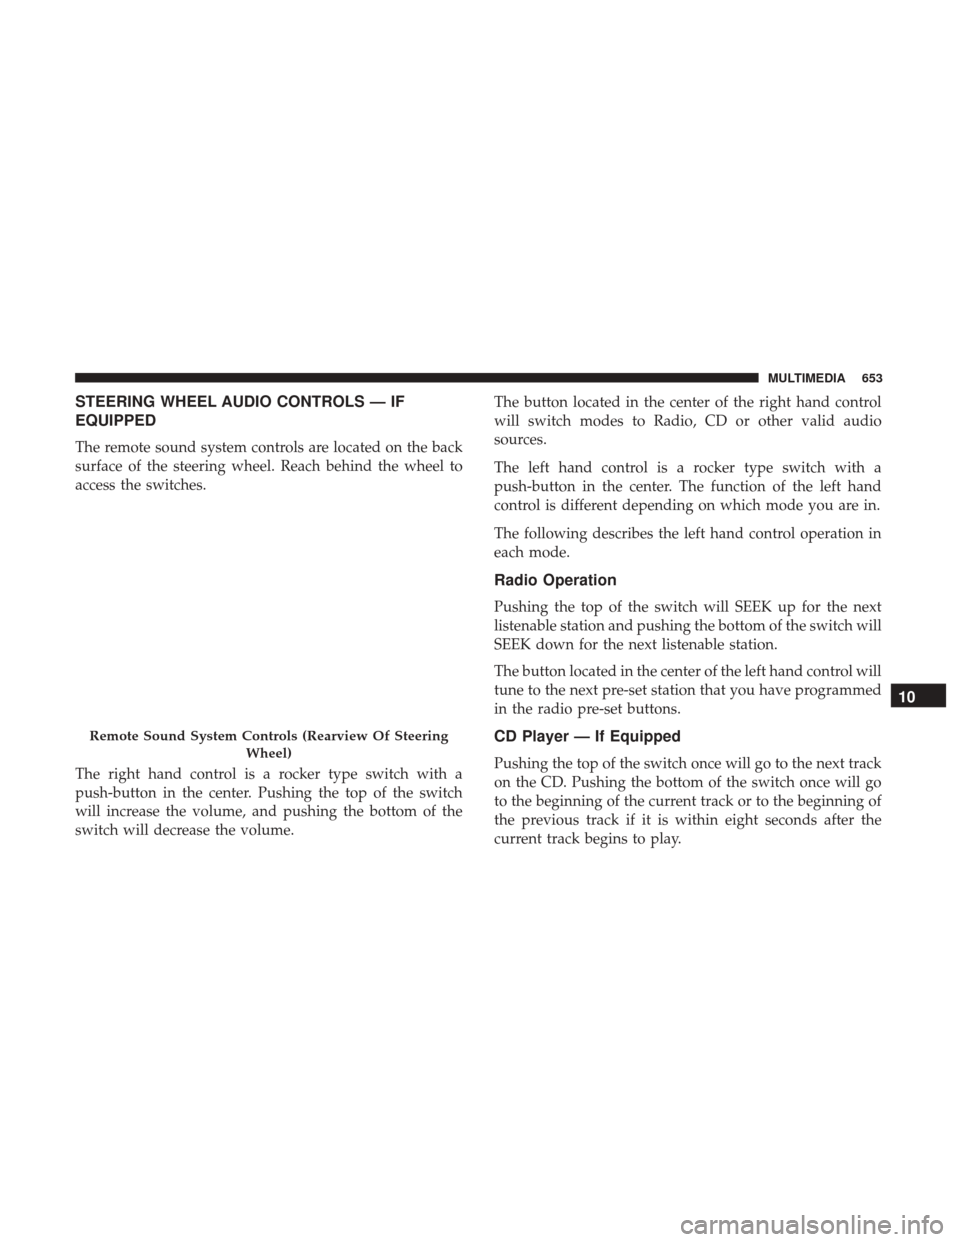
STEERING WHEEL AUDIO CONTROLS — IF
EQUIPPED
The remote sound system controls are located on the back
surface of the steering wheel. Reach behind the wheel to
access the switches.
The right hand control is a rocker type switch with a
push-button in the center. Pushing the top of the switch
will increase the volume, and pushing the bottom of the
switch will decrease the volume.The button located in the center of the right hand control
will switch modes to Radio, CD or other valid audio
sources.
The left hand control is a rocker type switch with a
push-button in the center. The function of the left hand
control is different depending on which mode you are in.
The following describes the left hand control operation in
each mode.
Radio Operation
Pushing the top of the switch will SEEK up for the next
listenable station and pushing the bottom of the switch will
SEEK down for the next listenable station.
The button located in the center of the left hand control will
tune to the next pre-set station that you have programmed
in the radio pre-set buttons.
CD Player — If Equipped
Pushing the top of the switch once will go to the next track
on the CD. Pushing the bottom of the switch once will go
to the beginning of the current track or to the beginning of
the previous track if it is within eight seconds after the
current track begins to play.
Remote Sound System Controls (Rearview Of Steering
Wheel)
10
MULTIMEDIA 653
Page 659 of 700
Get Started
All you need to control your Uconnect system with your
voice are the buttons on your steering wheel.
1. Visit UconnectPhone.com to check mobile device andfeature compatibility and to find phone pairing instruc-
tions.
Uconnect 3
Uconnect 4C/4C NAV10
MULTIMEDIA 657
Page 660 of 700
2. Reduce background noise. Wind noise and passengerconversations are examples of noise that may impact
recognition.
3. Speak clearly at a normal pace and volume while facing straight ahead. The microphone is located in the head-
liner and aimed at the driver.
4. Each time you give a Voice Command, you must first push either the VR or Phone button, wait until afterthe
beep, then say your Voice Command.
5. You can interrupt the help message or system prompts by pushing the VR or Phone button and saying a Voice
Command from current category.
Uconnect Voice Command Buttons
1 — Push To Initiate Or To Answer A Phone Call, Send Or Receive
A Text
2 — For All Radios: Push To Begin Radio Or Media Functions. For
4C/4C NAV Only: Push To Begin Navigation, Apps And Climate
Functions
3 — Push To End Call
658 MULTIMEDIA