Page 86 of 700

Rotate the end of the lever upward, to the first detent past
the intermittent settings for low-speed wiper operation.
Rotate the end of the lever upward to the second detent
past the intermittent settings for high-speed wiper opera-
tion.
Intermittent Wiper System
The intermittent feature of this system was designed for
use when weather conditions make a single wiping cycle,
with a variable pause between cycles, desirable. For maxi-
mum delay between cycles, rotate the control knob upward
to the first detent.
The delay interval decreases as you rotate the knob until it
enters the low continual speed position. The delay can be
regulated from a maximum of about 18 seconds between
cycles, to a cycle every one second. The delay intervals will
double in duration when the vehicle speed is 10 mph
(16 km/h) or less.
Windshield Washers
To use the windshield washer, push the washer knob,
located on the end of the multifunction lever, inward to the
second detent. Washer fluid will be sprayed and the wiper
will operate for two to three cycles after the washer knob is
released from this position.If the washer knob is depressed while in the delay range,
the wiper will operate for several seconds after the washer
knob is released. It will then resume the intermittent
interval previously selected. If the washer knob is pushed
while in the off position, the wiper will turn on and cycle
approximately three times after the wash knob is released.
To prevent freeze-up of your windshield washer system in
cold weather, select a solution or mixture that meets or
exceeds the temperature range of your climate. This rating
information can be found on most washer fluid containers.
WARNING!
Sudden loss of visibility through the windshield could
lead to a collision. You might not see other vehicles or
other obstacles. To avoid sudden icing of the wind-
shield during freezing weather, warm the windshield
with the defroster before and during windshield
washer use.
84 GETTING TO KNOW YOUR VEHICLE
Page 87 of 700

Mist Feature
When a single wipe to clear off road mist or spray from a
passing vehicle is needed, push the washer knob, located
on the end of the multifunction lever, inward to the first
detent and release. The wipers will cycle one time and
automatically shut off.
NOTE:The mist feature does not activate the washer
pump; therefore, no washer fluid will be sprayed on the
windshield. The wash function must be used in order to
spray the windshield with washer fluid.
Rain Sensing Wipers — If Equipped
This feature senses moisture on the windshield and auto-
matically activates the wipers for the driver. The feature is
especially useful for road splash or overspray from the
windshield washers of the vehicle ahead. Rotate the end of
the multifunction lever to one of five settings to activate
this feature.
NOTE: This feature can be programmed through the
Uconnect system. Refer to “Uconnect Settings” in “Multi-
media” for further information.
The sensitivity of the system can be adjusted with the
multifunction lever. Wiper delay position 1 is the least
sensitive, and wiper delay position 5 is the most sensitive. Position 3 should be used for normal rain conditions.
Positions 1 and 2 can be used if the driver desires less
wiper sensitivity. Positions 4 and 5 can be used if the driver
desires more sensitivity. Place the wiper switch in the
O (off) position when not using the system.
NOTE:
•
The Rain Sensing feature will not operate when the
wiper switch is in the low or high-speed position.
• The Rain Sensing feature may not function properly
when ice, or dried salt water is present on the wind-
shield.
• Use of Rain-X or products containing wax or silicone
may reduce Rain Sensing performance.
The Rain Sensing system has protection features for the
wiper blades and arms, and will not operate under the
following conditions:
• Low Ambient Temperature — When the ignition is first
turned ON, the Rain Sensing system will not operate
until the wiper switch is moved, vehicle speed is greater
than 0 mph (0 km/h), or the outside temperature is
greater than 32°F (0°C).
3
GETTING TO KNOW YOUR VEHICLE 85
Page 88 of 700

•Transmission In NEUTRAL Position — When the igni-
tion is ON, and the transmission is in the NEUTRAL
position, the Rain Sensing system will not operate until
the wiper switch is moved, vehicle speed is greater than
5 mph (8 km/h), or the gear selector is moved out of the
NEUTRAL position.
• Remote Start Mode Inhibit — On vehicles equipped
with Remote Starting system, Rain Sensing wipers are
not operational when the vehicle is in the remote start
mode. Once the operator is in the vehicle and has placed
the ignition switch in the RUN position, Rain Sensing
wiper operation can resume, if it has been selected, and
no other inhibit conditions (mentioned previously) exist.CLIMATE CONTROLS
Manual Climate Controls Without Touchscreen
The controls for the manual heating and air conditioning
system in this vehicle consist of a series of outer rotary
dials and inner push knobs. These comfort controls can be
set to obtain desired interior conditions.
Manual Climate Controls Without A Touchscreen
86 GETTING TO KNOW YOUR VEHICLE
Page 92 of 700
Economy Mode
If ECONOMY mode is desired, push the A/C button to
turn off the LED indicator and the A/C compressor. Rotate
the temperature control knob to the desired temperature.
Also, make sure to select only Panel, Bi-Level or Floor
modes.
CAUTION!
Failure to follow these cautions can cause damage to
the heating elements:
•Use care when washing the inside of the rear win-
dow. Do not use abrasive window cleaners on the
interior surface of the window. Use a soft cloth and a
mild washing solution, wiping parallel to the heat-
ing elements. Labels can be peeled off after soaking
with warm water.
• Do not use scrapers, sharp instruments, or abrasive
window cleaners on the interior surface of the win-
dow.
• Keep all objects a safe distance from the window.
90 GETTING TO KNOW YOUR VEHICLE
Page 97 of 700
Economy Mode
If ECONOMY mode is desired, push the A/C button to
turn off the LED indicator and the A/C compressor. Rotate
the temperature control knob to the desired temperature.
Also, make sure to select only Panel, Bi-Level or Floor
modes.
CAUTION!
Failure to follow these cautions can cause damage to
the heating elements:
•Use care when washing the inside of the rear win-
dow. Do not use abrasive window cleaners on the
interior surface of the window. Use a soft cloth and a
mild washing solution, wiping parallel to the heat-
ing elements. Labels can be peeled off after soaking
with warm water.
• Do not use scrapers, sharp instruments, or abrasive
window cleaners on the interior surface of the win-
dow.
• Keep all objects a safe distance from the window.
3
GETTING TO KNOW YOUR VEHICLE 95
Page 102 of 700

IconDescription
Uconnect 3
Uconnect 4C/4C NAV
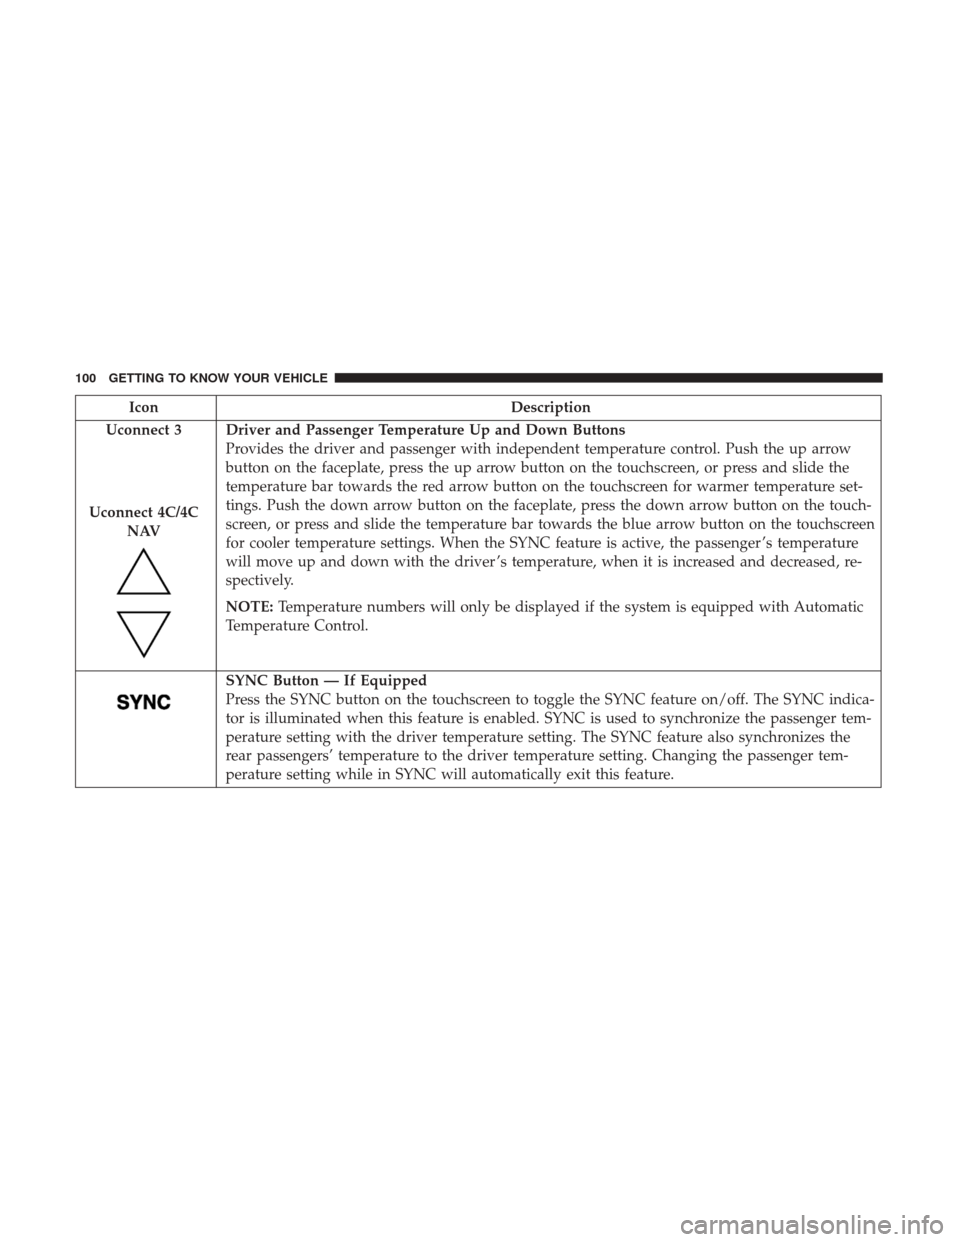
Driver and Passenger Temperature Up and Down Buttons
Provides the driver and passenger with independent temperature control. Push the up arrow
button on the faceplate, press the up arrow button on the touchscreen, or press and slide the
temperature bar towards the red arrow button on the touchscreen for warmer temperature set-
tings. Push the down arrow button on the faceplate, press the down arrow button on the touch-
screen, or press and slide the temperature bar towards the blue arrow button on the touchscreen
for cooler temperature settings. When the SYNC feature is active, the passenger ’s temperature
will move up and down with the driver ’s temperature, when it is increased and decreased, re-
spectively.
NOTE: Temperature numbers will only be displayed if the system is equipped with Automatic
Temperature Control.
SYNC Button — If Equipped
Press the SYNC button on the touchscreen to toggle the SYNC feature on/off. The SYNC indica-
tor is illuminated when this feature is enabled. SYNC is used to synchronize the passenger tem-
perature setting with the driver temperature setting. The SYNC feature also synchronizes the
rear passengers’ temperature to the driver temperature setting. Changing the passenger tem-
perature setting while in SYNC will automatically exit this feature.
100 GETTING TO KNOW YOUR VEHICLE
Page 104 of 700

IconDescription
Floor Mode
Floor Mode
Air comes from the floor outlets. A slight amount of air is directed through the defrost and side
window demister outlets.
Mix Mode
Mix Mode
Air is directed through the floor, defrost, and side window demister outlets. This setting works
best in cold or snowy conditions that require extra heat to the windshield. This setting is good
for maintaining comfort while reducing moisture on the windshield.
Climate Control OFF Button
Press and release this button on the touchscreen, or push the faceplate button, to turn the
Climate Control System off.
CAUTION!
Failure to follow these cautions can cause damage to
the heating elements:
•
Use care when washing the inside of the rear window. Do
not use abrasive window cleaners on the interior surface
of the window. Use a soft cloth and a mild washing
solution, wiping parallel to the heating elements. Labels
can be peeled off after soaking with warm water.
(Continued)
CAUTION! (Continued)
•Do not use scrapers, sharp instruments, or abrasive
window cleaners on the interior surface of the win-
dow.
• Keep all objects a safe distance from the window.
102 GETTING TO KNOW YOUR VEHICLE
Page 106 of 700

Automatic Temperature Control (ATC) — If
Equipped
Automatic Operation
1. Push the AUTO button on the faceplate, or the AUTObutton on the touchscreen on the Automatic Tempera-
ture Control (ATC) Panel.
2. Next, adjust the temperature you would like the system to maintain by adjusting the driver and passenger
temperature control buttons. Once the desired tempera-
ture is displayed, the system will achieve and automati-
cally maintain that comfort level.
3. When the system is set up for your comfort level, it is not necessary to change the settings. You will experience
the greatest efficiency by simply allowing the system to
function automatically. NOTE:
•
It is not necessary to move the temperature settings for
cold or hot vehicles. The system automatically adjusts
the temperature, mode, and blower speed to provide
comfort as quickly as possible.
• The temperature can be displayed in U.S. or Metric units
by selecting the US/Metric customer-programmable fea-
ture. Refer to the “Uconnect Settings” in “Multimedia”
for further information.
To provide you with maximum comfort in the Automatic
mode during cold start-ups, the blower fan will remain on
low until the engine warms up. The blower will increase in
speed and transition into Auto mode.
Manual Operation Override
This system offers a full complement of manual override
features. The AUTO symbol in the front ATC display will
be turned off when the system is being used in the manual
mode.
Operating Tips
NOTE: Refer to the chart at the end of this section for
suggested control settings for various weather conditions.
104 GETTING TO KNOW YOUR VEHICLE