Page 617 of 700

Customer Programmable Features — Uconnect 3
Personal Settings
Push the MORE or SETTINGS button on the faceplate, then
press the “Settings” button on the touchscreen (if
equipped) to display the settings menu screen. In thismode the Uconnect system allows you to access program-
mable features that may be equipped such as Display,
Units, Voice, Clock, Safety & Driving Assistance, Lights,
Doors & Locks, Auto-On Comfort (if equipped), Engine Off
Options, Suspension, Trailer Brake, Audio, Compass Set-
tings, Phone/Bluetooth, SiriusXM Setup (if equipped),
Restore Settings, Clear Personal Data and System Informa-
tion.
NOTE:
Only one category may be selected at a time.
When making a selection, press the button on the touch-
screen to enter the desired mode. Once in the desired
mode, press and release the preferred setting until the
button is highlighted. Once the setting is complete, either
press the back arrow or the “Done” button on the touch-
screen or the Back button on the faceplate to return to the
previous menu. Pressing the Up or Down Arrow buttons
on the touchscreen on the right side of the screen will allow
you to toggle up or down through the list of available
settings.
NOTE: All settings should be changed with the ignition in
the RUN position.
Uconnect 3 With 5–inch Display Buttons On The
Touchscreen And Buttons On The Faceplate
1 — Uconnect Buttons On The Touchscreen
2 — Uconnect Buttons On The Faceplate
10
MULTIMEDIA 615
Page 620 of 700
Safety/Assistance
After pressing the “Safety/Assistance” button on the
touchscreen, the following settings will be available:
Setting NameSelectable Options
ParkSense — If Equipped Sound Only Sounds and Display
NOTE:
The ParkSense system will scan for objects behind the vehicle when the transmission gear selector is in REVERSE and
the vehicle speed is less than 7 mph (11 km/h). It will provide an alert (audible and/or visual) to indicate the prox-
imity to other objects. Front ParkSense Chime Volume Low
Med High
Rear ParkSense Chime
Volume — If Equipped Low
Med High
Tilt Mirrors In Reverse — If Equipped
NOTE:
When the “Tilt Mirrors In Reverse” feature is selected, the exterior side-view mirrors will tilt downward when the
ignition is in the RUN position and the transmission gear selector is in the REVERSE position. The mirrors will move
back to their previous position when the transmission is shifted out of REVERSE.
ParkView Backup Camera Active Guidelines
618 MULTIMEDIA
Page 621 of 700

Setting NameSelectable Options
NOTE:
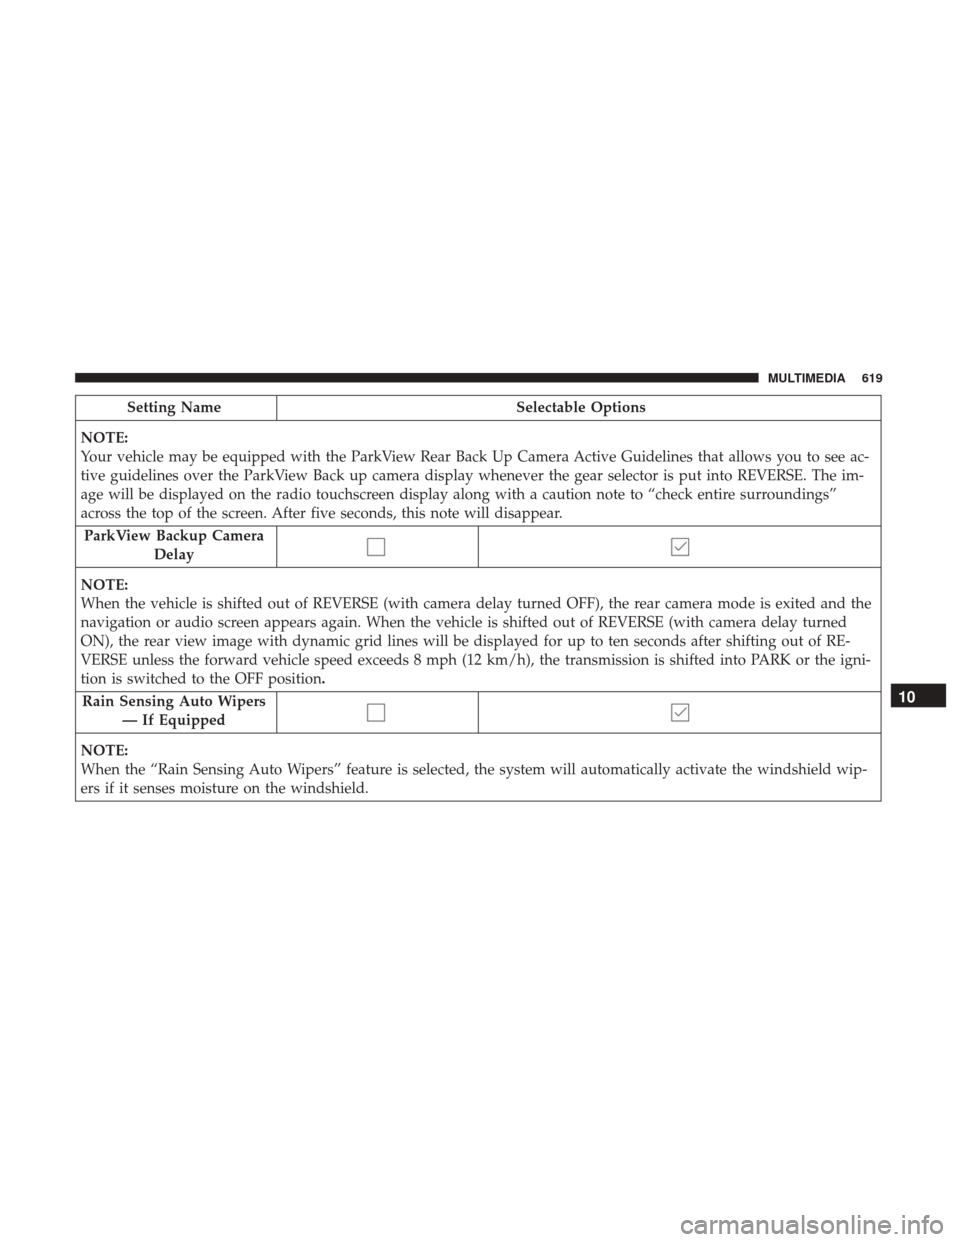
Your vehicle may be equipped with the ParkView Rear Back Up Camera Active Guidelines that allows you to see ac-
tive guidelines over the ParkView Back up camera display whenever the gear selector is put into REVERSE. The im-
age will be displayed on the radio touchscreen display along with a caution note to “check entire surroundings”
across the top of the screen. After five seconds, this note will disappear. ParkView Backup Camera Delay
NOTE:
When the vehicle is shifted out of REVERSE (with camera delay turned OFF), the rear camera mode is exited and the
navigation or audio screen appears again. When the vehicle is shifted out of REVERSE (with camera delay turned
ON), the rear view image with dynamic grid lines will be displayed for up to ten seconds after shifting out of RE-
VERSE unless the forward vehicle speed exceeds 8 mph (12 km/h), the transmission is shifted into PARK or the igni-
tion is switched to the OFF position.
Rain Sensing Auto Wipers — If Equipped
NOTE:
When the “Rain Sensing Auto Wipers” feature is selected, the system will automatically activate the windshield wip-
ers if it senses moisture on the windshield.
10
MULTIMEDIA 619
Page 622 of 700
Setting NameSelectable Options
Hill Start Assist — If Equipped
NOTE:
When the “Hill Start Assist” feature is selected, the Hill Start Assist (HSA) system becomes active.
Lights
After pressing the “Lights” button on the touchscreen, the
following settings will be available:
Setting Name Selectable Options
Headlight Off Delay 030609 0
Headlight Illumina- tion On Approach 03
0609 0
NOTE:
When the “Headlight Illumination On Approach” feature is selected, it allows the adjustment of the amount of time
the headlights remain on when the doors are unlocked with the key fob. Headlights WithWipers — IfEquipped On
Off
Auto Dim High Beams — If On
Off
620 MULTIMEDIA
Page 627 of 700
Setting NameSelectable Options
Auto Entry/Exit Suspension OnOff
NOTE:
When the “Auto Entry/Exit Suspension” feature is selected, the vehicle automatically lowers from ride height posi-
tion when vehicle shifted to park for easy entry/exit. Display Suspension Messages AllWarning Only
Automatic Aero Mode (1500 Model Only) On
Off
NOTE:
When the “Automatic Aero Mode” feature is selected, the Ride Height will automatically be adjusted depending on
the vehicle speed. Tire Jack Mode OnOff
NOTE:
When this feature is selected the air suspension system is disabled to prevent auto leveling of the suspension, while
the vehicle is on a jack changing a tire. Transport Mode OnOff
NOTE:
When the “Transport Mode” feature is selected, the air suspension system is disabled to assist with flat bed towing.
10
MULTIMEDIA 625
Page 633 of 700

Setting NameSelectable Options
Subscription Info Sirius ID
NOTE:
New vehicle purchasers or lessees will receive a free limited time subscription to SiriusXM Satellite Radio with your
radio. Following the expiration of the free services, it will be necessary to access the information on the Subscription
Information screen to re-subscribe.
1. Press the “Subscription Info” button on the touchscreen to access the Subscription Information screen.
2. Write down the SIRIUS ID numbers for your receiver. To reactivate your service, either call the number listed on the screen or visit the provider online.
SiriusXM Travel Link is a separate subscription.
Restore Settings
After pressing the “Restore Settings” button on the touch-
screen, the following settings will be available:
Setting Name Selectable Options
Restore Settings YesCancel
NOTE:
When the “Restore Settings” feature is selected it will reset the Display, Clock, Audio, and Radio Settings to their de-
fault settings. If “Yes” is selected a pop-up will appear asking �Are you sure you want to reset your settings to de-
fault?” select “Yes” to restore, or “Cancel” to exit.
10
MULTIMEDIA 631
Page 634 of 700
Clear Personal Data
After pressing the “Clear Personal Data Settings” button on
the touchscreen, the following settings will be available:
Setting NameSelectable Options
Clear Personal Data YesCancel
NOTE:
When this feature is selected it will remove all personal data including Bluetooth devices and presets. If “Yes” is se-
lected a pop-up will appear asking �Are you sure you want to clear all personal data?” select “Yes” to Clear, or “Can-
cel” to exit.
System Information
After pressing the “System Information” button on the
touchscreen, the following settings will be available:
Setting Name Selectable Options
System Information System Software Information Screen
NOTE:
When the “System Information” feature is selected, a “System Software Information” screen will appear, displaying
the system software version. You can also update your maps with a USB device. Please see your authorized dealer for
further information.
632 MULTIMEDIA
Page 635 of 700

Customer Programmable Features — Uconnect
4C/4C NAV Personal Settings
Press the “Apps” button on the touchscreen then press the
“Settings” button on the touchscreen to display the settings
menu screen. In this mode the Uconnect system allows youto access programmable features that may be equipped
such as Display, Voice, Clock, Safety & Driving Assistance,
Lights, Doors & Locks, Auto-On Comfort (if equipped),
Engine Off Options, Suspension, Trailer Brake, Audio,
Phone/Bluetooth, SiriusXM Setup (if equipped), Restore
Settings, Clear Personal Data and System Information.
NOTE:
Only one category may be selected at a time.
When making a selection, press the button on the touch-
screen to enter the desired mode. Once in the desired
mode, press and release the preferred setting until a
check-mark appears next to the setting, showing that
setting has been selected. Once the setting is complete,
either press the back arrow button on the touchscreen or
the Back button on the faceplate to return to the previous
menu or press the “X” button on the touchscreen to close
out of the settings screen. Pressing the Up or Down Arrow
buttons on the touchscreen on the right side of the screen
will allow you to toggle up or down through the list of
available settings.
NOTE: All settings should be changed with the ignition in
the RUN position.
Uconnect 4C/4C NAV With 8.4–inch Display Buttons On
The Touchscreen And Buttons On The Faceplate
1 — Uconnect Buttons On The Touchscreen
2 — Uconnect Buttons On The Faceplate
10
MULTIMEDIA 633