2018 OPEL INSIGNIA BREAK warning
[x] Cancel search: warningPage 113 of 323

Instruments and controls1111. Depress clutch.
2. Select neutral gear.
3. Move out of the flow of traffic as quickly as possible without
impeding other vehicles.
4. Switch off ignition.9 Warning
When the engine is off,
considerably more force is needed
to brake and steer.
During an Autostop, the brake
servo unit will still be operational.
Do not remove key until vehicle is stationary, otherwise the steeringwheel lock could engage
unexpectedly.
Check oil level before seeking
assistance of a workshop 3 241.
Low fuel
Y illuminates or flashes yellow.
Illuminates
Level in fuel tank is too low.
Flashes
Fuel used up. Refuel immediately.
Never run the tank dry.
Refuelling 3 232.
Catalytic converter 3 170.
Bleeding the diesel fuel system
3 245.
Immobiliser d flashes yellow.
Fault in the immobiliser system. The
engine cannot be started.
Immobiliser 3 36.
Exterior light 8 illuminates green.
The exterior lights are on 3 135.
High beam
C illuminates blue.
Illuminated when high beam is on or
during headlight flash 3 136.High beam assist
f illuminates green.
The high beam assist is activated,
see LED headlights 3 139.
LED headlights f illuminates or flashes yellow.
Illuminates
Fault in the system.
Seek the assistance of a workshop.
Flashes
System is switched to symmetrical
low beam.
Control indicator f flashes for approx.
four seconds after the ignition is
switched on as a reminder for
symmetrical headlight 3 138.
Fog light
> illuminates green.
The front fog lights are on 3 143.
Page 115 of 323
Instruments and controls113Information displays
Driver Information Centre
The Driver Information Centre is
located in the instrument cluster.
Depending on the version and the
instrument cluster, the Driver
Information Centre is available as
Baselevel display, Midlevel display or Uplevel display.
Driver Information Centre indicates
depending on the equipment:
● overall and trip odometer
● vehicle information and settings
● trip/fuel information
● driving economic information
● driver assistance alerts
● warning messages
● audio and infotainment information
● phone information
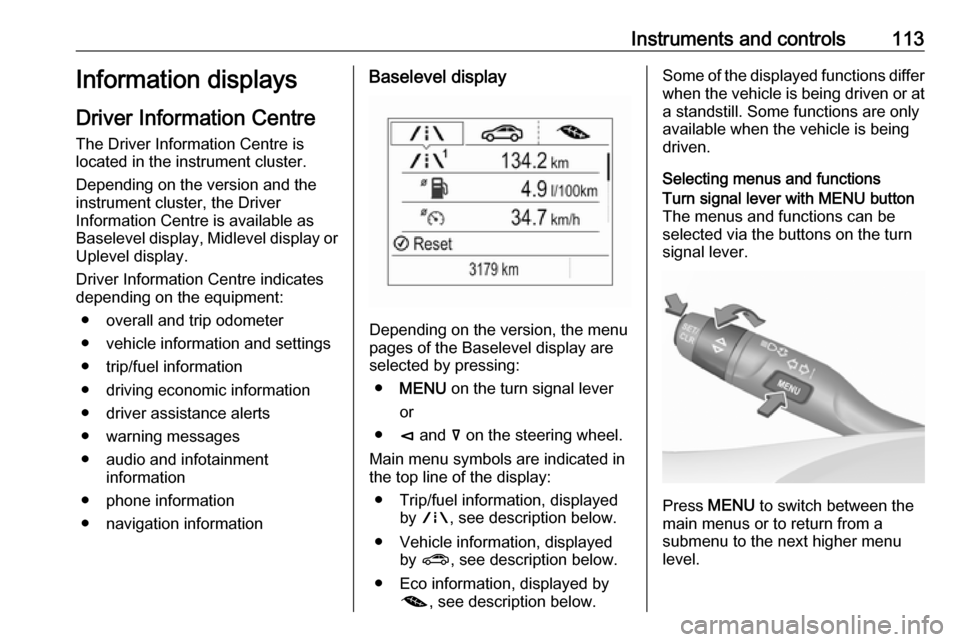
● navigation informationBaselevel display
Depending on the version, the menu
pages of the Baselevel display are selected by pressing:
● MENU on the turn signal lever
or
● è and å on the steering wheel.
Main menu symbols are indicated in
the top line of the display:
● Trip/fuel information, displayed by ; , see description below.
● Vehicle information, displayed by ? , see description below.
● Eco information, displayed by @ , see description below.
Some of the displayed functions differ
when the vehicle is being driven or at a standstill. Some functions are only
available when the vehicle is being
driven.
Selecting menus and functionsTurn signal lever with MENU button
The menus and functions can be selected via the buttons on the turnsignal lever.
Press MENU to switch between the
main menus or to return from a
submenu to the next higher menu
level.
Page 119 of 323

Instruments and controls117Trip odometer 1/A or 2/B
Trip odometer displays the current distance since a certain reset.
Trip odometer counts up to a distance
of 9,999 km then restarts at 0.
To reset on Baselevel display, press
SET/CLR for a few seconds, on
Midlevel and Uplevel display, press é and confirm with 9.
The information of trip odometer page
1 and 2 can be reset separately for
odometer, average consumption and
average speed while the respective
display is active.
Average fuel consumption 1/A or 2/B
Display of average consumption. The measurement can be reset at any
time and starts with a default value.
To reset on Baselevel display, press
SET/CLR for a few seconds, on
Midlevel and Uplevel display, press
é and confirm with 9.
Average speed 1/A or 2/B
Display of average speed. The
measurement can be reset at any
time.To reset on Baselevel display, press
SET/CLR for a few seconds, on
Midlevel and Uplevel display, press
é and confirm with 9.
Digital speed
Digital display of the instantaneous
speed.
Fuel range
Range is calculated from current fuel
tank level and current consumption.
The display shows average values.
After refuelling, the range is updated
automatically after a brief delay.
When the fuel level in the tank is low,
a message appears on the display
and control indicator Y in the fuel
gauge illuminates.
When the tank must be refuelled
immediately, a warning message
appears and remains on the display.
Additionally, control indicator Y in the
fuel gauge flashes 3 111.
Instantaneous fuel consumption
Display of the instantaneous
consumption.Remaining oil life
Indicates an estimate of the oil's
useful life. The number in % means
the remaining of current oil life 3 105.
Tire pressure
Checks tyre pressure of all wheels
during driving 3 264.
Timer
To start and stop press 9. To reset,
press é and confirm Reset.
Traffic sign assistant
Displays the detected traffic signs for
the current route section 3 224.
Following distance
Displays the distance in seconds to a
preceding moving vehicle 3 201. If
Adaptive cruise control is active this
page shows the following distance
setting instead.
Blank page
A blank page can be selected when
no DIC information is requested.
Page 121 of 323
Instruments and controls119Turn the adjuster wheel or press ä or
å to select a page and follow the
instructions given in the submenus:
● units
● display themes
● info pages
● speed warning
● tyre loading
● pocket gauges
● software information
Units
Press é while units page is
displayed. Select imperial or metric
units by pressing 9.
Display themes
Press é while display themes is
displayed. Select Sport or Touring mode by pressing 9. Sport mode
includes more vehicle information,
Tour mode includes more media information.
This setting is only available with
Uplevel display.Info pages
Press é while Info pages is
displayed. A list of all items in the Info Menu is displayed. Select the
functions to be displayed in the Info
page by pressing 9. Selected pages
have a 9 in a checkbox. Non
viewable functions have a blank
checkbox. See Info Menu above.
Speed warning
The speed warning display allows
you to set a speed that you do not
want to exceed.
To set the speed warning, press é
while the page is displayed. Press ä
or å to adjust the value. Press 9 to
set the speed. Once the speed is set,
this feature can be turned off by
pressing 9 while viewing this page. If
the selected speed limit is exceeded,
a pop-up warning is displayed with a
chime.
Tyre loading
The tyre pressure category according
to the actual tyre inflation pressure
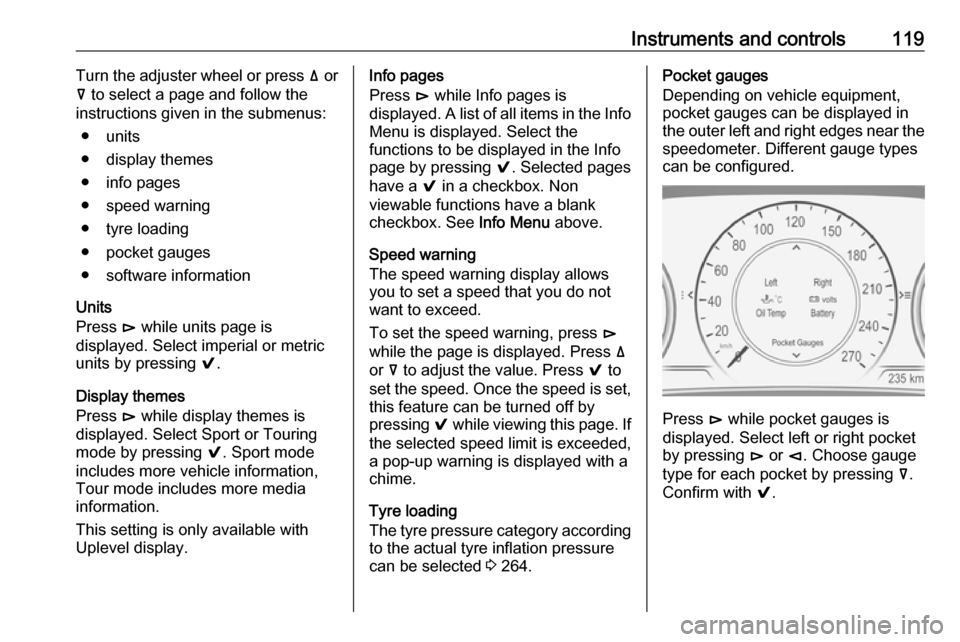
can be selected 3 264.Pocket gauges
Depending on vehicle equipment, pocket gauges can be displayed in the outer left and right edges near the
speedometer. Different gauge types
can be configured.
Press é while pocket gauges is
displayed. Select left or right pocket
by pressing é or è. Choose gauge
type for each pocket by pressing å.
Confirm with 9.
Page 125 of 323

Instruments and controls123● manual/automatic transmission:gear shift indication
● auto stop indication
Audio view
Indicates
● speedometer: digital indication of
speed
● actual audio playing information
Navigation view
Indicates
● speedometer: digital indication of
speed
● turn-by-turn navigation information
Active safety control indicators
On all views control indicators of
following Driver assistance systems are indicated in the top line of the
display
● vehicle detected ahead A:
vehicle recognition
● lane keep assist a: status and
warning● adaptive cruise control Õ: set
speed and status
● pedestrian detected ahead 7:
pedestrian recognition
Pop-up alerts
The following list contains just an
extract of possible alerts. Some may
not be available for your particular
vehicle, others can appear depending on vehicle configuration.
Alerts pop-up on each page if
required
● pedestrian protection alert
● forward collision alert
● up-/downshift alert
● incoming call
Alerts with lower priority can be reset by pressing G, high priority alerts
appear as long as danger continues.
System messages or vehicle
warnings may require immediately
action. Seek the assistance of a
workshop.Adjust position of head-up display
image
1. Adjust the driver's seat.
2. Start the engine.
3. Press down or lift up button . to
centre the image. It can only be
adjusted up and down, not side to side.9 Warning
If the head-up display image is too
bright or too high in your field of
view, it may obstruct your view
when it is dark outside. Be sure to keep the head-up display imagedim and placed low in your field of
view.
Adjust brightness
The head-up display image will
automatically dim and brighten to compensate for outside lighting.
Brightness can also be adjusted
manually as needed:
Lift up & and hold to brighten the
display. Press down and hold to dim
the display.
Page 126 of 323
124Instruments and controlsThe image can temporarily light up
depending on angel and position of
sunlight.
Switching off
Hold down & to turn the head-up
display off.
Language Preferred language can be set invehicle personalisation menu 3 126.
Units Units can be changed in the settings
menu of the Driver Information Centre
3 113.
Care of head-up display Clean the inside of the windscreen as
needed to remove any dirt or film that
could reduce the sharpness or clarity
of the head-up image.
Clean the head-up display lens in the instrument panel with a soft cloth
sprayed with glass cleaner. Wipe the
lens gently, then dry it.System limitations
Head-up display may not operate
properly when:
● The lens in the instrument panel is covered by objects or
windscreen and lens are not
clean.
● Display brightness is too dim or bright.
● Image is not adjusted to the proper height.
● The driver wears polarised sunglasses.
If the head-up image is not correct for other reasons, contact a workshop.
The windscreen is part of the head-up
display system. Windscreen
replacement 3 39.Vehicle messages
Messages are indicated in the Driver
Information Centre, in some cases
together with a warning and signal
buzzer.
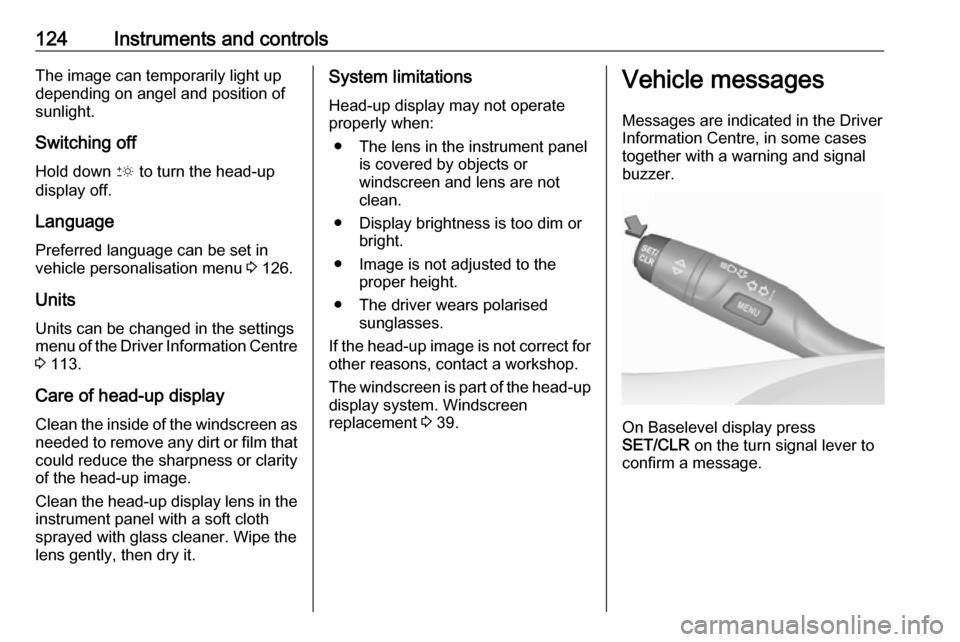
On Baselevel display press
SET/CLR on the turn signal lever to
confirm a message.
Page 127 of 323
Instruments and controls125
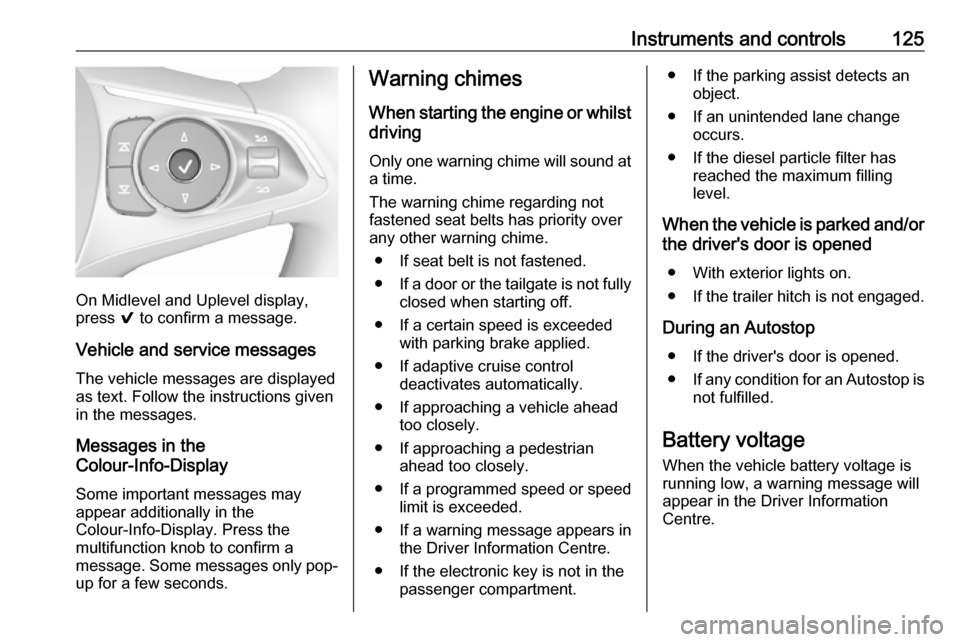
On Midlevel and Uplevel display,
press 9 to confirm a message.
Vehicle and service messages The vehicle messages are displayed
as text. Follow the instructions given
in the messages.
Messages in the
Colour-Info-Display
Some important messages may
appear additionally in the
Colour-Info-Display. Press the
multifunction knob to confirm a
message. Some messages only pop- up for a few seconds.
Warning chimes
When starting the engine or whilst
driving
Only one warning chime will sound at
a time.
The warning chime regarding not
fastened seat belts has priority over
any other warning chime.
● If seat belt is not fastened.
● If a door or the tailgate is not fully
closed when starting off.
● If a certain speed is exceeded with parking brake applied.
● If adaptive cruise control deactivates automatically.
● If approaching a vehicle ahead too closely.
● If approaching a pedestrian ahead too closely.
● If a programmed speed or speed
limit is exceeded.
● If a warning message appears in the Driver Information Centre.
● If the electronic key is not in the passenger compartment.● If the parking assist detects anobject.
● If an unintended lane change occurs.
● If the diesel particle filter has reached the maximum filling
level.
When the vehicle is parked and/or the driver's door is opened
● With exterior lights on.
● If the trailer hitch is not engaged.
During an Autostop ● If the driver's door is opened.
● If any condition for an Autostop is
not fulfilled.
Battery voltage When the vehicle battery voltage is
running low, a warning message will
appear in the Driver Information
Centre.
Page 128 of 323
126Instruments and controls1. Switch off any electricalconsumers which are not requiredfor a safe ride, e.g. seat heating,
heated rear window or other main
consumers.
2. Charge the vehicle battery by driving continuously for a while or
by using a charging device.
The warning message will disappear
after the engine has been started
twice without a voltage drop.
If the vehicle battery cannot be
recharged, have the cause of the fault
remedied by a workshop.Vehicle personalisation
The vehicle's behaviour can be
personalised by changing the settings
in the Info-Display.
Some of the personal settings for
different drivers can be memorised
individually for each vehicle key.
Memorised settings 3 22.
Depending on vehicle equipment and
country-specific regulations some of the functions described below may
not be available.
Some functions are only displayed or
active when the engine is running.
Personal settings 7" Colour-Info-Display
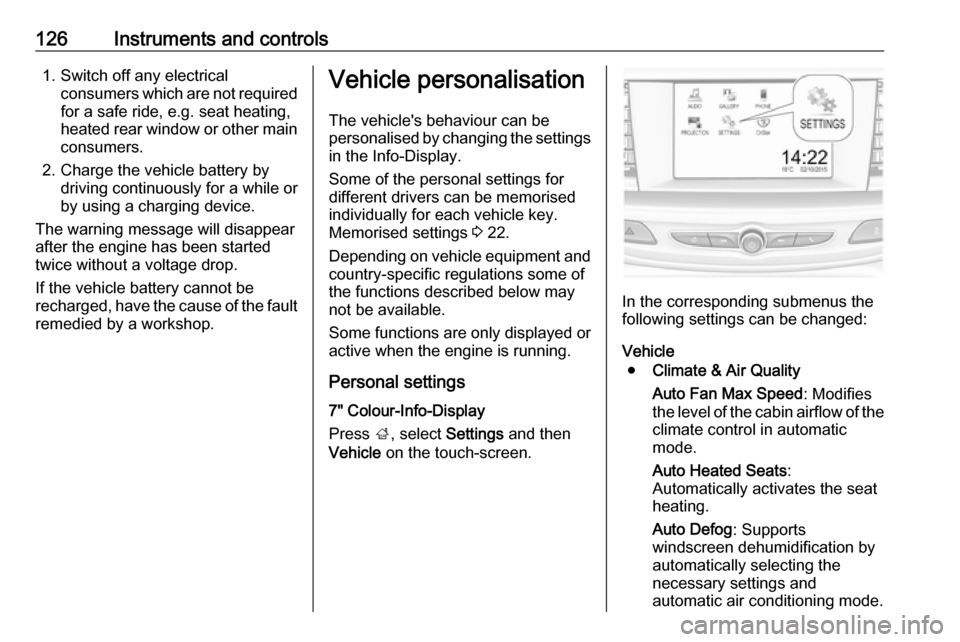
Press ;, select Settings and then
Vehicle on the touch-screen.
In the corresponding submenus the
following settings can be changed:
Vehicle ● Climate & Air Quality
Auto Fan Max Speed : Modifies
the level of the cabin airflow of the climate control in automatic
mode.
Auto Heated Seats :
Automatically activates the seat heating.
Auto Defog : Supports
windscreen dehumidification by
automatically selecting the
necessary settings and
automatic air conditioning mode.