Page 247 of 474
When the “[X]” icon is displayed on the
screen, the camera image may be receiv-
ing temporary electronic disturbances
from surrounding devices. This will not hin-
der normal driving operation but the sys-
tem should be inspected if it occurs fre-
quently. It is recommended that you visit a
NISSAN dealer for this service.SYSTEM MAINTENANCE
Page 248 of 474
WARNING
Failure to follow the warnings and in-
structions for proper use of the sonar
function as outlined in this section
could result in serious injury or death.
∙ The sonar is a convenience feature. Itis not a substitute for proper parking.
∙ This function is designed as an aid to the driver in detecting large station-
ary objects to help avoid damaging
the vehicle.
∙ The driver is always responsible for safety during parking and other
maneuvers.
∙ Always look around and check that it is safe to move before parking.
∙ Read and understand the limitations of the sonar as contained in this
section.
The sonar function helps to inform the
driver of large stationary objects around
the vehicle when parking by issuing an au-
dible and visual alert. 1. Center display
2. CAMERA or CAMERA/
Page 250 of 474

∙ When the ignition switch is placed in the“OFF” position and turned back to the
“ON” position again. To prevent the so-
nar system from activating altogether,
use the “Camera” menu. For additional
information, refer to “Sonar function
settings” in this section.
Sonar function settings
To set up the sonar function to your pre-
ferred settings, press the SETTING button,
select the “Camera/Sonar” key and then
select the “Sonar” key on the center display.
Designs and items displayed on the
screen may vary depending on the mod-
els.
Sonar Volume: Adjust the volume of the
buzzer.
Sonar: When this item is turned ON, the
rear sonar is activated. When this item is
turned OFF (indicator turns off ), the rear
sonar is deactivated. The amber markers
are displayed at the corners of the vehicle
icon. The next time the ignition switch is
placed in the ON position, “sonar is OFF” is
displayed briefly.
Towing mode (if so equipped): When this
item is turned ON, only the rear sonar is
OFF. The amber markers are displayed at
the rear corners of the vehicle icon. Show Camera when Sonar Activate (if so
equipped):
When this item is turned ON,
the camera view is automatically shown on
the display in the case that the distance to
the objects measured by the sonar is be-
coming short.
Sonar Sensitivity: Adjust the sensitivity
level of the sonar higher (right) or lower
(lef t).SONAR SYSTEM LIMITATIONS
Page 251 of 474
System temporarily unavailable
When the amber markers are displayed at
the corners of the vehicle icon and the
function cannot be activated from the
Camera setting menu (the setting items
are grayed out), the sonar system may be
malfunctioning.
SYSTEM MAINTENANCE
Page 253 of 474

WARNING
∙ Failure to follow the warnings and in-structions for proper use of the Mov-
ing Object Detection system could re-
sult in serious injury or death.
∙ The MOD system is not a substitute for proper vehicle operation and is not
designed to prevent contact with ob-
jects surrounding the vehicle. When
maneuvering, always use the outside
mirrors and rearview mirror and turn
and check the surroundings to ensure
it is safe to maneuver.
∙ The system is deactivated at speeds above 6 mph (10 km/h). It is reacti-
vated at lower speeds.
∙ The MOD system is not designed to detect surrounding stationary
objects.
The MOD system can inform the driver of
moving objects near the vehicle when
backing out of garages, maneuvering in
parking lots and in other such instances.
The MOD system detects moving objects
by using image processing technology on
the image shown in the display.
MOD SYSTEM OPERATION
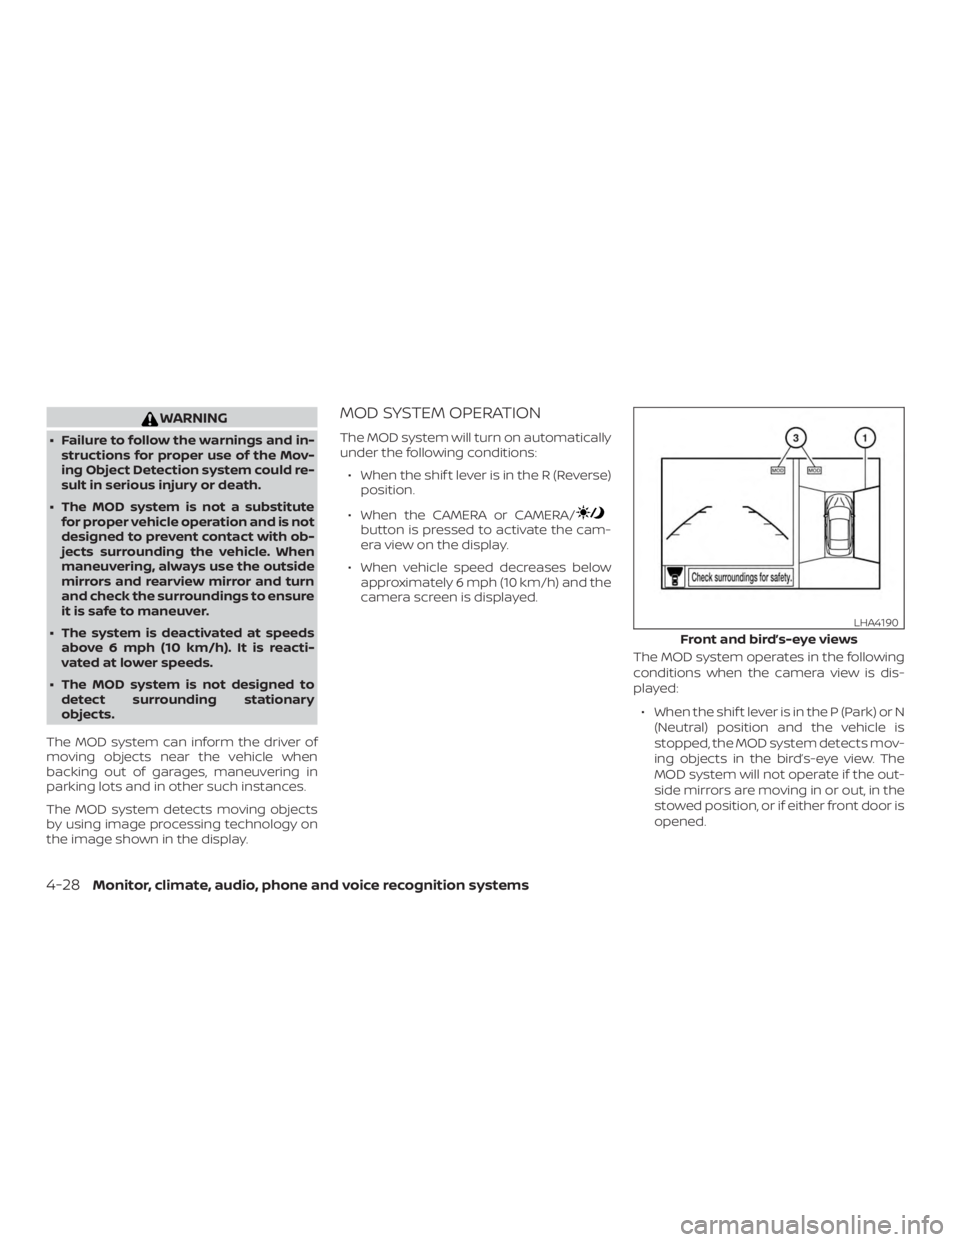
The MOD system will turn on automatically
under the following conditions: ∙ When the shif t lever is in the R (Reverse) position.
∙ When the CAMERA or CAMERA/
Page 273 of 474

Additional information:∙ When replacing a wheel without the TPMS such as the spare tire, the TPMS
does not monitor the tire pressure of
the spare tire.
∙ The TPMS will activate only when the vehicle is driven at speeds above
16 mph (25 km/h). Also, this system may
not detect a sudden drop in tire pres-
sure (for example, a flat tire while driv-
ing).
∙ The low tire pressure warning light does not automatically turn off when the tire
pressure is adjusted. Af ter the tire is in-
flated to the recommended pressure,
the vehicle must be driven at speeds
above 16 mph (25 km/h) to activate the
TPMS and turn off the low tire pressure
warning light. Use a tire pressure gauge
to check the tire pressure.
∙ The “Tire Pressure Low - Add Air” warn- ing appears in the vehicle information
display when the low tire pressure
warning light is illuminated and low tire
pressure is detected. The “Tire Pressure
Low - Add Air” warning turns off when
the low tire pressure warning light turns
off. ∙ The “Tire Pressure Low - Add Air” warn-
ing appears each time the ignition
switch is placed in the on position as
long as the low tire pressure warning
light remains illuminated.
∙ The “Tire Pressure Low - Add Air” warn- ing does not appear if the low tire pres-
sure warning light illuminates to indi-
cate a TPMS malfunction.
∙ Tire pressure rises and falls depending on the heat caused by the vehicle’s op-
eration and the outside temperature.
Do not reduce the tire pressure af ter
driving because the tire pressure rises
af ter driving. Low outside temperature
can lower the temperature of the air
inside the tire which can cause a lower
tire inflation pressure. This may cause
the low tire pressure warning light to
illuminate. If the warning light illumi-
nates, check the tire pressure for all four
tires.
∙ The Tire and Loading Information label is located in the driver’s door opening. ∙ You can also check the pressure of all
tires (except the spare tire) on the ve-
hicle information display screen. The or-
der of the tire pressure figures dis-
played on the screen corresponds with
the actual order of the tire position.
For additional information, refer to “Low tire
pressure warning light” in the “Instruments
and controls” section and “Tire Pressure
Monitoring System (TPMS)” in the “In case of
emergency” section of this manual.
Page 295 of 474
∙The RCTA system (if so equipped) is in-
tegrated into the BSW system. There is
not a separate selection in the vehicle
information display for the RCTA sys-
tem. When the BSW is disabled, the
RCTA system is also disabled.
∙ When the BSW system is turned on,
the BSW/RCTA indicator (white) in the
vehicle information display illumi-
nates.
BSW SYSTEM LIMITATIONS
Page 339 of 474

CAUTION
∙ Depending on the driving condition,the 4WD mode may automatically
change from 2WD to 4WD even when
the 2WD mode is selected. If this oc-
curs while driving, the 4WD mode indi-
cator light will not illuminate.
∙ Do not start the engine with the 4WD mode switch in any mode in the fol-
lowing cases:
– When the vehicle is placed on a fre- eroller or jacking up the vehicle
with the front tires raised and the
rear tires on the ground.
– When towing the vehicle with the rear tires raised from the ground.
∙ Operate the 4WD mode switch only when driving straight. Do not operate
the 4WD mode switch when making a
turn or backing up.
∙ Do not operate the 4WD mode switch with the front wheel spinning.
∙ Engine idling speed is high while warming up the engine. Be especially
careful when starting or driving on
slippery surfaces with the 4WD mode
switch set in the AUTO mode.
4WD mode indicator lights
The 2WD, 4WD AUTO and LOCK mode indi-
cator lights are located in the vehicle infor-
mation display.
The 4WD mode indicator lights will display
the mode selected by the 4WD mode
switch while the engine is running.
The 4WD AUTO indicator light illuminates
when selecting the AUTO mode.
The 4WD LOCK indicator light illuminates
when selecting the LOCK mode and the
2WD indicator light illuminates when se-
lecting the 2WD mode.
5-70Starting and driving