Page 306 of 426

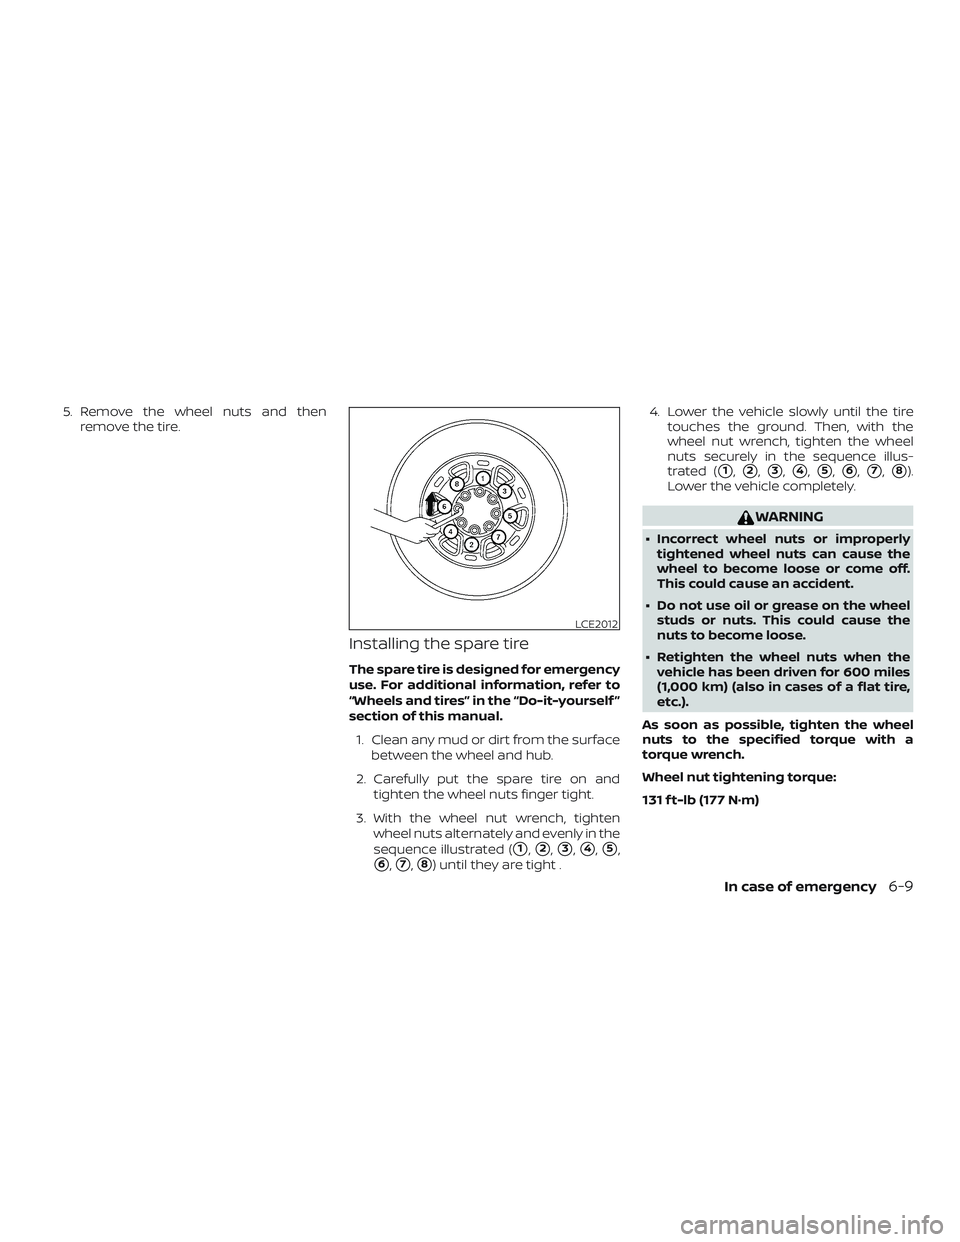
5. Remove the wheel nuts and thenremove the tire.
Installing the spare tire
The spare tire is designed for emergency
use. For additional information, refer to
“Wheels and tires” in the “Do-it-yourself ”
section of this manual.
1. Clean any mud or dirt from the surface between the wheel and hub.
2. Carefully put the spare tire on and tighten the wheel nuts finger tight.
3. With the wheel nut wrench, tighten wheel nuts alternately and evenly in the
sequence illustrated (
�1,�2,�3,�4,�5,
�6,�7,�8) until they are tight . 4. Lower the vehicle slowly until the tire
touches the ground. Then, with the
wheel nut wrench, tighten the wheel
nuts securely in the sequence illus-
trated (
�1,�2,�3,�4,�5,�6,�7,�8).
Lower the vehicle completely.
WARNING
∙ Incorrect wheel nuts or improperly tightened wheel nuts can cause the
wheel to become loose or come off.
This could cause an accident.
∙ Do not use oil or grease on the wheel studs or nuts. This could cause the
nuts to become loose.
∙ Retighten the wheel nuts when the vehicle has been driven for 600 miles
(1,000 km) (also in cases of a flat tire,
etc.).
As soon as possible, tighten the wheel
nuts to the specified torque with a
torque wrench.
Wheel nut tightening torque:
131 f t-lb (177 N·m)
LCE2012
In case of emergency6-9
Page 331 of 426

4. Place a large drain pan under the drainplug
�B.
5. Remove the drain plug
�Bwith a
wrench by turning it counterclockwise
and completely drain the oil.
If the oil filter is to be changed, remove
and replace it at this time. For addi-
tional information, refer to “Changing
engine oil filter” in this section.
∙ Waste oil must be disposed of prop-
erly.
∙ Check your local regulations.
WARNING
∙ Prolonged and repeated contact with
used engine oil may cause skin
cancer.
∙ Try to avoid direct skin contact with used oil. If skin contact is made, wash
thoroughly with soap or hand cleaner
as soon as possible.
∙ Keep used engine oil out of reach of children.
CAUTION
Be careful not to burn yourself. The en-
gine oil may be hot.
6. Clean and reinstall the drain plug and a new washer. Securely tighten the drain
plug with a wrench. Do not use exces-
sive force.
Drain plug tightening torque: 25 f t-lb (34 N·m)
7. Refill engine with recommended oil through the oil filler opening, then install
the oil filler cap securely.
For additional information, refer to
“Recommended fluids/lubricants and
capacities” in the “Technical and con-
sumer information” section of this
manual for drain and refill capacity.
The drain and refill capacity depends
on the oil temperature and drain time.
Use these specifications for reference
only. Always use the dipstick to deter-
mine when the proper amount of oil is
in the engine.
8. Start the engine. Check for leakage around the drain plug and oil filter. Cor-
rect as required. 9. Turn the engine off and wait more than
10 minutes. Check the oil level with the
dipstick. Add engine oil if necessary.
8-10Do-it-yourself
Page 361 of 426

damaged and/or vehicle handling and
performance may be adversely affected.
Tire chains must be installed only on the
rear wheels and not on the front wheels.
Do not use tire chains on dry roads. Driving
with chains in such conditions can cause
damage to the various mechanisms of the
vehicle due to some overstress.
CHANGING WHEELS AND TIRES
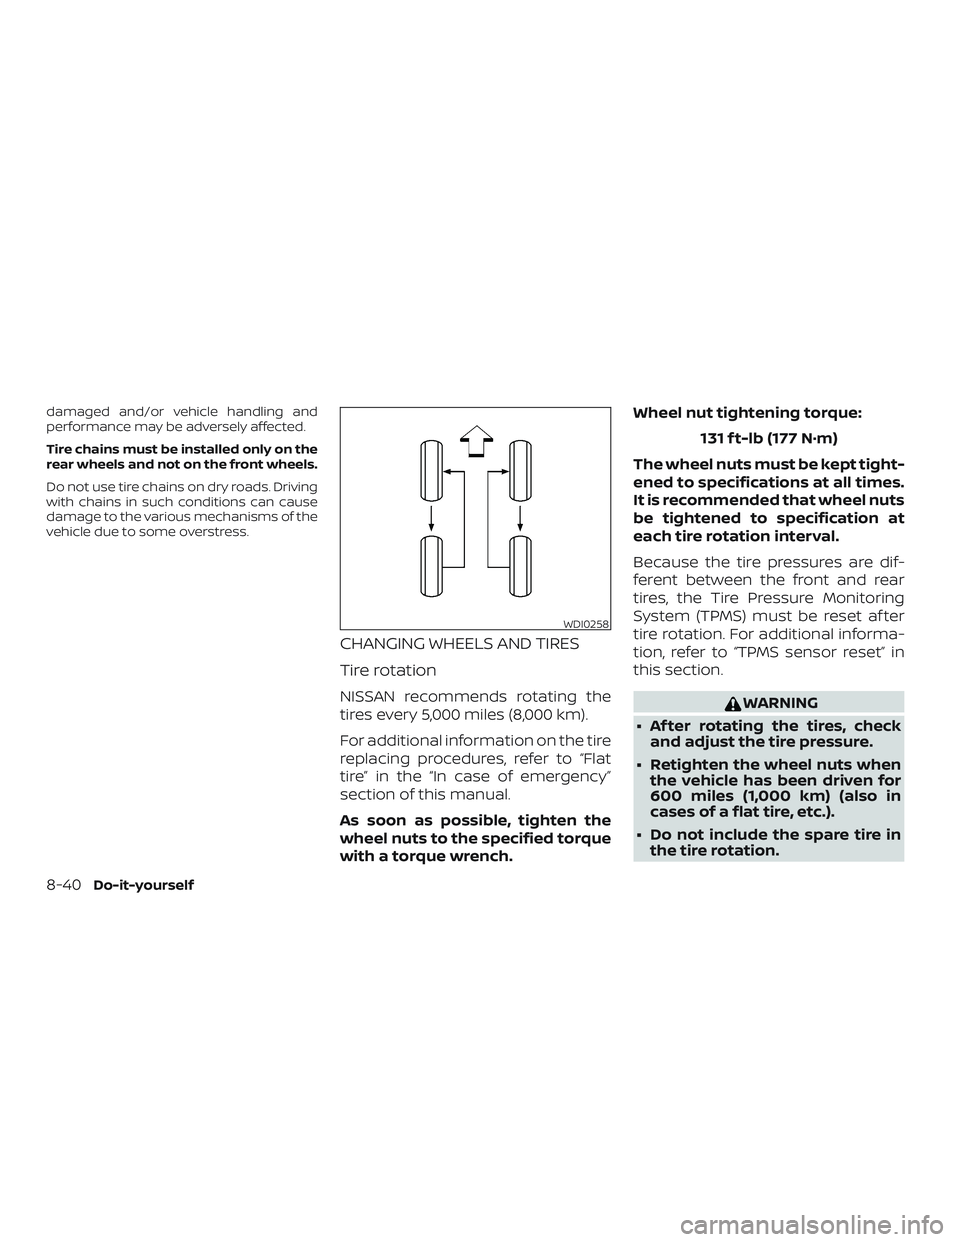
Tire rotation
NISSAN recommends rotating the
tires every 5,000 miles (8,000 km).
For additional information on the tire
replacing procedures, refer to “Flat
tire” in the “In case of emergency”
section of this manual.
As soon as possible, tighten the
wheel nuts to the specified torque
with a torque wrench.Wheel nut tightening torque:
131 f t-lb (177 N·m)
The wheel nuts must be kept tight-
ened to specifications at all times.
It is recommended that wheel nuts
be tightened to specification at
each tire rotation interval.
Because the tire pressures are dif-
ferent between the front and rear
tires, the Tire Pressure Monitoring
System (TPMS) must be reset af ter
tire rotation. For additional informa-
tion, refer to “TPMS sensor reset” in
this section.WARNING
∙ Af ter rotating the tires, check and adjust the tire pressure.
∙ Retighten the wheel nuts when the vehicle has been driven for
600 miles (1,000 km) (also in
cases of a flat tire, etc.).
∙ Do not include the spare tire in the tire rotation.
WDI0258
8-40Do-it-yourself
Page 394 of 426
TIRE AND LOADING INFORMATION
LABEL
The cold tire pressure is shown on the Tire
and Loading Information Label. The label is
located as shown.
AIR CONDITIONER SPECIFICATION
LABEL
The air conditioner specification label is af-
fixed to the underside of the hood as
shown.Use the following steps to mount the front
license plate:
1. Hold license plate holder�1against
bumper.
2. Line up holes in bumper with license plate holder holes and insert the plas-
tic clips
�2.
3. Secure the license plate holder using
two M6-25mm screws
�3.
License plate screw tightening
torque: 0.73 lbs.-f t(1N·m)
LTI0197LTI2004LTI2008
INSTALLING FRONT LICENSE PLATE
Technical and consumer information10-13