2018 NISSAN MURANO PLATINUM weight
[x] Cancel search: weightPage 50 of 460
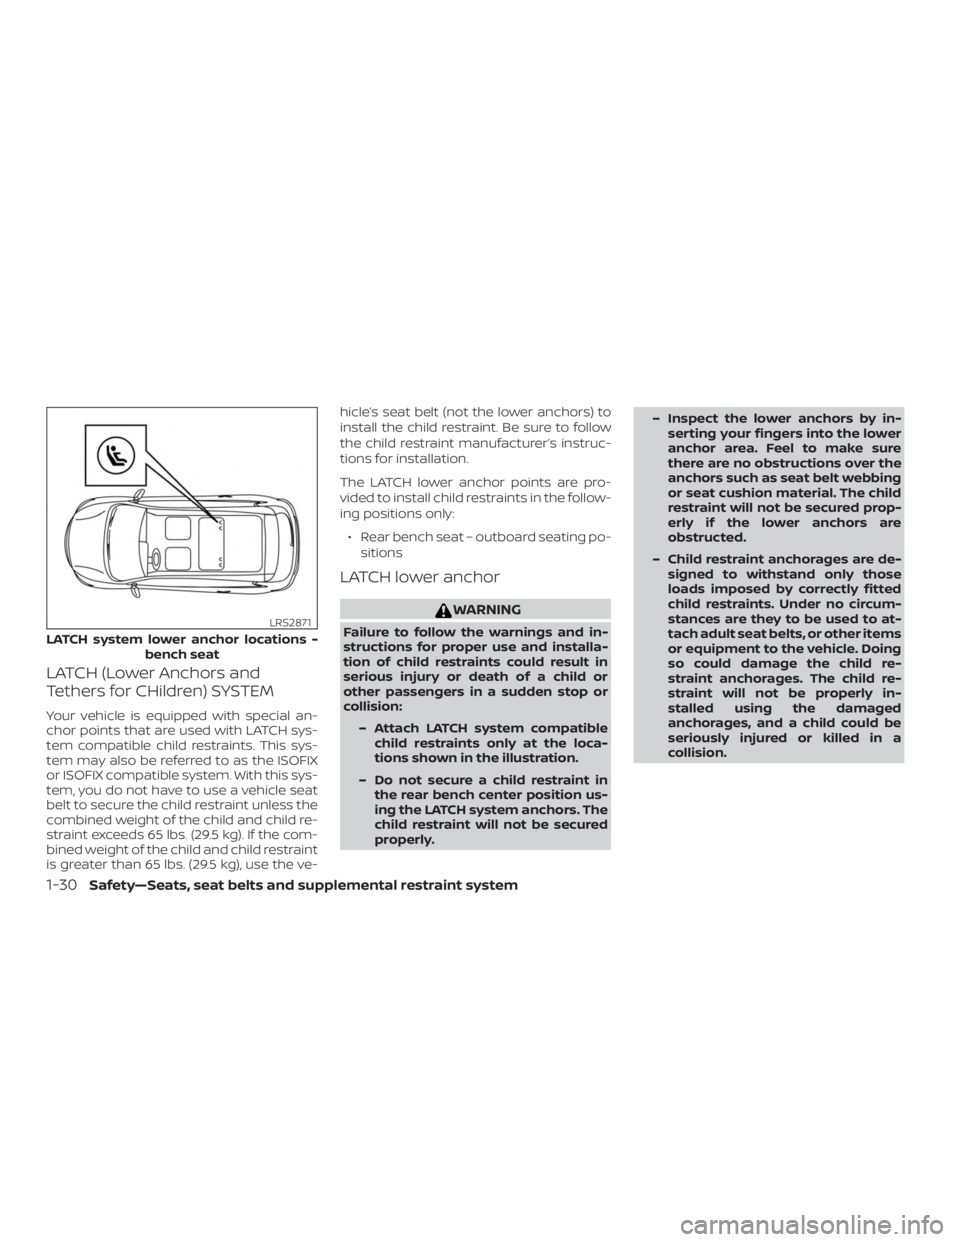
LATCH (Lower Anchors and
Tethers for CHildren) SYSTEM
Your vehicle is equipped with special an-
chor points that are used with LATCH sys-
tem compatible child restraints. This sys-
tem may also be referred to as the ISOFIX
or ISOFIX compatible system. With this sys-
tem, you do not have to use a vehicle seat
belt to secure the child restraint unless the
combined weight of the child and child re-
straint exceeds 65 lbs. (29.5 kg). If the com-
bined weight of the child and child restraint
is greater than 65 lbs. (29.5 kg), use the ve-hicle’s seat belt (not the lower anchors) to
install the child restraint. Be sure to follow
the child restraint manufacturer’s instruc-
tions for installation.
The LATCH lower anchor points are pro-
vided to install child restraints in the follow-
ing positions only:
∙ Rear bench seat – outboard seating po- sitions
LATCH lower anchor
Page 71 of 460

∙ The driver and front passenger seatbelt buckles are equipped with sen-
sors that detect if the seat belts are
fastened. The NISSAN Advanced Air
Bag System monitors the severity of a
collision and seat belt usage, then in-
flates the air bags as needed. Failure
to properly wear seat belts can in-
crease the risk or severity of injury in
an accident.
∙ The front passenger seat is equipped with an occupant classification sen-
sor (weight sensor) that turns the
front passenger air bag OFF under
some conditions. This sensor is only
used in this seat. Failure to be properly
seated and wearing the seat belt can
increase the risk or severity of injury in
an accident. For additional informa-
tion, refer to “Front passenger air bag
and status light” in this section.
∙ Keep hands on the outside of the steering wheel. Placing them inside
the steering wheel rim could increase
the risk that they are injured when the
front air bag inflates.
Page 84 of 460
∙ Modif ying or tampering with the frontpassenger seat may result in serious
personal injury. For example, do not
change the front seats by placing ma-
terial on the seat cushion or by install-
ing additional trim material, such as
seat covers, on the seat that are not
specifically designed to assure proper
air bag operation. Additionally, do not
stow any objects under the front pas-
senger seat or the seat cushion and
seatback. Such objects may interfere
with the proper operation of the occu-
pant classification sensor (weight
sensor).
∙ No unauthorized changes should be made to any components or wiring of
the seat belt system. This may affect
the front air bag system. Tampering
with the seat belt system may result
in serious personal injury. ∙ It is recommended that you visit a
NISSAN dealer for work on and around
the front air bag. It is also recom-
mended that you visit a NISSAN dealer
for installation of electrical equip-
ment. The Supplemental Restraint
System (SRS) wiring harnesses*
should not be modified or discon-
nected. Unauthorized electrical test
equipment and probing devices
should not be used on the air bag
system.
∙ A cracked windshield should be re- placed immediately by a qualified re-
pair facility. A cracked windshield
could affect the function of the
supplemental air bag system.
*The SRS wiring harness connectors are
yellow and orange for easy identifica-
tion.
When selling your vehicle, we request that
you inform the buyer about the front air
bag system and guide the buyer to the
appropriate sections in this Owner’s
Manual.
Front seat-mounted side-impact
supplemental air bag and
roof-mounted curtain side-
impact and rollover supplemental
air bag systems
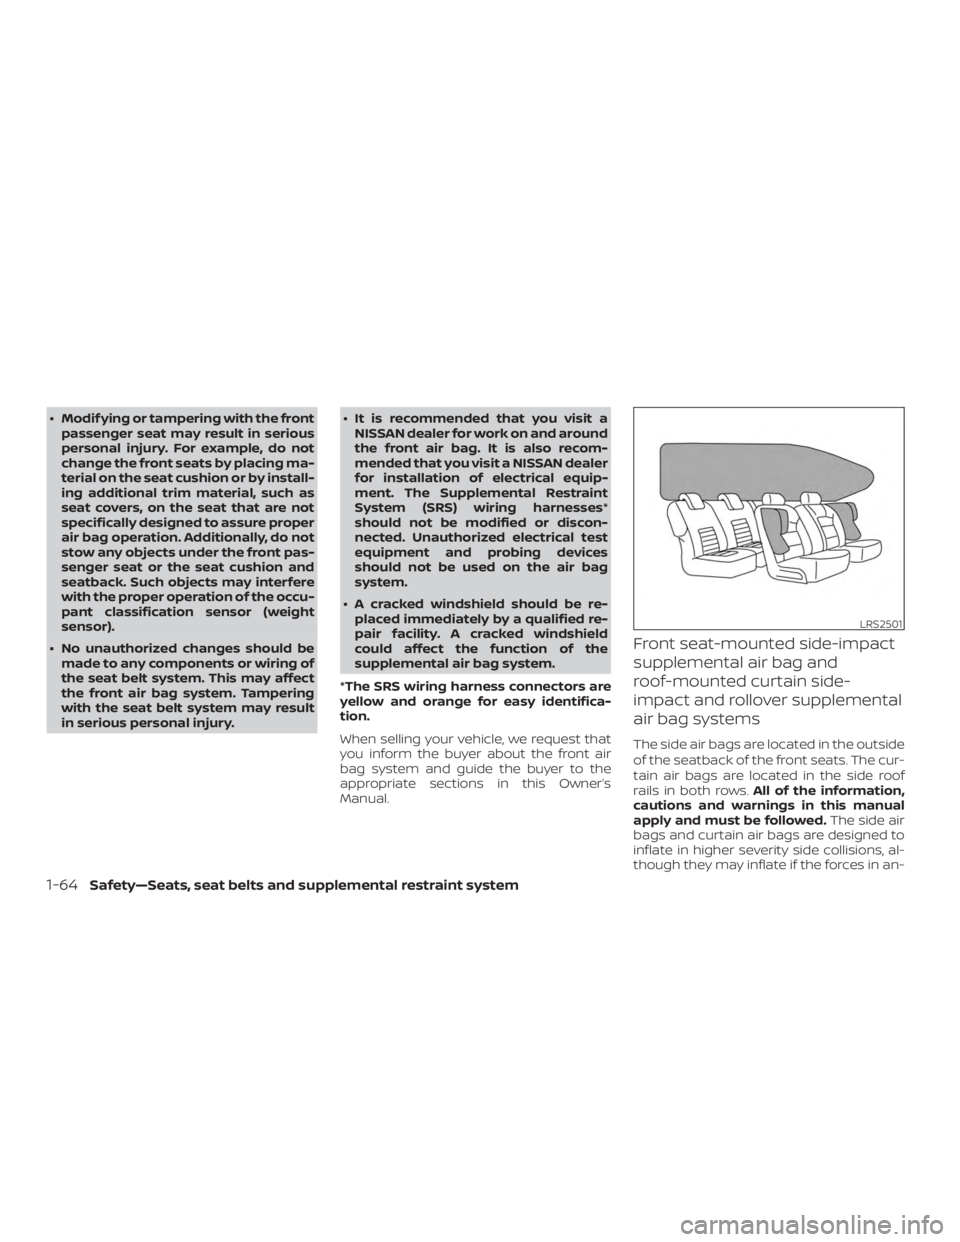
The side air bags are located in the outside
of the seatback of the front seats. The cur-
tain air bags are located in the side roof
rails in both rows. All of the information,
cautions and warnings in this manual
apply and must be followed. The side air
bags and curtain air bags are designed to
inflate in higher severity side collisions, al-
though they may inflate if the forces in an-
Page 148 of 460
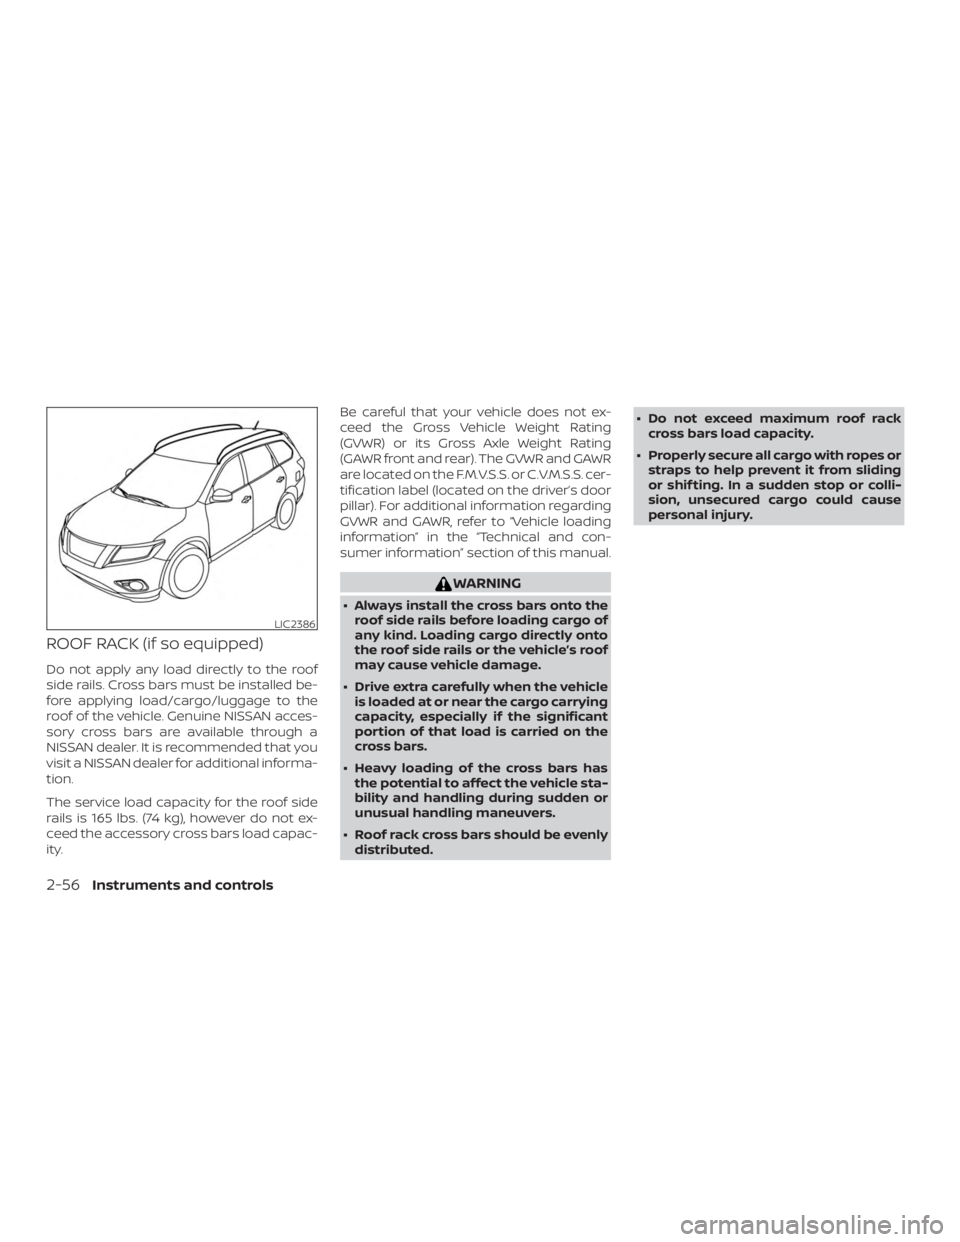
ROOF RACK (if so equipped)
Do not apply any load directly to the roof
side rails. Cross bars must be installed be-
fore applying load/cargo/luggage to the
roof of the vehicle. Genuine NISSAN acces-
sory cross bars are available through a
NISSAN dealer. It is recommended that you
visit a NISSAN dealer for additional informa-
tion.
The service load capacity for the roof side
rails is 165 lbs. (74 kg), however do not ex-
ceed the accessory cross bars load capac-
ity.Be careful that your vehicle does not ex-
ceed the Gross Vehicle Weight Rating
(GVWR) or its Gross Axle Weight Rating
(GAWR front and rear). The GVWR and GAWR
are located on the F.M.V.S.S. or C.V.M.S.S. cer-
tification label (located on the driver’s door
pillar). For additional information regarding
GVWR and GAWR, refer to “Vehicle loading
information” in the “Technical and con-
sumer information” section of this manual.
Page 425 of 460
WARNING
∙ It is extremely dangerous to ride in a cargo area inside a ve-
hicle. In a collision, people riding
in these areas are more likely to
be seriously injured or killed.
∙ Do not allow people to ride in any area of your vehicle that is
not equipped with seats and
seat belts.
∙ Be sure everyone in your vehicle is in a seat and using a seat belt
properly.
TERMS
It is important to familiarize yourself
with the following terms before
loading your vehicle:
∙ Curb Weight (actual weight of your vehicle) - vehicle weight in-
cluding: standard and optional
equipment, fluids, emergency
tools, and spare tire assembly.
This weight does notinclude
passengers and cargo. ∙ GVW (Gross Vehicle Weight) - curb
weight plus the combined weight
of passengers and cargo.
∙ GVWR (Gross Vehicle Weight Rat- ing) - maximum total combined
weight of the unloaded vehicle,
passengers, luggage, hitch, trailer
tongue load and any other op-
tional equipment. This informa-
tion is located on the
F.M.V.S.S./C.M.V.S.S. certification
label.
∙ GAWR (Gross Axle Weight Rating) - maximum weight (load) limit
specified for the front or rear axle.
This information is located on the
F.M.V.S.S./C.M.V.S.S. certification
label.
∙ GCWR (Gross Combined Weight rating) - The maximum total
weight rating of the vehicle, pas-
sengers, cargo, and trailer. ∙ Vehicle Capacity Weight, Load
limit, Total load capacity - maxi-
mum total weight limit specified
of the load (passengers and
cargo) for the vehicle. This is the
maximum combined weight of
occupants and cargo that can be
loaded into the vehicle. If the ve-
hicle is used to tow a trailer, the
trailer tongue weight must be in-
cluded as part of the cargo load.
This information is located on the
Tire and Loading Information la-
bel.
∙ Cargo capacity - permissible weight of cargo, the subtracted
weight of occupants from the
load limit.
VEHICLE LOADING INFORMATION
Technical and consumer information10-13
Page 432 of 460
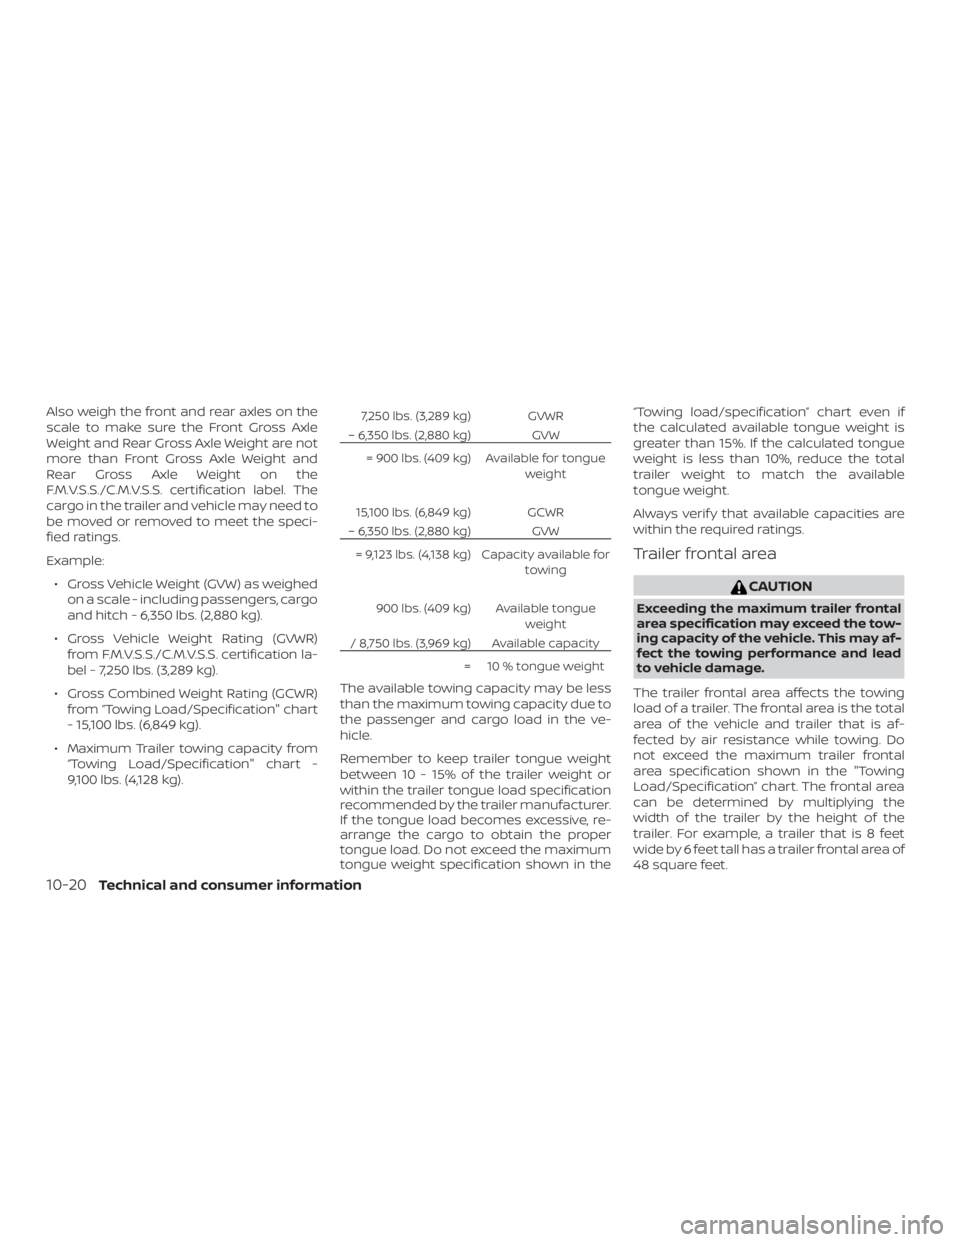
Also weigh the front and rear axles on the
scale to make sure the Front Gross Axle
Weight and Rear Gross Axle Weight are not
more than Front Gross Axle Weight and
Rear Gross Axle Weight on the
F.M.V.S.S./C.M.V.S.S. certification label. The
cargo in the trailer and vehicle may need to
be moved or removed to meet the speci-
fied ratings.
Example:∙ Gross Vehicle Weight (GVW) as weighed on a scale - including passengers, cargo
and hitch - 6,350 lbs. (2,880 kg).
∙ Gross Vehicle Weight Rating (GVWR) from F.M.V.S.S./C.M.V.S.S. certification la-
bel - 7,250 lbs. (3,289 kg).
∙ Gross Combined Weight Rating (GCWR) from “Towing Load/Specification" chart
- 15,100 lbs. (6,849 kg).
∙ Maximum Trailer towing capacity from “Towing Load/Specification" chart -
9,100 lbs. (4,128 kg).
Page 434 of 460
Ball mount
The hitch ball is attached to the ball mount
and the ball mount is inserted into the
hitch receiver. Choose a proper class ball
mount based on the trailer weight. Addi-
tionally, the ball mount should be chosen to
keep the trailer tongue level with the
ground.
Weight carrying hitches
A weight carrying or “dead weight” ball
mount is one that is designed to carry the
whole amount of tongue weight and gross
weight directly on the ball mount and on
the receiver.
Weight distribution hitch
This type of hitch is also called a “load-
leveling” or “equalizing” hitch. A set of bars
attach to the ball mount and to the trailer
to distribute the tongue weight (hitch
weight) of your trailer. Many vehicles can’t
carry the full tongue weight of a given
trailer, and need some of the tongue
weight transferred through the frame and
pushing down on the front wheels. This
gives stability to the tow vehicle.A weight-distributing hitch system (Class
IV) is recommended if you plan to tow trail-
ers with a maximum weight over 5,000 lbs.
(2,268 kg). Check with the trailer and towing
equipment manufacturers to determine if
they recommend the use of a weight-
distributing hitch system.
NOTE:
A weight-distributing hitch system may
affect the operation of trailer surge
brakes. If you are considering use of a
weight-distributing hitch system with a
surge brake-equipped trailer, check with
the surge brake, hitch or trailer manufac-
turer to determine if and how this can be
done.
Follow the instructions provided by the
manufacturer for installing and using the
weight-distributing hitch system.
General set-up instructions are as follows:
1. Park unloaded vehicle on a level sur- face. With the ignition on and the doors
closed, allow the vehicle to stand for
several minutes so that it can level.
2. Measure the height of a reference point on the front and rear bumpers at the
center of the vehicle. 3. Attach the trailer to the vehicle and ad-
just the hitch equalizers so that the
front bumper height is within 0 -
.5 inches (0 – 13 mm) of the reference
height measured in step 2. The rear
bumper should be no higher than the
reference height measured in step 2.
Page 435 of 460
Follow the instructions provided by the
manufacturer for installing and using the
sway control device.
Class I hitch
Class I trailer hitch equipment (receiver, ball
mount and hitch ball) can be used to tow
trailers of a maximum weight of 2,000 lbs.
(907 kg).
Tire pressures
∙ When towing a trailer, inflate thevehicle tires to the recom-
mended cold tire pressure indi-
cated on the Tire and Loading In-
formation label.
∙ Trailer tire condition, size, load rat- ing and proper inflation pressure
should be in accordance with the
trailer and tire manufacturer’s
specifications.
Safety chains
Always use suitable safety chains between
your vehicle and the trailer. The safety
chains should be crossed and should be
attached to the hitch, not to the vehicle
bumper or axle. The safety chains can be attached to the bumper if the hitch ball is
mounted to the bumper. Be sure to leave
enough slack in the chains to permit turn-
ing corners.
Trailer lights