Page 106 of 435

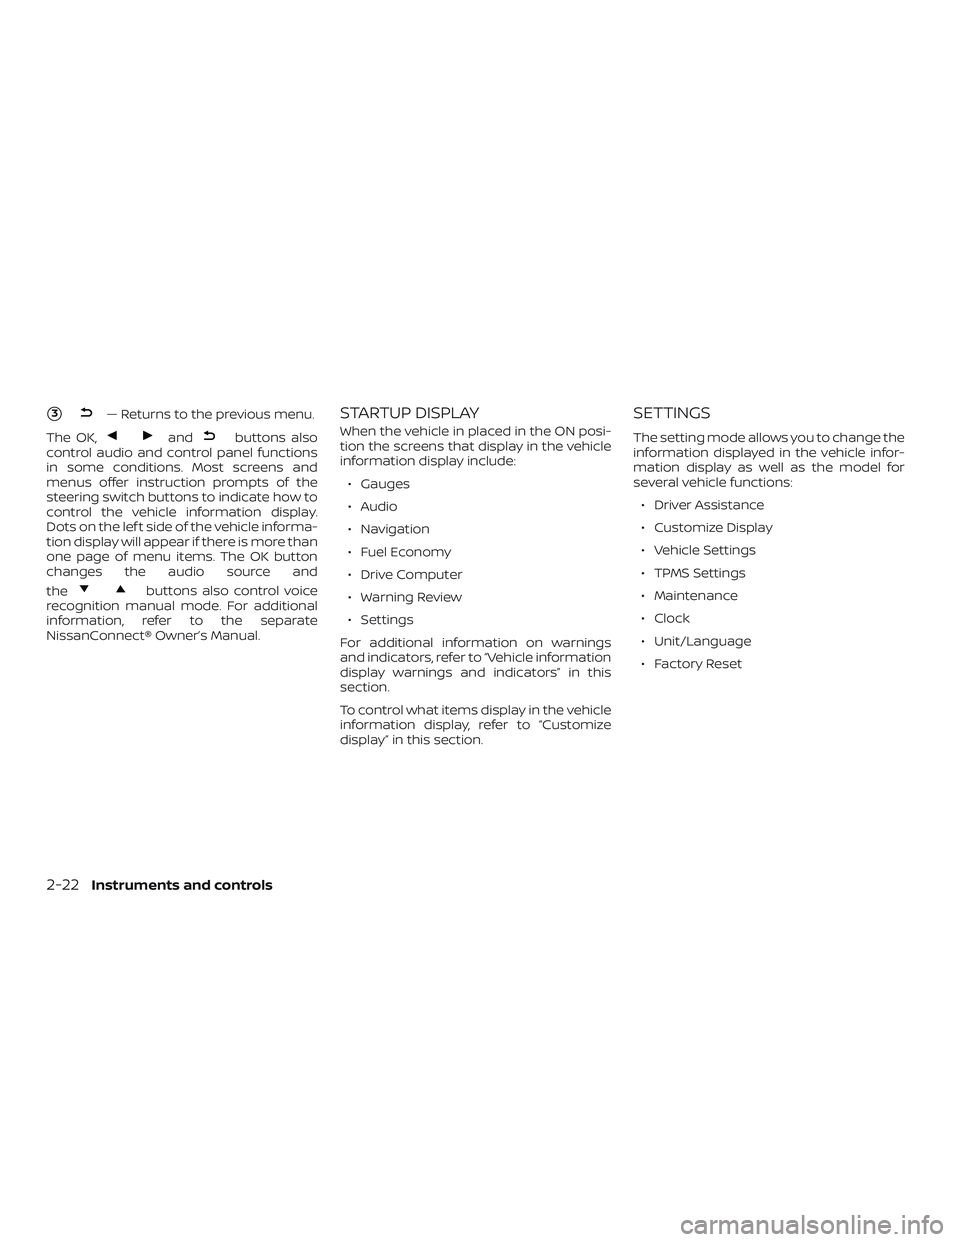
�3— Returns to the previous menu.
The OK,
andbuttons also
control audio and control panel functions
in some conditions. Most screens and
menus offer instruction prompts of the
steering switch buttons to indicate how to
control the vehicle information display.
Dots on the lef t side of the vehicle informa-
tion display will appear if there is more than
one page of menu items. The OK button
changes the audio source and
the
buttons also control voice
recognition manual mode. For additional
information, refer to the separate
NissanConnect® Owner’s Manual.
STARTUP DISPLAY
When the vehicle in placed in the ON posi-
tion the screens that display in the vehicle
information display include:
∙ Gauges
∙ Audio
∙ Navigation
∙ Fuel Economy
∙ Drive Computer
∙ Warning Review
∙ Settings
For additional information on warnings
and indicators, refer to “Vehicle information
display warnings and indicators” in this
section.
To control what items display in the vehicle
information display, refer to “Customize
display” in this section.
SETTINGS
The setting mode allows you to change the
information displayed in the vehicle infor-
mation display as well as the model for
several vehicle functions: ∙ Driver Assistance
∙ Customize Display
∙ Vehicle Settings
∙ TPMS Settings
∙ Maintenance
∙ Clock
∙ Unit/Language
∙ Factory Reset
2-22Instruments and controls
Page 111 of 435

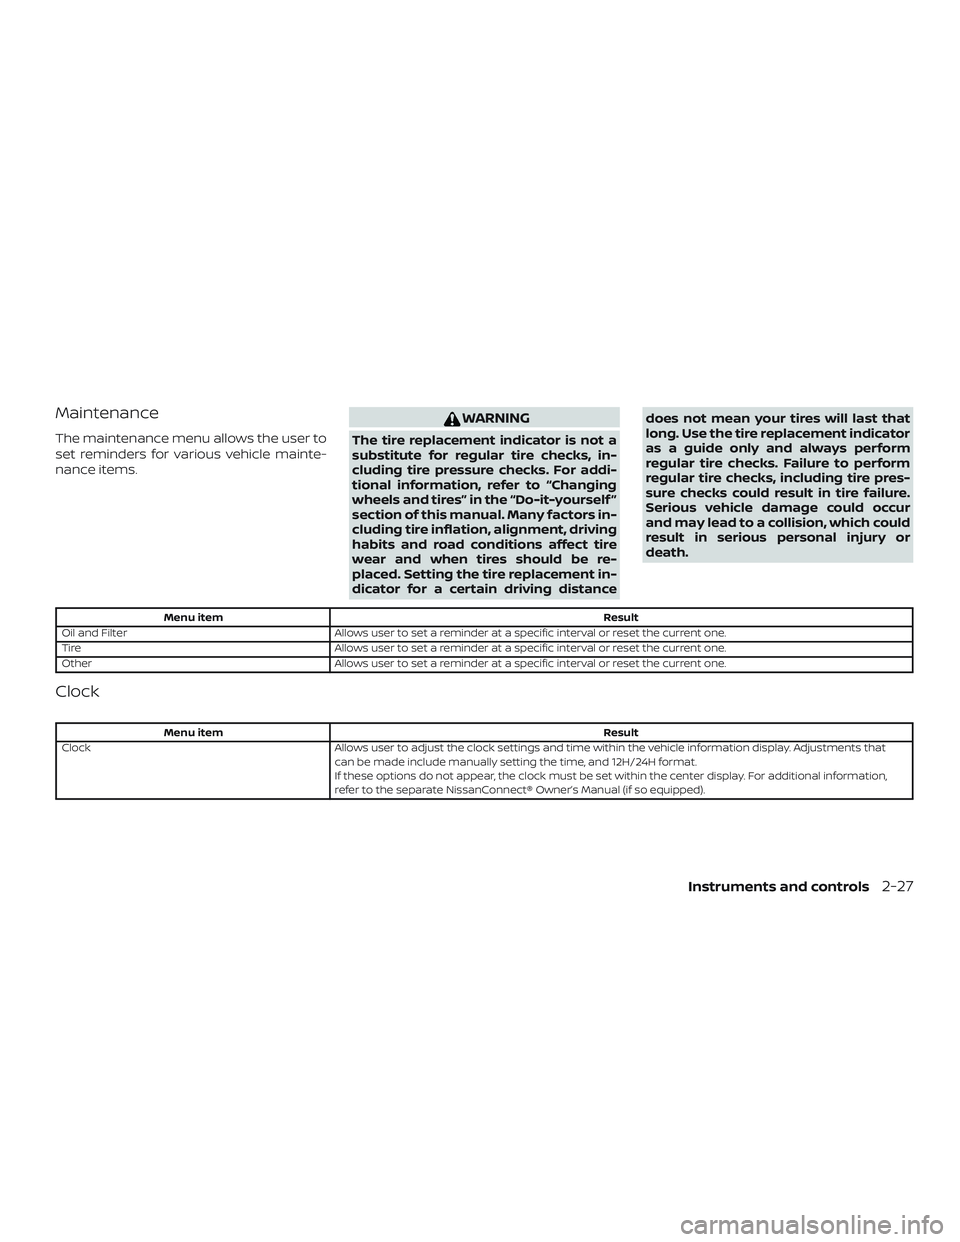
Maintenance
The maintenance menu allows the user to
set reminders for various vehicle mainte-
nance items.
WARNING
The tire replacement indicator is not a
substitute for regular tire checks, in-
cluding tire pressure checks. For addi-
tional information, refer to “Changing
wheels and tires” in the “Do-it-yourself ”
section of this manual. Many factors in-
cluding tire inflation, alignment, driving
habits and road conditions affect tire
wear and when tires should be re-
placed. Setting the tire replacement in-
dicator for a certain driving distancedoes not mean your tires will last that
long. Use the tire replacement indicator
as a guide only and always perform
regular tire checks. Failure to perform
regular tire checks, including tire pres-
sure checks could result in tire failure.
Serious vehicle damage could occur
and may lead to a collision, which could
result in serious personal injury or
death.
Menu item
Result
Oil and Filter Allows user to set a reminder at a specific interval or reset the current one.
Tire Allows user to set a reminder at a specific interval or reset the current one.
Other Allows user to set a reminder at a specific interval or reset the current one.
Clock
Menu item Result
Clock Allows user to adjust the clock settings and time within the vehicle information display. Adjustments that
can be made include manually setting the time, and 12H/24H format.
If these options do not appear, the clock must be set within the center display. For additional information,
refer to the separate NissanConnect® Owner’s Manual (if so equipped).
Instruments and controls2-27
Page 185 of 435

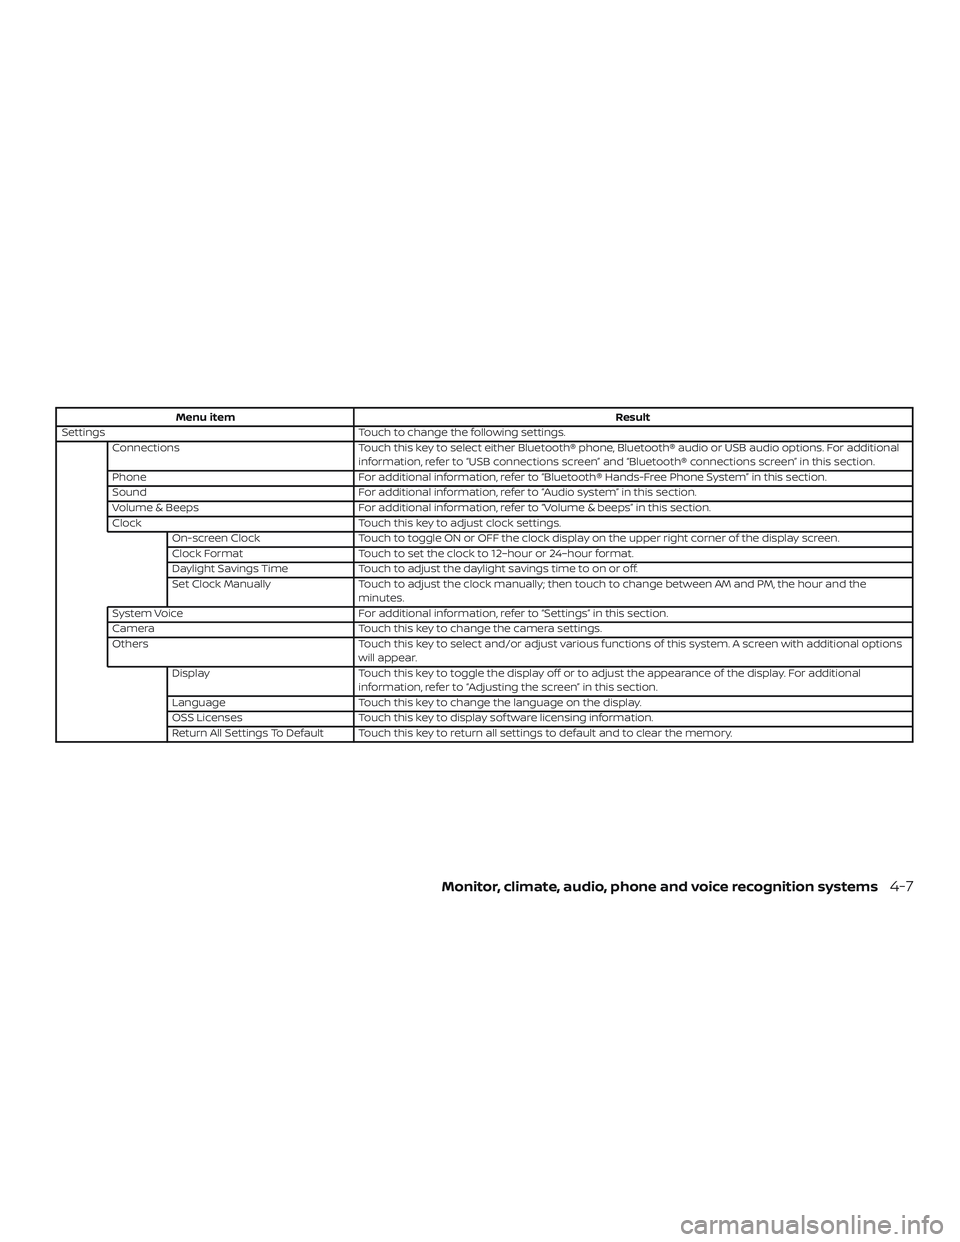
Menu itemResult
Settings Touch to change the following settings.
Connections Touch this key to select either Bluetooth® phone, Bluetooth® audio or USB audio options. For additional
information, refer to “USB connections screen” and “Bluetooth® connections screen” in this section.
Phone For additional information, refer to “Bluetooth® Hands-Free Phone System” in this section.
Sound For additional information, refer to “Audio system” in this section.
Volume & Beeps For additional information, refer to “Volume & beeps” in this section.
Clock Touch this key to adjust clock settings.
On-screen Clock Touch to toggle ON or OFF the clock display on the upper right corner of the display screen.
Clock Format Touch to set the clock to 12–hour or 24–hour format.
Daylight Savings Time Touch to adjust the daylight savings time to on or off.
Set Clock Manually Touch to adjust the clock manually; then touch to change between AM and PM, the hour and the
minutes.
System Voice For additional information, refer to “Settings” in this section.
Camera Touch this key to change the camera settings.
Others Touch this key to select and/or adjust various functions of this system. A screen with additional options
will appear.
Display Touch this key to toggle the display off or to adjust the appearance of the display. For additional
information, refer to “Adjusting the screen” in this section.
Language Touch this key to change the language on the display.
OSS Licenses Touch this key to display sof tware licensing information.
Return All Settings To Default Touch this key to return all settings to default and to clear the memory.
Monitor, climate, audio, phone and voice recognition systems4-7