2018 MITSUBISHI OUTLANDER PHEV wiper blades
[x] Cancel search: wiper bladesPage 207 of 538

If the blades are frozen to the windscreen or
rear window, do not operate the wipers until the ice has melted and the blades are freed,
otherwise the wiper motor may be damaged.MIST-Misting function
The wipers will operate once.OFF-OffAUTO-Auto-wiper control
Rain sensor
The wipers will automatically
operate depending on the degree
of wetness on the windscreen.LO-SlowHI-Fast
Rain sensor
Can only be used when the ignition switch or the operation mode is in ON.
If the lever is put in the “AUTO” position,
the rain sensor (A) will detect the extent of rain (or snow, other moisture, dust, etc.) and the wipers will operate automatically.
Keep the lever in the “OFF” position if the
windscreen is dirty and the weather is dry.
Wiper operation under these conditions can scratch the windscreen and damage the wip-
ers.CAUTIONl With the ignition switch or the operation
mode in ON and the lever in the “AUTO”
position, the wipers may automatically oper-
ate in the situations described below.
If your hands get trapped, you could suffer injuries or the wipers could malfunction. Be sure to turn the ignition switch to the
“LOCK” position or put the operation mode
in OFF, or move lever to the “OFF” position to deactivate the rain sensor.CAUTION• When cleaning the outside surface of the
windscreen, if you touch on top of the
rain sensor.
• When cleaning the outside surface of the
windscreen, if you wipe with a cloth on
top of the rain sensor.
• When using an automatic car wash.
• A physical shock is applied to the wind-
screen.
• A physical shock is applied to the rain
sensor.NOTEl To protect the rubber parts of the wipers,
this operation of the wipers does not take
place even if the lever is put in the “AUTO” position when the vehicle is stationary and
the ambient temperature is about 0 °C or lower.
l Do not cover the sensor by affixing a sticker
or label to the windscreen. Also, do not put any water-repellent coating on the wind-screen. The rain sensor would not be able to
detect the extent of rain, and the wipers
might stop working normally.
l In the following cases, the rain sensor may
be malfunctioning.
For further information, we recommend you
to consult a MITSUBISHI MOTORS Au-
thorized Service Point.
Wiper and washer switch
6-63OGGE18E1Instruments and controls6
Page 211 of 538

NOTElIf the operation mode is in ON or ACC and
the headlamps are on, the headlamp washer operates together with the windscreen wash-
er the first time the windscreen washer lever is pulled.Precautions to observe when
using wipers and washers
E00507601327
l If the moving wipers become blocked
partway through a sweep by ice or other deposits on the glass, the wipers maytemporarily stop operating to prevent the
motor from overheating. In this case,
park the vehicle in a safe place, put the operation mode in OFF, and then re-
move the ice or other deposits.
The wipers will start operating again af- ter the wiper motor cools down, so
check that the wipers operate before us- ing them.
l Do not use the wipers when the glass is
dry.
They may scratch the glass surface and the blades wear out prematurely.
l Before using the wipers in cold weather,
check that the wiper blades are not fro-
zen onto the glass. The motor may burn out if the wipers are used with the blades
frozen onto the glass.
l Avoid using the washer continuously for
more than 20 seconds. Do not operate the washer when the fluid reservoir isempty.
Otherwise, the motor may burn out.
l Periodically check the level of washer
fluid in the reservoir and refill if re- quired.
During cold weather, add a recommen- ded washer solution that will not freeze
in the washer reservoir. Failure to do so
could result in loss of washer function and frost damage to the system compo- nents.Wiper de-icer switch*
E00507701142
The rear window demister switch can be op-erated when the Plug-in Hybrid EV System is
operating.
When the front wipers have frozen to the
windscreen at the parked positions, turning
on this switch will heat the windscreen to
make the wipers operable. Press the rear win- dow demister switch and the deicer will oper-
ate.
NOTEl The wiper de-icer is activated/deactivated,
depending on the operation of the rear win-
dow demister. Refer to “Rear window de- mister switch” on page 6-67.Rear window demister
switch E00507902659
The rear window demister switch can be op-erated when the operation mode of the power
switch is in ON.
Push the switch to turn on the rear window
demister. It will be turned off automatically
in about 15 to 20 minutes depending on the outside temperature. To turn off the demister
while it is operating, push the switch again. The indication lamp (A) will illuminate while the demister is on.
Wiper de-icer switch*
6-67OGGE18E1Instruments and controls6
Page 286 of 538

CAUTION•Do not put anything including a sticker or
film to the outer side of the windscreen in front of or surrounding area of the sensor.
Also, do not put anything including a sticker or film on the both inner and outer
side of the windscreen under the sensor.
• Do not attempt to detach or disassemble
the sensor.
• If the windscreen is misted, remove the
mist from the windscreen by using the de-
mister switch.
• Maintain the wiper blades in good condi-
tion.
Refer to “Wiper blades” on page 10-06.
When replacing the wiper blades, use on-
ly MITSUBISHI MOTORS GENUINE
parts or equivalent.
• Do not dirty or damage the sensor.
• Do not spray glass cleaner on the sensor.
Also, do not spill liquid, such as a bever- age, on the sensor.
• Do not install an electronic device, such
as an antenna, or a device that emits
strong electric waves near the sensor.
CAUTION• Always use tyres of the same size, same
type and same brand and that have no sig-
nificant wear differences.
• Do not modify the vehicle’s suspensions.
l If the windscreen on the sensor or in the sur-
rounding area of the sensor is cracked or
scratched, the sensor may not detect an ob- ject properly. This could cause a serious ac-cident. Turn off the FCM and have your ve- hicle inspected as soon as possible at a
MITSUBISHI MOTORS Authorized Serv-
ice Point.
If you need to replace the windscreen, con-
tact a MITSUBISHI MOTORS Authorized
Service Point.
l The sensor emits infrared rays when the op-
eration mode is in ON. Do not look into the sensor by using optical goods such as a mag-
nifying glass. The infrared ray might injure your eyes.
Laser radar specifications
Laser classification
Max average power45 mWPulse duration33 nsWavelength905 nmDivergent angle (ho-
rizon x vertical)28° x 12°Laser classification label
For Europe
For Kazakhstan and Belarus
For Israel
Forward Collision Mitigation System (FCM)*
7-72OGGE18E1Starting and driving7
Page 446 of 538

NOTElTo clean the inside of the rear window, al-
ways use a soft cloth and wipe the window
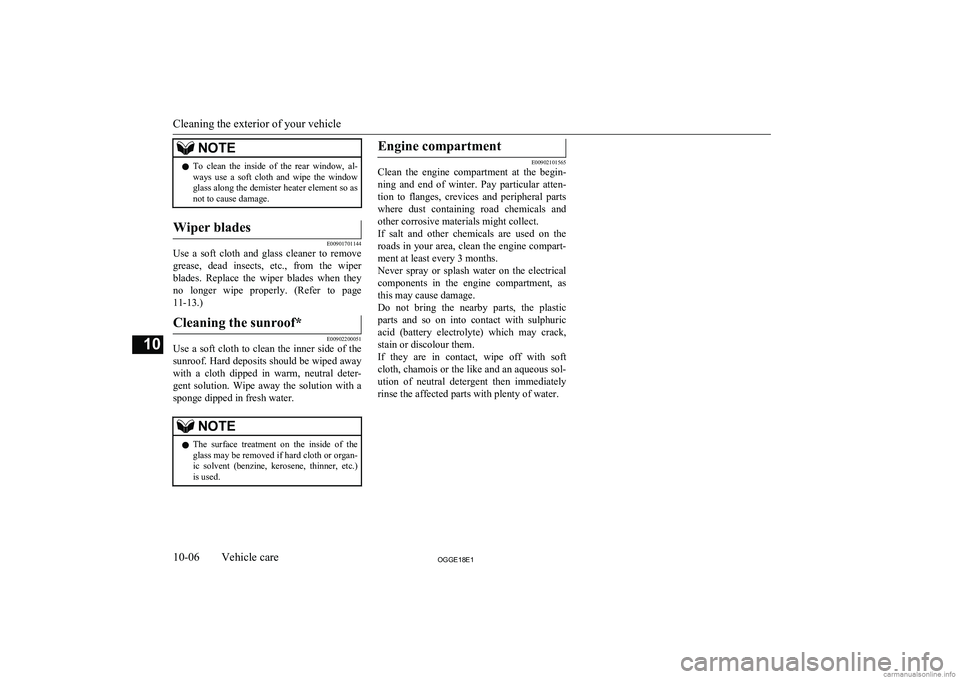
glass along the demister heater element so as not to cause damage.Wiper blades
E00901701144
Use a soft cloth and glass cleaner to remove
grease, dead insects, etc., from the wiper blades. Replace the wiper blades when they
no longer wipe properly. (Refer to page 11-13.)
Cleaning the sunroof*
E00902200051
Use a soft cloth to clean the inner side of thesunroof. Hard deposits should be wiped away with a cloth dipped in warm, neutral deter- gent solution. Wipe away the solution with a
sponge dipped in fresh water.
NOTEl The surface treatment on the inside of the
glass may be removed if hard cloth or organ-
ic solvent (benzine, kerosene, thinner, etc.) is used.Engine compartment
E00902101565
Clean the engine compartment at the begin-
ning and end of winter. Pay particular atten- tion to flanges, crevices and peripheral parts where dust containing road chemicals and
other corrosive materials might collect.
If salt and other chemicals are used on the roads in your area, clean the engine compart- ment at least every 3 months.
Never spray or splash water on the electrical
components in the engine compartment, as this may cause damage.
Do not bring the nearby parts, the plastic
parts and so on into contact with sulphuric
acid (battery electrolyte) which may crack,
stain or discolour them.
If they are in contact, wipe off with soft cloth, chamois or the like and an aqueous sol-
ution of neutral detergent then immediately rinse the affected parts with plenty of water.
Cleaning the exterior of your vehicle
10-06OGGE18E1Vehicle care10
Page 459 of 538

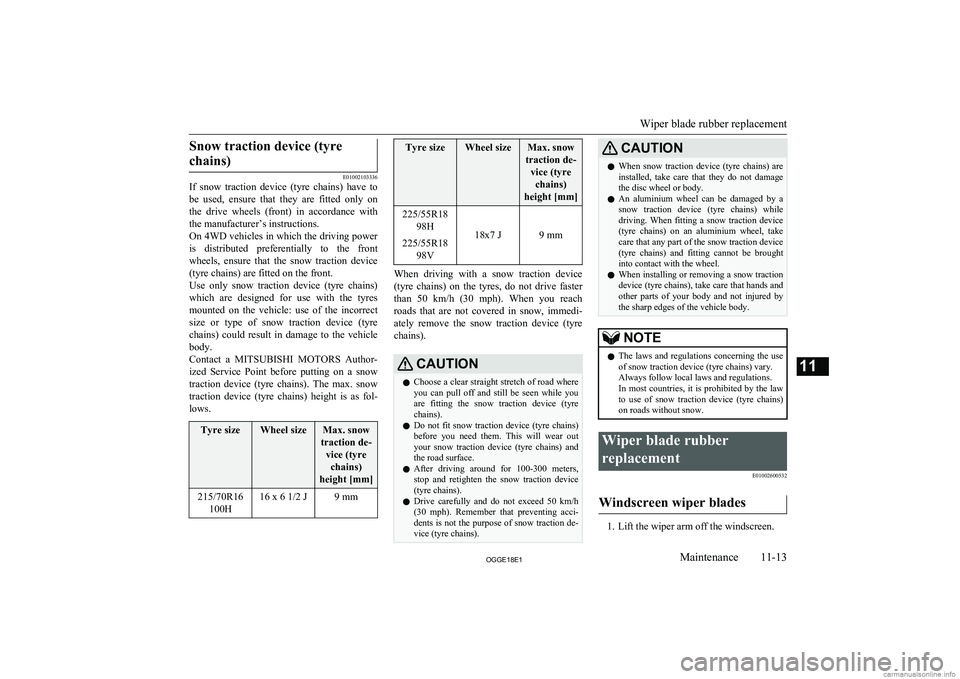
Snow traction device (tyrechains)
E01002103336
If snow traction device (tyre chains) have to
be used, ensure that they are fitted only on
the drive wheels (front) in accordance with
the manufacturer’s instructions.
On 4WD vehicles in which the driving power is distributed preferentially to the front wheels, ensure that the snow traction device
(tyre chains) are fitted on the front.
Use only snow traction device (tyre chains) which are designed for use with the tyresmounted on the vehicle: use of the incorrect
size or type of snow traction device (tyre
chains) could result in damage to the vehicle body.
Contact a MITSUBISHI MOTORS Author-
ized Service Point before putting on a snow traction device (tyre chains). The max. snowtraction device (tyre chains) height is as fol-
lows.
Tyre sizeWheel sizeMax. snow
traction de- vice (tyrechains)
height [mm]215/70R16 100H16 x 6 1/2 J9 mmTyre sizeWheel sizeMax. snow
traction de- vice (tyrechains)
height [mm]225/55R18 98H
18x7 J9 mm
225/55R1898V
When driving with a snow traction device
(tyre chains) on the tyres, do not drive faster than 50 km/h (30 mph). When you reach
roads that are not covered in snow, immedi- ately remove the snow traction device (tyre
chains).
CAUTIONl Choose a clear straight stretch of road where
you can pull off and still be seen while you
are fitting the snow traction device (tyre
chains).
l Do not fit snow traction device (tyre chains)
before you need them. This will wear out
your snow traction device (tyre chains) and the road surface.
l After driving around for 100-300 meters,
stop and retighten the snow traction device
(tyre chains).
l Drive carefully and do not exceed 50 km/h
(30 mph). Remember that preventing acci-
dents is not the purpose of snow traction de- vice (tyre chains).CAUTIONl When snow traction device (tyre chains) are
installed, take care that they do not damage the disc wheel or body.
l An aluminium wheel can be damaged by a
snow traction device (tyre chains) whiledriving. When fitting a snow traction device (tyre chains) on an aluminium wheel, take
care that any part of the snow traction device
(tyre chains) and fitting cannot be brought into contact with the wheel.
l When installing or removing a snow traction
device (tyre chains), take care that hands and
other parts of your body and not injured by the sharp edges of the vehicle body.NOTEl The laws and regulations concerning the use
of snow traction device (tyre chains) vary.
Always follow local laws and regulations.
In most countries, it is prohibited by the law to use of snow traction device (tyre chains) on roads without snow.Wiper blade rubber
replacement E01002600532
Windscreen wiper blades
1. Lift the wiper arm off the windscreen.
Wiper blade rubber replacement
11-13OGGE18E1Maintenance11
Page 460 of 538

2.Pull the wiper blade until its stopper (A)
disengages from the hook (B). Then, pull the wiper blade further to remove it.NOTEl Do not allow the wiper arm to fall onto the
windscreen; it could damage the glass.
3. Attach the retainers (C) to a new wiper
blade.
Refer to the illustration to ensure that the
retainers are correctly aligned as you at- tach them.
4. Insert the wiper blade into the arm, start-
ing with the opposite end of the blade from the stopper. Make sure the hook(B) is fitted correctly in the grooves in
the blade.
NOTEl If retainers are not supplied with the new
wiper blade, use the retainers from the old
blade.5. Push the wiper blade until the hook (B)
engages securely with the stopper (A).
Rear window wiper blades
1. Lift the wiper arm off the window glass.
2. Pull the wiper blade downward to disen-
gage it from the stopper (A) at the end of
the wiper arm. Pull the wiper blade fur-
ther to remove it.
3. Slide a new wiper blade through the
hook (B) on the wiper arm.
Wiper blade rubber replacement
11-14OGGE18E1Maintenance11
Page 495 of 538

Towing.............................................................. 9-17
Trailer towing.................................................. 7-116
Transaxle fluid ................................................12-10
Turn-signal indication lamps.............................6-47
Turn/Lane-change signals................................. 6-60
Tyre pressure monitoring system (TPMS)........ 7-89
Tyre repair kit.................................................... 9-07
Tyres................................................................ 11-10 How to change a tyre.................................... 9-13
Inflation pressures....................................... 11-10
Rotation....................................................... 11-11
Size (tyre and wheel).................................. 12-08
Snow traction device (tyre chains).............. 11-13
Snow tyres................................................... 11-12
Tread wear indicators.................................. 11-11
Tyre pressure monitoring system (TPMS).. 11-10
Tyre repair kit............................................... 9-07
U
Ultrasonic misacceleration MitigationSystem (UMS)................................................. 7-74
USB input terminal............................................8-69 How to connect a USB memory................... 8-69
How to connect an iPod................................ 8-70
V
Vanity mirror lampBulb capacity.............................................. 11-25
Vehicle care precautions................................. 10-02
Vehicle dimensions......................................... 12-04
Vehicle identification number......................... 12-02
Vehicle identification number plate................ 12-02
Vehicle information code plate....................... 12-02
Vehicle labeling...............................................12-02
Vehicle performance....................................... 12-05
Vehicle weight.................................................12-05
Ventilators......................................................... 8-02
W
Warning lamps.................................................. 6-48
Washer Fluid.................................................. 11-08,12-10
Switch................................................... 6-65,6-66
Washing...........................................................10-03
Waxing............................................................ 10-04
Weight............................................................. 12-05
Wheel Specification............................................... 12-08
Wiper de-icer switch......................................... 6-67
Wiper Rear window................................................. 6-65Windscreen................................................... 6-62
Wiper blades............................................... 11-13
Alphabetical index
13- 5
OGGE18E1Alphabetical index