2018 MERCEDES-BENZ SL ROADSTER audio
[x] Cancel search: audioPage 154 of 190
General notes
Notes on discs
!Do not affix stickers or labels to the discs.
They could peel off and damage the drive.
The drive is designed to receive EN 60908 standard discs. Therefore, you can
only use discs with a maximum thickness of
1.3 mm.
If you insert thicker discs, e.g. those that con-
tain data on both sides (DVD on one side and
audio data on the other), they cannot be ejec-
ted and can damage the drive.
Do not use discs with an 8 cm diameter, even
when using an adapter. Only use round discs
with a 12 cm diameter.
The variety of discs, burners and burn software
available means there is no guarantee that the
multimedia system will be able to play discs that
you have burned yourself.
DVD playback conditions
The multimedia system can play back video
DVDs produced according to the following
standards:
RRegion code 1 or region code 0 (no region
code)
RPAL or NTSC standard
You will generally find the relevant details either
on the DVD itself or on the DVD case.
With DVDs that do not meet the standard
requirements, you may encounter playback
problems.
iObserve the following notes:
RThe multimedia system is set to region
code 1 at the factory. This setting can be
changed at a qualified specialist workshop.
The region code can be changed up to five
times.
RIf the region code is changed at the work-
shop, video DVDs with another region code
can also be played. If you insert a video
DVD with a different region code, a mes-
sage to this effect appears.
RIf a DVD cannot be played back according
to national color transfer methods (PAL or
NTSC standards), problems with the image,
sound or playback may occur.
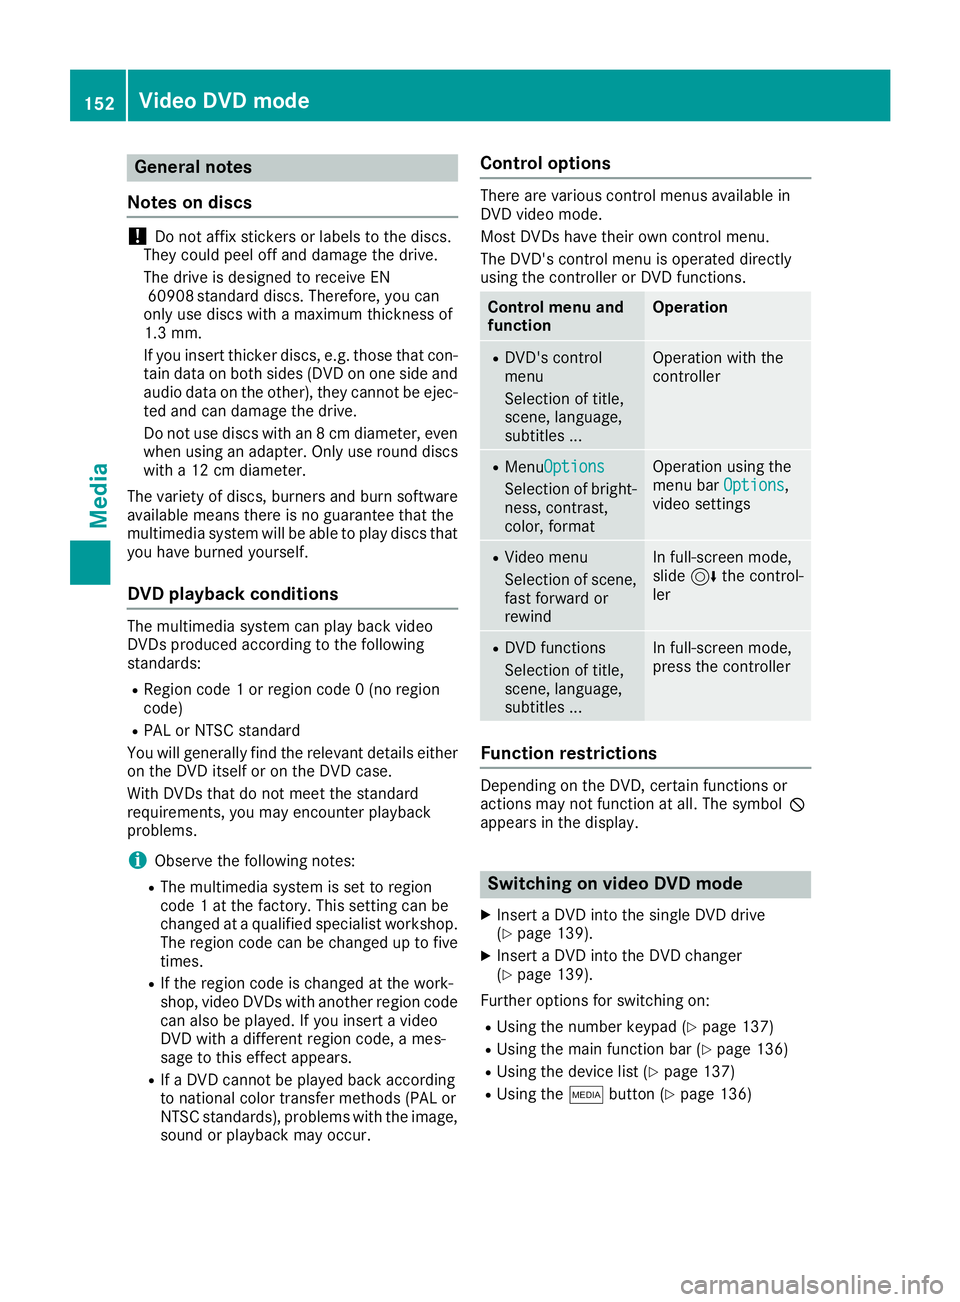
Control options
There are various control menus available in
DVD video mode.
Most DVDs have their own control menu.
The DVD's control menu is operated directly
using the controller or DVD functions.
Control menu and
functionOperation
RDVD's control
menu
Selection of title,
scene, language,
subtitles ...Operation with the
controller
RMenu Options
Selection of bright-
ness, contrast,
color, format
Operation using the
menu bar Options,
video settings
RVideo menu
Selection of scene,
fast forward or
rewindIn full-screen mode,
slide 6the control-
ler
RDVD functions
Selection of title,
scene, language,
subtitles ...In full-screen mode,
press the controller
Function restrictions
Depending on the DVD, certain functions or
actions may not function at all. The symbol K
appears in the display.
Switching on video DVD mode
XInsert a DVD into the single DVD drive
(Ypage 139).
XInsert a DVD into the DVD changer
(Ypage 139).
Further options for switching on:
RUsing the number keypad (Ypage 137)
RUsing the main function bar (Ypage 136)
RUsing the device list (Ypage 137)
RUsing the Õbutton (Ypage 136)
152Video DVD mode
Media
Page 159 of 190
Your multimediasyste mequipment
These operatin ginstruction sdescribe all th e
standar dan doptional equipment of your multi-
media system, as available at th etime of going
to press. Country-specifi cdifference sare pos -
sible. Bear in min dthat your vehicle may no t
feature all function sdescribed here. Thi salso
applies to safety-relevan tsystems an dfunc-
tions.
Read th einformation on qualifie dspecialis t
workshop sin th evehicle Operator's Manual.
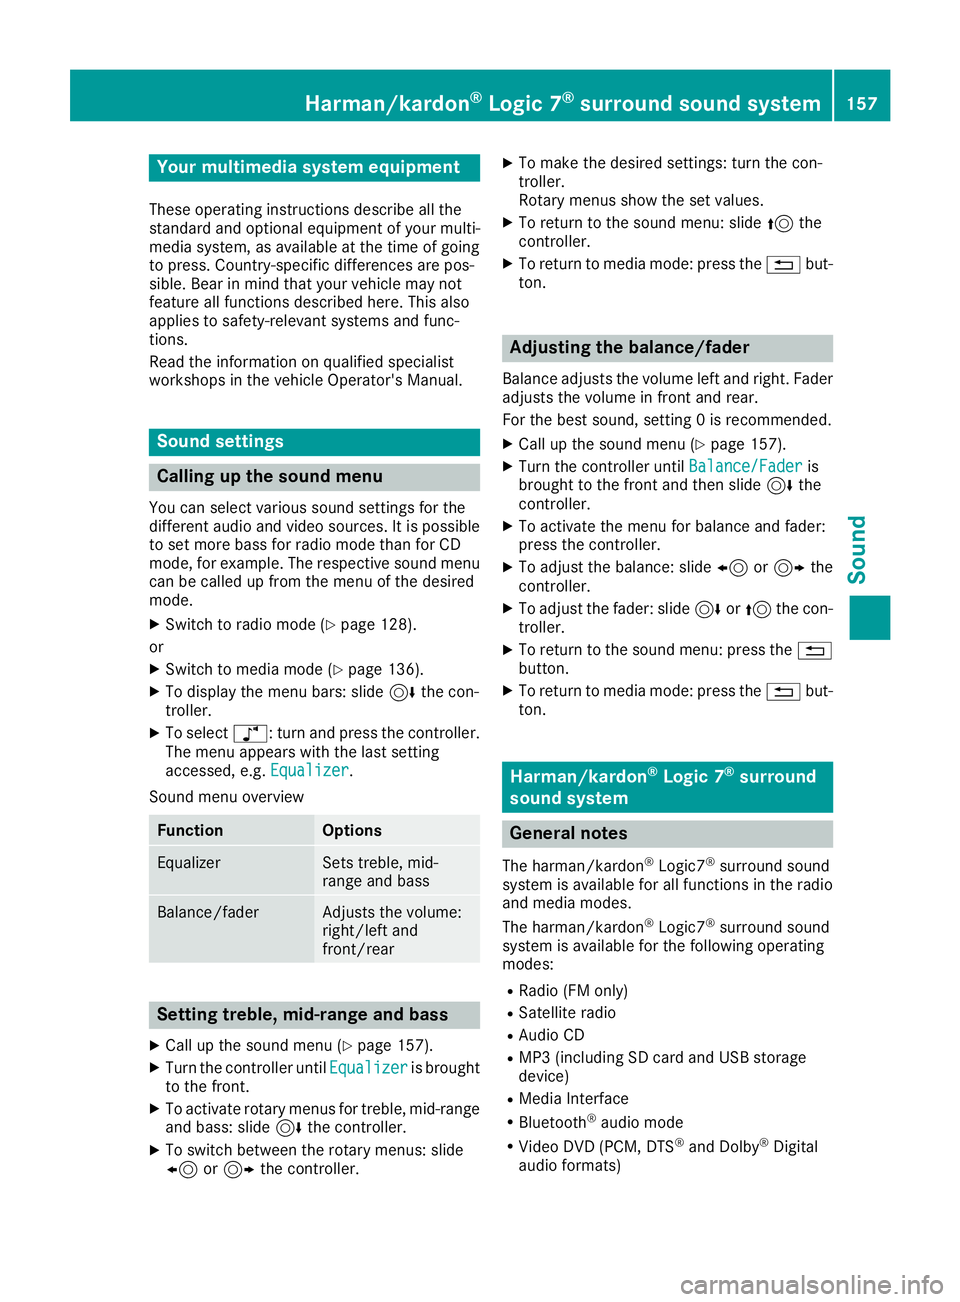
Sound settings
Calling up th esound menu
You can selec tvarious sound setting sfo rth e
differen taudio an dvideo sources. It is possible
to set more bass fo rradio mode than fo rCD
mode, fo rexample. The respective sound men u
can be called up from th emen uof th edesire d
mode.
XSwitch to radio mode (Ypage 128).
or
XSwitch to media mode (Ypage 136).
XTo display themen ubars: slid e6 thecon-
troller.
XTo selec tà :turn an dpress th econtroller .
The men uappears wit hth elast setting
accessed, e.g. Equalizer
.
Sound men uoverview
FunctionOptions
EqualizerSets treble ,mid -
range an dbass
Balance/faderAdjust sth evolume :
right/lef tan d
front/rea r
Setting treble, mid-range an dbass
XCall up th esound men u (Ypage 157).
XTurnth econtroller until Equalizeris brought
to th efront.
XTo activat erotary menus fo rtreble ,mid-range
an dbass :slid e6 thecontroller .
XTo switch between th erotary menus: slid e
8 or9 thecontroller .
XTo maketh edesire dsettings: turn th econ-
troller.
Rotary menus sho wtheset values.
XTo return to th esound menu: slid e5 the
controller .
XTo return to media mode: press th e% but-
ton.
Adjusting th ebalance/fader
Balance adjust sth evolume lef tan dright .Fader
adjust sth evolume in fron tan drear.
Fo rth ebes tsound ,setting 0is recommended .
XCall up thesound men u (Ypage 157).
XTurnth econtroller until Balance/Faderis
brought to th efron tan dthen slid e6 the
controller .
XTo activat eth emen ufo rbalance an dfader:
press th econtroller .
XTo adjust th ebalance :slid e8 or9 the
controller .
XTo adjust th efader: slid e6 or5 thecon-
troller.
XTo return to th esound menu: press th e%
button.
XTo return to media mode: press th e% but-
ton.
Harman/kardon®Logic 7®surroun d
sound syste m
General notes
The harman/kardon®Logic7®surround sound
syste mis available fo rall function sin th eradio
an dmedia modes .
The harman/kardon
®Logic 7®surround sound
syste mis available fo rth efollowin goperatin g
modes :
RRadio (F Monly)
RSatellite radio
RAudio CD
RMP3 (includin gSD car dan dUS Bstorage
device)
RMedia Interface
RBluetoot h®audio mode
RVideo DV D(PCM ,DT S®andDolby®Digital
audio formats)
Harman/kardon®Logic 7®surround sound system15 7
Sound
Page 160 of 190
iFor the best sound, CD or the WAV audio
format is recommended. For data-reduced
media, the AAC audio format with a data rate
of 320 kbit/s is recommended.
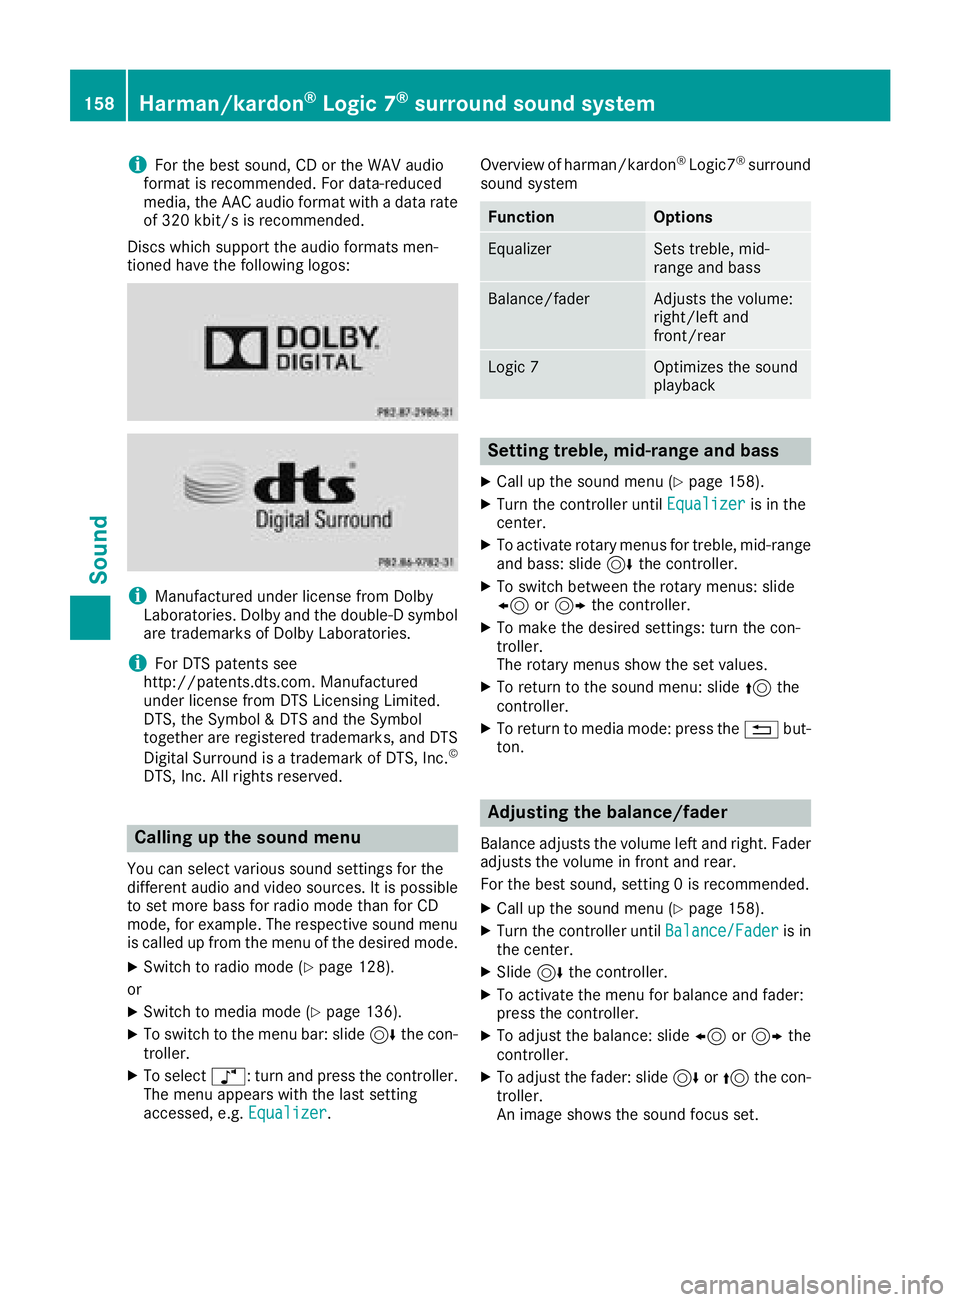
Discs which support the audio formats men-
tioned have the following logos:
iManufactured under license from Dolby
Laboratories. Dolby and the double-D symbol
are trademarks of Dolby Laboratories.
iFor DTS patents see
http://patents.dts.co m.Manufactured
under license from DTS Licensing Limited.
DTS, the Symbol & DTS and the Symbol
together are registered trademarks, and DTS
Digital Surround is a trademark of DTS, Inc.
©
DTS, Inc. All rights reserved.
Calling up the sound menu
You can select various sound settings for the
different audio and video sources. It is possible
to set more bass for radio mode than for CD
mode, for example. The respective sound menu
is called up from the menu of the desired mode.
XSwitch to radio mode (Ypage 128).
or
XSwitch to media mode (Ypage 136).
XTo switch to the menu bar: slide 6the con-
troller.
XTo select à: turn and press the controller.
The menu appears with the last setting
accessed, e.g. Equalizer
. Overview of harman/kardon
®Logic7®surround
sound system
FunctionOptions
EqualizerSets treble, mid-
range and bass
Balance/faderAdjusts the volume:
right/left and
front/rear
Logic 7Optimizes the sound
playback
Setting treble, mid-range and bass
XCall up the sound menu (Ypage 158).
XTurn the controller until Equalizeris in the
center.
XTo activate rotary menus for treble, mid-range
and bass: slide 6the controller.
XTo switch between the rotary menus: slide
8 or9 the controller.
XTo make the desired settings: turn the con-
troller.
The rotary menus show the set values.
XTo return to the sound menu: slide 5the
controller.
XTo return to media mode: press the %but-
ton.
Adjusting the balance/fader
Balance adjusts the volume left and right. Fader
adjusts the volume in front and rear.
For the best sound, setting 0 is recommended.
XCall up the sound menu (Ypage 158).
XTurn the controller until Balance/Faderis in
the center.
XSlide 6the controller.
XTo activate the menu for balance and fader:
press the controller.
XTo adjust the balance: slide 8or9 the
controller.
XTo adjust the fader: slide 6or5 the con-
troller.
An image shows the sound focus set.
158Harman/kardon®Logic 7®surround sound system
Sound
Page 161 of 190

XTo return to the sound menu: press the%
button.
XTo return to media mode: press the %but-
ton.
Setting surround sound
The Logic7setting optimizes the sound play-
back.
XCall up the sound menu (Ypage 158).
XTurn the controller until Logic7is in the cen-
ter.
XSlide 6the controller.
The left-hand rotary menu to switch surround
sound on and off is activated.
XTo switch Logic7on or off: turn the control-
ler.
XTo return to the menu: slide 5the control-
ler.
XTo return to media mode: press the %but-
ton.
For the optimum audio experience for all pas-
sengers when Logic7
®is switched on, the bal-
ance settings should be set to the center of the
vehicle interior.
MP3 tracks should have a data rate of at least
128 kbit/s.
Surround sound playback does not function for
mono signal sources, such as for AM radio
mode.
If radio reception is poor, e.g. in a tunnel, you
should switch off Logic7
®, since it may other-
wise switch dynamically between stereo and
mono and cause temporary sound distortions.
Bang & Olufsen BeoSound
General notes
The Bang & Olufsen BeoSound AMG sound sys-
tem is available for all functions in the radio and
media modes.
The following modes are available for the Bang &
Olufsen BeoSound AMG sound system:
RRadio (FM only)
RSatellite radio
RAudio CD
RMP3/AAC
RMedia Interface
RBluetooth®audio mode
RVideo DVD (PCM, DTS®and Dolby®Digital
audio formats)
iFor the best sound, CD or the WAV audio
format is recommended. For data-reduced
media, the AAC audio format with a data rate
of 320 kbit/s is recommended.
iManufactured under license from Dolby
Laboratories. Dolby and the double-D symbol
are trademarks of Dolby Laboratories.
iFor DTS patents see
http://patents.dts.com. Manufactured
under license from DTS Licensing Limited.
DTS, the Symbol & DTS and the Symbol
together are registered trademarks, and DTS
Digital Surround is a trademark of DTS, Inc.
©
DTS, Inc. All rights reserved.
Calling up the sound menu
You can select various sound settings for the
different audio and video sources. It is possible
to set more bass for radio mode than for CD
mode, for example. The respective sound menu
is called up from the menu of the desired mode.
XSwitch to radio mode (Ypage 128).
or
XSwitch to media mode (Ypage 136).
XTo switch to the menu bar: slide 6the con-
troller.
XTo select à: turn and press the controller.
The menu appears with the last setting
accessed, e.g. Equalizer
.
Bang & Olufsen BeoSound159
Sound
Page 162 of 190
Bang & Olufsen BeoSound AMG sound system
FunctionOptions
EqualizerSets treble, mid-
range and bass
Balance/faderAdjusts the volume:
right/left and
front/rear
True Image™Sets a sound profile
in the vehicle
Sound mode (VIP &BAL Selection)Optimizes the sound
playback
Setting treble, mid-range and bass
XCall up the sound menu (Ypage 159).
XTurn the controller until Equalizeris in the
center.
XSlide 6the controller.
Rotary menus for treble, mid-range and bass
are activated.
XTo switch between the rotary menus: slide
8 or9 the controller.
XTo make the desired Equalizersettings: turn
the controller.
The rotary menus show the set values.
XTo return to the menu: slide 5the control-
ler.
XTo return to media mode: press the %but-
ton.
Adjusting the balance/fader
Balance adjusts the volume left and right. Fader
adjusts the volume in front and rear.
For the best sound, setting 0 is recommended.
XCall up the sound menu (Ypage 159).
XTurn the controller until Balance/Faderis in
the center.
XSlide 6the controller.
XTo activate the menu for balance and fader:
press the controller.
XTo adjust the balance focus: slide 8or
9 the controller.
XTo adjust the fader focus: slide 6or5 the
controller.
XTo return to the sound menu: press the %
button.
XTo return to media mode: press the %but-
ton.
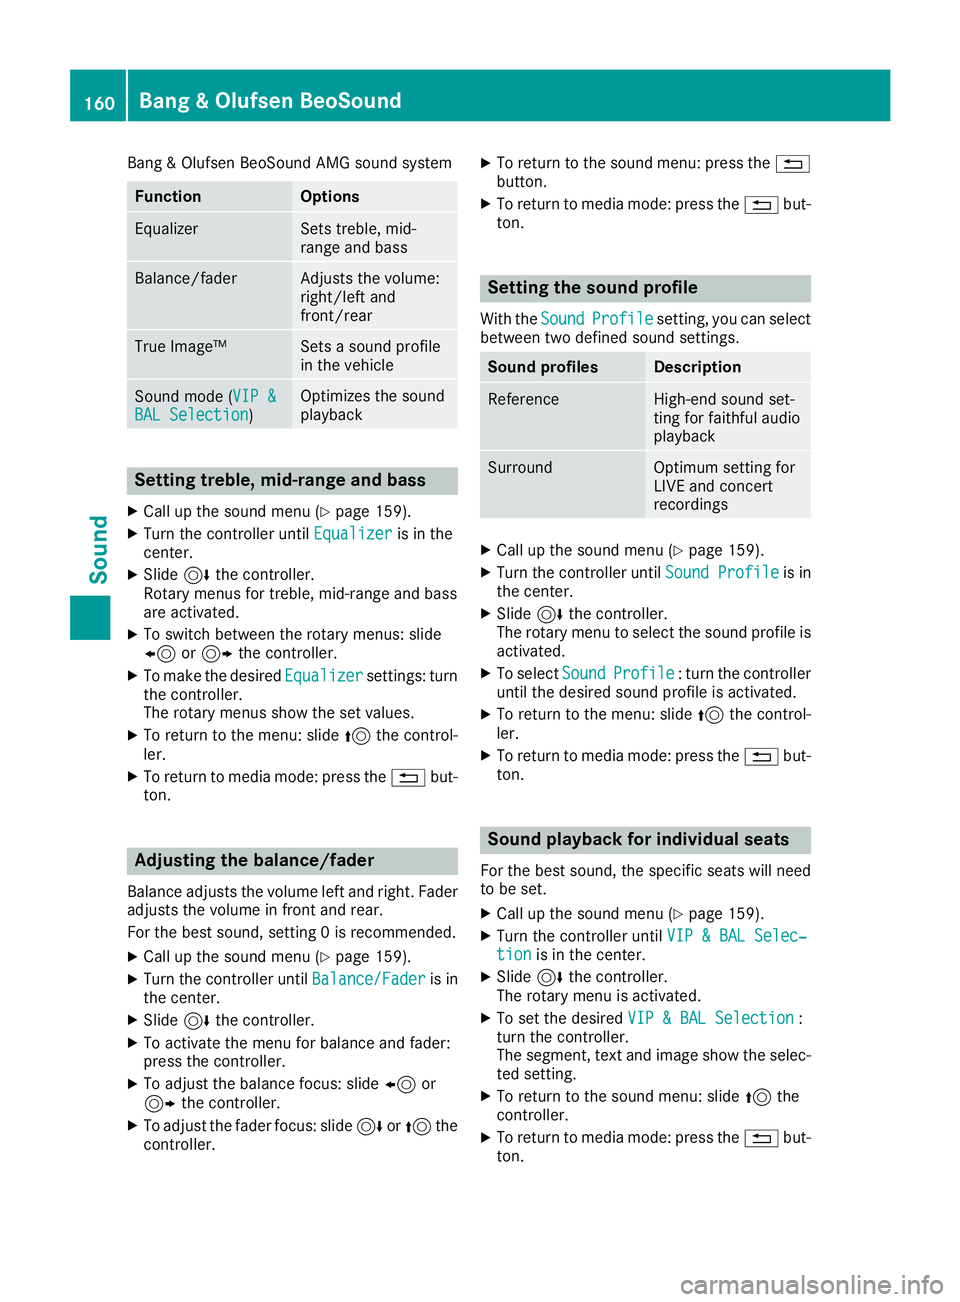
Setting the sound profile
With the SoundProfilesetting, you can select
between two defined sound settings.
Sound profilesDescription
ReferenceHigh-end sound set-
ting for faithful audio
playback
SurroundOptimum setting for
LIVE and concert
recordings
XCall up the sound menu (Ypage 159).
XTurn the controller until Sound Profileis in
the center.
XSlide 6the controller.
The rotary menu to select the sound profile is
activated.
XTo select SoundProfile: turn the controller
until the desired sound profile is activated.
XTo return to the menu: slide 5the control-
ler.
XTo return to media mode: press the %but-
ton.
Sound playback for individual seats
For the best sound, the specific seats will need
to be set.
XCall up the sound menu (Ypage 159).
XTurn the controller until VIP & BAL Selec‐tionis in the center.
XSlide6the controller.
The rotary menu is activated.
XTo set the desired VIP & BAL Selection:
turn the controller.
The segment, text and image show the selec-
ted setting.
XTo return to the sound menu: slide 5the
controller.
XTo return to media mode: press the %but-
ton.
160Bang & Olufsen BeoSound
Sound
Page 171 of 190
Your multimediasyste mequipment
These operatin ginstruction sdescribe all th e
standar dan doptional equipment of your multi-
media system, as available at th etime of going
to press. Country-specifi cdifference sare pos -
sible. Bear in min dthat your vehicle may no t
feature all function sdescribed here. Thi salso
applies to safety-relevan tsystems an dfunc-
tions.
Read th einformation on qualifie dspecialis t
workshop sin th evehicle Operator's Manual.
Overview
Important safet ynotes
GWARNING
The CD/DVD drive is aclass 1lase rproduct.
If you ope nth ehousin gof th eCD/DVD drive,
there is aris kof exposure to invisible lase r
radiation .Thi slase rradiation could damage
your retina. There is aris kof injury.
Never ope nth ehousing. Always hav emain -
tenanc ean drepair wor kcarrie dout at aquali -
fie dspecialis tworkshop .
GWARNING
If objects suc has headphones/headset sor
external audio/video sources are no tsecure d
in th epassenger compartment, they can be
flun garound an dhit vehicle occupants .There
is aris kof injury, fo rexample in th eevent of
sudden braking or asudden change in direc -
tion .
Always stow these items or similar objects
carefully so that they canno tbe flung around ,
fo rexample in alockable vehicle stowag e
compartment.
Equipment
Observ ethat arange of Rear Seat Entertain -
men tSystems are available fo rMercedes-Ben z
vehicles .In this Operator's Manual, th eRear
Seat Entertainmen tSyste mCode 86 4is used
fo rillustration purposes. If you hav e adifferen t
Rear Seat Entertainmen tSyste min your vehicle,
please refer to th emanufacturer's operatin g
instructions.
Component s
The Rear Seat Entertainmen tSyste mincludes :
Rtwoscreens fo rth erea rbehin dth efront-seat
head restraints
Rtw oremot econtrols
Rasingle drive (rear-compartmen tdrive)
RAU Xjack son bot hrea rscreens (AUX display)
RAU Xjack son th erea rdrive (AUX drive)
Rheadphone sfo reac hrea rscree n
Rtwoset sof cordless headphone s
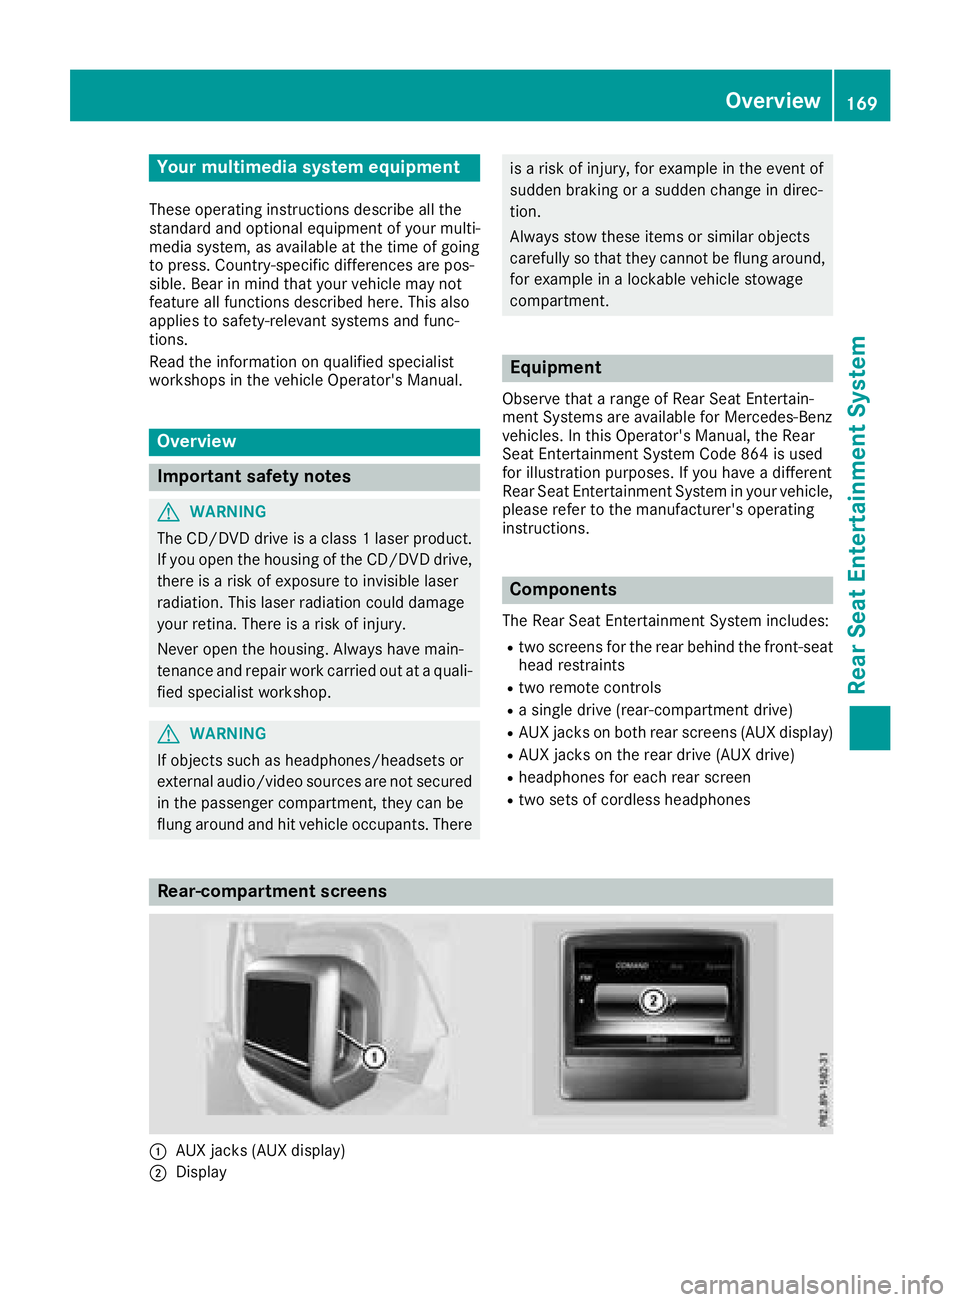
Rear-compartment screens
:AUXjack s(AUX display)
;Display
Overview169
Rear Seat Entertainment System
Z
Page 173 of 190

CD/DVD drive and AUX jacks
:Disc slot
;AUX, right-hand (R) jack for audio signal
(red)
=AUX, left-hand (L) jack for audio signal
(white)
?AUX, video (V) jack (yellow)
ADisc eject button
The AUX jacks shown are for the AUX drive.
Identical jacks can be found on the right-hand
side of the rear-compartment screens (AUX dis-
play) (
Ypage 169).
Cordless headphones
Overview
XTo adjust the headphones: open both sides of the headphones.
XAdjust the headphones by pulling the headphone band in the direction of the arrow.
XTo switch the headphones on or off: press On or Off switch;.
XTo adjust the volume: turn volume control=until the desired volume is set. If you have con-
nected corded headphones to a rear-compartment screen, you can adjust the volume using the
remote control (
Ypage 170).
XTo check the battery condition of charge: check the state of the batteries using indicator
lamp :(Ypage 172).
The headphones automatically switch off if they have not received an audio signal for approximately
three minutes. This preserves the batteries.
Overview171
Rear Seat Entertainment System
Z
Page 176 of 190

Using the main loudspeakers
This function is available in conjunction with the
multimedia system.
You can use the vehicle loudspeakers to listen to
a disc inserted in the rear-compartment drive.
To do so, disc mode (audio CD/audio DVD/
MP3) must be activated on at least one rear
screen.
The volume setting of the headphones does not
affect the main loudspeakers.
XTo set on the multimedia system:press the
$ button, for example, to switch on an
audio mode.
XTo select Information6slide and press
the controller.
A menu appears.
XTurn the controller until Rear Seat Enter‐tainment System: Audiois brought to the
front.
XPress the controller.
Selecting sound settings
You can select sound settings in the following
operating modes:
RAudio CD/MP3
RVideo DVD
RRadio (active media source in COMAND)
RAUX
XSwitch on an operating mode (e.g. CD mode)
(Ypage 175).
XSelect TrebleorBassusing
the :=; buttons on the remote
control and press the 9button to confirm.
An adjustment scale appears.
XSelect a setting using the 9:buttons
and press the 9button to confirm.
Multiple users
Simultaneous use of the rear-compart-
ment disc drive
The two rear-compartment screens can be oper- ated almost entirely independently from one
another. However, a conflict may occur in some
menus if the two screens are used simultane-
ously. The following functions affect both screens:
Rchanging playback options
Rselecting a track (from a track list or folder)
Rusing the play, pause and stop functions
Rfast forward and rewind or scrolling
Rcalling up the DVD menu and navigating
within it
Rsetting the language, subtitles and camera
angle
Rcalling up interactive DVD content
The following functions affect only one screen:
Rfunctions in audio and video mode
Rchanging picture settings
Rswitching between full screen and the menu
Switching between operating modes
When you exit an operating mode (e.g. CD
mode), the current setting is saved. If you call up
this operating mode again later, there are two
possibilities:
Rthe operating mode has been changed on the
other screen.
Rthe operating mode has not been changed.
In the first case, the operating mode appears as it is on the other screen.
In the second case, the setting appears on the
screen as it was when you last exited the oper-
ating mode.
Picture settings
Overview
You can select the picture settings in DVD and
AUX mode (Ypage 184).
Adjusting the brightness, contrast and
color
XSwitch to DVD mode (Ypage 179).
XTo show the menu: press the9button on
the remote control.
174Basic functions
Rear Seat Entertainment System