2018 MERCEDES-BENZ GLS SUV fog light
[x] Cancel search: fog lightPage 133 of 398
QSwitches the rear climate control on/off (Ypage 131)
RReduces the airflow (Ypage 133)
Optimum use of automatic climate
control
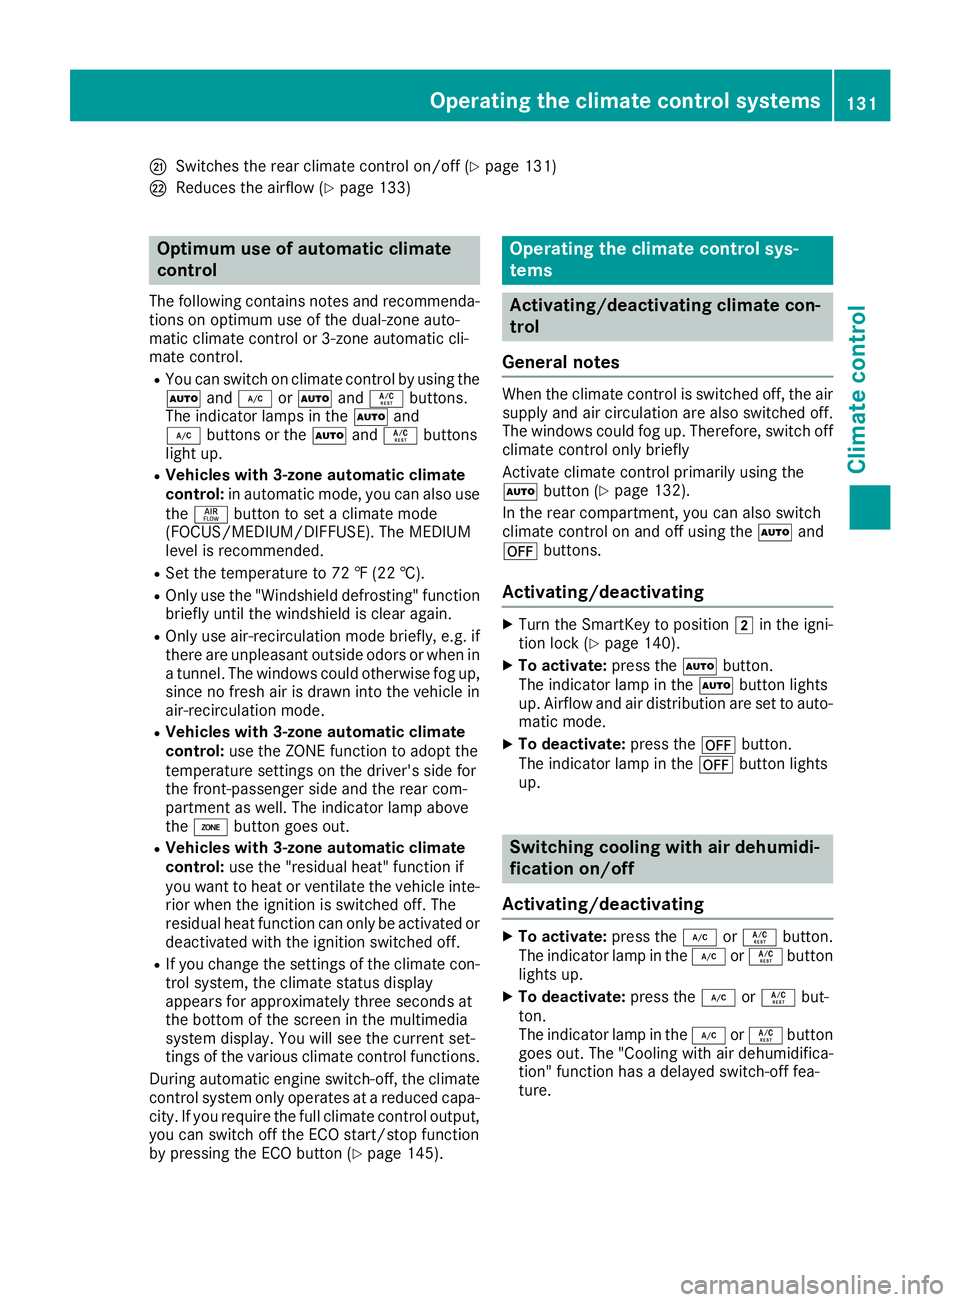
The following contains notes and recommenda-
tions on optimum use of the dual-zone auto-
matic climate control or 3-zone automatic cli-
mate control.
RYou can switch on climate control by using the
Ãand¿ orà andÁ buttons.
The indicator lamps in the Ãand
¿ buttons or the ÃandÁ buttons
light up.
RVehicles with 3-zone automatic climate
control: in automatic mode, you can also use
the ñ button to set a climate mode
(FOCUS/MEDIUM/DIFFUSE). The MEDIUM
level is recommended.
RSet the temperature to 72 ‡ (22 †).
ROnly use the "Windshield defrosting" function
briefly until the windshield is clear again.
ROnly use air-recirculation mode briefly, e.g. if
there are unpleasant outside odors or when in
a tunnel. The windows could otherwise fog up,
since no fresh air is drawn into the vehicle in
air-recirculation mode.
RVehicles with 3-zone automatic climate
control: use the ZONE function to adopt the
temperature settings on the driver's side for
the front-passenger side and the rear com-
partment as well. The indicator lamp above
the á button goes out.
RVehicles with 3-zone automatic climate
control: use the "residual heat" function if
you want to heat or ventilate the vehicle inte- rior when the ignition is switched off. The
residual heat function can only be activated or
deacti
vated with the ignition switched off.
RIf you change the settings of the climate con-
trol system, the climate status display
appears for approximately three seconds at
the bottom of the screen in the multimedia
system display. You will see the current set-
tings of the various climate control functions.
During automatic engine switch-off, the climate
control system only operates at a reduced capa-
city. If you require the full climate control output,
you can switch off the ECO start/stop function
by pressing the ECO button (
Ypage 145).
Operating the climate control sys-
tems
Activating/deactivating climate con-
trol
General notes
When the climate control is switched off, the air
supply and air circulation are also switched off.
The windows could fog up. Therefore, switch off
climate control only briefly
Activate climate control primarily using the
à button (
Ypage 132).
In the rear compartment, you can also switch
climate control on and off using the Ãand
^ buttons.
Activating/deactivating
XTurn the SmartKey to position 2in the igni-
tion lock (Ypage 140).
XTo activate: press theÃbutton.
The indicator lamp in the Ãbutton lights
up. Airflow and air distribution are set to auto-
matic mode.
XTo deactivate: press the^button.
The indicator lamp in the ^button lights
up.
Switching cooling with air dehumidi-
fication on/off
Activating/deactivating
XTo activate: press the¿orÁ button.
The indicator lamp in the ¿orÁ button
lights up.
XTo deactivate: press the¿orÁ but-
ton.
The indicator lamp in the ¿orÁ button
goes out. The "Cooling with air dehumidifica-
tion" function has a delayed switch-off fea-
ture.
Operating the climate control systems131
Climate control
Page 135 of 398
The temperature setting for the driver's side
is adopted for the rear compartment and the
front-passenger side.
XTurn thumbwheel:to the left or right
(Ypage 127).
Only change the temperature setting in small
increments. Start at 72 ‡ (22 †).
XTo increase or decrease the rear compart- ment temperature using the rear control
panel: turn control Mcounter-clockwise or
clockwise on the rear control panel
(
Ypage 127).
Only change the temperature setting in small
increments. Start at 72 ‡ (22 †).
Setting the air distribution
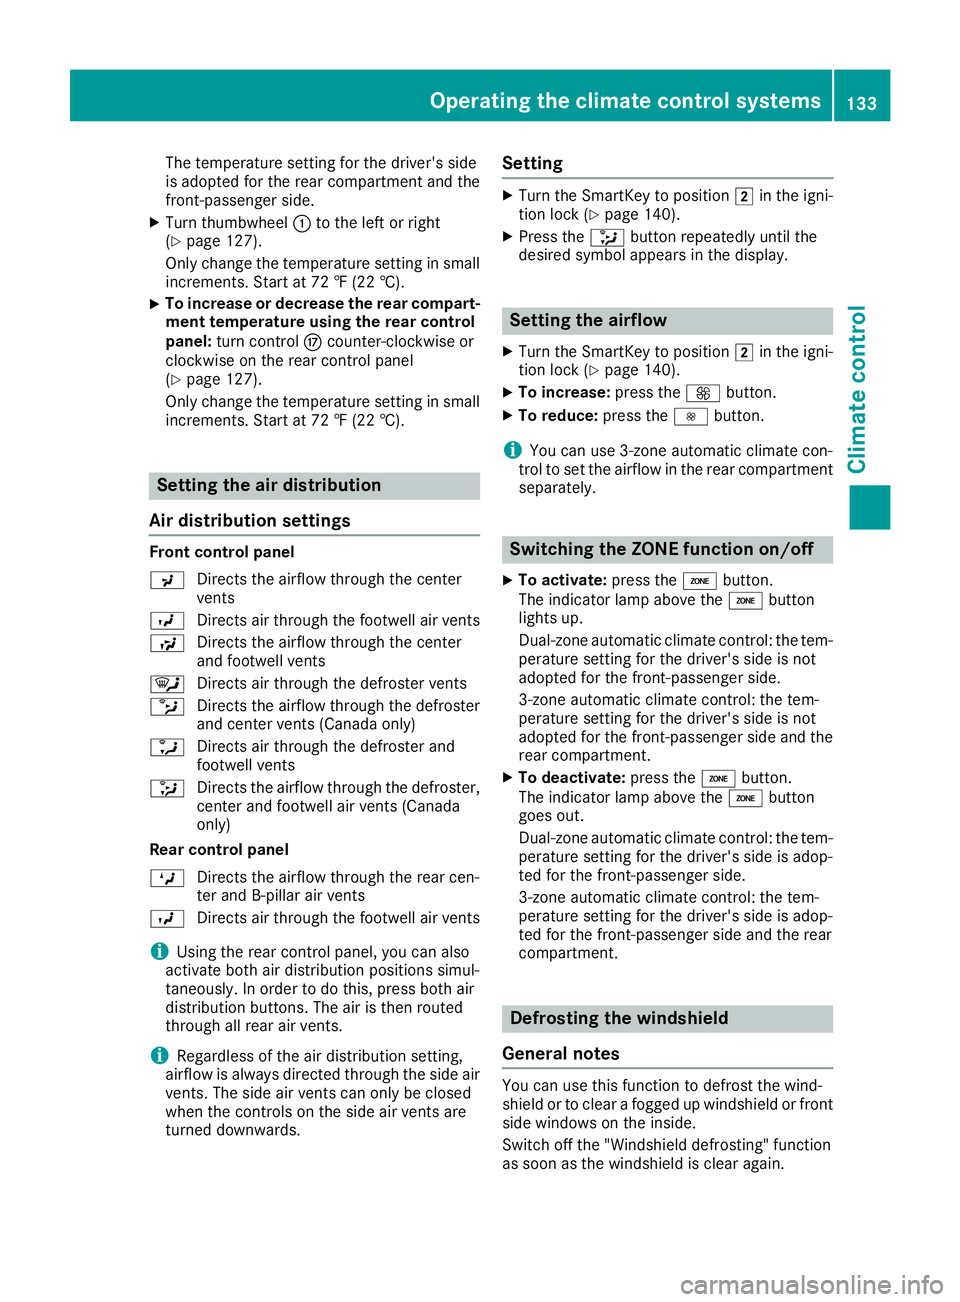
Air distribution settings
Front control panel
P Directs the airflow through the center
vents
O Directs air through the footwell air vents
S Directs the airflow through the center
and footwell vents
¯ Directs air through the defroster vents
b Directs the airflow through the defroster
and center vents (Canada only)
a Directs air through the defroster and
footwell vents
_ Directs the airflow through the defroster,
center and footwell air vents (Canada
only)
Rear control panel
M Directs the airflow through the rear cen-
ter and B-pillar air vents
O Directs air through the footwell air vents
iUsing the rear control panel, you can also
activate both air distribution positions simul-
taneously. In order to do this, press both air
distribution buttons. The air is then routed
through all rear air vents.
iRegardless of the air distribution setting,
airflow is always directed through the side air
vents. The side air vents can only be closed
when the controls on the side air vents are
turned downwards.
Setting
XTurn the SmartKey to position 2in the igni-
tion lock (Ypage 140).
XPress the _button repeatedly until the
desired symbol appears in the display.
Setting the airflow
XTurn the SmartKey to position 2in the igni-
tion lock (Ypage 140).
XTo increase: press theKbutton.
XTo reduce: press theIbutton.
iYou can use 3-zone automatic climate con-
trol to set the airflow in the rear compartment
separately.
Switching the ZONE function on/off
XTo activate: press theábutton.
The indicator lamp above the ábutton
lights up.
Dual-zone automatic climate control: the tem-
perature setting for the driver's side is not
adopted for the front-passenger side.
3-zone automatic climate control: the tem-
perature setting for the driver's side is not
adopted for the front-passenger side and the rear compartment.
XTo deactivate: press theábutton.
The indicator lamp above the ábutton
goes out.
Dual-zone automatic climate control: the tem-
perature setting for the driver's side is adop-
ted for the front-passenger side.
3-zone automatic climate control: the tem-
perature setting for the driver's side is adop-
ted for the front-passenger side and the rear
compartment.
Defrosting the windshield
General notes
You can use this function to defrost the wind-
shield or to clear a fogged up windshield or front
side windows on the inside.
Switch off the "Windshield defrosting" function
as soon as the windshield is clear again.
Operating the climate control systems133
Climate control
Page 136 of 398
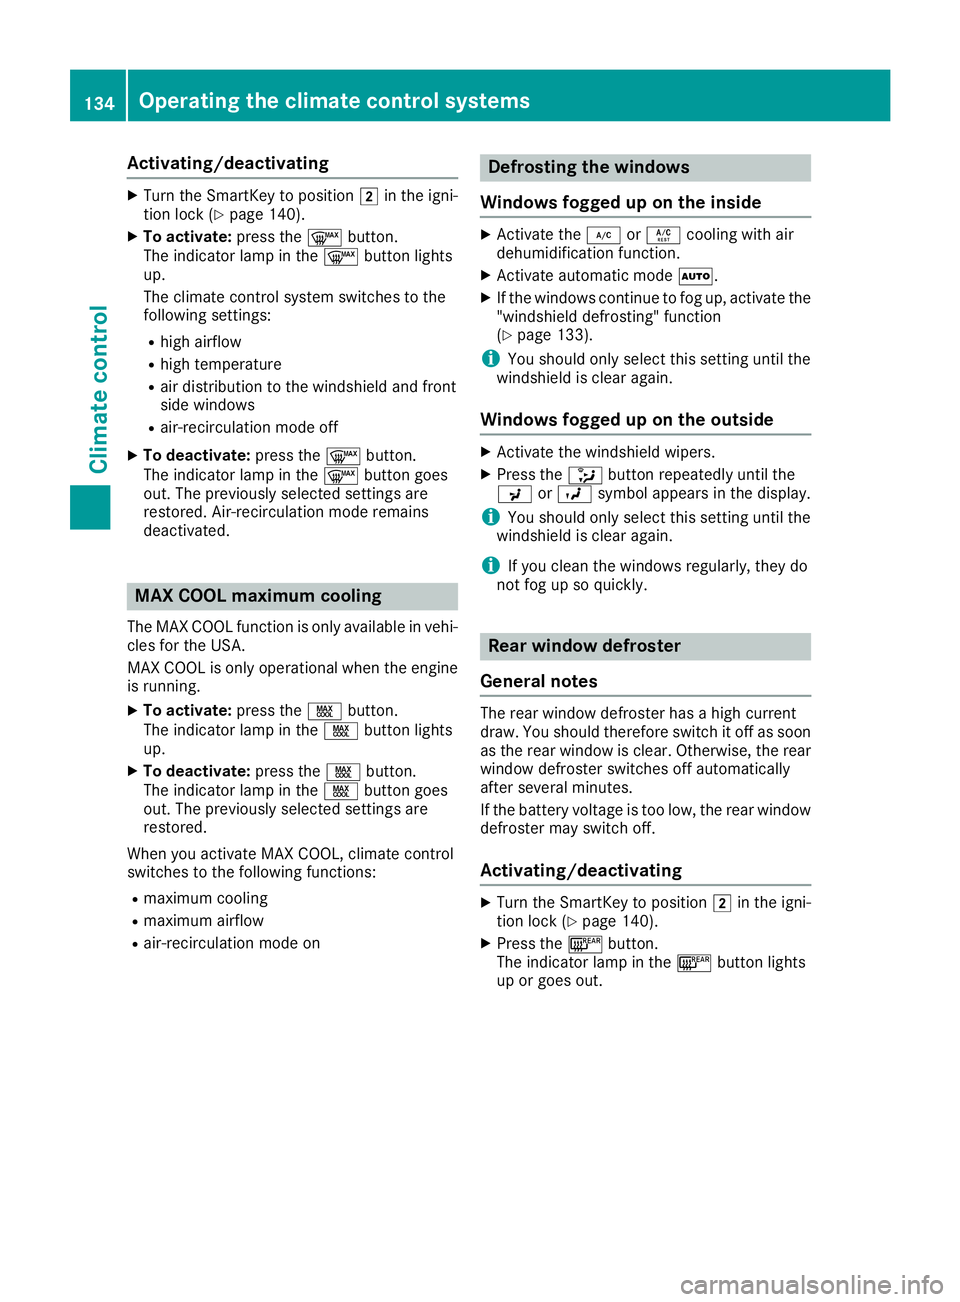
Activating/deactivating
XTurn theSmartKey to position 2in th eigni-
tion loc k (Ypage 140).
XTo activate: press the¬ button.
The indicator lamp in th e¬ buttonlights
up.
The climat econtrol system switches to th e
followin gsettings:
Rhigh airflow
Rhigh temperature
Rair distribution to th ewindshield and fron t
side windows
Rair-recirculation mod eoff
XTo deactivate: press the¬ button.
The indicator lamp in th e¬ buttongoe s
out .The previously selected setting sare
restored .Air-recirculation mod eremain s
deactivated.
MAX COOL maximum cooling
The MA XCOOL function is only available in vehi-
cle sfor th eUSA.
MA XCOOL is only operational when th eengin e
is running.
XTo activate: press theÙ button.
The indicator lamp in th eÙ buttonlights
up.
XTo deactivate: press theÙ button.
The indicator lamp in th eÙ buttongoe s
out .The previously selected setting sare
restored .
When you activat eMA XCOOL ,climat econtrol
switches to th efollowin gfunctions:
Rmaximum coolin g
Rmaximum airflow
Rair-recirculation mod eon
Defrosting the windows
Windows fogged up onthe inside
XActivat eth e¿ orÁ coolin gwit hair
dehumidification function .
XActivateautomatic mod eÃ.
XIf th ewindows continu eto fog up, activat eth e
"windshield defrosting "function
(
Ypage 133).
iYou should only select this setting until th e
windshield is clear again .
Windows fogged uponthe outside
XActivat eth ewindshield wipers.
XPress th e_ buttonrepeatedly until th e
P orO symbol appear sin th edisplay.
iYou should only select this setting until th e
windshield is clear again .
iIf you clean thewindows regularly, they do
no tfog up so quickly.
Rear window defros ter
Genera l notes
The rear window defroste rhas ahigh curren t
draw .You should therefor eswitch it off as soo n
as th erear window is clear. Otherwise ,th erear
window defroste rswitches off automatically
after several minutes.
If th ebattery voltag eis to olow, th erear window
defroste rmay switch off .
Activating/deactivating
XTurn theSmartKey to position 2in th eigni-
tion loc k (Ypage 140).
XPress th e¤ button.
The indicator lamp in th e¤ buttonlights
up or goe sout .
134Operating the climate control systems
Climate control
Page 137 of 398
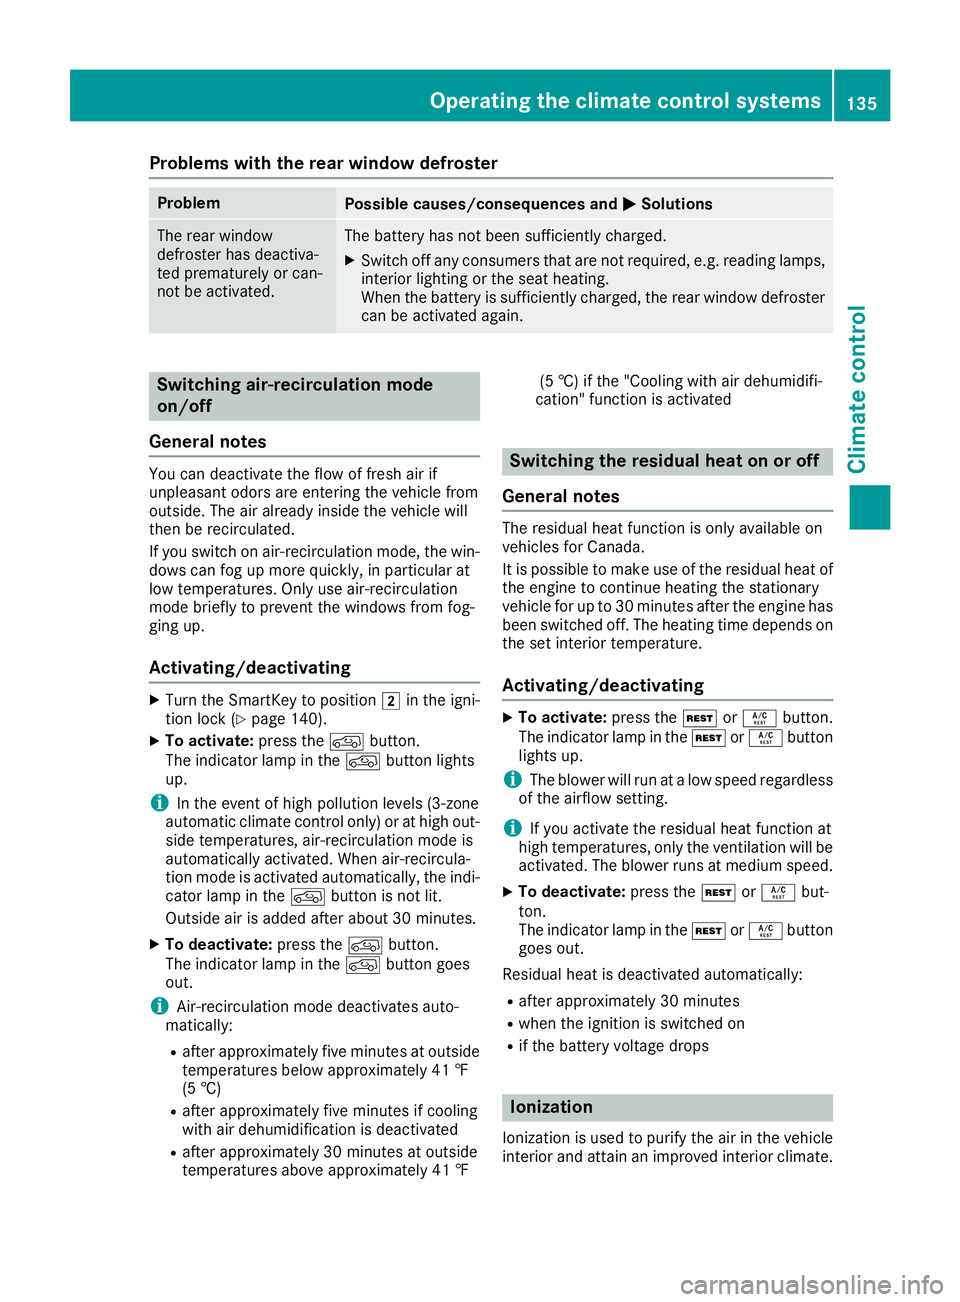
Problems with the rear window defroster
ProblemPossible causes/consequences andMSolutions
The rear window
defroster has deactiva-
ted prematurely or can-
not be activated.The battery has not been sufficiently charged.
XSwitch off any consumers that are not required, e.g. reading lamps,
interior lighting or the seat heating.
When the battery is sufficiently charged, the rear window defroster
can be activated again.
Switching air-recirculation mode
on/off
General notes
You can deactivate the flow of fresh air if
unpleasant odors are entering the vehicle from
outside. The air already inside the vehicle will
then be recirculated.
If you switch on air-recirculation mode, the win-
dows can fog up more quickly, in particular at
low temperatures. Only use air-recirculation
mode briefly to prevent the windows from fog-
ging up.
Activating/deactivating
XTurn the SmartKey to position 2in the igni-
tion lock (Ypage 140).
XTo activate: press thedbutton.
The indicator lamp in the dbutton lights
up.
iIn the event of high pollution levels (3-zone
automatic climate control only) or at high out-
side temperatures, air-recirculation mode is
automatically activated. When air-recircula-
tion mode is activated automatically, the indi-
cator lamp in the dbutton is not lit.
Outside air is added after about 30 minutes.
XTo deactivate: press thedbutton.
The indicator lamp in the dbutton goes
out.
iAir-recirculation mode deactivates auto-
matically:
Rafter approximately five minutes at outside
temperatures below approximately 41 ‡
(5 †)
Rafter approximately five minutes if cooling
with air dehumidification is deactivated
Rafter approximately 30 minutes at outside
temperatures above approximately 41 ‡ (5 †) if the "Cooling with air dehumidifi-
cation" function is activated
Switching the residual heat on or off
General notes
The residual heat function is only available on
vehicles for Canada.
It is possible to make use of the residual heat of
the engine to continue heating the stationary
vehicle for up to 30 minutes after the engine has
been switched off. The heating time depends on
the set interior temperature.
Activating/deactivating
XTo activate: press theÌorÁ button.
The indicator lamp in the ÌorÁ button
lights up.
iThe blower will run at a low speed regardless
of the airflow setting.
iIf you activate the residual heat function at
high temperatures, only the ventilation will be
activated. The blower runs at medium speed.
XTo deactivate: press theÌorÁ but-
ton.
The indicator lamp in the ÌorÁ button
goes out.
Residual heat is deactivated automatically:
Rafter approximately 30 minutes
Rwhen the ignition is switched on
Rif the battery voltage drops
Ionization
Ionization is used to purify the air in the vehicle
interior and attain an improved interior climate.
Operating the climate control systems135
Climate control
Page 176 of 398

Hilltops
When driving up an uphill gradient, slightly
reduce pressure on the accelerator immediately
before reaching the brow of the hill. Make use of
the vehicle's own impetus to travel over the
brow.
This style of driving prevents:
Rthe vehicle from lifting off the ground on the
brow of a hill
Rthe vehicle from traveling too quickly down
the other side
Driving downhill
RDrive slowly.
RDo not drive at an angle down steep inclines.
Steer into the line of fall and drive with the
front wheels aligned straight. Otherwise, the
vehicle could slip sideways, tip and rollover.
RShift to a lower gear using the left-hand pad-
dle shifter before tackling steep downhill gra-
dients.
RActivate DSR. If this is not sufficient, brake
gently. When doing so, make sure that the
vehicle is facing in the direction of the line of
fall.
RCheck that the brakes are working normally
after a long downhill stretch.
iThe special off-road ABS setting enables a
precise, brief and repeated locking of the
front wheels. This causes them to dig into
loose earth. Be aware that the front wheels
easily skid across the ground surface if com-
pletely braked and therefore lose their ability
to steer.
Driving systems
Intelligent Drive
Mercedes-Benz Intelligent Drive stands for inno-
vative driver assistance and safety systems
which enhance comfort and support the driver in critical situations. With these intelligent co-ordi-
nated systems Mercedes-Benz has set a mile-
stone on the path towards autonomous driving.
Mercedes-Benz Intelligent Drive embraces all
elements of active and passive safety in one well
thought out system – for the safety of the vehi-
cle occupants and that of other road users. Further information on driving safety systems
(
Ypage 66).
Cruise control
General notes
Cruise control maintains a constant road speed
for you. It brakes automatically in order to avoid
exceeding the set speed. You must select a
lower gear in good time on long and steep down-
hill gradients, especially if the vehicle is laden or
towing a trailer. By doing so, you will make use of
the braking effect of the engine. This relieves the
load on the brake system and prevents the
brakes from overheating and wearing too
quickly.
Use cruise control only if road and traffic con-
ditions make it appropriate to maintain a steady
speed for a prolonged period. You can store any
road speed above 20 mph (30 km/h).
iCruise control should not be activated when
driving off-road.
Important safety notes
If you fail to adapt your driving style, cruise con- trol can neither reduce the risk of an accident
nor override the laws of physics. Cruise control
cannot take into account the road, traffic and
weather conditions. Cruise control is only an
aid. You are responsible for the distance to the
vehicle in front, for vehicle speed, for braking in
good time and for staying in your lane.
Do not use cruise control:
Rin road and traffic conditions which do not
allow you to maintain a constant speed, e.g. in
heavy traffic or on winding roads
Ron slippery road surfaces. Braking or accel-
erating could cause the drive wheels to lose
traction and the vehicle could then skid
Rwhen there is poor visibility, e.g. due to fog,
heavy rain or snow
If there is a change of drivers, advise the new
driver of the speed stored.
174Driving systems
Driving and parking
Page 185 of 398
with the curb or other road boundaries. Be par-
ticularly aware of other road users, e.g. cyclists,
that are directly next to your vehicle.
Obstacles such as traffic pylons on the lane or
projecting out into the lane are not detected.
An inappropriate steering intervention, e.g. afterintentionally driving over a lane marking, can be
corrected at any time if you steer slightly in theopposite direction.
Distance Pilot DISTRONIC with Steering Pilot
cannot continuously keep your vehicle in lane. In
some cases, the steering intervention is not suf-
ficient to bring the vehicle back to the lane. In
such cases, you must steer the vehicle yourself
to ensure that it does not leave the lane.
The support provided by the system can be
impaired if:
Rthere is poor visibility, e.g. due to insufficient
illumination of the road, or due to snow, rain,
fog or heavy spray
Rthere is glare, e.g. from oncoming traffic, the
sun or reflections (e.g. when the road surface
is wet)
Rthe windshield is dirty, fogged up, damaged or
covered, for instance by a sticker, in the vicin-
ity of the camera
Rthere are no or several unclear lane markings
for one lane, e.g. roadworks
Rthe lane markings are worn away, dark or cov-
ered up, e.g. by dirt or snow
Rthe distance to the vehicle in front is too short
and thus the lane markings cannot be detec-
ted
Rthe lane markings change quickly, e.g. lanes
branch off, cr oss one another or merge
Rthe road is narrow and winding
Rthere are strong shadows cast on the road
The system is switched to passive and no longer
assists you by performing steering interventions if:
Ryou actively change lane
Ryou switch on the turn signal
Rtake your hands off the steering wheel or do
not steer for a prolonged period of time
iAfter you have finished changing lanes,
Steering Pilot is automatically active once
more. Steering Pilot cannot provide assistance:
Ron very sharp corners
Rwhen towing a trailer
Rwhen a loss of tire pressure or a defective tire
has been detected and displayed
Observe the important safety notes on Distance Pilot DISTRONIC (
Ypage 176).
The steering interventions are carried out with a
limited steering moment. The system requires
the driver to keep his hands on the steering
wheel and to steer himself.
If you do not steer yourself or if you take your
hands off the steering wheel for a prolonged
period of time, the system will first alert you with
a visual warning. A steering wheel symbol
appears in the multifunction display. If you have
still not started to steer and have not taken hold
of the steering wheel after five seconds at the
latest, a warning tone also sounds to remind you
to take control of the vehicle. Steering Pilot is
then switched to passive. Distance Pilot
DISTRONIC remains active.
Activating Steering Pilot
XActivate Distance Pilot DISTRONIC with
Steering Pilot using the on-board computer
(
Ypage 241).
The Steering Pilot Onmessage appears
on the multifunction display. Steering Pilot is
activated.
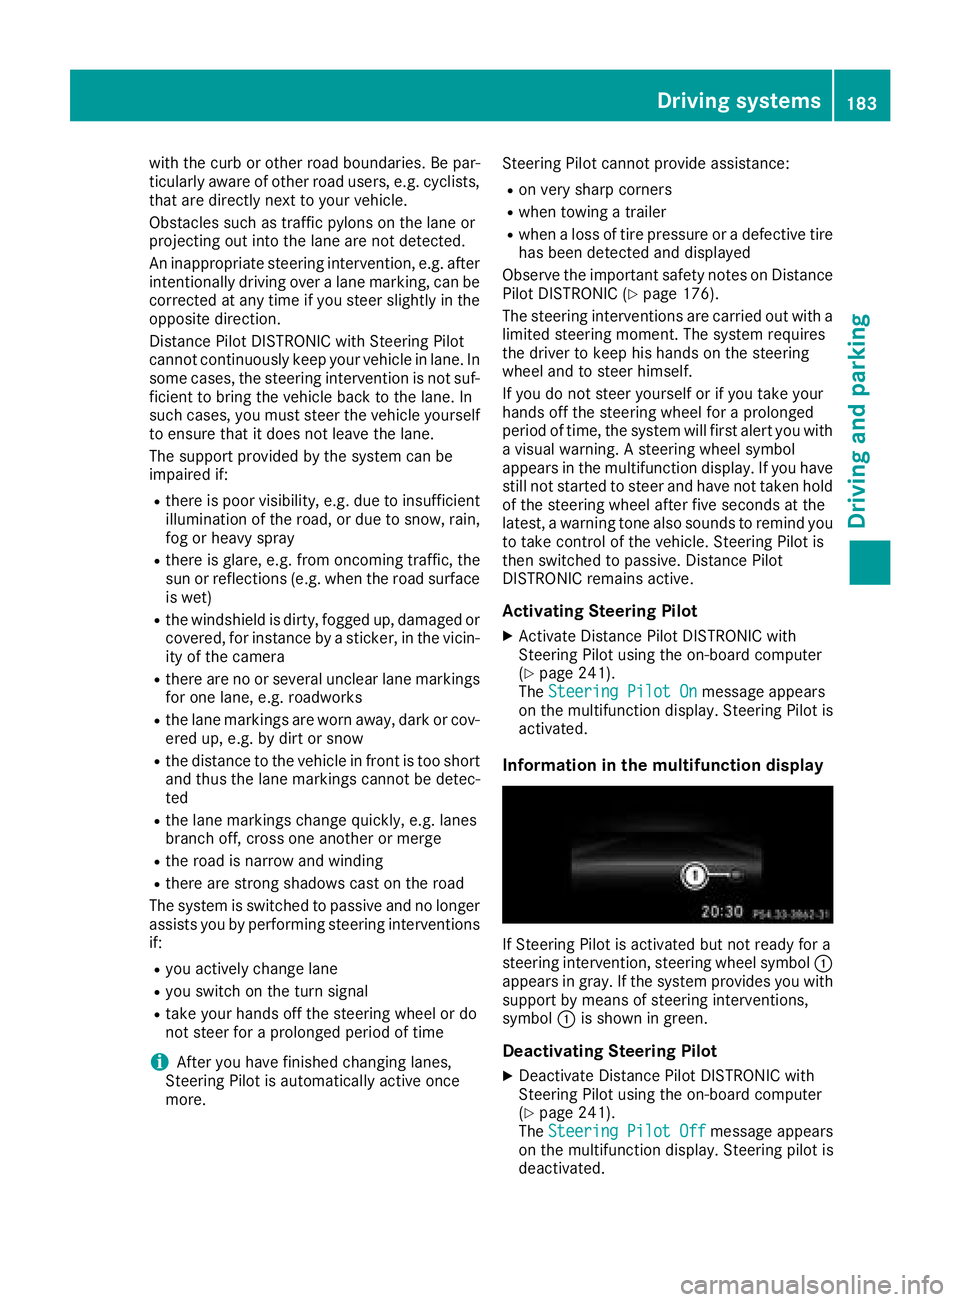
Information in the multifunction display
If Steering Pilot is activated but not ready for a
steering intervention, steering wheel symbol :
appears in gray. If the system provides you with support by means of steering interventions,
symbol :is shown in green.
Deactivating Steering Pilot
XDeactivate Distance Pilot DISTRONIC with
Steering Pilot using the on-board computer
(
Ypage 241).
The Steering Pilot Offmessage appears
on the multifunction display. Steering pilot is
deactivated.
Driving systems183
Driving and parking
Z
Page 201 of 398
Canceling Parking Pilot
XStop the movement of the multifunction
steering wheel or steer yourself.
Parking Pilot is canceled immediately. The
Parking
PilotCanceledmessage appears
in the multifunction display.
or
XPress the Parking Assist PARKTRONIC button
(Ypage 194).
Parking Assist PARKTRONIC is switched off
and Parking Pilot is immediately canceled.
The Parking Pilot Canceled
message
appears in the multifunction display.
Parking Pilot is canceled automatically when:
Rthe electric parking brake is engaged
Rtransmission position Pis selected
Rparking using Parking Pilot is no longer pos-
sible
Ryou are driving faster than 6 mph (10 km/h)
Ra wheel spins, ESP®intervenes or fails. The
÷ warning lamp lights up in the instrument
cluster
A warning tone sounds. The parking symbol dis-
appears and the multifunction display shows the
Parking Pilot Canceled
message.
When Parking Pilot is canceled, you must steer
and brake again yourself.
If a system malfunction occurs, the vehicle is
braked to a standstill. To drive on, depress the
accelerator again.
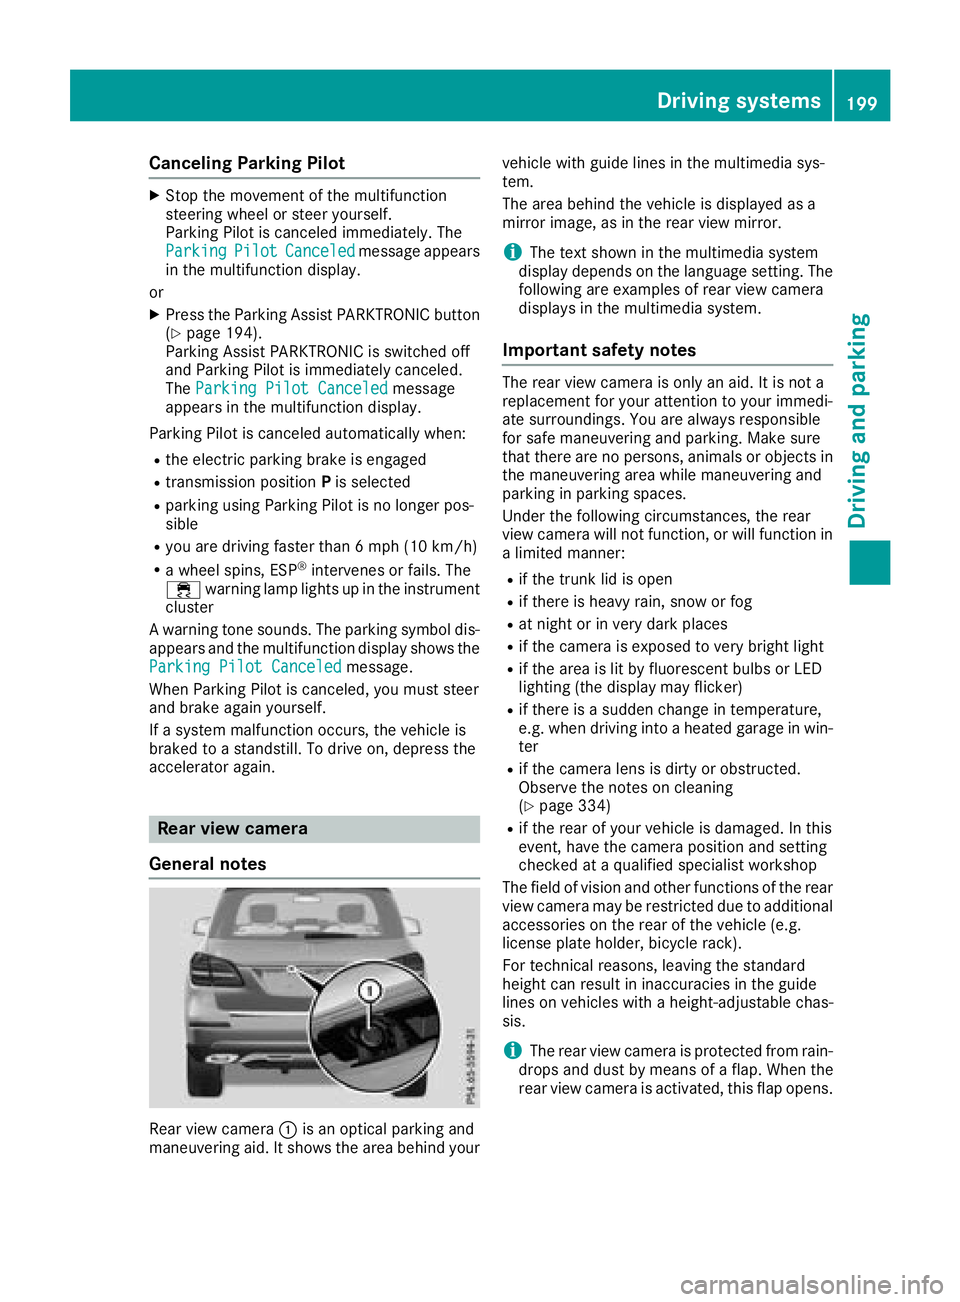
Rear view camera
General notes
Rear view camera :is an optical parking and
maneuvering aid. It shows the area behind your vehicle with guide lines in the multimedia sys-
tem.
The area behind the vehicle is displayed as a
mirror image, as in the rear view mirror.
iThe text shown in the multimedia system
display depends on the language setting. The
following are examples of rear view camera
displays in the multimedia system.
Important safety notes
The rear view camera is only an aid. It is not a
replacement for your attention to your immedi-
ate surroundings. You are always responsible
for safe maneuvering and parking. Make sure
that there are no persons, animals or objects in
the maneuvering area while maneuvering and
parking in parking spaces.
Under the following circumstances, the rear
view camera will not function, or will function in
a limited manner:
Rif the trunk lid is open
Rif there is heavy rain, snow or fog
Rat night or in very dark places
Rif the camera is exposed to very bright light
Rif the area is lit by fluorescent bulbs or LED
lighting (the display may flicker)
Rif there is a sudden change in temperature,
e.g. when driving into a heated garage in win- ter
Rif the camera lens is dirty or obstructed.
Observe the notes on cleaning
(
Ypage 334)
Rif the rear of your vehicle is damaged. In this
event, have the camera position and setting
checked at a qualified specialist workshop
The field of vision and other functions of the rear
view camera may be restricted due to additional
accessories on the rear of the vehicle (e.g.
license plate holder, bicycle rack).
For technical reasons, leaving the standard
height can result in inaccuracies in the guide
lines on vehicles with a height
-adjustable chas-
sis.
iThe rear view camera is protected from rain-
drops and dust by means of a flap. When the
rear view camera is activated, this flap opens.
Driving systems199
Driving and parking
Z
Page 206 of 398
Ryellowbrackets wit hthin lines: Parking Assis t
PARKTRONI Cis active
Ryello wbrackets wit hnormal lines: an objec tis
presen tin close range of th evehicl e
Rred line: an objec tis presen tin th eimmediat e
close range of th evehicl e
iThe camera in th erear area is protected
from raindrops and dust by mean sof aflap .
Whe nth ecamera is activated, this flap opens.
The flap closes again in th efollowin gsitua-
tions:
Ryou hav efinished th emaneuverin gprocess
Ryou switch th eengin eoff
Ryou open th ecargo compartmen t
Observ eth enote son cleaning (
Ypage 334).
Fo rtechnical reasons, th eflap may remain
open briefl yafter th ecamera has been deac -
tivated.
Impor tant safety notes
The 360°camera is only an aid and may sho w a
distorted vie wof obstacles, sho wthem incor-
rectl yor no tat all. The 360°camera is no t a
substitut efor attentive driving.
You are always responsibl efor saf emaneuver-
in g and parking. Mak esur ethat there are no
persons, animals or objects in th emaneuverin g
area while maneuverin gand parkin gin parkin g
spaces.
You are always responsibl efor safet yand mus t
continue to pay attention to your immediat e
surroundings when parkin gand maneuvering.
This applies to th earea sbehind ,in fron tof and
beside th evehicle. You could otherwise endan -
ger yourself and others.
The 360° camera will no tfunction or will func-
tion in alimite dmanne rin th efollowin gsitua-
tions:
Rth edoors are open
Rth eexterio rmirror sare folded in
Rth etailgat eis open
Rin heav yrain ,snow or fog
Rat night or in ver ydark places
Rth ecameras are exposed to ver ybright ligh t
Rthearea is lit by fluorescent bulbs or LE D
lighting (the display may flicker)
Rthere is asudden chang ein temperature,
suc has when drivin ginto aheated garage in
winte r
Rthecamera lenses are dirty or covered
Rth evehicl ecomponent sin whic hth ecameras
are inst alled are damaged In this event ,hav e
th ecamera position and setting checke dat a
qualified specialist workshop
Do no tuse th e360° camera under suc hcir -
cumstances. You can otherwise injur eother sor
caus edamage to objects or th evehicle.
Guide lines are always shown at roa dlevel. In
trailer mode, th eguide lines are shown at th e
level of th etrailer coupling.
The field of vision and other function sof th e
camera system may be restricted due to addi-
tional accessories on th erear of th evehicl e(e.g.
license plat eholder, bicycle rack) .
On vehicles wit hheight-adjustable chassis,
dependin gon technical conditions, leavin gth e
standard height can result in :
Rinaccuracies in theguide lines
Rinaccuracies in th edisplay of generated
images (top view)
Activati onconditions
The 360° camera imag ecan be displayed in th e
followin gsituations:
Ryour vehicl eis equipped wit h a360° camera
RtheSmartKey is in ke yposition 2in th eigni-
tion loc k
Rthemultimedia system is switched on
Switching onthe 360° camera
XPress th eØ buttonin th ecenter console
for longer than tw oseconds.
Dependin gon whether transmission position
h ork is selected, th efollowin gappears :
Raspli tscree nwit hto pvie wand th eimag e
from th efron tcamera or
Ra spli tscree nwit hto pvie wand th eimag e
from th erear vie wcamera
or
XPress th eØ buttonin th ecenter console.
The vehicl emen uis displayed.
XSelec t360 °Cameraand press 7to confirm .
Dependin gon whether transmission position
h ork is selected, th efollowin gappears :
Raspli tscree nwit hto pvie wand th eimag e
from th efron tcamera or
Ra spli tscree nwit hto pvie wand th eimag e
from th erear vie wcamera
204Driving systems
Driving and parking