2018 MERCEDES-BENZ GLE HYBRID tire pressure
[x] Cancel search: tire pressurePage 168 of 398
Familiarize yourself with the characteristics of
your vehicle and the gear shift operation before
driving through difficult terrain.
The following driving systems are specially
adapted to off-road driving: R
the Off-road drive program (vehicles without
Off-Road Engineering package)
( Y
page 214)R
Off-road and Off-road Plus drive programs
(vehicles with Off-Road Engineering package)
( Y
page 215)R
LOW RANGE off-road gear (vehicles with the
Off-Road Engineering package)
( Y
page 216)R
Differential lock (vehicles with the Off-Road
Engineering package) ( Y
page 216)R
Off-road ABS ( Y
page 67)R
Off-road 4ETS ( Y
page 70)R
Off-road ESP ®
( Y
page 72)R
AIRMATIC package (vehicle level)
( Y
page 183)R
DSR (Downhill Speed Regulation)
( Y
page 213)
Observe the following notes: R
Stop the vehicle before starting to drive along
an off-road route. If necessary, select the off-
road program ( Y
page 215) or shift to the
LOW RANGE off-road gear ( Y
page 216).R
Select a vehicle level that is suitable for the
terrain. To avoid damaging the vehicle, make
sure there is always sufficient ground clear-
ance. R
Check that items of cargo and loads are
stowed safely and are well secured
( Y
page 299).R
Always keep the engine running and in gear
when driving on a downhill gradient. Activate
DSR ( Y
page 213).R
Always keep the engine running and in gear
when driving down an incline. R
Adapt your speed to the terrain. The rougher,
steeper or more ruts on the terrain, the slower
your speed should be. R
Do not jump with the vehicle as this will inter-
rupt the vehicle's propulsion. R
Drive with extreme care on unfamiliar off-road
routes where visibility is poor. For safety rea-
sons, get out of the vehicle first and survey
the off-road route. R
Look out for obstacles, such as rocks, holes,
tree stumps and furrows. R
Take care when turning on an uphill or down-
hill slope or when driving across a slope. The
vehicle could otherwise tip over. R
Always keep the doors, the tailgate, the side
windows and the sliding sunroof closed while
the vehicle is in motion. R
Do not shift the automatic transmission to
position �\\ . R
Observe the notes on off-road fording
( Y
page 164).
i Information about retrofitting special all-ter-
rain tires is available from any qualified spe-
cialist workshop.
i Do not use the HOLD function when driving
off-road, on steep uphill or downhill gradients
or on slippery or loose surfaces. The HOLD
function cannot hold the vehicle on such sur-
faces.
Checklist before driving off-road
! If the engine oil warning lamp lights up while
the vehicle is in motion, stop the vehicle in a
safe place as soon as possible. Check the
engine oil level. The engine oil warning lamp
warning must not be ignored. Continuing the
journey while the symbol is displayed could
lead to engine damage. X
Engine oil level: check the engine oil level
and add oil if necessary.
When driving on steep gradients, the engine
oil level must be sufficiently high to ensure a
correct oil supply in the vehicle. X
DEF tank (BlueTEC vehicles): check the
level and add if necessary ( Y
page 153).X
Tire-changing tool kit: check that the jack is
working and make sure you have the lug
wrench, a robust tow cable and a folding
spade in the vehicle. X
Wheels and tires: check the tread depth and
pressure of the tires. X
Check for damage and remove any foreign
objects, e.g. small stones, from the wheels/
tires. X
Replace any missing valve caps. X
Replace dented or damaged wheels. X
Rims: dented or bent rims can result in a loss
of tire pressure and damage the tire bead.166
Driving tips
Driving and parking
Page 180 of 398
with the curb or other road boundaries. Be par-
ticularly aware of other road users, e.g. cyclists,
that are directly next to your vehicle.
Obstacles such as traffic pylons on the lane or
projecting out into the lane are not detected.
An inappropriate steering intervention, e.g. after
intentionally driving over a lane marking, can be
corrected at any time if you steer slightly in the
opposite direction.
Distance Pilot DISTRONIC with Steering Pilot
cannot continuously keep your vehicle in lane. In
some cases, the steering intervention is not suf-
ficient to bring the vehicle back to the lane. In
such cases, you must steer the vehicle yourself
to ensure that it does not leave the lane.
The support provided by the system can be
impaired if: R
there is poor visibility, e.g. due to insufficient
illumination of the road, or due to snow, rain,
fog or heavy spray R
there is glare, e.g. from oncoming traffic, the
sun or reflections (e.g. when the road surface
is wet) R
the windshield is dirty, fogged up, damaged or
covered, for instance by a sticker, in the vicin-
ity of the camera R
there are no or several unclear lane markings
for one lane, e.g. roadworks R
the lane markings are worn away, dark or cov-
ered up, e.g. by dirt or snow R
the distance to the vehicle in front is too short
and thus the lane markings cannot be detec-
ted R
the lane markings change quickly, e.g. lanes
branch off, cross on e another or mergeR
the road is narrow and winding R
there are strong shadows cast on the road
The system is switched to passive and no longer
assists you by performing steering interventions
if: R
you actively change lane R
you switch on the turn signal R
take your hands off the steering wheel or do
not steer for a prolonged period of time
i After you have finished changing lanes,
Steering Pilot is automatically active once
more. Steering Pilot cannot provide assistance: R
on very sharp corners R
when towing a trailer R
when a loss of tire pressure or a defective tire
has been detected and displayed
Observe the important safety notes on Distance
Pilot DISTRONIC ( Y
page 171).
The steering interventions are carried out with a
limited steering moment. The system requires
the driver to keep his hands on the steering
wheel and to steer himself.
If you do not steer yourself or if you take your
hands off the steering wheel for a prolonged
period of time, the system will first alert you with
a visual warning. A steering wheel symbol
appears in the multifunction display. If you have
still not started to steer and have not taken hold
of the steering wheel after five seconds at the
latest, a warning tone also sounds to remind you
to take control of the vehicle. Steering Pilot is
then switched to passive. Distance Pilot
DISTRONIC remains active.
Activating Steering Pilot X
Activate Distance Pilot DISTRONIC with
Steering Pilot using the on-board computer
( Y
page 236).
The Steering Pilot On message appears
on the multifunction display. Steering Pilot is
activated.
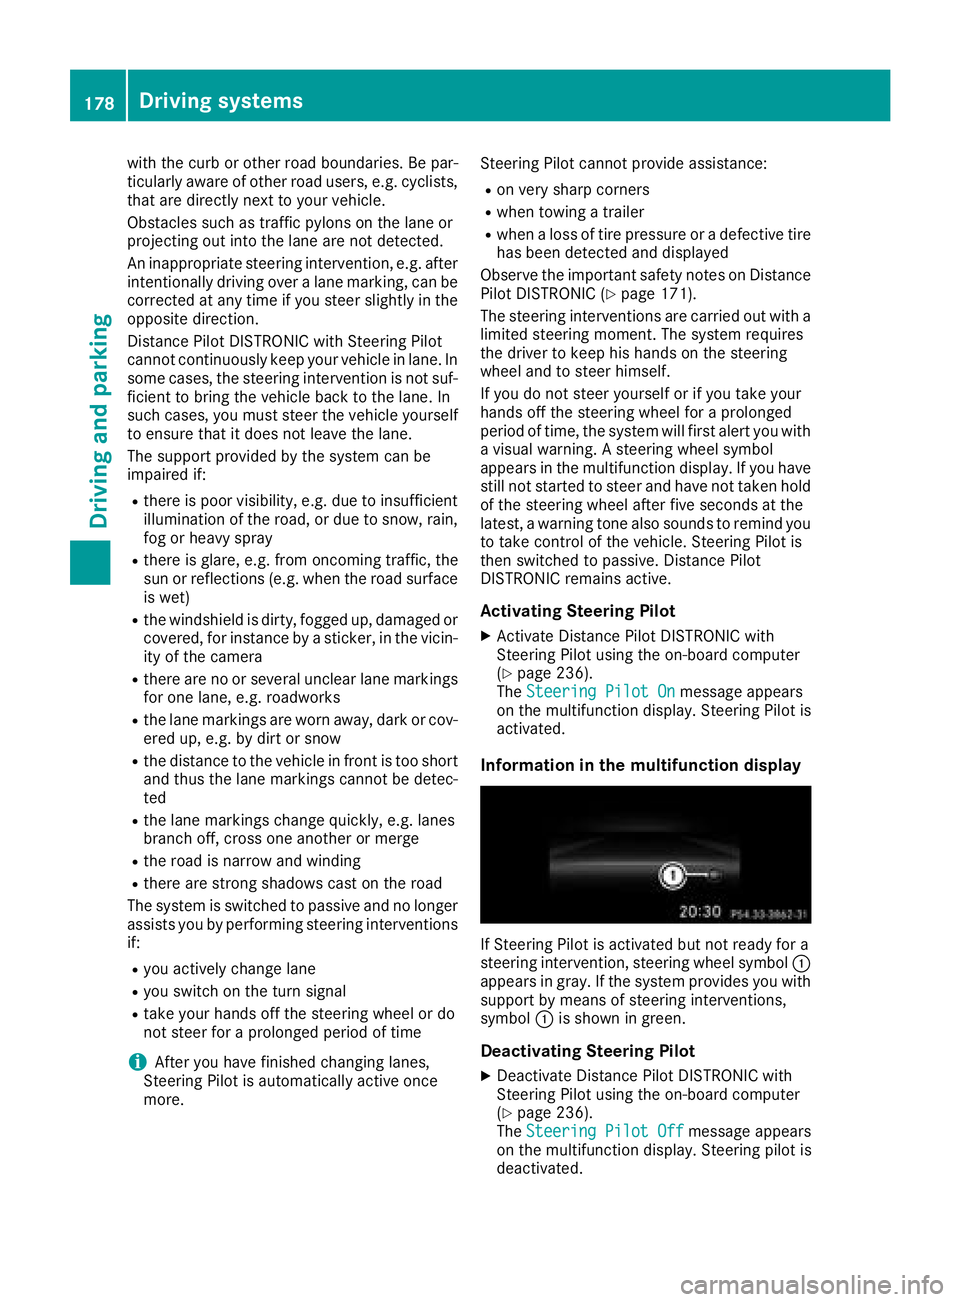
Information in the multifunction display
If Steering Pilot is activated but not ready for a
steering intervention, steering wheel symbol �C
appears in gray. If the system provides you with
support by means of steering interventions,
symbol �C is shown in green.
Deactivating Steering Pilot X
Deactivate Distance Pilot DISTRONIC with
Steering Pilot using the on-board computer
( Y
page 236).
The Steering Pilot Off message appears
on the multifunction display. Steering pilot is
deactivated.178
Driving systems
Driving and parking
Page 193 of 398
Parking tips: R
On narrow roads, drive as close to the parking
space as possible. R
Parking spaces that are littered or overgrown
might be identified or measured incorrectly. R
Parking spaces that are partially occupied by
trailer drawbars might not be identified as
such or be measured incorrectly. R
Snowfall or heavy rain may lead to a parking
space being measured inaccurately. R
Pay attention to the warning messages of
Parking Assist PARKTRONIC during the park-
ing procedure ( Y
page 187).R
You can intervene to correct the steering pro-
cedure at any time. Parking Pilot will then be
canceled. R
When transporting a load that protrudes from
your vehicle, you must not use Parking Pilot. R
Never use Parking Pilot when snow chains are
mounted. R
Make sure that the tire pressures are always
correct. This has a direct influence on the
parking characteristics of the vehicle.
Use Parking Pilot for parking spaces that are: R
parallel or at right angles to the direction of
travel R
on straight roads, not bends R
on the same level as the road, e.g. not on the
pavement
Detecting parking spaces Objects located above the detection range of
Parking Pilot will not be detected when the park-
ing space is measured. These are not taken into
account when the parking/exiting procedure is
calculated, e.g. overhanging loads, tail sections
or loading ramps of trucks. Parking Pilot may
therefore guide you into the parking space too
early.
G WARNING
If there are objects above the detection range: R
Parking Pilot may steer in too early R
the vehicle may not stop in front of these
objects
You may cause a collision as a result. There is
a risk of an accident.
If objects are located above the detection
range, stop and deactivate Parking Pilot. Further information about the detection range
( Y
page 188).
Parking Pilot does not assist you parking in
spaces at a right angle to the direction of travel
if: R
two parking spaces are located directly next
to one another R
the parking space is directly next to a low
obstacle such as a low curb R
you park forwards
Parking Pilot does not assist you parking in
spaces parallel with or at a right angle to the
direction of travel if: R
the parking space is on a curb R
the system reads the parking space as being
blocked, for example by foliage or grass pav-
ing blocks R
the area is too small for the vehicle to maneu-
ver into R
the parking space is bordered by an obstacle,
e.g. a tree, a post or a trailer
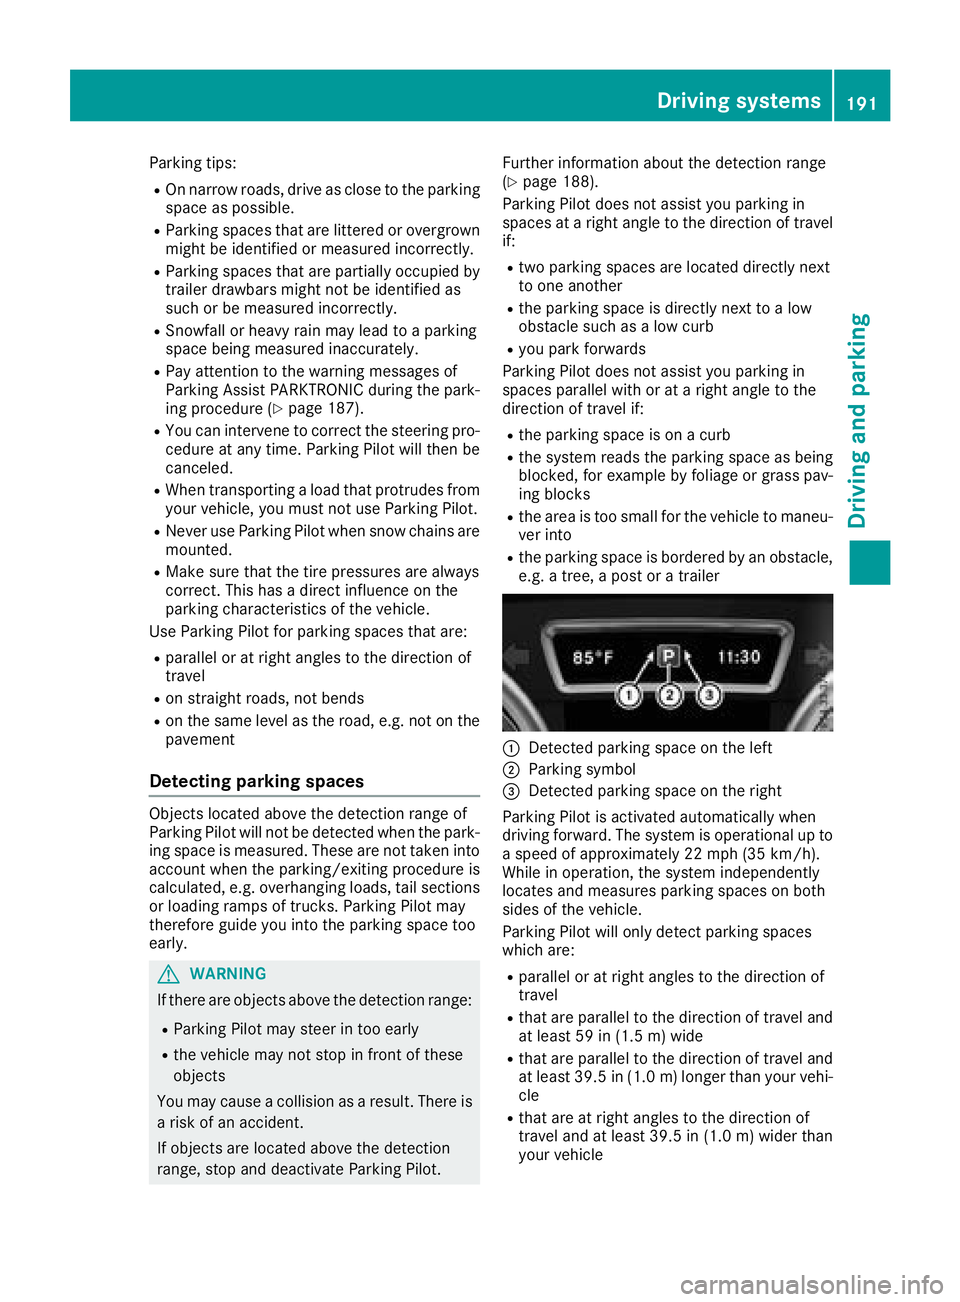
�C
Detected parking space on the left �D
Parking symbol �
Page 212 of 398
Course-correcting brake application If Active Blind Spot Assist detects a risk of a lat-
eral collision in the monitoring range, a course-
correcting brake application is carried out. This
is meant to assist you in avoiding a collision.
G WARNING
A course-correcting brake application cannot
always prevent a collision. There is a risk of an
accident.
Always steer, brake or accelerate yourself,
especially if Active Blind Spot Assist warns
you or makes a course-correcting brake appli-
cation. Always maintain a safe distance at the
sides.
If a course-correcting brake application occurs,
red warning lamp �C flashes in the exterior mir-
ror and a double warning tone sounds. In addi-
tion, a display underlining the danger of a side
collision appears in the multifunction display.
In very rare cases, the system may make an
inappropriate brake application. A course-cor-
recting brake application may be interrupted at
any time by countersteering slightly or acceler-
ating.
The course-correcting brake application is avail-
able in the speed range between 20 mph
(30 km/h) and 120 mph (20 0 km/ h) .
Either no braking application, or a course-cor-
recting brake application adapted to the driving
situation occurs if: R
there are vehicles or obstacles, e.g. crash
barriers, located on both sides of your vehicle. R
a vehicle approaches you too closely at the
side. R
you have adopted a sporty driving style with
high cornering speeds. R
you clearly brake or accelerate. R
a driving safety system intervenes, e.g. ESP ®
or PRE-SAFE ®
Brake.R
ESP ®
is switched off.R
the offroad program is activated (vehicles
without the Offroad Engineering package). R
the Offroad or Offroad Plus drive program is
activated (vehicles with the Off-Road Engi-
neering package). R
the LOW RANGE offroad gear is activated
(vehicles with the Offroad Engineering pack-
age). R
a loss of tire pressure or a defective tire is
detected.
Switching on Active Blind Spot Assist X
Make sure that Active Blind Spot Assist
( Y
page 237) is activated in the on-board
computer. X
Turn the SmartKey to position �H in the igni-
tion lock.
Warning lamps �C in the exterior mirrors light
up red for approximately 1.5 seconds an d
then turn yellow.
Towing a trailer When you attach a trailer, make sure you have
correctly established the electrical connection.
This can be accomplished by checking the trailer
lighting. Active Blind Spot Assist is then deacti-
vated. The indicator lamp lights up yellow in the
exterior mirrors and the Active Blind Spot
Asst. Not Available When Towing a
Trailer See Operator's Manual message
appears in the multifunction display.
Active Lane Keeping Assist
General notes
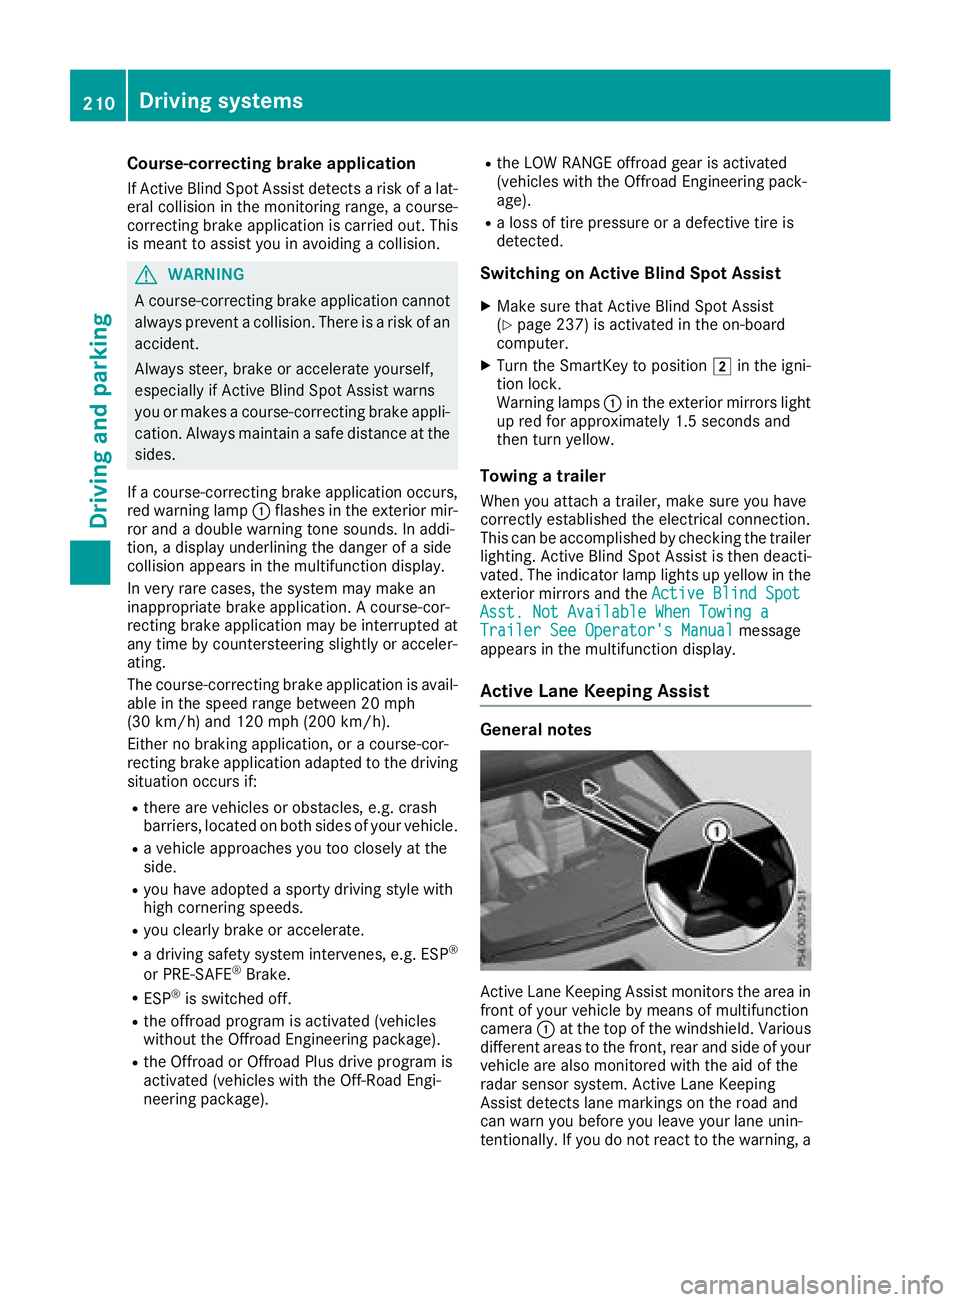
Active Lane Keeping Assist monitors the area in
front of your vehicle by means of multifunction
camera �C at the top of the windshield. Various
different areas to the front, rear and side of your
vehicle are also monitored with the aid of the
radar sensor system. Active Lane Keeping
Assist detects lane markings on the road and
can warn you before you leave your lane unin-
tentionally. If you do not react to the warning, a210
Driving system s
Dr ivi ng an d parking
Page 214 of 398
ing over a solid lane marking. There is a risk of
an accident.
An inappropriate brake application may be
interrupted at any time if you steer slightly in
the opposite direction. Always make sure that
there is sufficient distance on the side for
other traffic or obstacles.
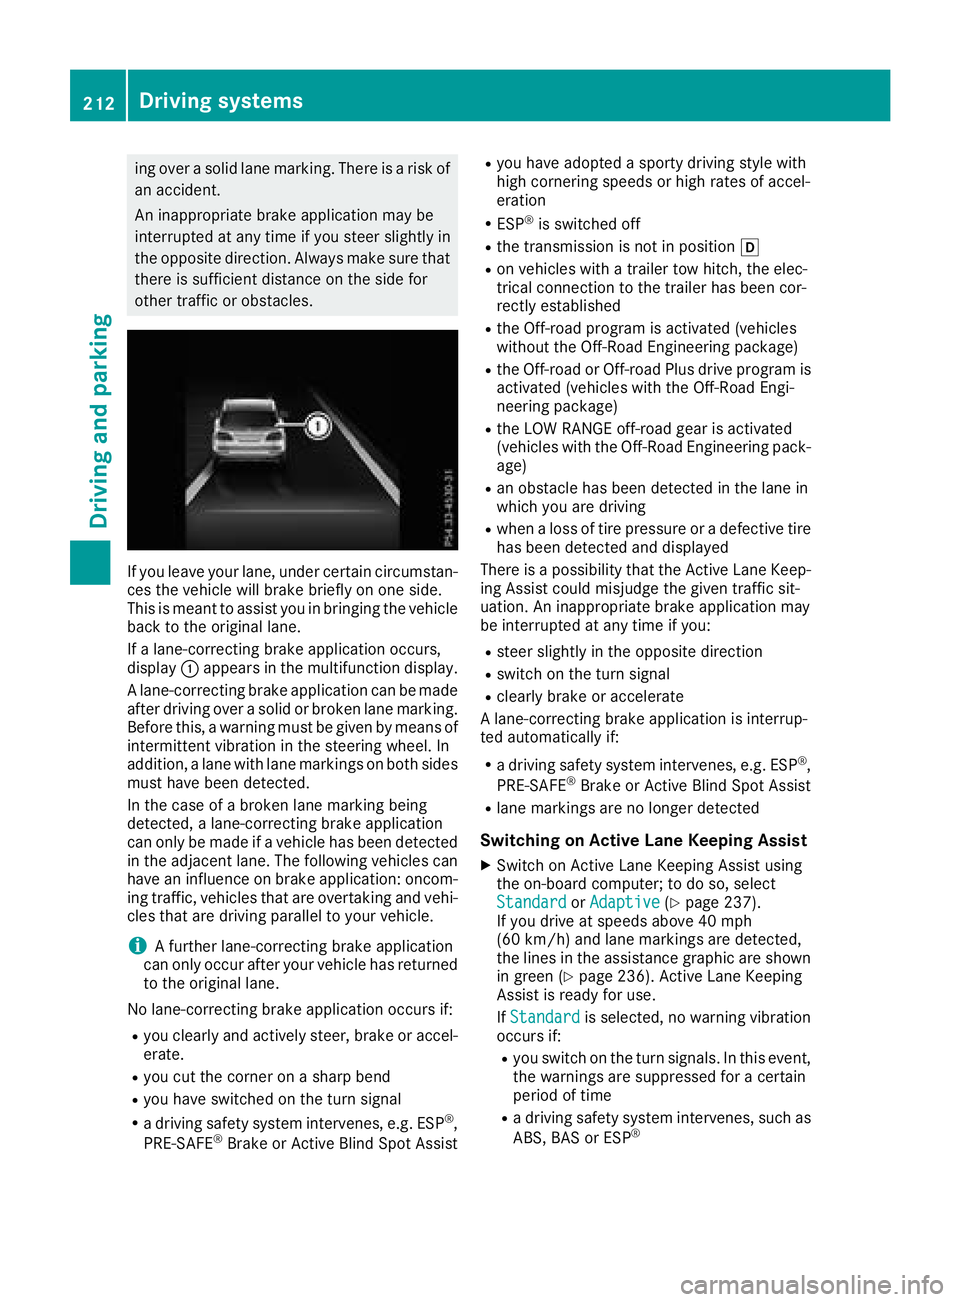
If you leave your lane, under certain circumstan-
ces the vehicle will brake briefly on one side.
This is meant to assist you in bringing the vehicle
back to the original lane.
If a lane-correcting brake application occurs,
display �C appears in the multifunction display.
A lane-correcting brake application can be made
after driving over a solid or broken lane marking.
Before this, a warning must be given by means of
intermittent vibration in the steering wheel. In
addition, a lane with lane markings on both sides
must have been detected.
In the case of a broken lane marking being
detected, a lane-correcting brake application
can only be made if a vehicle has been detected
in the adjacent lane. The following vehicles can
have an influence on brake application: oncom-
ing traffic, vehicles that are overtaking and vehi-
cles that are driving parallel to your vehicle.
i A further lane-correcting brake application
can only occur after your vehicle has returned
to the original lane.
No lane-correcting brake application occurs if: R
you clearly and actively steer, brake or accel-
erate. R
you cut the corner on a sharp bend R
you have switched on the turn signal R
a driving safety system intervenes, e.g. ESP ®
,
PRE-SAFE ®
Brake or Active Blind Spot Assist R
you have adopted a sporty driving style with
high cornering speeds or high rates of accel-
eration R
ESP ®
is switched off R
the transmission is not in position �[R
on vehicles with a trailer tow hitch, the elec-
trical connection to the trailer has been cor-
rec tly est ablished R
the Off-road program is activated (vehicles
without the Off-Road Engineering package) R
the Off-road or Off-road Plus drive program is
activated (vehicles with the Off-Road Engi-
neering package) R
the LOW RANGE off-road gear is activated
(vehicles with the Off-Road Engineering pack-
age) R
an obstacle has been detected in the lane in
which you are driving R
when a loss of tire pressure or a defective tire
has been detected and displayed
There is a possibility that the Active Lane Keep-
ing Assist could misjudge the given traffic sit-
uation. An inappropriate brake application may
be interrupted at any time if you: R
steer slightly in the opposite direction R
switch on the turn signal R
clearly brake or accelerate
A lane-correcting brake application is interrup-
ted automatically if: R
a driving safety system intervenes, e.g. ESP ®
,
PRE-SAFE ®
Brake or Active Blind Spot Assist R
lane markings are no longer detected
Switching on Active Lane Keeping Assist X
Switch on Active Lane Keeping Assist using
the on-board computer; to do so, select
Standard or Adaptive ( Y
page 237).
If you drive at speeds above 40 mph
(60 km/h) and lane markings are detected,
the lines in the assistance graphic are shown
in green ( Y
page 236). Active Lane Keeping
Assist is ready for use.
If Standard is selected, no warning vibration
occurs if: R
you switch on the turn signals. In this event,
the warnings are suppressed for a certain
period of time R
a driving safety system intervenes, such as
ABS, BAS or ESP ®212
Driving systems
Driving and parking
Page 222 of 398
R
is affected more by strong crosswinds R
demands more sensitive steering R
has a larger turning circle
This could impair the handling characteristics.
When towing a trailer, always adjust your speed
to the current road and weather conditions. Do
not exceed the maximum permissible speed for
your vehicle/trailer combination.
Notes on towing a trailer
General notes
! If you have a trailer tow hitch retrofitted,
changes to the cooling system and drive train
may be necessary, depending on the vehicle
type.
If you have a trailer tow hitch retrofitted,
observe the anchorage points on the chassis
frame. R
Do not exceed the legally prescribed maxi-
mum speed for vehicle/trailer combinations
in the relevant country.
This lowers the risk of an accident. R
Only install an approved trailer coupling on
your vehicle.
More information on availability and installa-
tion can be obtained at any qualified special-
ist workshop. R
The bumpers of your vehicle are not suitable
for installing detachable trailer couplings. R
Do not install hired trailer couplings or other
detachable trailer couplings on the bumpers
of your vehicle. R
If you no longer need the ball coupling,
remove it from the ball coupling recess. This
will reduce the risk of damage to the ball cou-
pling.
When towing a trailer, set the tire pressure on
the rear axle of the towing vehicle for the max-
imum load. You will find the values in the tire
pressure table in the fuel filler flap of the vehicle
( Y
page 369).
Please note that when towing a trailer, the fol-
lowing driving systems have limited availability
or are not available at all: R
Parking Assist PARKTRONIC ( Y
page 187)R
Blind Spot Assist ( Y
page 204)R
Active Lane Keeping Assist ( Y
page 210) On vehicles without level control, the height of
the ball coupling will alter according to the load
placed on the vehicle. If necessary, use a trailer
with a height-adjustable drawbar.
You will find installing dimensions and loads
under "Technical data" ( Y
page 394).
Driving tips Also observe the notes on pulling away with a
trailer ( Y
page 138).
The maximum permissible speed for vehicle/
trailer combinations depends on the type of
trailer. Before beginning the journey, check the
trailer's documents to see what the maximum
permissible speed is for your trailer. Observe the
legally permissible maximum speed in the rele-
vant country.
For certain Mercedes-Benz vehicles, the maxi-
mum permissible rear axle load is increased
when towing a trailer. See "Technical data" to
find out whether this applies to your vehicle
( Y
page 394). If you utilize any of the added
maximum rear axle load when towing a trailer,
the vehicle/trailer combination may not exceed
a maximum speed of 60 mph (100 km/h) for
reasons concerning the operating permit. This
also applies in countries in which the maximum
permissible speed for car/trailer combinations
is greater than 60 mph (100 km/h).
When towing a trailer, your vehicle's handling
characteristics will be different in comparison
with when driving without a trailer.
Use the left-hand steering wheel paddle shifter
to shift into a lower gear in good time on long
and steep downhill gradients.
This also applies if you have activated cruise
control or Distance Pilot DISTRONIC.
This will use the braking effect of the engine, so
that less braking will be required to maintain the
speed. This relieves the load on the brake sys-
tem and prevents the brakes from overheating
and wearing too quickly. If you need additional
braking, depress the brake pedal repeatedly
rather than continuously.
Driving tips
If the trailer swings from side to side: X
Do not accelerate. X
Do not counter-steer. X
Brake if necessary.220
Towing a trailer
Driving and parking
Page 228 of 398
Use only bicycle racks approved by
Mercedes-Benz.
Bicycle racks cause your vehicle's driving char-
acteristics to change. The vehicle: R
is heavier R
is restricted in its acceleration and gradient-
climbing capability R
has an increased braking distance This could impair the handling characteristics.
Adapt your driving style accordingly. Maintain a
safe distance and drive carefully.
When using bicycle racks, set the tire pressure
on the rear axle of the vehicle for the maximum
load. Further information on tire pressure can be
found on the tire pressure table ( Y
page 354).
Loading instructions The greater the distance between the load's center of gravity and the ball head, the higher the load
exerted on the trailer tow hitch.
Therefore, observe the following notes: R
Attach heavy bicycles as close as possible to the vehicle. R
Always distribute the load on the bicycle rack as symmetrically as possible to the vehicle longi-
tudinal axis.
Before loading the bicycle rack, Mercedes-Benz advises you to remove all add-on parts from the
bicycles, e.g. bicycle baskets, child seats or batteries. This will allow you to improve the aerody-
namic resistance and the bicycle rack's center of gravity.
Always secure bicycles against slipping and check that they are firmly seated at regular intervals.
Do not use tarpaulins or other covers. This could impair the driving characteristics and rear visibility.
The aerodynamic resistance would also rise, and so would the load exerted on the trailer tow hitch
as a result.
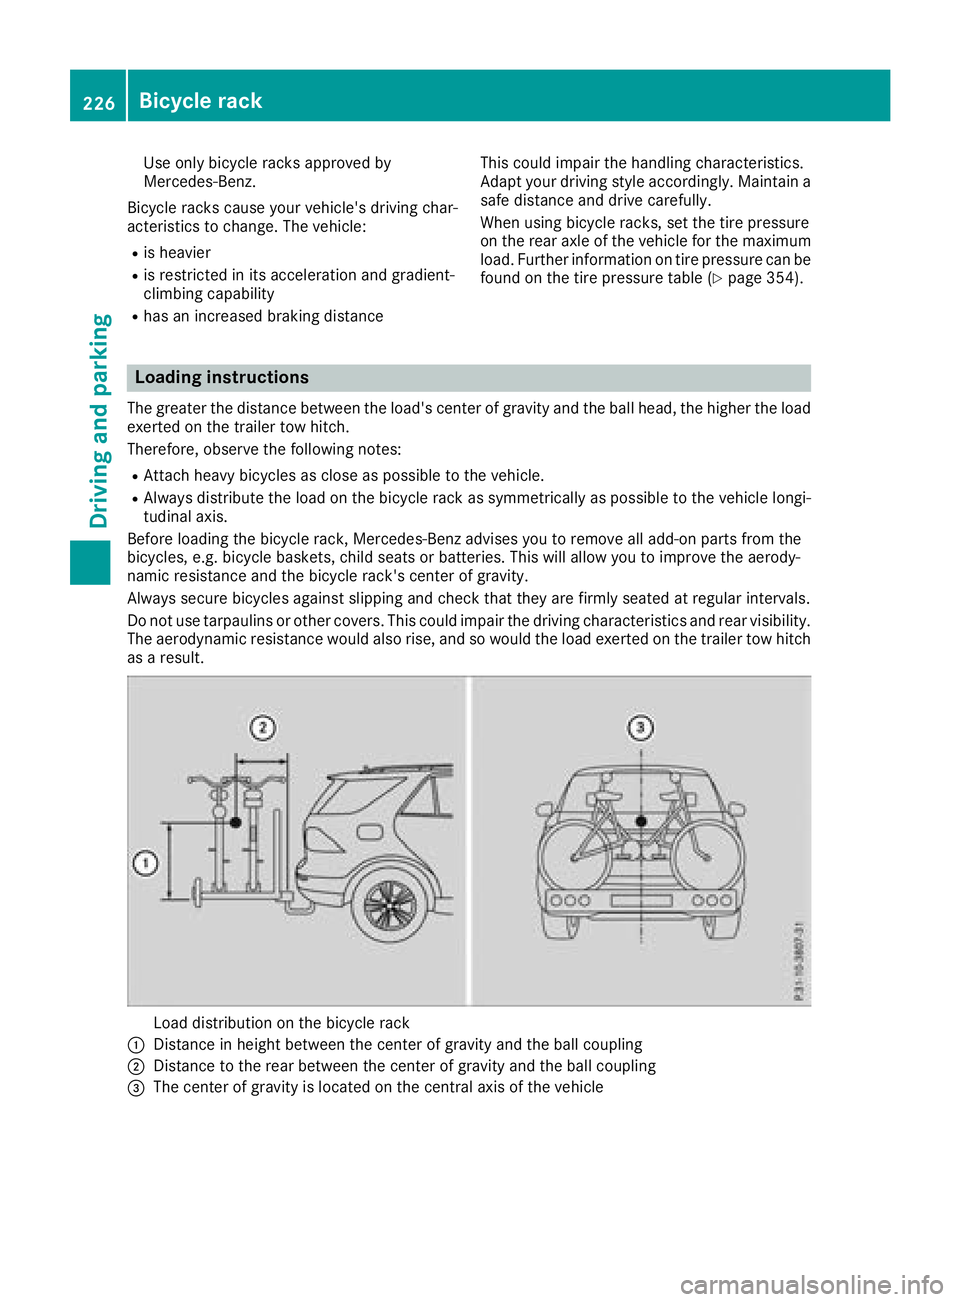
Load distribution on the bicycle rack
�C
Distance in height between the center of gravity and the ball coupling
�D
Distance to the rear between the center of gravity and the ball coupling
�
Page 270 of 398
Tires Display messages
Possible causes/consequences and �P Solutions
Check Tire Pressure
Soon The tire pressure loss warning system has detected a significant loss
in pressure.
A warning tone also sounds.
Possible causes: R
you have changed the positions of the wheels and tires or installed
new wheels and tires. R
the tire pressure in one or more tires has dropped significantly
G WARNING
Tire pressures that are too low pose the following hazards: R
they may burst, especially as the load and vehicle speed increase. R
they may wear excessively and/or unevenly, which may greatly
impair tire traction. R
the driving characteristics, as well as steering and braking, may be
greatly impaired.
There is a risk of an accident. X
Stop the vehicle without making any sudden steering or braking
maneuvers. Pay attention to the traffic conditions as you do so. X
Secure the vehicle against rolling away ( Y
page 156).X
Check the tires and, if necessary, follow the instructions for a flat
tire ( Y
page 335). X
Check the tire pressures and, if necessary, correct the tire pressure. X
Restart the tire pressure loss warning system when the tire pres-
sure is correct ( Y
page 358).
Check Tire Pressure
Then Restart Run
Flat Indicator The tire pressure loss warning system generated a display message
and has not been restarted since. X
Set the correct tire pressure in all four tires. X
Restart the tire pressure loss warning system ( Y
page 358).
Run Flat Indicator
Inoperative The tire pressure loss warning system is faulty. X
Visit a qualified specialist workshop.
Please Correct Tire
Pressure The tire pressure is too low in at least one of the tires, or the tire
pressure difference between the wheels is too great. X
Check the tire pressures at the next opportunity ( Y
page 358).X
If necessary, correct the tire pressure. X
Restart the tire pressure monitor ( Y
page 361).268
Displa y messages
On-board computer and displays