2018 MERCEDES-BENZ C-CLASS SEDAN car play
[x] Cancel search: car playPage 68 of 174

XTo select an intermediate destination in the
intermediate destinations menu: turn and
press the controller.
A menu appears.
XTo change an intermediate destination:
selectEdit
in the menu.
XChange the address, e.g. the city and street.
XTo select OK: turn and press the controller.
The intermediate destinations menu appears
and displays the changed intermediate desti-
nation.
You can enter the intermediate destinations and
the destination in any order. To change the
order, at least one intermediate destination and
the destination must be entered.
XTo change the order: in the menu, select
Move
.
XTurn the controller and move the intermediate destination or destination to the desired posi-
tion.
XPress the controller.
XTo delete an intermediate destination:
select Delete
in the menu.
Accepting intermediate destinations
for the route
XTo select Start Route Guidancein the
intermediate destinations menu: press the
controller.
The route is calculated with the entered inter-
mediate destinations.
If an intermediate destination was passed
during route guidance, a green tick mark will
be entered in the intermediate destinations
menu. Once the route has been recalculated,
the intermediate destination is deleted from
the intermediate destinations menu.
Saving as a personal route
You can save a route including intermediate
destinations on the SD card.
Requirements: the SD card has the FAT data
system format (e.g. FAT32).
XInsert the SD memory card (Ypage 141).
XTo select Save As Personal Routein the
intermediate destinations menu: press the
controller.
An input field appears.
XEnter a file name in the input field. Press OKto
confirm.
The route is saved to the SD memory card.
Searching for a gas station when the
fuel level is low
Requirement: the setting GasonReservemust
be enabled (Ypage 56).
If the fuel tank reserve level is displayed, you will
see the Reserve Fuel Would you like to
start a search for surrounding gasstations?message.
XTo select YesorNo: turn and press the con-
troller.
If you select Yes
: the gas station search
starts. When the search is complete, a list of
the gas stations available along the route or in
the vicinity is displayed.
If you select No
: the search is canceled.
XSelect the gas station.
The address of the gas station is displayed.
XTo selectStart: press the controller.
The selected gas station is entered into posi-
tion 1 of the intermediate destinations menu.
Route guidance begins.
If the intermediate destinations menu already
contains four intermediate destinations, a
prompt will be displayed, asking you whether you wish to enter the gas station into position
1. If you select Yes
, the gas station is trans-
ferred into the list and intermediate destina-
tion 4 is deleted.
Entering a destination from
Mercedes-Benz Apps
Requirement (USA): mbrace is activated for the
Mercedes-Benz Apps (Ypage 120).
Requirement (Canada): a mobile phone is con-
nected to the multimedia system via Bluetooth
®
(Ypage 92) or USB (Ypage 153).
XTo switch to navigation mode: press the
Ø button.
XTo show the menu: slide6the controller.
66Destination entry
Navigation
Page 69 of 174
XTo selectDestination:turn and press the
controller.
XSelect From Mercedes-Benz Apps.
The list of Mercedes-Benz Apps appears.
Using geo-coordinates
XTo switch to navigation mode: press the
Ø button.
XTo show the menu: slide6the controller.
XTo select Destination:turn and press the
controller.
XSelect Using Geo-Coordinates.
Geo-coordinates (longitude and latitude) are
entered in degrees, minutes and seconds.
XTo enter geo-coordinates: turn the control-
ler.
The value for degree, minute or second
changes.
XTo move the selection within the line: slide
1 the controller.
XTo move the selection between lines: slide
4the controller.
XTo confirm the value: press the controller.
XTo store geo-coordinates: selectSaveby
turning and pressing the controller.
The destination with the geo-coordinates can
be saved as:
Ra home address in the address book
Ra navigable address book contact
For further information on the address
book, see (
Ypage 104)
Ra personal destination on the SD card
(Ypage 81)
XTo start route calculation: selectStart
RouteGuidanceby turning and pressing the
controller.
Personal POIs and routes
General notes
The use of personal POIs for displaying traffic
surveillance equipment is not permitted in every country. Please observe the country-specific
regulations and always drive at a suitable speed.
Personal POIs are filed in categories:
RNot Classified
Standard entry for personal POIs
RMercedes-Benz Apps
Personal POIs (destinations, routes) that you
have imported via the online functions.
RCategories which you have created yourself,
e.g. on your PC
Personal routes are not categorized.
Settings for personal POIs
Displaying on the map
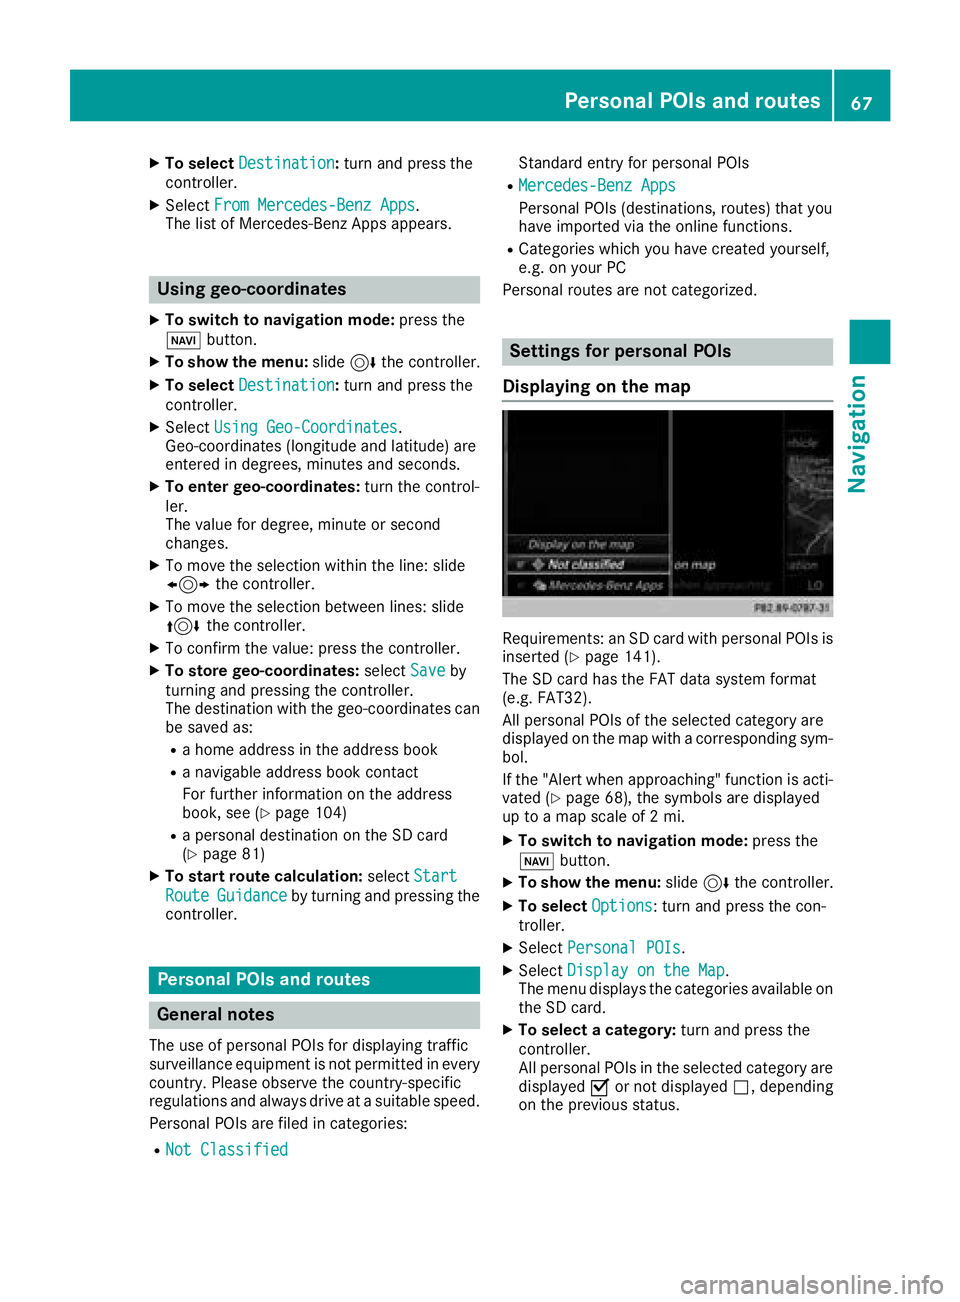
Requirements: an SD card with personal POIs is
inserted (Ypage 141).
The SD card has the FAT data system format
(e.g. FAT32).
All personal POIs of the selected category are
displayed on the map with a corresponding sym-
bol.
If the "Alert when approaching" function is acti-
vated (
Ypage 68), the symbols are displayed
up to a map scale of 2 mi.
XTo switch to navigation mode: press the
Ø button.
XTo show the menu: slide6the controller.
XTo select Options: turn and press the con-
troller.
XSelect Personal POIs.
XSelectDisplay on the Map.
The menu displays the categories available on
the SD card.
XTo select a category: turn and press the
controller.
All personal POIs in the selected category are
displayed Oor not displayed ª, depending
on the previous status.
Personal POIs and routes67
Navigation
Z
Page 70 of 174

Alert when approaching
Requirements: an SD cardwit hpersonal POI sis
inserted (Ypage 141).
The SD car dhas th eFA Tdat asystem format
(e.g. FAT32).
If th evehicl eis approachin g apersonal POI ,this
is highlighte don th emap and/o ran audible sig-
nal sounds.
Fo rthis purpose ,bot hth ecorresponding func-
tion Approaching POI Cue
and th ecategory
containing th epersonal POI mus tbe activated.
XTo switch to navigation mode: press the
Ø button.
XTo sho wthemenu: slide6 thecontroller .
XTo select Options:tur nand press th econ-
troller .
XSelectPersonal POI s.
XSelectApproaching POI Cue.
The men udisplays th ecategorie savailable on
th eSD card.
XSelec tAudibl eorOptica l.
The function is switched on Oor off ª,
depending on th eprevious status .
XTo selectacategory: turnand press th e
controller .
The function is switched on Oor off ª,for
all personal POI sof this category, depending
on th eprevious setting .
Saving personal POIs and routes
Gene ral notes
Personal POI sand routes are geodat awhic hare
saved in open GPX format (GP S E xchange for -
mat )on th eSD card.
Requirements: th eSD car dhas th eFA Tdat a
system format (e.g. FAT32).
Personal POI fr omcurrent vehicle posi-
ti on or cros shair position
XInsertth eSD memory car d (Ypage 141).
XTo switch to navigation mode: press the
Ø button.
XWhen th emap is displayed, press th econ-
troller until amessage appears.
The curren tvehicl eposition is saved to th e
Not Classifie d
category on theSD car d
and also store din th e"Las tdestinations"
memory (
Ypage 81).
If th e"Mov emap" function is selected
(
Ypage 54), th ecrosshair position is saved.
iIf no SD car dis inserted, th epersonal POI
will only be store din th e"Las tdestinations"
memory.
Personal POI fr omdestination address
XInser tth eSD memory car d (Ypage 141).
XTo switch to navigation mode: press the
Ø button.
XCall up th eaddress entr ymen uand ente rth e
destination address (Ypage 57).
XTo select Save,slid e6 thecontroller .
XTurn and press th econtroller .
XTo make aselection ,tur nand press th econ-
troller .
XEnterth ename.
XSelec t acategory.
The curren taddress is saved as apersonal
POI on th eSD card.
iYou can select adestination from th eFro mPreviousDestinationsorFro mContactsmemories and sav eit on th eSD card.
RFro mPrevious Destinations(Ypage 61)
RFro mContacts(Ypage 61 )
Personal route fr oma tour including
intermediate destinations
XInser tth eSD memory car d (Ypage 141).
XTo switch to navigation mode: press the
Ø button.
XEnter adestination ,e.g. by address
(Ypage 57).
XStart rout ecalculation (Ypage 59).
68Personal POIs and routes
Navigation
Page 71 of 174

XEnter an intermediate destination
(Ypage 64).
XSelectSave As Personal Routein the
intermediate destinations menu.
The route is saved in the Personal Routes
folder on the SD card.
Importing personal destinations and
routes via Mercedes-Benz Apps
You can import destinations and routes into the
navigation via the Mercedes-Benz apps. These
have their own symbol and are filed in the
Mercedes-Benz Apps
category.
Mercedes-Benz apps are, for example:
RDownload POI
RLocal Search
You can save the imported destinations and
routes as personal POIs and routes (
Ypage 68).
When importing routes, please note:
RThe Mercedes-Benz Apps may generate a
route based on a different map from the one
used by the multimedia system. Points on the
route may therefore be situated off the digital roads.
RThe Mercedes-Benz Apps minimize the num-
ber of route points offered.
For this reason an imported route com-
menced in the multimedia system may devi-
ate from the original route from the
Mercedes-Benz Apps.
Selecting and editing personal POIs
and routes
Selecting
The example shows a personal POI.
XInsert the SD memory card (Ypage 141).
XTo switch to navigation mode: press the
Ø button.
XTo show the menu: slide6the controller.
XTo select Destination: turn and press the
controller.
XSelect From Memory Card.
The menu displays the categories available on
the SD card.
XTo select a category or Personal Routes,
turn and press the controller.
The available personal POIs or route entries
are displayed.
XSelect personal POI or personal route.
The address of the personal POI appears or
the personal route is displayed in the map.
If a large number of entries are stored, a register
for quick selection appears. Personal POIs and
routes can be saved and sorted with different
character sets (e.g. Latin, Cyrillic, Arabic).
XTo select a register: slide9 the control-
ler.
XTo select a character: turn and press the con-
troller.
XTo select a character set for sorting: slide
9 the controller to select B.
XPress the controller.
The available character sets are displayed.
The#dot indicates the current setting.
XTurn and press the controller.
Editing
The example shows a personal route.
Personal POIs and routes69
Navigation
Z
Page 72 of 174

XSelect personal POI or personal route
(Ypage 69).
XTo explore a personal POI or personal
route:turn and press the controller to select
Map
.
The map with the crosshair appears and
shows the destination.
XScroll the map (Ypage 54).
XSet the map scale (Ypage 82).
XTo switch to the menu: press the %button.
XTo call the personal POI: turn and press the
controller to select Call
.
If a mobile phone is connected to the multi-
media system and the telephone number is
available, the call is connected (
Ypage 98).
XTo save a personal POI: turn and press the
controller to select Save
.
XContinue saving (Ypage 80).
XTo edit the name and symbol: turn and
press the controller to select Edit
.
XSelectChange NameorEdit Icon.
XCharacter entry (Ypage 30).
XSelect a symbol.
XTo delete a personal POI or route: turn and
press the controller to select Delete
.
A prompt will appear.
XSelect YesorNo.
If you select Yes, the personal destination or
personal route is deleted.
XTo select the outward and return route:
select Swap
by turning and pressing the con-
troller.
The starting and destination positions of your
personal route, and thus the direction for
route guidance, are switched round. One-way
streets or restricted intersections are taken
into consideration. Therefore, the outward
and return routes may differ from each other.
XTo start route guidance: turn and press the
controller to select Start
.
Recording the route
General notes
Routes are recorded using the SD card.
Requirements: the SD card has the FAT data
system format (e.g. FAT32). When recording the route, bear in mind the fol-
lowing:
RIf the SD card is inserted, it must not be
removed during recording.
Rif route recording was started manually, it
must be finished manually before the multi-
media system is switched off.
RThe multimedia system minimizes the num-
ber of route points recorded. Therefore when
the recorded route is subsequently com-
menced, it may differ from the route that was
originally recorded.
Starting/finishing route recording
XInsert the SD memory card (Ypage 141).
XTo switch to navigation mode: press the
Ø button.
XTo show the menu: slide6the controller.
XTo select Destination: turn and press the
controller.
XSelect From Memory Card.
XSelectStart Route Recording.
The route is recorded and REC appears at the
bottom edge of the screen.
XTo stop recording, select End RouteRecordingfrom the menu.
The route is stored under Personal Routes.
Displaying/editing the recorded route
XInsert the SD memory card (Ypage 141).
XTo switch to navigation mode: press the
Ø button.
XTo show the menu: slide6the controller.
XTo select Destination: turn and press the
controller.
XSelect From Memory Card.
XSelectPersonal Routes.
Previously recorded routes are displayed.
XTo select a route, turn and press the control-
ler.
The map appears with a menu. The recorded
route is shown on the map in blue.
XTo calculate a route: selectStart.
XTo change the name and symbol: select
Edit
.
XSelect Change NameorEdit Icon.
XCharacter entry (Ypage 30).
XSelect a symbol.
70Personal POIs and routes
Navigation
Page 82 of 174

XSelectReadOutAllMessagesonRoute.
The multimedia system reads out the reports in sequential order.
If there are no reports for the route, the Read
Out All Messages on Routemenu item is
gray and cannot be selected.
XTo cancel the read-aloud function: select
Cancel Read-Aloud Function
.
The multimedia system reads the current
report aloud and then exits the read-aloud
function.
Automatic text reader function
XTo switch to navigation mode: press the
Ø button.
XTo show the menu: slide6the controller.
XTo select Traffic: turn and press the con-
troller.
XSelect Read Traffic AnnouncementsAutomatically.
Depending on the previous state, switch the
option on Oor off ª.
Recalculating the route dynamically
TheDynamicTrafficRouteroute type takes
into account all of the traffic reports it receives
for the current route when calculating the route
(
Ypage 55).
If you have selected Dynamic Traffic Route
as the route type, the multimedia system guides
you to your destination along the updated route.
Storing destinations
General notes
If a route to a destination has been calculated,
the multimedia system saves the destination to
the last destinations memory. If the memory is
full, the multimedia system overwrites the old-
est destination. When you save the current vehi-
cle position or a crosshair position, this position
is stored in the "Last destinations" memory.
You can save destinations permanently in the
address book and on an SD card. For example,
you can save a destination as your home
address immediately after entering the address
(
Ypage 58). Requirements: the SD card has the FAT data
system format (e.g. FAT32).
Storing the destination in the address
book
The example shows an intermediate destina-
tion.
XTo select Save: turn and press the controller.
A menu appears.
XNew contact: selectAs New Contact.
If the address book already contains con-
tacts, the entry Add
toContactis also avail-
able.
XSelect Not Classified,Homeor Work.
An input menu shows the destination
address.
XEnter a surname and first name. Character
entry (Ypage 30).
XTo select OK: turn and press the controller.
The Saving Successfulmessage appears.
The destination address is saved in the
address book as a navigable contact.
XTo add to a contact: selectAdd to Con‐
tact.
The address book appears.
XSearch for a contact (Ypage 104).
XPress the controller.
The Saving Successfulmessage appears.
The destination address is allocated to a con-
tact in the address book.
Telephone numbers are not transferred to the
telephone number fields of the address book.
After selecting the destination address from
the address book for navigation, the associ-
ated telephone number will be displayed.
If the contact already has two destination
addresses, a prompt will appear asking if a
destination address should be overwritten.
80Storing destinations
Navigation
Page 83 of 174

XSelectYesorNo.
If you select Yes, a list showing both destina-
tion addresses appears.
XTo select the destination address: turn and
press the controller.
The destination address is overwritten.
XSelect Save as "My address" As "My
Address".
The destination is saved as your home
address.
Saving a destination to an SD card
XInsert the SD memory card (Ypage 141).
XSelect a POI, for example (Ypage 61).
XTo select Save: turn and press the controller.
A menu appears.
XSelect To Memory Card.
If no destination has been saved yet on the SD
card, an input menu will appear.
or
XSelect NotClassifiedor, if available, select
a category that you have created yourself.
An input menu appears.
XEnter a new name and a new category for the
destination in the input menu if required.
Character entry (
Ypage 31).
XSelect OK.
The Saving Successfulmessage appears.
The destination is saved to the SD card.
Saving the current vehicle position
XTo switch to navigation mode: press the
Ø button.
XTo show the menu: slide6the controller.
XTo select Position: turn and press the con-
troller.
XSelect Save.
The current vehicle position is saved in "Last
destinations".
Saving the crosshair position
XTo switch to navigation mode: press the
Ø button.
XTo display the crosshair: press the control-
ler.
XMove the map to the desired position
(Ypage 54).
XTo show the menu: press the controller.
XTo select Position: turn and press the con-
troller.
XSelect Save.
The crosshair position is saved in the last des-
tinations.
Editing the last destinations
XTo switch to navigation mode: press the
Ø button.
XTo show the menu: slide6the controller.
XTo select Destination: turn and press the
controller.
XSelect From Previous Destinations.
The "Last destinations" memory appears.
XTo save the destination: select the destina-
tion.
The destination address appears.
XStore the destination in the address book
(Ypage 80).
XSave the destination to the SD card
(Ypage 81).
XTo view the details: while in the "Last desti-
nations" memory, turn the controller and
highlight the entry.
XSlide 9the controller.
A menu appears.
XTo select Details: press the controller.
iThe destination address can be changed if
desired. For instance, a different street or
house number can be selected.
XTo delete one or all destinations: while in
the "Last destinations" memory, turn the con-
troller and highlight the entry.
Storing destinations81
Navigation
Z
Page 84 of 174

XSlide9the controller.
A menu appears.
XTo select DeleteorDelete All: turn and
press the controller.
A prompt appears.
XSelect YesorNo.
Selecting Yesdeletes the selected destina-
tion or all destinations.
Map functions
General notes
Company logos displayed on the map are trade- marks of the respective companies and used
solely for the purpose of indicating the locations
of these companies. The use of such logos on
the map does not indicate approval of, support
of or advertising by these companies for the
navigation system itself.
iAlternatively, you can carry out this opera-
tion using the touchpad (Ypage 24).
Map settings
Setting the map scale
Requirement: the map is in full screen mode, the
menu is faded out (Ypage 54).
The lower left-hand section of the map shows
the currently set map scale and compass nee-
dle.
Right-hand-drive vehicles: the currently set map
scale and compass needle are displayed in the
lower right-hand section of the map.
XTo show the map in full screen mode: to
hide the menu, push the %button.
or
XSlide the controller to the center of the map
and press to confirm.
XTo set the map scale: as soon as you turn the
controller, the scale bar appears on the bot-
tom of the display.
XTurn the controller until the needle points to
the desired map scale.
Once you are finished selecting a map scale,
the new map scale will be shown.
Selecting map orientation
XTo switch to navigation mode: press the
Ø button.
XTo show the menu: slide6the controller.
XTo select Options: turn and press the con-
troller.
XSelect Map Orientation.
The #dot indicates the current setting.
XTurn and press the controller.
The map orientation is set.
Change
map direc-
tionExplanation
North Up0 The map view is displayed
so that north is always up.
Heading Up¤ The map view is aligned to
the direction of travel. The
direction of travel is always at
the top; the red tip of the sym-
bol points north.
3-D Map¤ The map view is aligned to
the direction of travel. The
map displays a 3D oblique
view with elevation; the red tip
of the symbol points north.
82Map functions
Navigation