2018 LINCOLN MKZ steering wheel
[x] Cancel search: steering wheelPage 264 of 595

Replace the rear axle lubricant anytime yousubmerge the rear axle in water. Water maycontaminate the rear axle lubricant, which isnot a normal maintenance inspection itemunless there is a possibility of a leak or otheraxle repair is required.
TOWING THE VEHICLE ON FOUR
WHEELS
Emergency Towing
WARNING
If your vehicle has a steering wheellock make sure the ignition is in theaccessory or on position when being towed.
You can flat-tow (all wheels on the ground,regardless of the powertrain/transmissionconfiguration) your disabled vehicle (withoutaccess to wheel dollies, car-hauling trailer,or flatbed transport vehicle) under thefollowing conditions:
•Your vehicle is facing forward so you towit in a forward direction.
•You place the transmission in position N.If you cannot place the transmission inposition N, you may need to override it.See Transmission (page 180).
•Maximum speed is 35 mph (56 km/h).
•Maximum distance is 50 miles (80kilometers).
Recreational Towing
Note: Put your climate control system inrecirculated air mode to prevent exhaustfumes from entering the vehicle. SeeClimate Control (page 137).
Follow these guidelines if you have a needfor recreational (RV) towing. An example ofrecreational towing would be towing yourvehicle behind a motorhome. Theseguidelines are to make sure you do notdamage the transmission during towing.
Vehicles Equipped with a 2.0L Engine
Front-wheel drive (FWD) vehicles CANNOTbe flat-towed (all wheels on the ground) asvehicle or transmission damage may occur.You must place the front wheels on atwo-wheel tow dolly. If you are using a towdolly, follow the instructions specified by theequipment provider.
All-wheel drive (AWD) vehicles CANNOT beflat-towed (all wheels on the ground), asvehicle or transmission damage may occur.It is recommended to tow your vehicle withall four (4) wheels off the ground such aswhen using a car-hauling trailer. Otherwise,you cannot tow your vehicle.
261
MKZ (CC9) Canada/United States of America, enUSA, Edition date: 201706, First Printing
Towing
Page 267 of 595

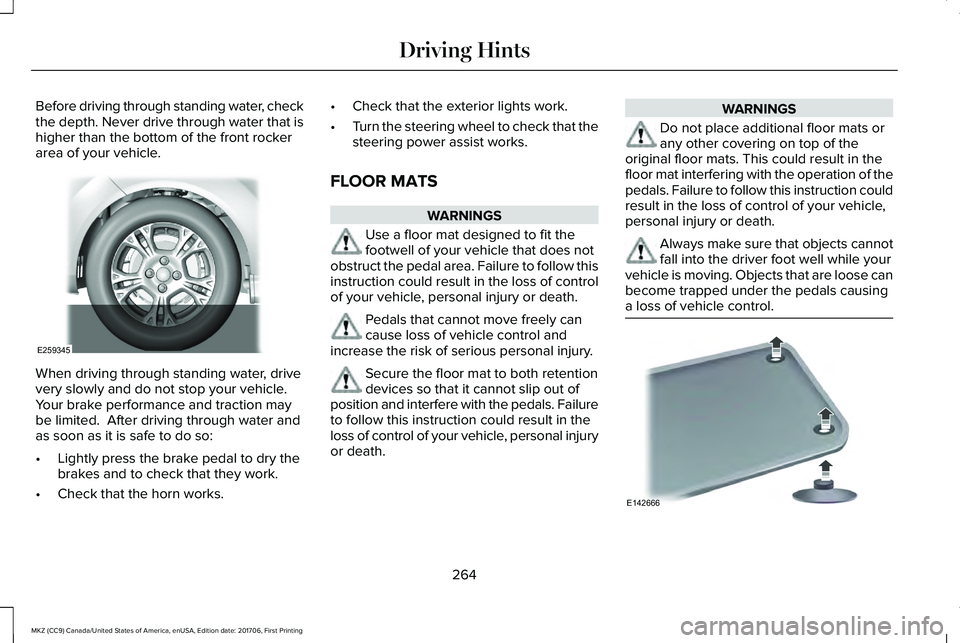
Before driving through standing water, checkthe depth. Never drive through water that ishigher than the bottom of the front rockerarea of your vehicle.
When driving through standing water, drivevery slowly and do not stop your vehicle. Your brake performance and traction maybe limited. After driving through water andas soon as it is safe to do so:
•Lightly press the brake pedal to dry thebrakes and to check that they work.
•Check that the horn works.
•Check that the exterior lights work.
•Turn the steering wheel to check that thesteering power assist works.
FLOOR MATS
WARNINGS
Use a floor mat designed to fit thefootwell of your vehicle that does notobstruct the pedal area. Failure to follow thisinstruction could result in the loss of controlof your vehicle, personal injury or death.
Pedals that cannot move freely cancause loss of vehicle control andincrease the risk of serious personal injury.
Secure the floor mat to both retentiondevices so that it cannot slip out ofposition and interfere with the pedals. Failureto follow this instruction could result in theloss of control of your vehicle, personal injuryor death.
WARNINGS
Do not place additional floor mats orany other covering on top of theoriginal floor mats. This could result in thefloor mat interfering with the operation of thepedals. Failure to follow this instruction couldresult in the loss of control of your vehicle,personal injury or death.
Always make sure that objects cannotfall into the driver foot well while yourvehicle is moving. Objects that are loose canbecome trapped under the pedals causinga loss of vehicle control.
264
MKZ (CC9) Canada/United States of America, enUSA, Edition date: 201706, First Printing
Driving HintsE259345 E142666
Page 288 of 595

Protected ComponentsFuse RatingFuse or Relay Number
Vehicle power 5.10A213Ignition coils.
Vehicle power 6.10A214Ignition coils.
Run-start relay.-15
Power point 3 - rear.20A116
Power point 2 - front.20A117
Right hand side headlamp ballast.20A218
Run-start electronic power assist steering.10A219
Run-start lighting.10A220Adaptive cruise control.
Run-start transmission control.15A221Transmission oil pump start-stop.
Air conditioner clutch solenoid.10A222
Run-start: Blind spot information system, Rear view camera,All-wheel drive (3.0L engine), Heads-up display, shifter.15A223
Voltage stability module.
285
MKZ (CC9) Canada/United States of America, enUSA, Edition date: 201706, First Printing
Fuses
Page 299 of 595

Protected ComponentsFuse RatingFuse or Relay Number
Climate control.7.5A212Gear shift.
Steering wheel column.7.5A213Cluster.Datalink logic.
Extended power module.10A214
Datalink-Gateway module.10A215
Trunk release.15A116
Not used (spare).5A217
Push button stop-start.5A218
Extended power module.7.5A219
Adaptive headlamps.7.5A220
Humidity and in-car temperature sensor.5A221
Not used (spare).5A222
296
MKZ (CC9) Canada/United States of America, enUSA, Edition date: 201706, First Printing
Fuses
Page 301 of 595

Protected ComponentsFuse RatingFuse or Relay Number
Radio.20A133Active noise control.CD changer.
Run-start bus (fuse #19, 20, 21, 22, 35, 36, 37, circuit breaker).30A134
Not used (spare).5A135
Continuous control damping suspension module.15A136Auto dimming rear view mirror.Rear heated seats.
Heated steering wheel.20A137
Not used.-38
1 Micro 2 fuse.2 Micro 3 fuse.
298
MKZ (CC9) Canada/United States of America, enUSA, Edition date: 201706, First Printing
Fuses
Page 312 of 595

Note:Do not remove the dipstick when theengine is running.
Note: If the oil level is between themaximum and minimum marks, the oil levelis acceptable. Do not add oil.
Note:The oil consumption of new enginesreaches its normal level after approximately3,000 mi (5,000 km).
Adding Engine Oil
WARNING
Do not remove the filler cap when theengine is running.
Do not use supplemental engine oil additivesbecause they are unnecessary and couldlead to engine damage that may not becovered by the vehicle Warranty.
Only use oils certified for gasoline enginesby the American Petroleum Institute (API). An oil with this trademark symbol conformsto the current engine and emission systemprotection standards and fuel economyrequirements of the International LubricantsSpecification Advisory Committee (ILSAC).
To top up the engine oil level do thefollowing:
1. Clean the area surrounding the engineoil filler cap before you remove it.
2. Remove the engine oil filler cap. SeeUnder Hood Overview (page 304). Turnit counterclockwise and remove it.
3. Add engine oil that meets Fordspecifications. See Capacities andSpecifications (page 380). You may haveto use a funnel to pour the engine oil intothe opening.
4. Recheck the oil level.
5. If the oil level is correct, replace thedipstick and make sure it is fully seated.
6. Replace the engine oil filler cap. Turn itclockwise until you feel a strongresistance.
Note: Do not add oil further than themaximum mark. Oil levels above themaximum mark may cause engine damage.
Note:Make sure you install the oil filler capcorrectly.
Note:Soak up any spillage with anabsorbent cloth immediately.
OIL CHANGE INDICATOR RESET
Use the information display controls on thesteering wheel to reset the oil changeindicator.
309
MKZ (CC9) Canada/United States of America, enUSA, Edition date: 201706, First Printing
MaintenanceE142732
Page 334 of 595

Cleaning ProcedureType of Stain
Use lukewarm water and rinse by dabbing with clean water.Indelible pencil, cocoa, chocolate, pastry with cream or chocolate, icecream or mustard.
Use lemon juice, wipe with lukewarm water and rinse by dabbing withclean water.Vinegar, hair gel, tomato sauce or coffee with sugar.
Use ethyl alcohol, then dab with water.Dye transfer and all other stains.
CLEANING THE INSTRUMENT
PANEL AND INSTRUMENT
CLUSTER LENS
WARNING
Do not use chemical solvents or strongdetergents when cleaning the steeringwheel or instrument panel to avoidcontamination of the airbag system.
Note:Follow the same procedure ascleaning leather seats for cleaning leatherinstrument panels and leather interior trimsurfaces. See Cleaning Leather Seats (page332).
Clean the instrument panel and cluster lenswith a clean, damp and soft cloth, then usea clean, dry and soft cloth to dry these areas.
•Avoid cleaners or polishes that increasethe gloss of the upper portion of theinstrument panel. The dull finish in thisarea helps protect you from undesirablewindshield reflection.
•Do not use any household cleaningproducts or glass cleaners as these maydamage the finish of the instrumentpanel, interior trim and cluster lens.
•Wash or wipe your hands clean if youhave been in contact with certainproducts such as insect repellent andsuntan lotion to avoid possible damageto the interior painted surfaces.
•Do not allow air fresheners and handsanitizers to spill onto interior surfaces.If a spill occurs, wipe off immediately.Your warranty may not cover thesedamages.
If a staining liquid like coffee or juice hasbeen spilled on the instrument panel or oninterior trim surfaces:
1.Wipe up spilled liquid using a clean, softcloth as quickly as possible.
331
MKZ (CC9) Canada/United States of America, enUSA, Edition date: 201706, First Printing
Vehicle Care
Page 340 of 595

Loss of air pressure may adversely affect tireperformance. For this reason:
Note:Do not drive the vehicle above 50 mph(80 km/h).
Note:Do not drive further than 120 mi(200 km). Drive only to the closest authorizedLincoln dealer or tire repair shop to haveyour tire inspected.
•Drive carefully and avoid abrupt steeringmaneuvers.
•Periodically monitor tire inflation pressurein the affected tire; if the tire is losingpressure, have the vehicle towed.
•Read the information in the Tips for Useof the Kit section to make sure safeoperation of the kit and your vehicle.
Tips for Use of the Kit
To ensure safe operation of the kit:
•Read all instructions and cautions fully.
•Before operating the kit, make sure yourvehicle is safely off the road and awayfrom moving traffic. Turn on the hazardlights.
•Always set the parking brake to ensurethe vehicle doesn't move unexpectedly.
•Do not remove any foreign objects, suchas nails or screws, from the tire.
•When using the kit, leave the enginerunning (only if the vehicle is outdoors orin a well-ventilated area) so thecompressor does not drain the vehicle'sbattery.
•Do not allow the compressor to operatecontinuously for more than 15 minutes.This will help prevent the compressorfrom overheating.
•Never leave the kit unattended duringoperation.
•Sealant compound contains latex. Thosewith latex sensitivities should useappropriate precautions to avoid anallergic reaction.
•Keep the kit away from children.
•Only use the kit when the ambienttemperature is between -22°F (-30°C) and158°F (70°C).
•Only use the sealing compound beforethe use-by date. The use-by date is on alabel on the sealant canister and can beseen through the rectangular viewingwindow on the bottom of the compressor.Check the use-by date regularly andreplace the canister after four years ofnon-use.
•Do not store the kit unsecured inside thepassenger compartment of the vehicleas it may cause injury during a suddenstop or crash. Always store the kit in itsoriginal location.
•After sealant use, the tire pressuremonitoring system sensor and valve stemon the wheel must be replaced by anauthorized Lincoln dealer.
•Operating the kit could cause anelectrical disturbance in radio, CD, andDVD player operation.
* When inflation only is required fora tire or other objects, the selectormust be in the Air position.
337
MKZ (CC9) Canada/United States of America, enUSA, Edition date: 201706, First Printing
Wheels and TiresE175978