2018 KIA SPORTAGE trip set up
[x] Cancel search: trip set upPage 88 of 605
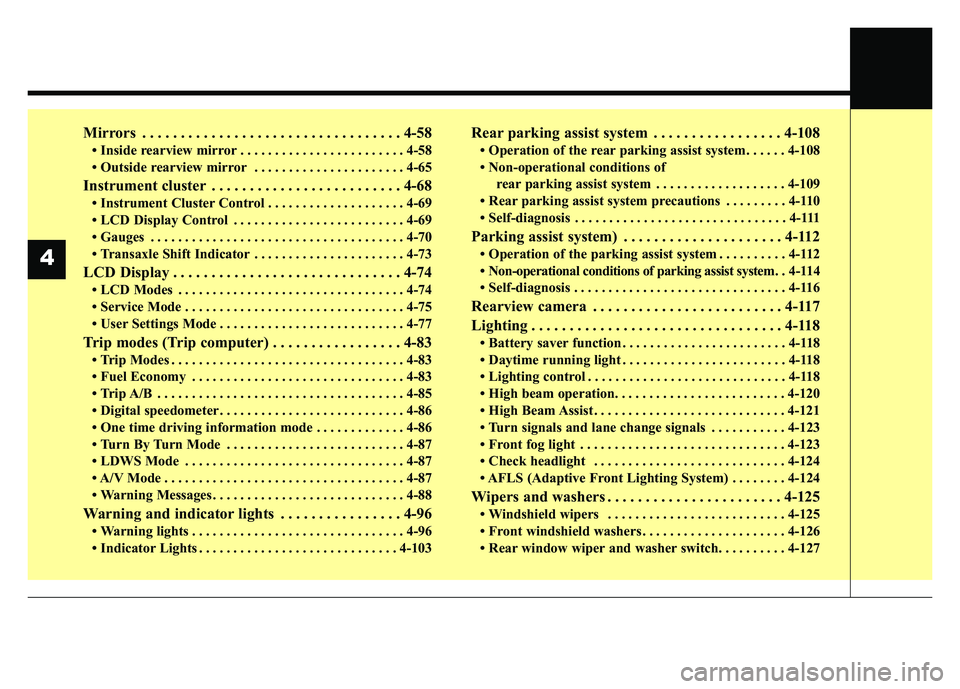
Mirrors . . . . . . . . . . . . . . . . . . . . . . . . . . . . . . . . . . 4-58\
• Inside rearview mirror . . . . . . . . . . . . . . . . . . . . . . . . 4-58
• Outside rearview mirror . . . . . . . . . . . . . . . . . . . . . . 4-65
Instrument cluster . . . . . . . . . . . . . . . . . . . . . . . . . 4-68
• Instrument Cluster Control . . . . . . . . . . . . . . . . . . . . 4-69
• LCD Display Control . . . . . . . . . . . . . . . . . . . . . . . . . 4-69
• Gauges . . . . . . . . . . . . . . . . . . . . . . . . . . . . . . . . . . . . \
. 4-70
• Transaxle Shift Indicator . . . . . . . . . . . . . . . . . . . . . . 4-73
LCD Display . . . . . . . . . . . . . . . . . . . . . . . . . . . . . . 4-74
• LCD Modes . . . . . . . . . . . . . . . . . . . . . . . . . . . . . . . . . 4-74
• Service Mode . . . . . . . . . . . . . . . . . . . . . . . . . . . . . . . . 4-75
• User Settings Mode . . . . . . . . . . . . . . . . . . . . . . . . . . . 4-77
Trip modes (Trip computer) . . . . . . . . . . . . . . . . . 4-83
• Trip Modes . . . . . . . . . . . . . . . . . . . . . . . . . . . . . . . . . . 4-83\
• Fuel Economy . . . . . . . . . . . . . . . . . . . . . . . . . . . . . . . 4-83
• Trip A/B . . . . . . . . . . . . . . . . . . . . . . . . . . . . . . . . . . . . \
4-85
• Digital speedometer . . . . . . . . . . . . . . . . . . . . . . . . . . . 4-86
• One time driving information mode . . . . . . . . . . . . . 4-86
• Turn By Turn Mode . . . . . . . . . . . . . . . . . . . . . . . . . . 4-87
• LDWS Mode . . . . . . . . . . . . . . . . . . . . . . . . . . . . . . . . 4-87
• A/V Mode . . . . . . . . . . . . . . . . . . . . . . . . . . . . . . . . . . . 4-\
87
• Warning Messages . . . . . . . . . . . . . . . . . . . . . . . . . . . . 4-88
Warning and indicator lights . . . . . . . . . . . . . . . . 4-96
• Warning lights . . . . . . . . . . . . . . . . . . . . . . . . . . . . . . . 4-96
• Indicator Lights . . . . . . . . . . . . . . . . . . . . . . . . . . . . . 4-103
Rear parking assist system . . . . . . . . . . . . . . . . . 4-108
• Operation of the rear parking assist system . . . . . . 4-108
• Non-operational conditions of rear parking assist system . . . . . . . . . . . . . . . . . . . 4-109
• Rear parking assist system precautions . . . . . . . . . 4-110
• Self-diagnosis . . . . . . . . . . . . . . . . . . . . . . . . . . . . . . . 4-111
Parking assist system) . . . . . . . . . . . . . . . . . . . . . 4-112
• Operation of the parking assist system . . . . . . . . . . 4-112
• Non-operational conditions of parking assist system. . 4-114
• Self-diagnosis . . . . . . . . . . . . . . . . . . . . . . . . . . . . . . . 4-116
Rearview camera . . . . . . . . . . . . . . . . . . . . . . . . . 4-117
Lighting . . . . . . . . . . . . . . . . . . . . . . . . . . . . . . . . . 4-118
• Battery saver function . . . . . . . . . . . . . . . . . . . . . . . . 4-118
• Daytime running light . . . . . . . . . . . . . . . . . . . . . . . . 4-118
• Lighting control . . . . . . . . . . . . . . . . . . . . . . . . . . . . . 4-118
• High beam operation. . . . . . . . . . . . . . . . . . . . . . . . . 4-120
• High Beam Assist . . . . . . . . . . . . . . . . . . . . . . . . . . . . 4-121
• Turn signals and lane change signals . . . . . . . . . . . 4-123
• Front fog light . . . . . . . . . . . . . . . . . . . . . . . . . . . . . . 4-123
• Check headlight . . . . . . . . . . . . . . . . . . . . . . . . . . . . 4-124
• AFLS (Adaptive Front Lighting System) . . . . . . . . 4-124
Wipers and washers . . . . . . . . . . . . . . . . . . . . . . . 4-125
• Windshield wipers . . . . . . . . . . . . . . . . . . . . . . . . . . 4-125
• Front windshield washers . . . . . . . . . . . . . . . . . . . . . 4-126
• Rear window wiper and washer switch. . . . . . . . . . 4-127
4
Page 160 of 605
Features of your vehicle
74
4
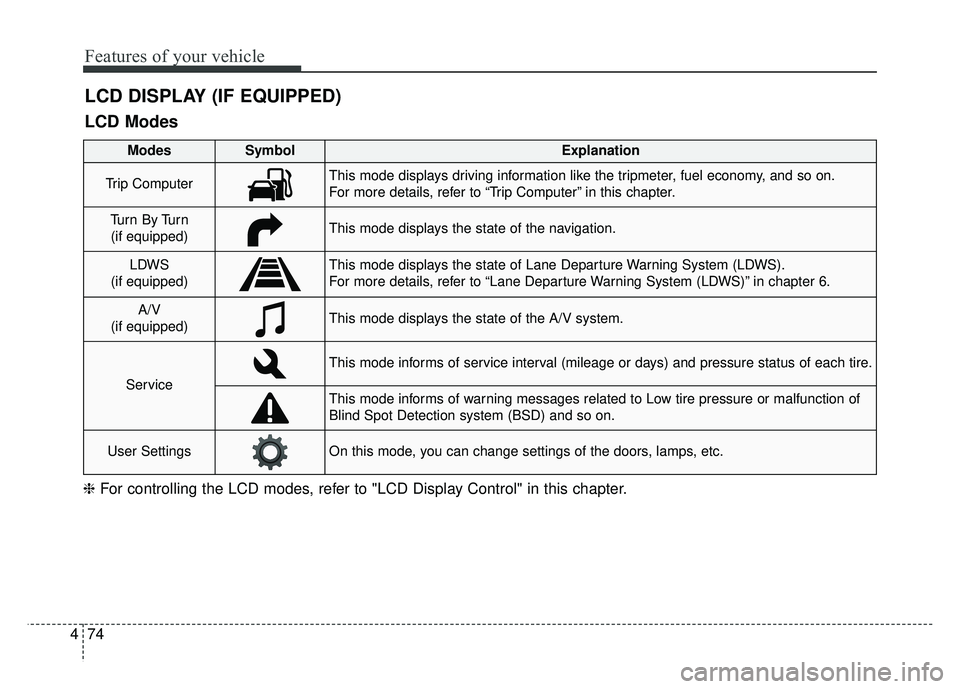
LCD DISPLAY (IF EQUIPPED)
❈ For controlling the LCD modes, refer to "LCD Display Control" in this chapter.
LCD Modes
Modes SymbolExplanation
Trip ComputerThis mode displays driving information like the tripmeter, fuel economy, and so on.
For more details, refer to “Trip Computer” in this chapter.
Tu r n B y Tu r n
(if equipped)This mode displays the state of the navigation.
LDWS
(if equipped)This mode displays the state of Lane Departure Warning System (LDWS).
For more details, refer to “Lane Departure Warning System (LDWS)” in chapter 6.
A/V
(if equipped)This mode displays the state of the A/V system.
Service
This mode informs of service interval (mileage or days) and pressure status of each tire.
This mode informs of warning messages related to Low tire pressure or malfunction of
Blind Spot Detection system (BSD) and so on.
User SettingsOn this mode, you can change settings of the doors, lamps, etc.
Page 169 of 605
483
Features of your vehicle
The trip computer is a microcomput-
er-controlled driver information sys-
tem that displays information related
to driving.
✽ ✽NOTICE
Some driving information stored in
the trip computer (for example
Average Vehicle Speed) resets if the
battery is disconnected.
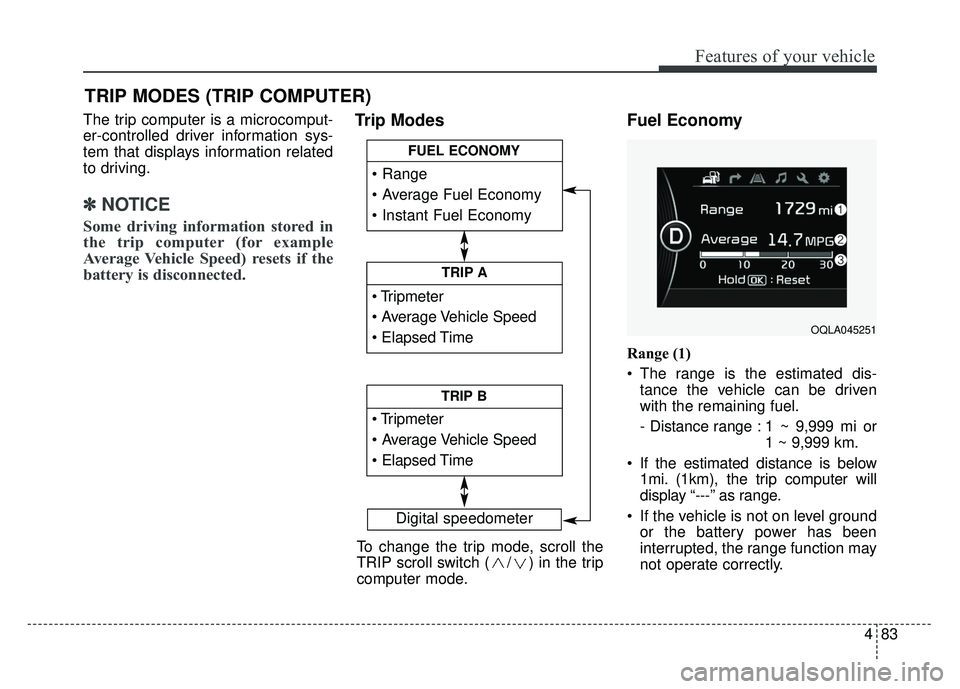
Trip Modes Fuel Economy
Range (1)
The range is the estimated dis-
tance the vehicle can be driven
with the remaining fuel.
- Distance range : 1 ~ 9,999 mi or 1 ~ 9,999 km.
If the estimated distance is below 1mi. (1km), the trip computer will
display “---” as range.
If the vehicle is not on level ground or the battery power has been
interrupted, the range function may
not operate correctly.
TRIP MODES (TRIP COMPUTER)
Digital speedometer
To change the trip mode, scroll the
TRIP scroll switch ( / ) in the trip
computer mode.
TRIP A
TRIP B
FUEL ECONOMY
OQLA045251
Page 170 of 605
Features of your vehicle
84
4
The range may differ from the actu-
al driving distance as it is an esti-
mate of the available driving dis-
tance.
The trip computer may not register additional fuel if less than 1.6 gal-
lons(6 liters) of fuel are added to
the vehicle.
The fuel economy and range may vary significantly based on driving
conditions, driving habits, and con-
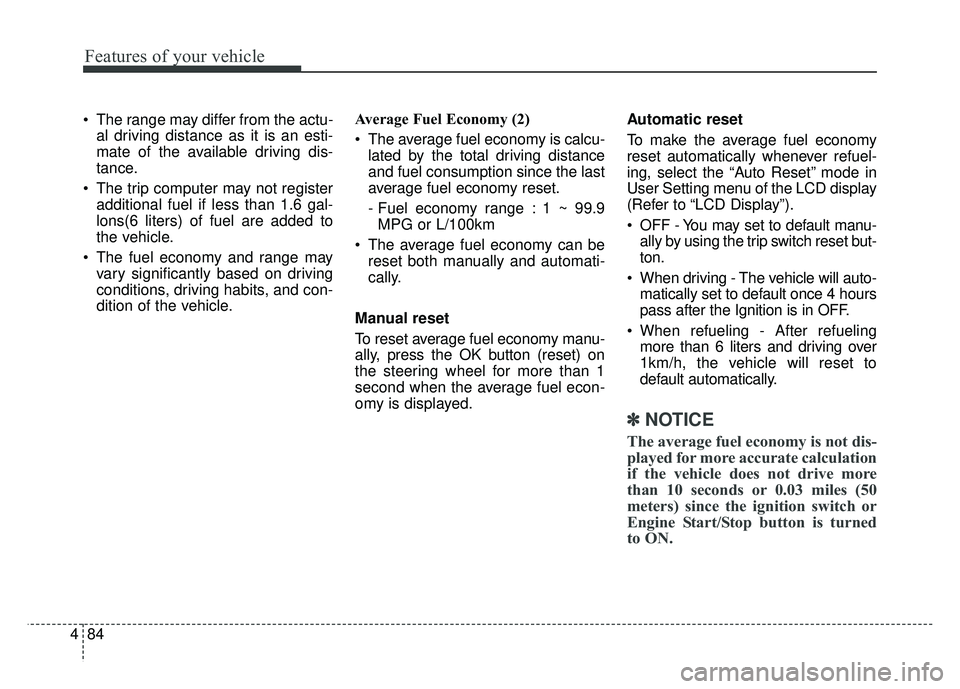
dition of the vehicle. Average Fuel Economy (2)
The average fuel economy is calcu-
lated by the total driving distance
and fuel consumption since the last
average fuel economy reset.
- Fuel economy range : 1 ~ 99.9MPG or L/100km
The average fuel economy can be reset both manually and automati-
cally.
Manual reset
To reset average fuel economy manu-
ally, press the OK button (reset) on
the steering wheel for more than 1
second when the average fuel econ-
omy is displayed. Automatic reset
To make the average fuel economy
reset automatically whenever refuel-
ing, select the “Auto Reset” mode in
User Setting menu of the LCD display
(Refer to “LCD Display”).
OFF - You may set to default manu-
ally by using the trip switch reset but-
ton.
When driving - The vehicle will auto- matically set to default once 4 hours
pass after the Ignition is in OFF.
When refueling - After refueling more than 6 liters and driving over
1km/h, the vehicle will reset to
default automatically.
✽ ✽ NOTICE
The average fuel economy is not dis-
played for more accurate calculation
if the vehicle does not drive more
than 10 seconds or 0.03 miles (50
meters) since the ignition switch or
Engine Start/Stop button is turned
to ON.
Page 171 of 605
485
Features of your vehicle
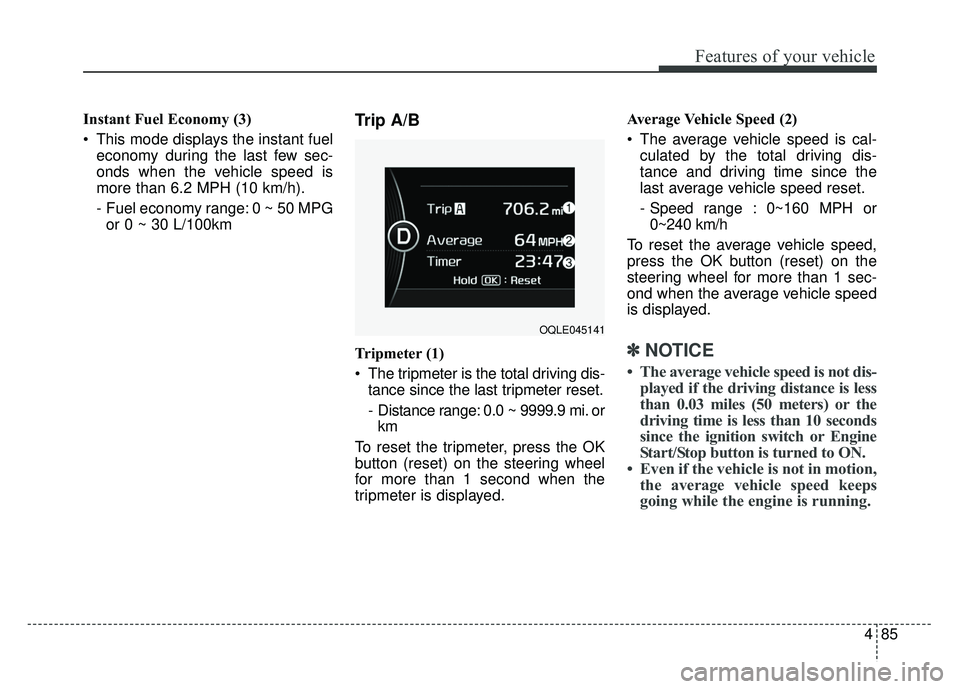
Instant Fuel Economy (3)
This mode displays the instant fueleconomy during the last few sec-
onds when the vehicle speed is
more than 6.2 MPH (10 km/h).
- Fuel economy range: 0 ~ 50 MPGor 0 ~ 30 L/100kmTrip A/B
Tripmeter (1)
The tripmeter is the total driving dis- tance since the last tripmeter reset.
- Distance range: 0.0 ~ 9999.9 mi. orkm
To reset the tripmeter, press the OK
button (reset) on the steering wheel
for more than 1 second when the
tripmeter is displayed. Average Vehicle Speed (2)
The average vehicle speed is cal-
culated by the total driving dis-
tance and driving time since the
last average vehicle speed reset.
- Speed range : 0~160 MPH or0~240 km/h
To reset the average vehicle speed,
press the OK button (reset) on the
steering wheel for more than 1 sec-
ond when the average vehicle speed
is displayed.✽ ✽ NOTICE
• The average vehicle speed is not dis-
played if the driving distance is less
than 0.03 miles (50 meters) or the
driving time is less than 10 seconds
since the ignition switch or Engine
Start/Stop button is turned to ON.
• Even if the vehicle is not in motion, the average vehicle speed keeps
going while the engine is running.
OQLE045141
Page 172 of 605
Features of your vehicle
86
4
Elapsed Time(3)
The elapsed time is the total driv-
ing time since the last elapsed time
reset.
- Time range (hh:mm): 00:00 ~ 99:59
To reset elapsed time, press the OK
button (reset) on the steering wheel
for more than 1 second when the
elapsed time is displayed.
✽ ✽ NOTICE
Even if the vehicle is not in motion,
the elapsed time keeps going while
the engine is running.
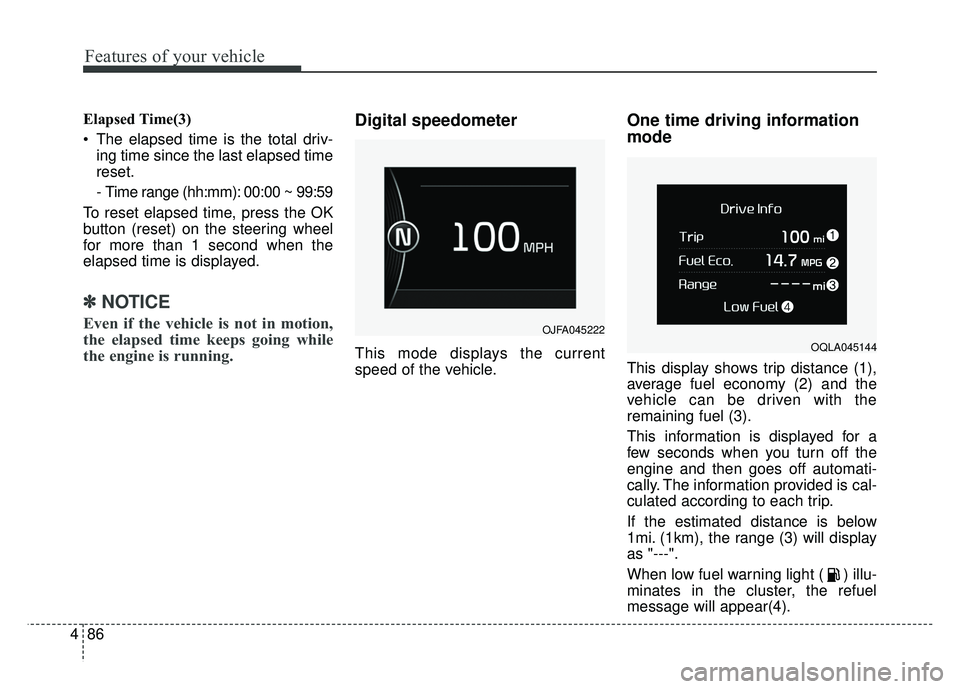
Digital speedometer
This mode displays the current
speed of the vehicle.
One time driving information
mode
This display shows trip distance (1),
average fuel economy (2) and the
vehicle can be driven with the
remaining fuel (3).
This information is displayed for a
few seconds when you turn off the
engine and then goes off automati-
cally. The information provided is cal-
culated according to each trip.
If the estimated distance is below
1mi. (1km), the range (3) will display
as "---".
When low fuel warning light ( ) illu-
minates in the cluster, the refuel
message will appear(4).
OJFA045222
OQLA045144
Page 185 of 605
499
Features of your vehicle
✽
✽NOTICE- Electronic Brake
force Distribution (EBD)
System Warning Light
When the ABS Warning Light is on
or both ABS and Parking Brake &
Brake Fluid Warning Lights are on,
the speedometer, odometer, or trip-
meter may not work. Also, the EPS
Warning Light may illuminate and
the steering effort may increase or
decrease.
In this case, have your vehicle inspect-
ed by an authorized Kia dealer as
soon as possible.
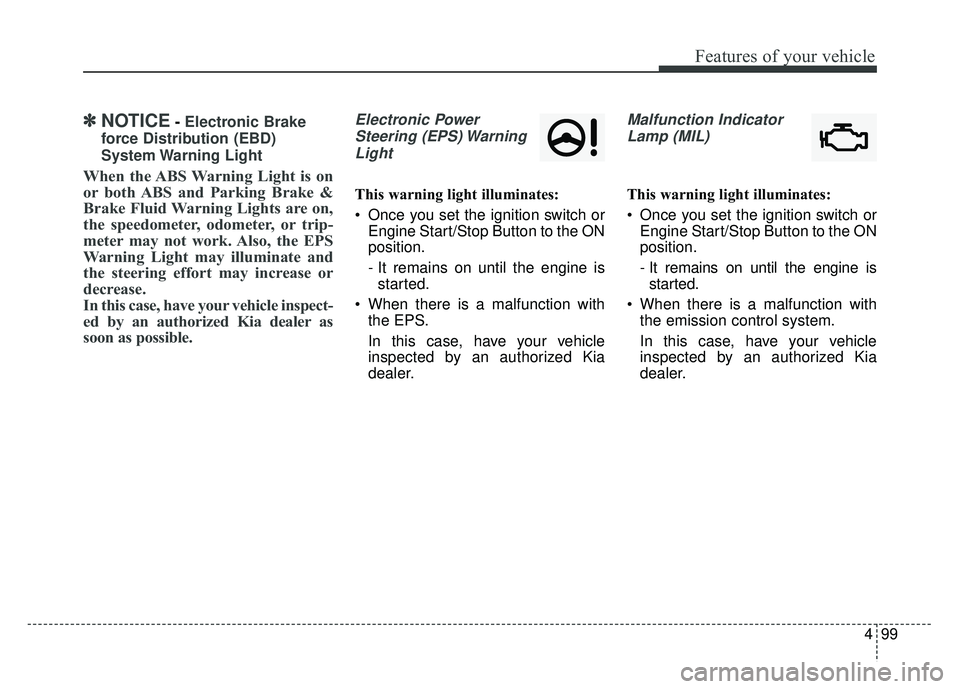
Electronic Power Steering (EPS) WarningLight
This warning light illuminates:
Once you set the ignition switch or Engine Start/Stop Button to the ON
position.
- It remains on until the engine isstarted.
When there is a malfunction with the EPS.
In this case, have your vehicle
inspected by an authorized Kia
dealer.
Malfunction Indicator
Lamp (MIL)
This warning light illuminates:
Once you set the ignition switch or Engine Start/Stop Button to the ON
position.
- It remains on until the engine isstarted.
When there is a malfunction with the emission control system.
In this case, have your vehicle
inspected by an authorized Kia
dealer.
Page 423 of 605
Driving your vehicle
96
6
Driving with a trailer
Towing a trailer requires a certain
amount of experience. Before setting
out for the open road, you must get
to know your trailer. Acquaint your-
self with the feel of handling and
braking with the added weight of the
trailer. And always keep in mind that
the vehicle you are driving is now a
good deal longer and not nearly so
responsive as your vehicle is by
itself.
Before you start, check the trailer
hitch and platform, safety chains,
electrical connector(s), lights, tires
and mirror adjustment. If the trailer
has electric brakes, start your vehicle
and trailer moving and then apply the
trailer brake controller by hand to be
sure the brakes are working. This lets
you check your electrical connection
at the same time.
During your trip, check occasionally
to be sure that the load is secure,
and that the lights and any trailer
brakes are still working.
Following distance
Stay at least twice as far behind the
vehicle ahead as you would when
driving your vehicle without a trailer.
This can help you avoid situations
that require heavy braking and sud-
den turns.
Passing
You’ll need more passing distance
up ahead when you’re towing a trail-
er. And, because of the increased
vehicle length, you’ll need to go
much farther beyond the passed
vehicle before you can return to your
lane. Due to the added load to the
engine when going uphill the vehicle
may also take longer to pass than it
would on flat ground.
Backing up
Hold the bottom of the steering
wheel with one hand. Then, to move
the trailer to the left, just move your
hand to the left. To move the trailer to
the right, move your hand to the
right. Always back up slowly and, if
possible, have someone guide you.
Making turns
When you’re turning with a trailer,
make wider turns than normal. Do
this so your trailer won’t strike soft
shoulders, curbs, road signs, trees,
or other objects near the edge of the
road. Avoid jerky or sudden maneu-
vers. Signal well in advance before
turning or lane changes.