2018 KIA SOUL parking brake
[x] Cancel search: parking brakePage 16 of 620

25
Your vehicle at a glance
INSTRUMENT PANEL OVERVIEW
1. Audio remote control buttons..................5-3
2. Driver’s front air bag .............................3-56
3. Horn ......................................................4-41
4. Cruise control button ............................6-63
5. Instrument cluster .................................4-48
6. Lighting control lever.............................4-89
7.Wiper and washer control lever .............4-93
8. Ignition switch or Engine start/stopbutton...............................................6-6, 6-9
9. Audio ...........................................5-10, 5-46
10. Hazard warning flasher.........................7-2
11. Climate control system ..........4-103, 4-114
12. Front seat warmer/ Seat air ventilation .................4-137, 4-139
13. Power outlet ......................................4-141
14. Center console storage box..............4-133
15. Glove box ..........................................4-134
16. Passenger’s front air bag ....................3-56
17. Parking brake......................................6-37
18. Drive mode button ..............................6-84
OPS013003N
❈The actual shape may differ from the illustration.
Page 33 of 620

315
Safety features of your vehicle
✽
✽
NOTICE
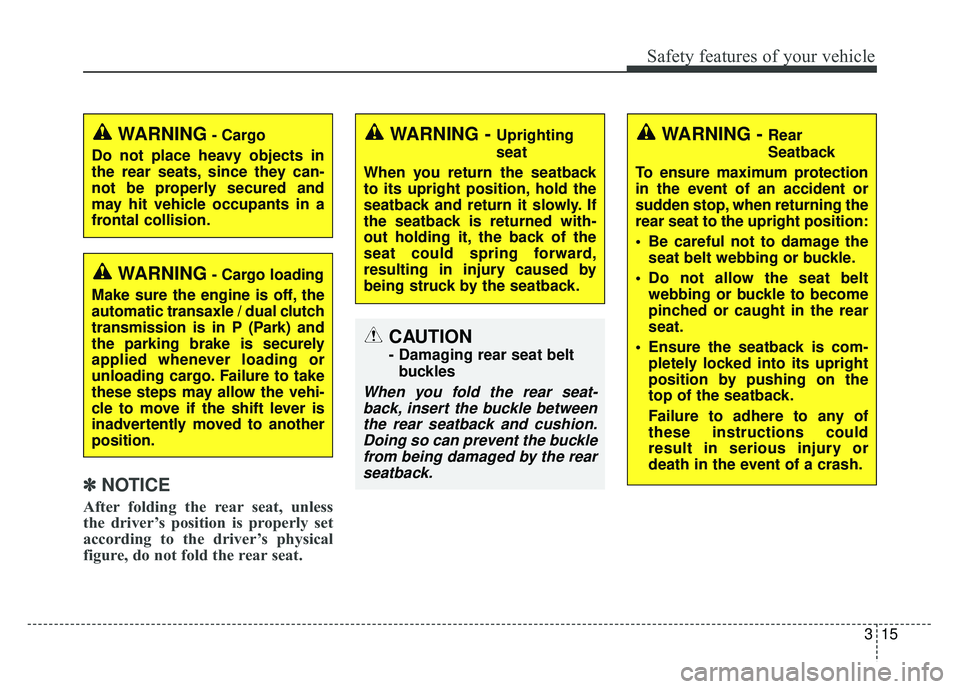
After folding the rear seat, unless
the driver’s position is properly set
according to the driver’s physical
figure, do not fold the rear seat.
WARNING- Cargo
Do not place heavy objects in
the rear seats, since they can-
not be properly secured and
may hit vehicle occupants in a
frontal collision.
WARNING- Cargo loading
Make sure the engine is off, the
automatic transaxle / dual clutch
transmission is in P (Park) and
the parking brake is securely
applied whenever loading or
unloading cargo. Failure to take
these steps may allow the vehi-
cle to move if the shift lever is
inadvertently moved to another
position.
WARNING - Uprighting
seat
When you return the seatback
to its upright position, hold the
seatback and return it slowly. If
the seatback is returned with-
out holding it, the back of the
seat could spring forward,
resulting in injury caused by
being struck by the seatback.WARNING - Rear
Seatback
To ensure maximum protection
in the event of an accident or
sudden stop, when returning the
rear seat to the upright position:
Be careful not to damage the seat belt webbing or buckle.
Do not allow the seat belt webbing or buckle to become
pinched or caught in the rear
seat.
Ensure the seatback is com- pletely locked into its upright
position by pushing on the
top of the seatback.
Failure to adhere to any of
these instructions could
result in serious injury or
death in the event of a crash.
CAUTION
- Damaging rear seat belt
buckles
When you fold the rear seat-back, insert the buckle betweenthe rear seatback and cushion.Doing so can prevent the bucklefrom being damaged by the rearseatback.
Page 104 of 620

Features of your vehicle
18
4
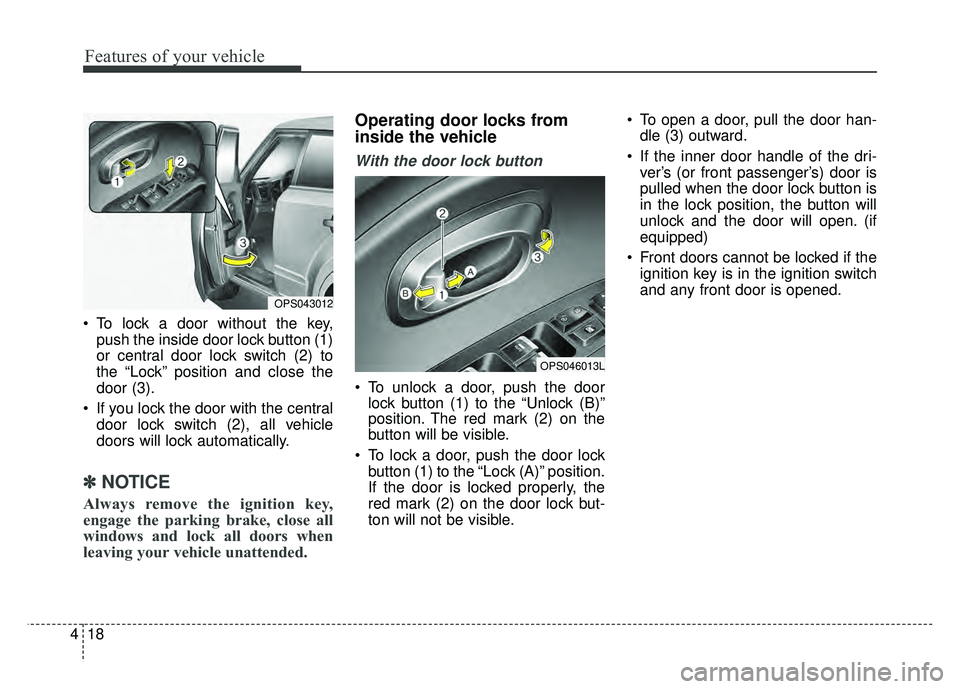
To lock a door without the key,
push the inside door lock button (1)
or central door lock switch (2) to
the “Lock” position and close the
door (3).
If you lock the door with the central door lock switch (2), all vehicle
doors will lock automatically.
✽ ✽ NOTICE
Always remove the ignition key,
engage the parking brake, close all
windows and lock all doors when
leaving your vehicle unattended.
Operating door locks from
inside the vehicle
With the door lock button
To unlock a door, push the door
lock button (1) to the “Unlock (B)”
position. The red mark (2) on the
button will be visible.
To lock a door, push the door lock button (1) to the “Lock (A)” position.
If the door is locked properly, the
red mark (2) on the door lock but-
ton will not be visible. To open a door, pull the door han-
dle (3) outward.
If the inner door handle of the dri- ver’s (or front passenger’s) door is
pulled when the door lock button is
in the lock position, the button will
unlock and the door will open. (if
equipped)
Front doors cannot be locked if the ignition key is in the ignition switch
and any front door is opened.
OPS043012
OPS046013L
Page 106 of 620

Features of your vehicle
20
4
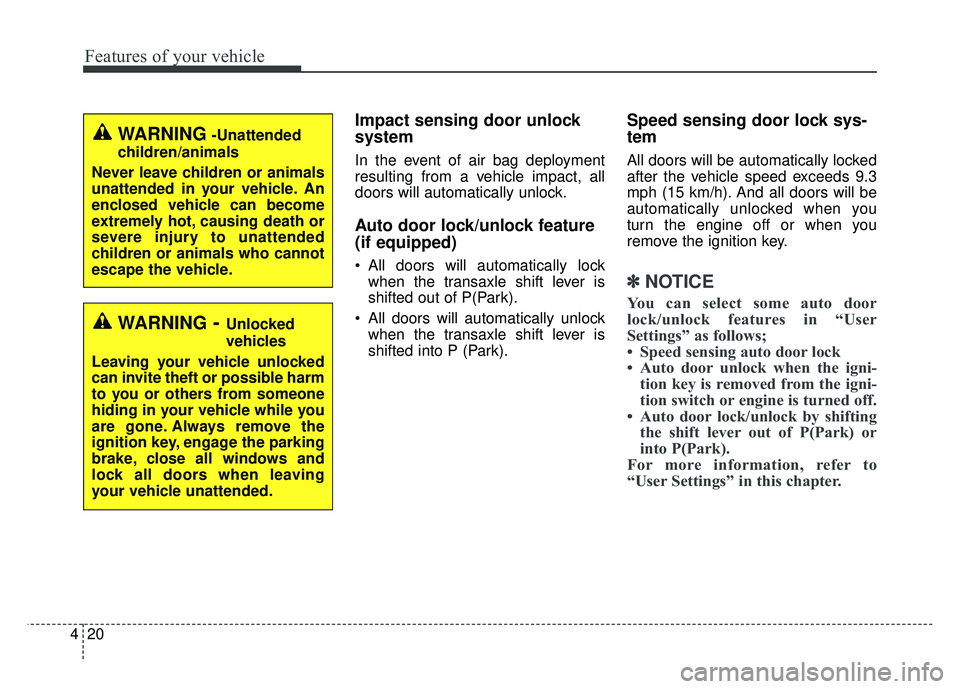
Impact sensing door unlock
system
In the event of air bag deployment
resulting from a vehicle impact, all
doors will automatically unlock.
Auto door lock/unlock feature
(if equipped)
All doors will automatically lock
when the transaxle shift lever is
shifted out of P(Park).
All doors will automatically unlock when the transaxle shift lever is
shifted into P (Park).
Speed sensing door lock sys-
tem
All doors will be automatically locked
after the vehicle speed exceeds 9.3
mph (15 km/h). And all doors will be
automatically unlocked when you
turn the engine off or when you
remove the ignition key.
✽ ✽ NOTICE
You can select some auto door
lock/unlock features in “User
Settings” as follows;
• Speed sensing auto door lock
• Auto door unlock when the igni-
tion key is removed from the igni-
tion switch or engine is turned off.
• Auto door lock/unlock by shifting the shift lever out of P(Park) or
into P(Park).
For more information, refer to
“User Settings” in this chapter.
WARNING-Unattended
children/animals
Never leave children or animals
unattended in your vehicle. An
enclosed vehicle can become
extremely hot, causing death or
severe injury to unattended
children or animals who cannot
escape the vehicle.
WARNING- Unlocked
vehicles
Leaving your vehicle unlocked
can invite theft or possible harm
to you or others from someone
hiding in your vehicle while you
are gone. Always remove the
ignition key, engage the parking
brake, close all windows and
lock all doors when leaving
your vehicle unattended.
Page 115 of 620

429
Features of your vehicle
Opening the hood
1. Pull the release lever to unlatchthe hood. The hood should pop
open slightly.
Open the hood after turning off the
engine on a flat surface, shifting the
shift lever to the P (Park) position for
automatic transaxle and to the 1st
(First) gear or R (Reverse) for manu-
al transaxle, and setting the parking
brake. 2. Go to the front of the vehicle, raise
the hood slightly, pull the second-
ary latch (1) inside of the hood
center and lift the hood (2).
3. Raise the hood. It will completely rise by itself after it has been
raised about halfway.
Closing the hood
1. Before closing the hood, check thefollowing:
ment must be correctly installed.
bustible material must be
removed from the engine com-
partment.
2. Return the support rod to its clip to prevent it from rattling.
3.Lower the hood until it is about 30 cm above the closed position and
let it drop. Make sure that it locks
into place.
4. Check that the hood has engaged properly. If the hood can be raised
slightly, it is not properly engaged.
Open it again and close it with a lit-
tle more force.
HOOD
OPS043024
OPS046025L
Page 161 of 620

475
Features of your vehicle
Parking Brake & BrakeFluid Warning Light
This warning light illuminates:
Once you set the ignition switch or Engine Start/Stop Button to the ON
position.
- It illuminates for approximately 3seconds
- It remains on if the parking brake is applied.
When the parking brake is applied.
When the brake fluid level in the reservoir is low.
- If the warning light illuminateswith the parking brake released, it
indicates the brake fluid level in
reservoir is low. If the brake fluid level in the reservoir
is low:
1. Drive carefully to the nearest safe
location and stop your vehicle.
2. With the engine stopped, check the brake fluid level immediately and add
fluid as required (For more details,
refer to “Brake Fluid” in chapter 8).
Then check all brake components
for fluid leaks. If any leaks in the
brake system is still found, the
warning light remains on, or the
brakes do not operate properly, do
not drive the vehicle.
In this case, have your vehicle
towed to an authorized Kia dealer
and inspected. Dual-diagonal braking system
Your vehicle is equipped with dual-
diagonal braking systems. This
means you still have braking on two
wheels even if one of the dual sys-
tems should fail.
With only one of the dual systems
working, more than normal pedal
travel and greater pedal pressure are
required to stop the vehicle.
Also, the vehicle will not stop in as
short a distance with only a portion
of the brake system working.
If the brakes fail while you are driv-
ing, shift to a lower gear for addition-
al engine braking and stop the vehi-
cle as soon as it is safe to do so.
Driving the vehicle with a warning
light ON is dangerous. If the Parking
Brake & Brake Fluid Warning Light
illuminates with the parking brake
released, it indicates that the brake
fluid level is low.
In this case, have your vehicle inspect-
ed by an authorized Kia dealer.
Page 162 of 620

Features of your vehicle
76
4
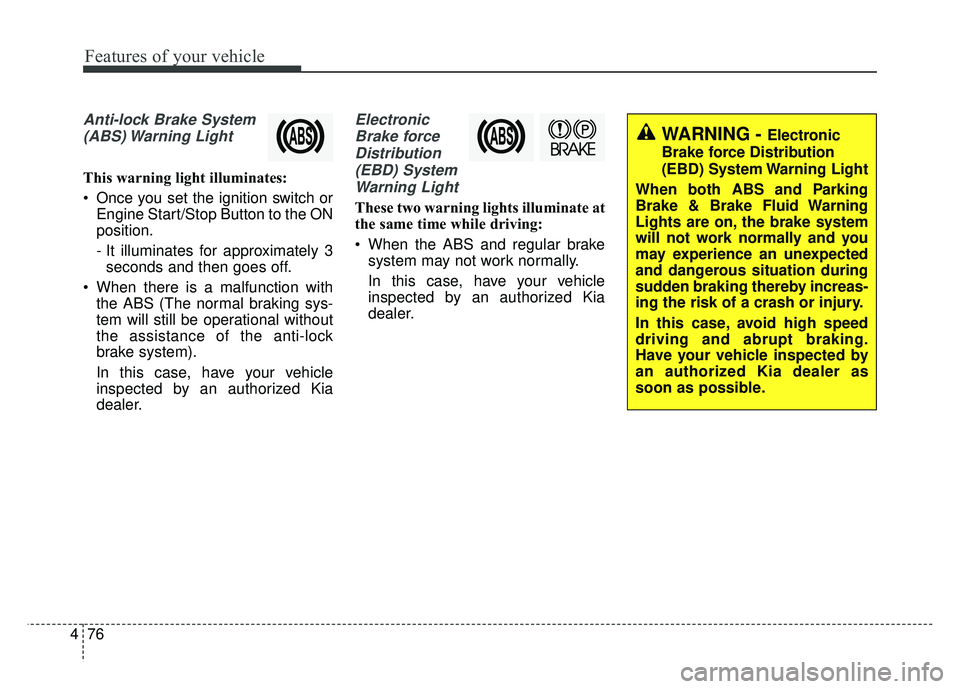
Anti-lock Brake System
(ABS) Warning Light
This warning light illuminates:
Once you set the ignition switch or Engine Start/Stop Button to the ON
position.
- It illuminates for approximately 3seconds and then goes off.
When there is a malfunction with the ABS (The normal braking sys-
tem will still be operational without
the assistance of the anti-lock
brake system).
In this case, have your vehicle
inspected by an authorized Kia
dealer.
Electronic
Brake forceDistribution(EBD) SystemWarning Light
These two warning lights illuminate at
the same time while driving:
When the ABS and regular brake system may not work normally.
In this case, have your vehicle
inspected by an authorized Kia
dealer.
WARNING - Electronic
Brake force Distribution
(EBD) System Warning Light
When both ABS and Parking
Brake & Brake Fluid Warning
Lights are on, the brake system
will not work normally and you
may experience an unexpected
and dangerous situation during
sudden braking thereby increas-
ing the risk of a crash or injury.
In this case, avoid high speed
driving and abrupt braking.
Have your vehicle inspected by
an authorized Kia dealer as
soon as possible.
Page 163 of 620

477
Features of your vehicle
✽
✽NOTICE- Electronic Brake
force Distribution (EBD)
System Warning Light
When the ABS Warning Light is on
or both ABS and Parking Brake &
Brake Fluid Warning Lights are on,
the speedometer, odometer, or trip-
meter may not work. Also, the EPS
Warning Light may illuminate and
the steering effort may increase or
decrease.
In this case, have your vehicle inspect-
ed by an authorized Kia dealer as
soon as possible.
Electronic Power Steering (EPS) WarningLight (if equipped)
This warning light illuminates:
Once you set the ignition switch or Engine Start/Stop Button to the ON
position.
- It remains on until the engine isstarted.
When there is a malfunction with the EPS.
In this case, have your vehicle
inspected by an authorized Kia
dealer.
Malfunction Indicator
Lamp (MIL)
This warning light illuminates:
Once you set the ignition switch or Engine Start/Stop Button to the ON
position.
- It remains on until the engine isstarted.
When there is a malfunction with the emission control system.
In this case, have your vehicle
inspected by an authorized Kia
dealer.
CAUTION - Malfunction
Indicator Lamp (MIL)
Driving with the Malfunction Indicator Lamp (MIL) on maycause damage to the emissioncontrol systems which couldeffect drivability and/or fueleconomy.